
Quick Summary: The Rubaud method (also called Rubaud mixing) is a gentle hand-mixing technique, named after French baker Gérard Rubaud, that strengthens gluten in wet, high-hydration dough without a stand mixer.
You slide your fingers under the dough, lift, stretch slightly, and let it fall in a circular rhythm, mixing for 2 to 3 minutes, resting, then repeating until the dough is smooth and elastic. It works best for doughs at 75% hydration or higher and develops gluten quickly.
What is the Rubaud method?
The Rubaud method is a gentle hand-mixing technique that strengthens gluten in wet sourdough by repeatedly scooping under the dough, lifting, and letting it fall, without a stand mixer.
It can feel a bit challenging and physically demanding at first, but many bakers find the results well worth the effort.
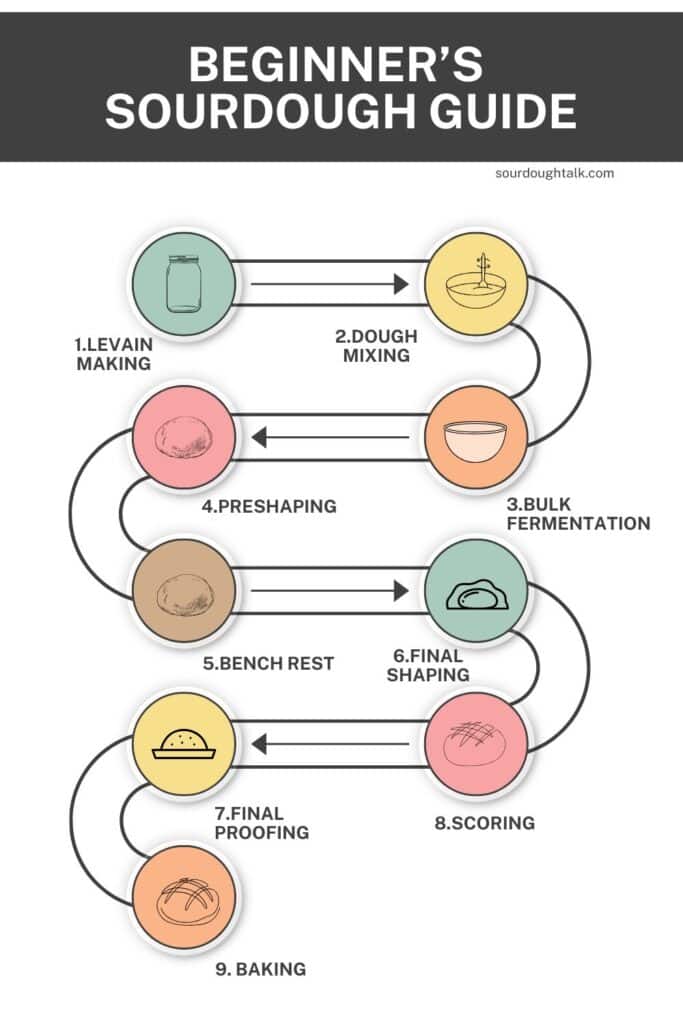
Your Beginner's Guide to Sourdough
This post is part of a series that walks you through every step, from feeding your starter to pulling the loaf from the oven.
Why Rubaud?
This method is gentle on the dough, helping build gluten without tearing or overworking it. It is especially useful for wet, sticky doughs that are difficult to handle with traditional kneading methods.
Another bonus? It develops gluten quickly. Just a few minutes of mixing noticeably strengthens the dough.
How to do the Rubaud kneading
1. Initial mixing
Start by mixing your flour and water. If you prefer, you can let it rest for an autolyse before adding your starter and salt. This short rest makes the dough easier to handle and helps gluten form naturally.
2. Scooping and lifting
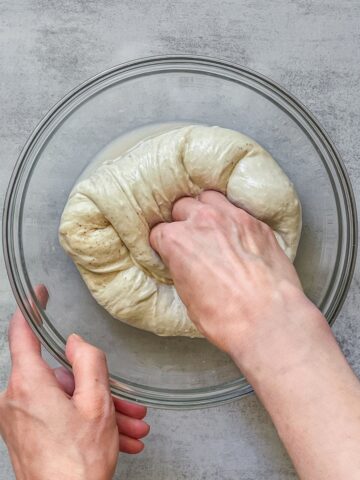
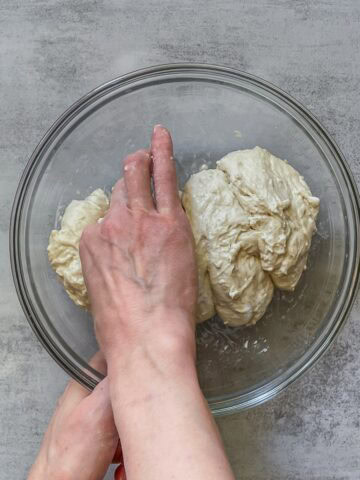
Keep your fingers together and scoop under the dough about three-quarters of the way down. Lift it up, pull slightly outward, and let it drop back into the bowl. Move your hand in a circular motion as you repeat the movement.
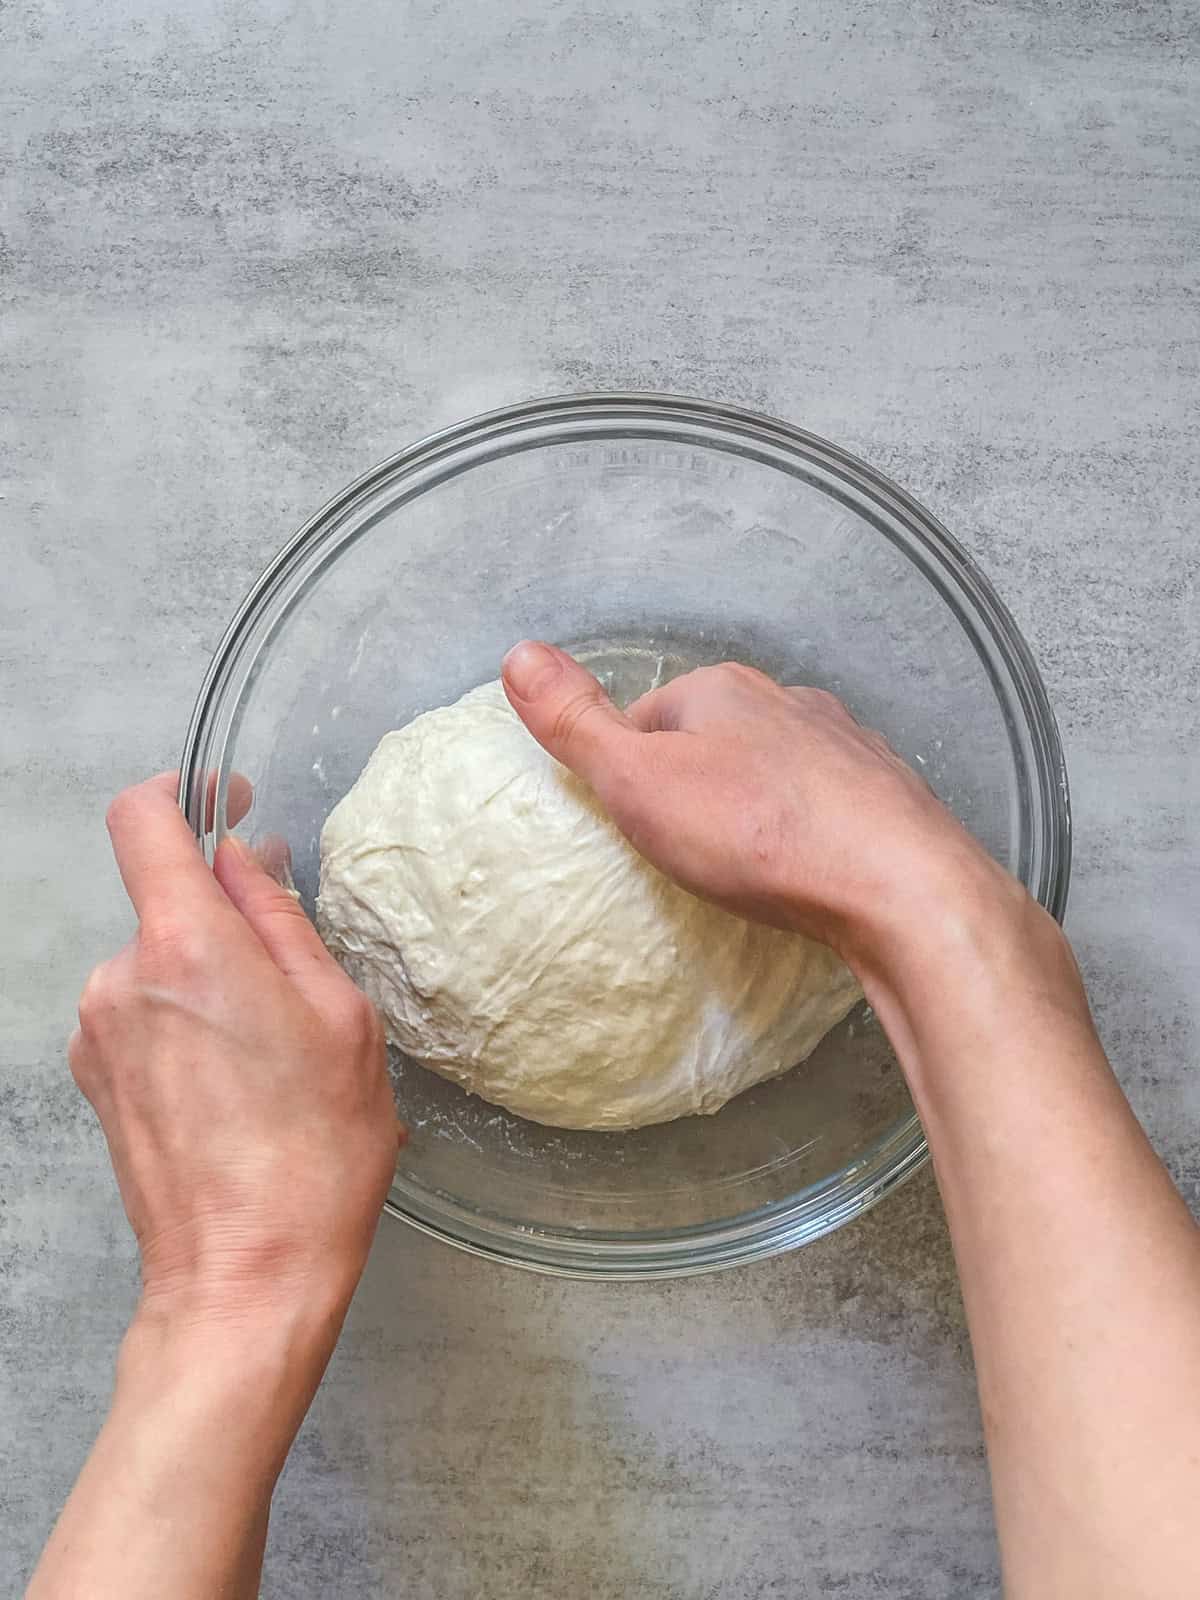
Keep your fingers together and scoop under the dough about three-quarters of the way down.
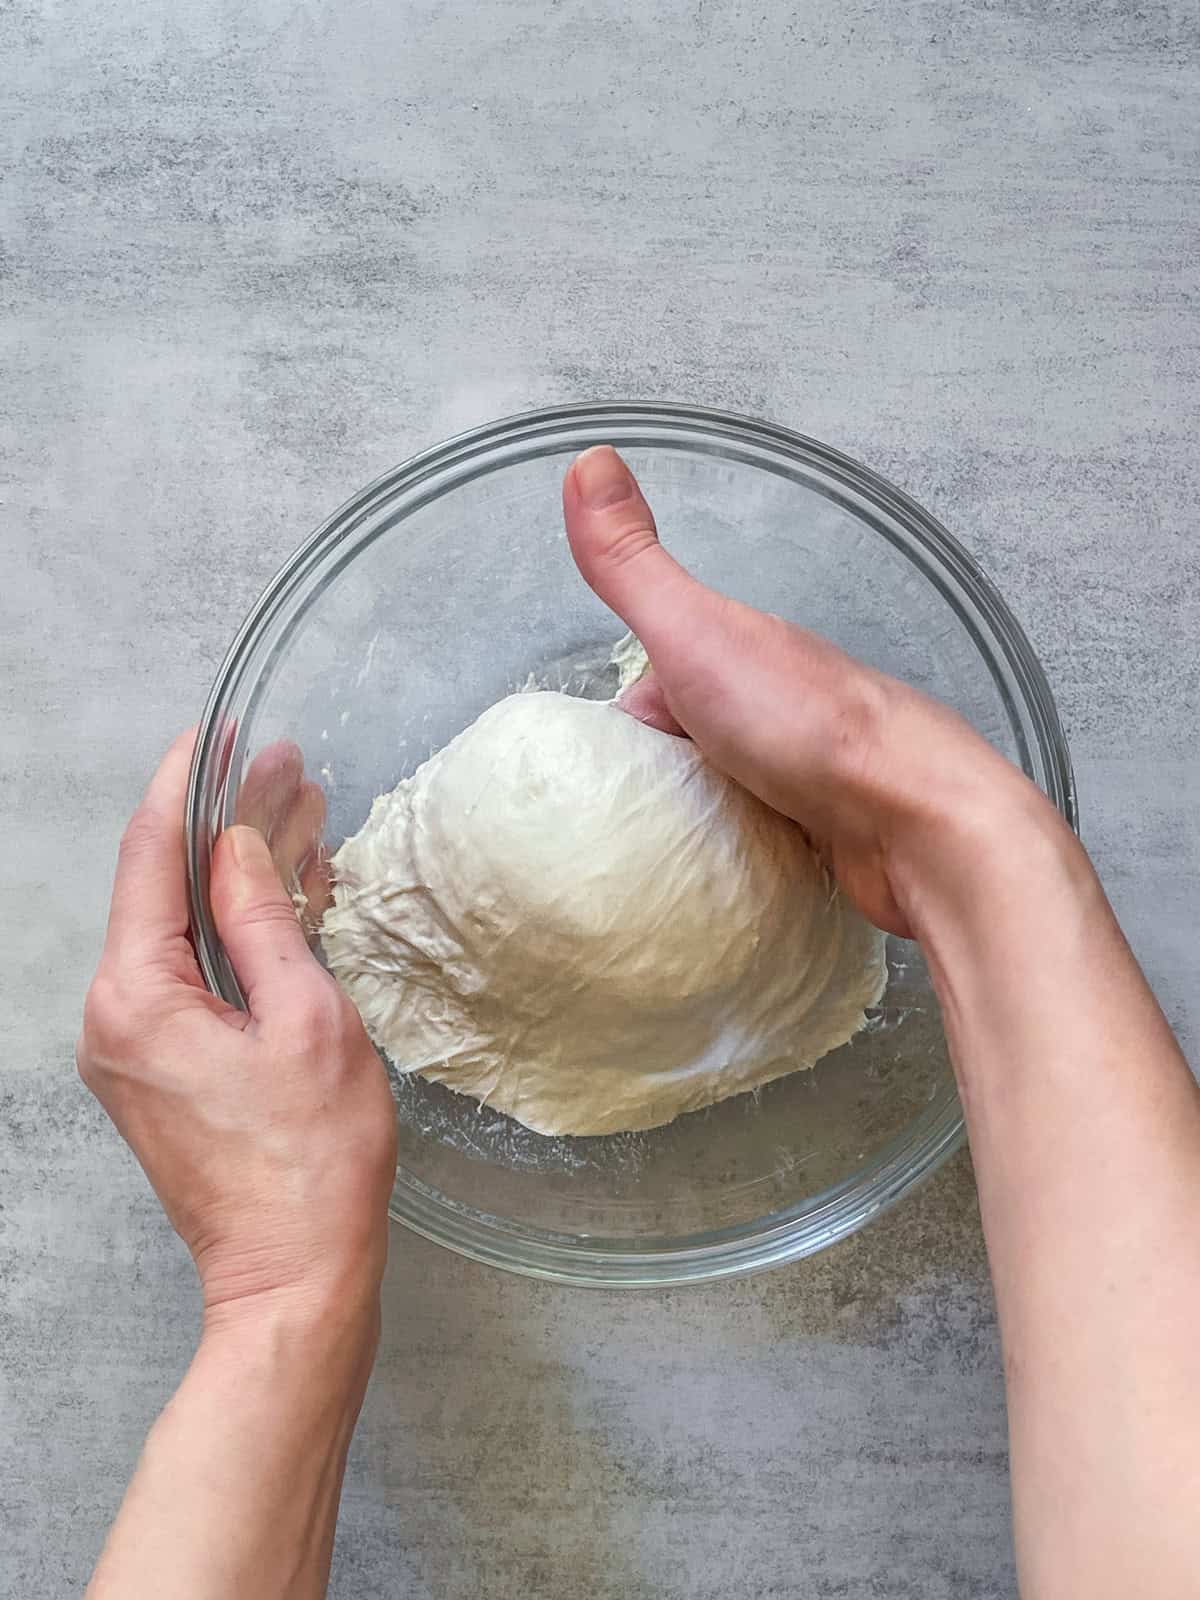
Lift the dough upward in one motion.
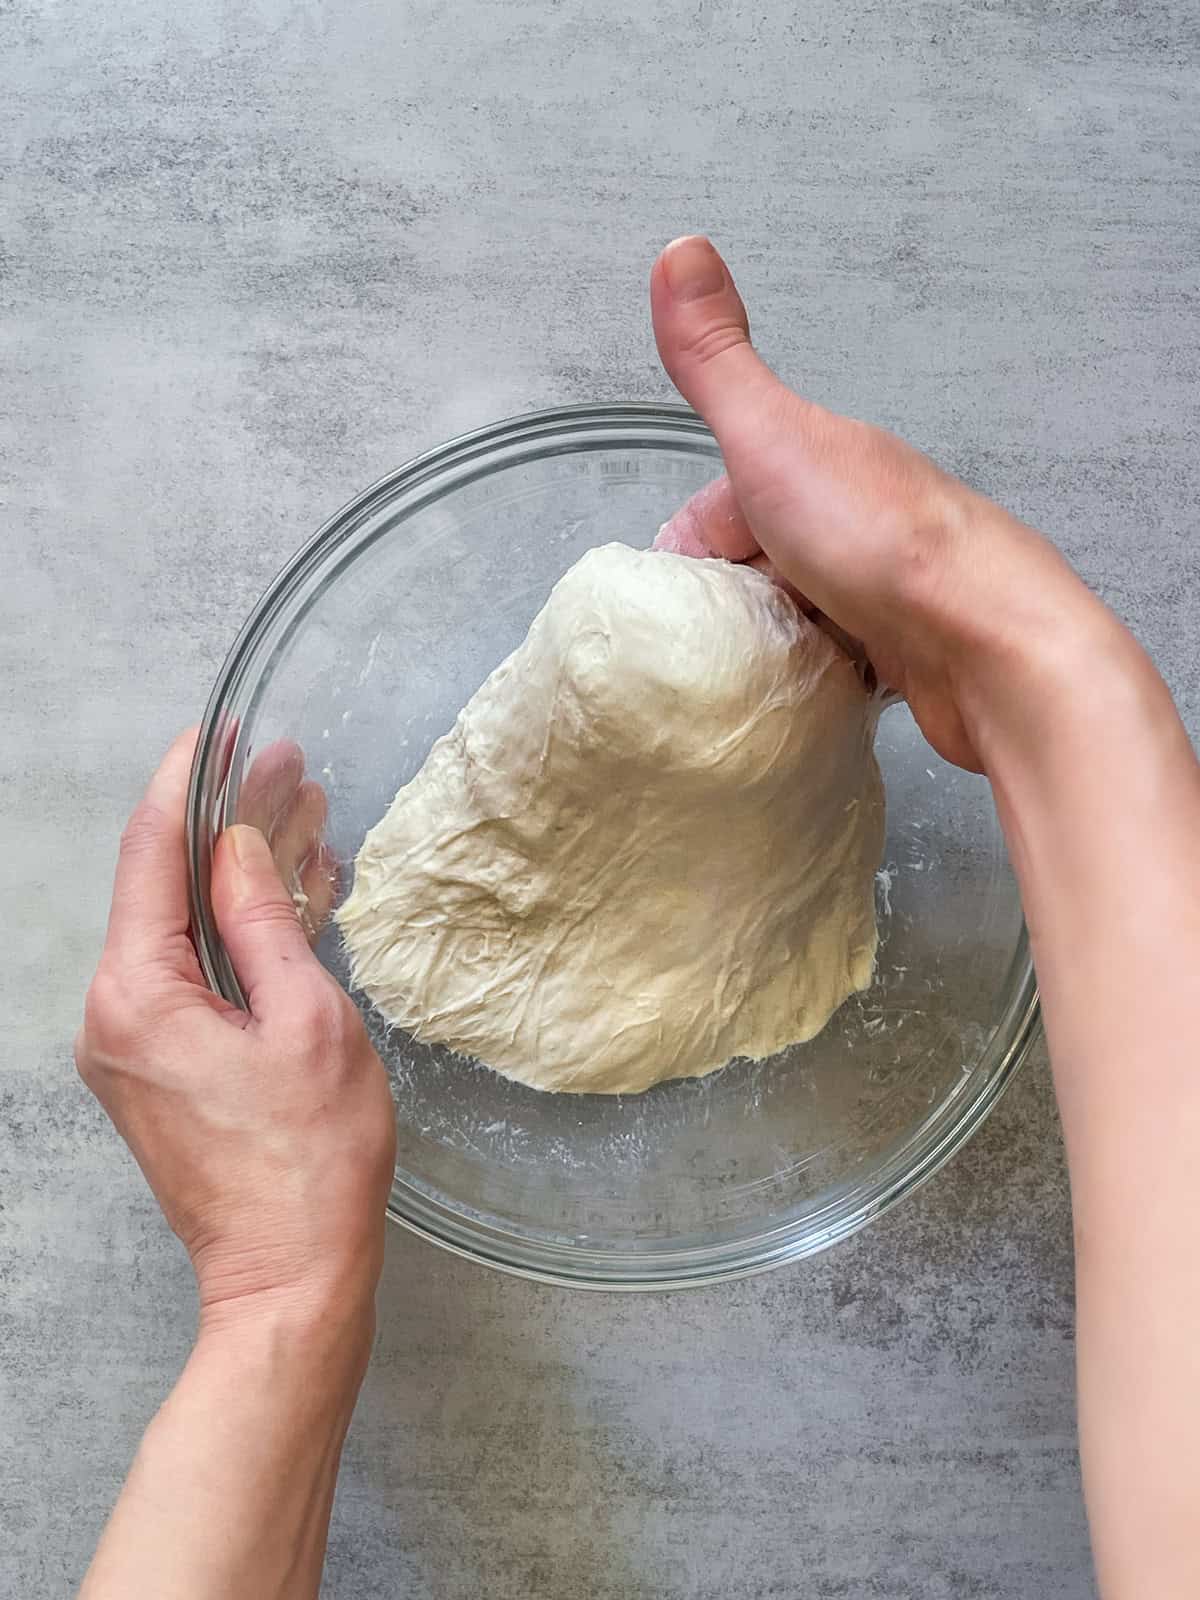
Pull it slightly outward.
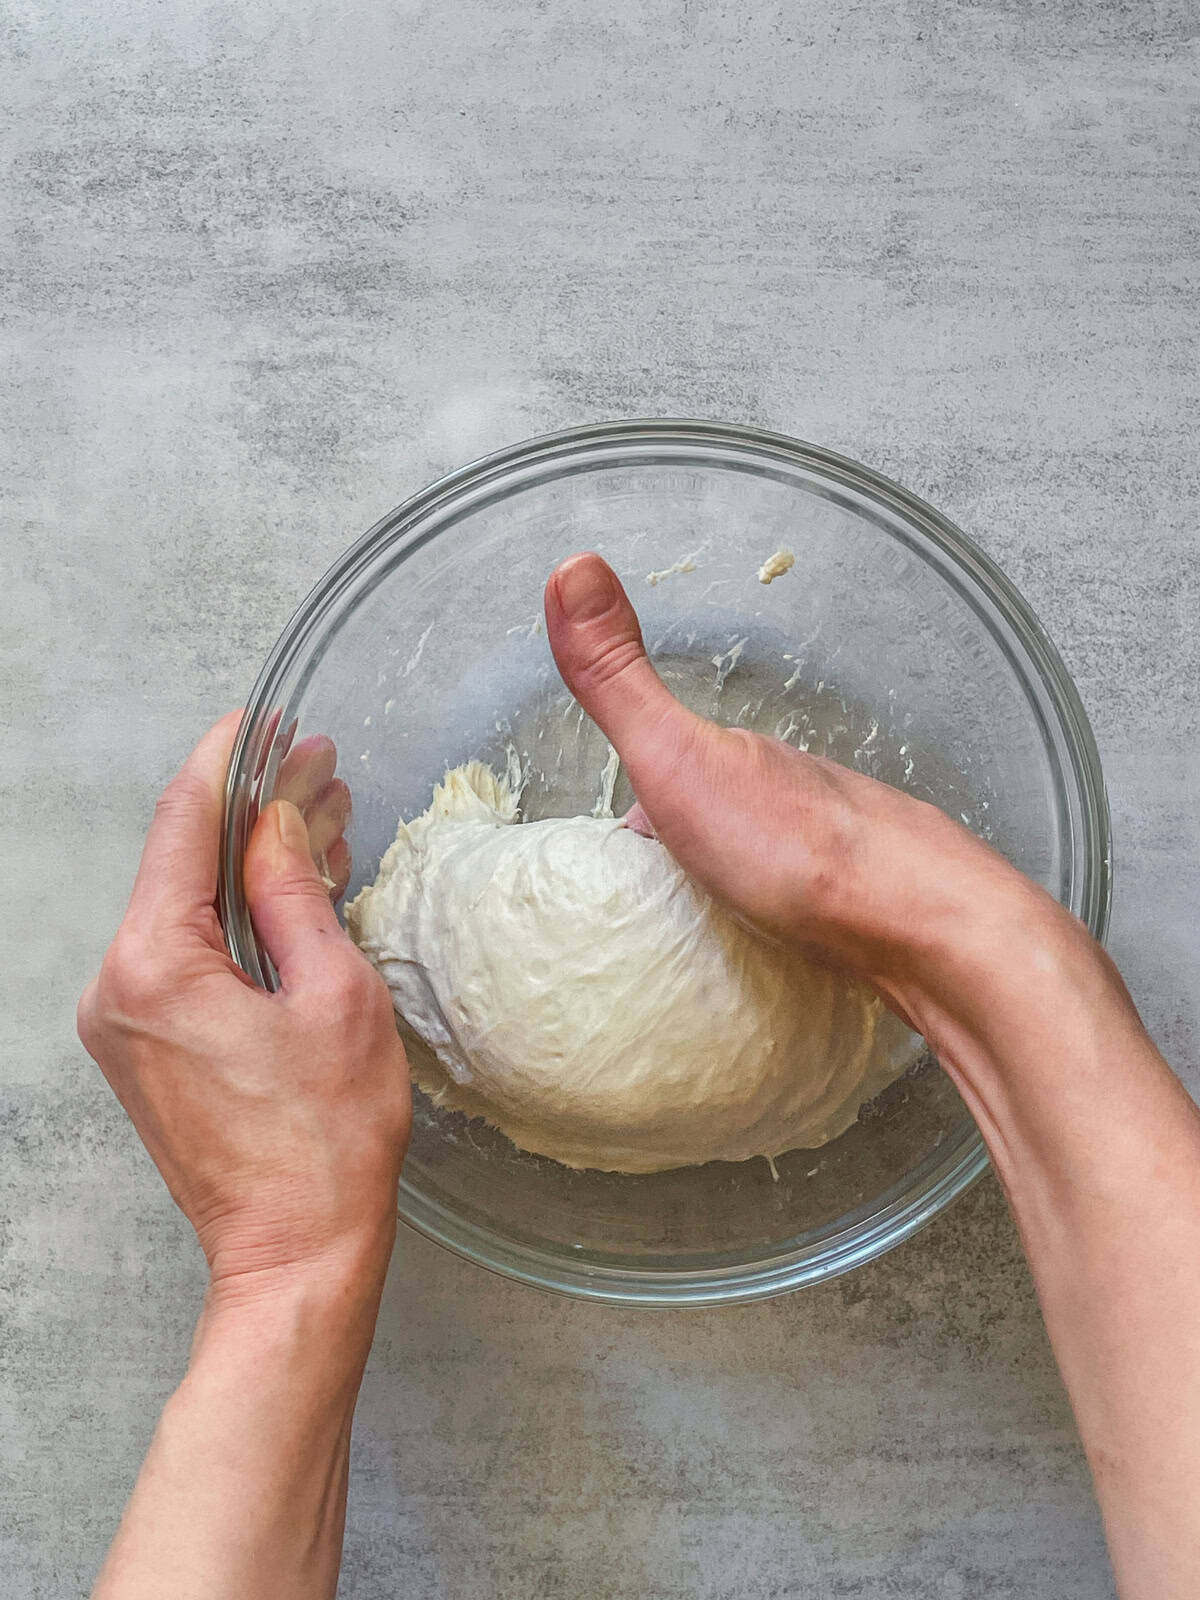
Let it drop back into the bowl. Move your hand in a circular motion as you repeat the movement.
3. Rotate and mix thoroughly
Rotate the bowl with your other hand as you scoop and lift, allowing the dough to mix evenly. This makes sure that all the ingredients are combined and gluten begins to develop throughout the dough.
4. Duration
Continue kneading gently for 2-3 minutes, then let the dough rest for 3-5 minutes. Repeat this process three times until the dough is smooth and elastic.
Tips and variations
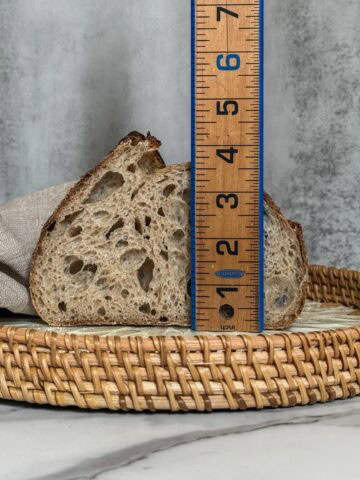
- Best for high-hydration doughs: Wet doughs (80-85% hydration) respond especially well to this technique. And if you work towards the open crumb, this technique is essential.
- Combine with other methods: You can start with the Rubaud method and switch to a technique like slap and folds during sourdough mixing.
- Works for large batches too (but be prepared!): While the Rubaud method is often used for smaller amounts of dough, it can be scaled up for dough made with 1000-2000 g of flour. Just keep in mind that it is physically demanding.
- Watch this short video of Trevor J. Wilson demonstrating the Rubaud method.
FAQ
Is the Rubaud method the same as kneading? Not quite. Traditional kneading pushes and presses the dough. The Rubaud method is gentler, using a scoop-and-lift motion that builds gluten without tearing or overworking wet dough.
What hydration is the Rubaud method best for? It shines on high-hydration dough (75% and above) and is especially effective at 80-85%. For stiff, low-hydration dough, it is less necessary.
How long should you do the Rubaud method? Mix gently for 2 to 3 minutes, rest for 3 to 5 minutes, and repeat about three times, until the dough is smooth and elastic.
Can the Rubaud method replace stretch and folds? In most cases, yes. When you build enough strength with the Rubaud method during mixing, you can usually skip stretch and folds and do just a few coil folds during bulk fermentation. If you were short on time and didn't develop much gluten while mixing, add a couple of stretch and folds first.
Who created the Rubaud method? It's named after Gérard Rubaud, a French-trained baker known for his naturally leavened bread, and was popularized by bakers like Trevor J. Wilson.
Let's talk sourdough
Even with 500g of flour, I find this method feels like quite a workout. Because of that, I usually reserve it for the dough made with around 300-400 grams of flour. It feels more comfortable and manageable that way.
How about you? Do you find the Rubaud method physically challenging? What is the biggest batch you have mixed using this technique? I'd love to hear your thoughts.
What's next?
Want to see how it fits into the whole mixing process? Check out my guide on how to mix sourdough bread.