
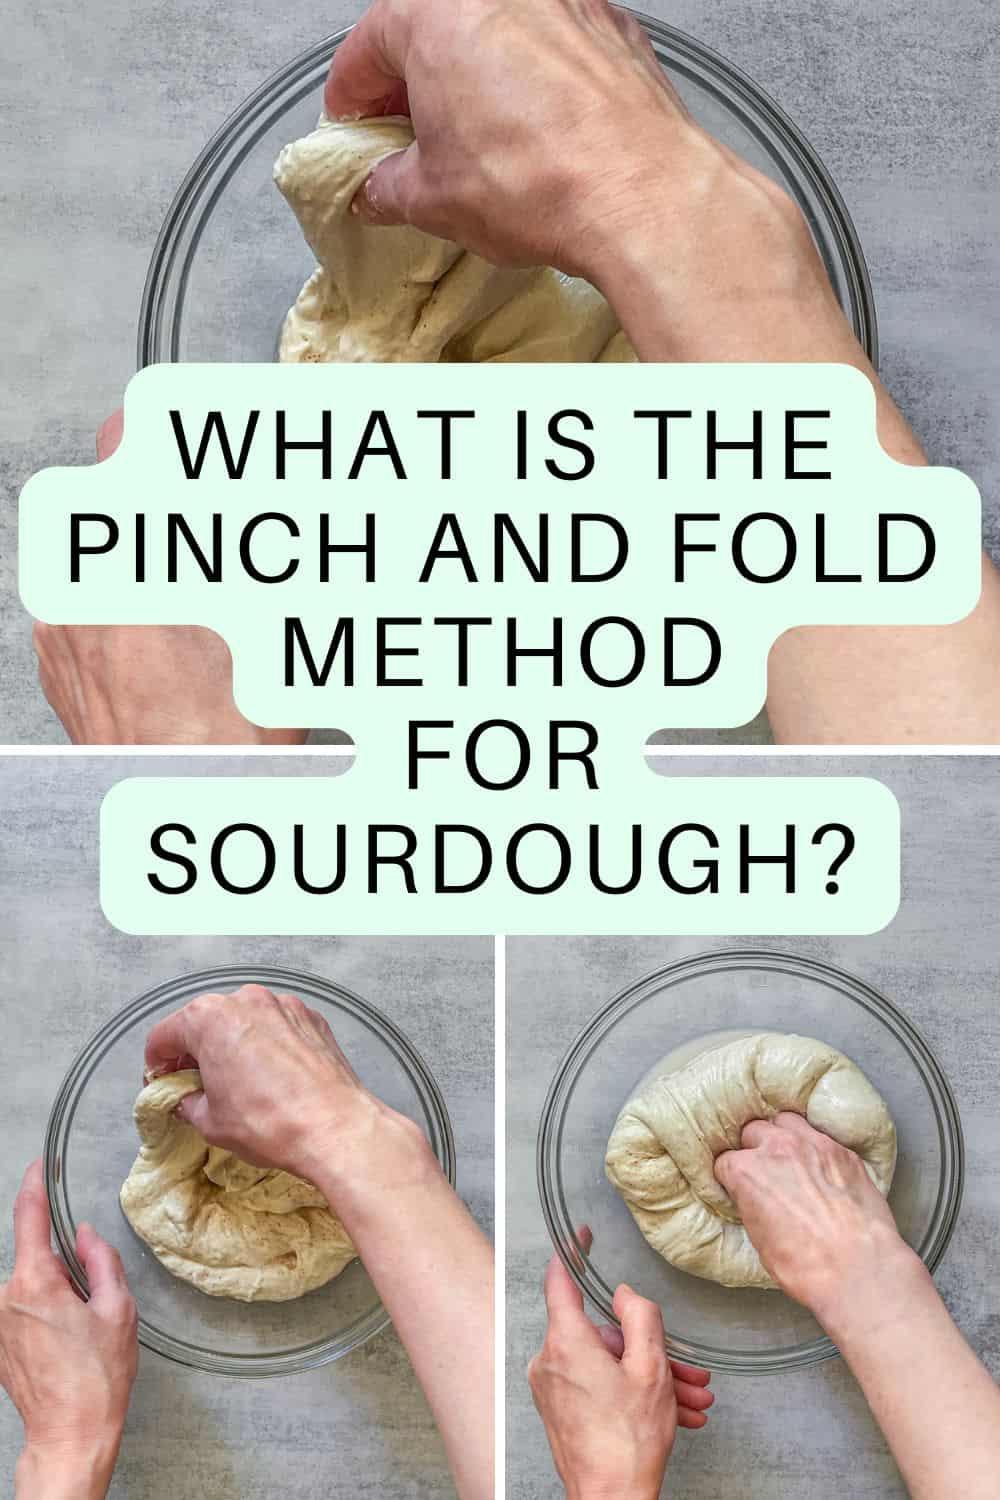
Quick Summary: The pinch and fold method is a hand-mixing technique for incorporating salt and water into sourdough after a fermentolyse. You grab the dough with your thumb and two to four fingers, fold it toward the center, rotate the bowl, and repeat, squeezing occasionally to help it absorb the water. Keep going until the dough comes together into a smooth, cohesive ball.
It is a gentle, beginner-friendly way to mix sourdough by hand, with no stand mixer needed.
In this guide, you will learn what the pinch and fold method is, when to use it, and exactly how to do it.
What is the pinch and fold method?
The pinch and fold method is a gentle hand-mixing technique that uses a grabbing and folding motion to evenly incorporate salt and water into the dough after a fermentolyse. Instead of kneading, you pinch the dough between your thumb and fingers, fold it toward the center, and rotate the bowl as you go.
Why use the pinch and fold method?
After a fermentolyse, the levain is already in the dough, but you still need to add the salt and the remaining water.
The pinch and fold method evenly distributes them without deflating the dough or overworking the gluten too early. The squeezing motion helps the dough absorb water, while the gentle folding brings everything together.
It is forgiving, needs no special equipment, and is a great first-hand mixing technique while you are learning.
How to do the pinch and fold method
1. Add the salt and water
Add the salt and the reserved water to your dough after the fermentolyse. You usually won't need to wet your hands for this method, but if the dough feels very sticky, use a little water.
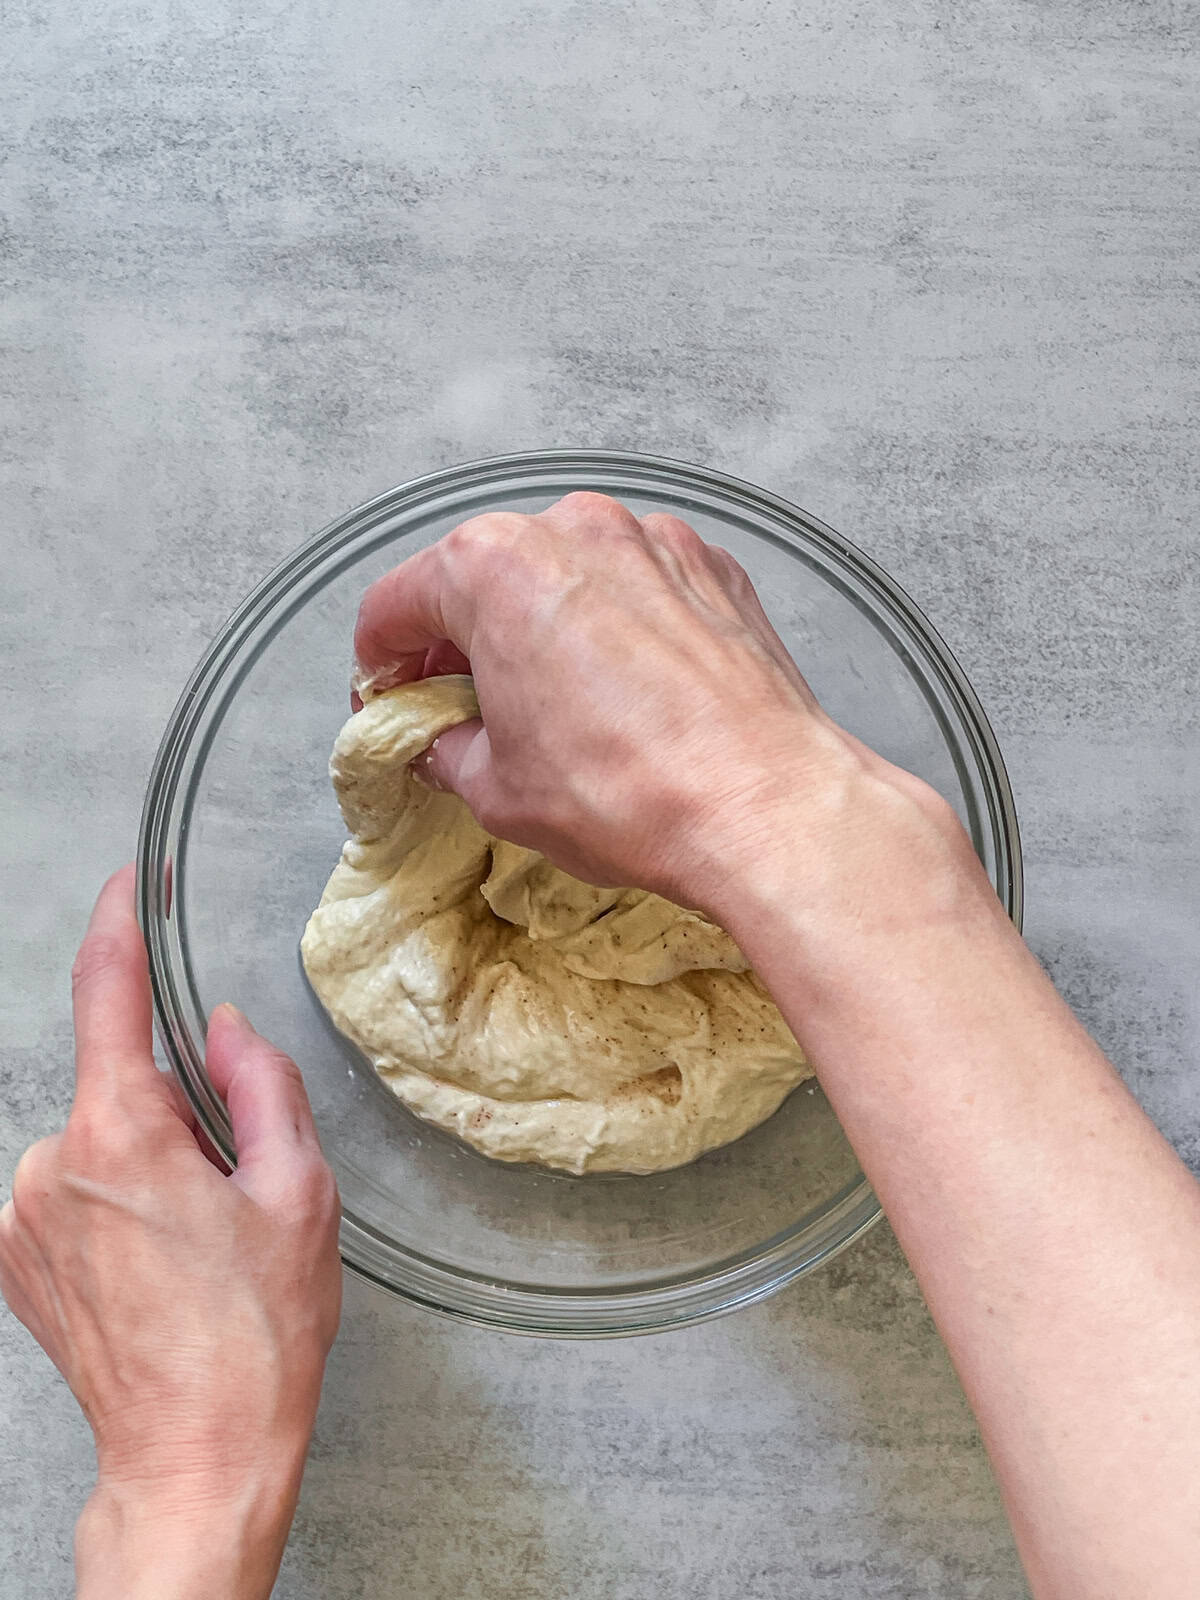
2. Grab and fold toward the center
Grab the dough with your thumb and two to four fingers, lift it, and fold it toward the center. Then rotate the bowl and repeat.
This mixing technique usually doesn't require adding extra water to wet your hands, but if the dough feels sticky, you can use a little.
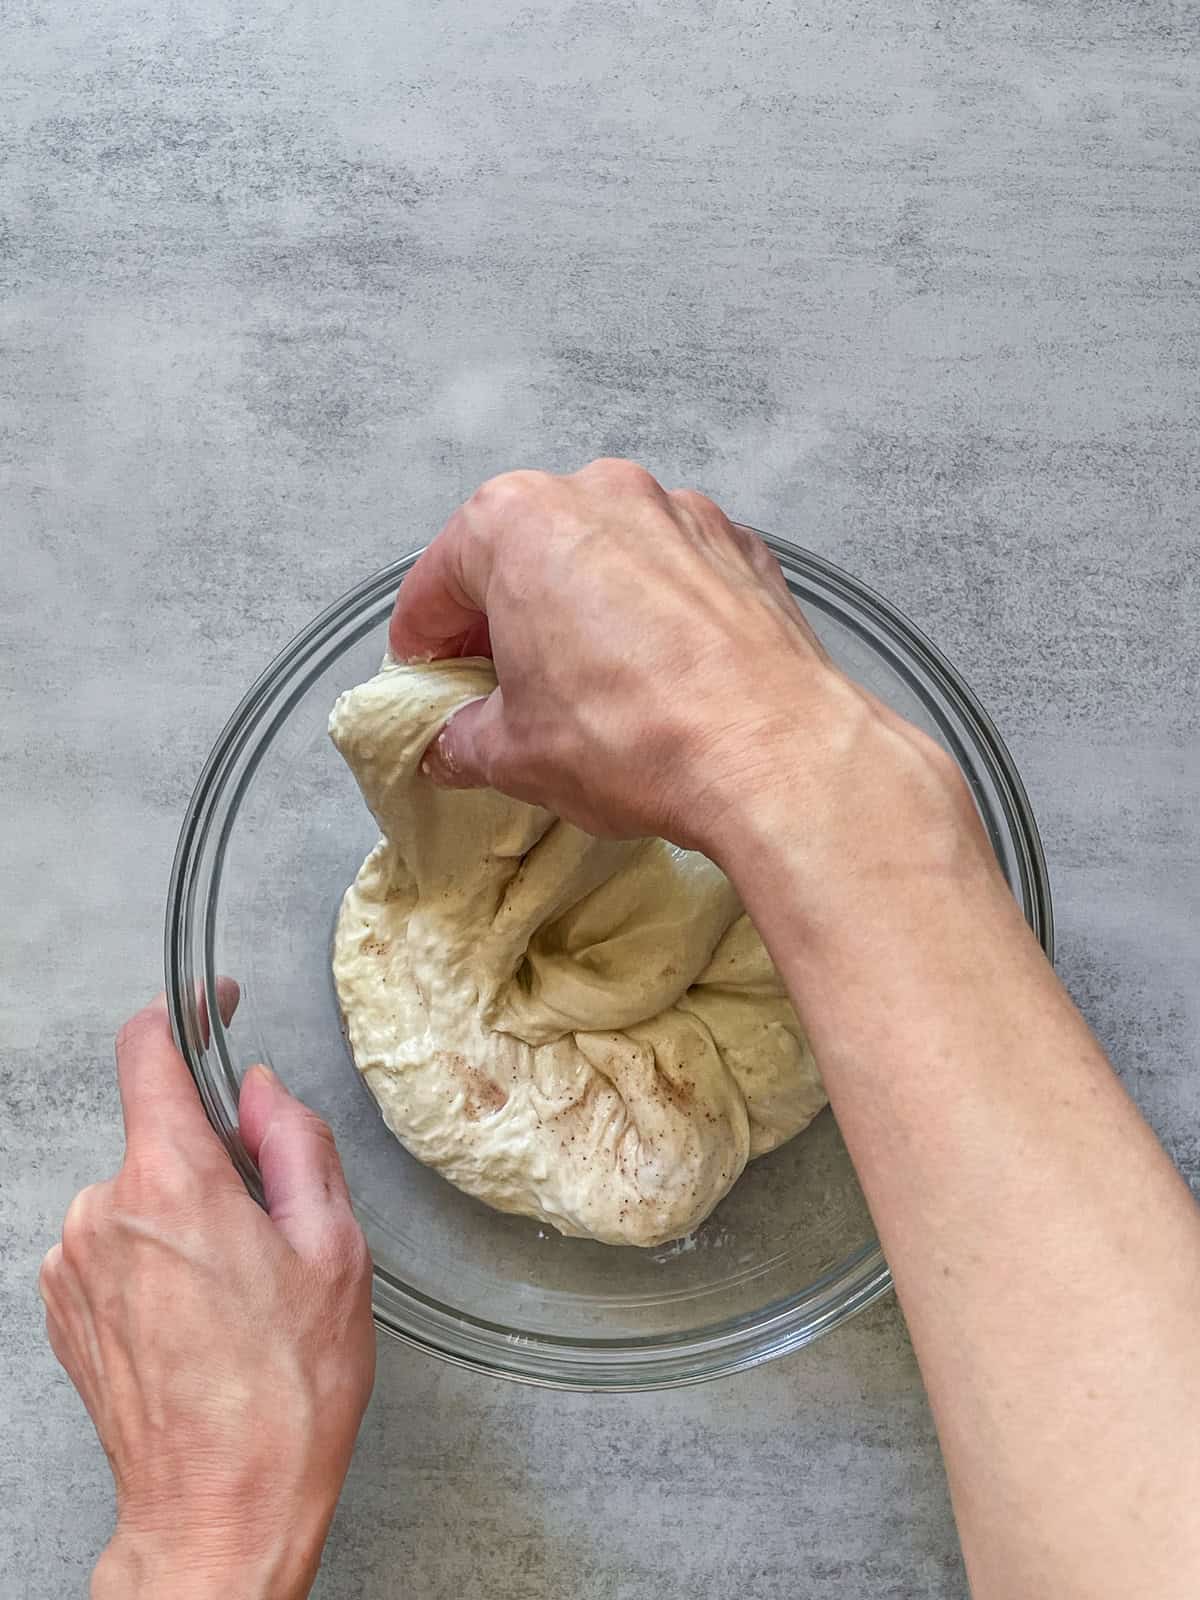
Grabbing the dough with the thumb and four fingers, then lifting it.
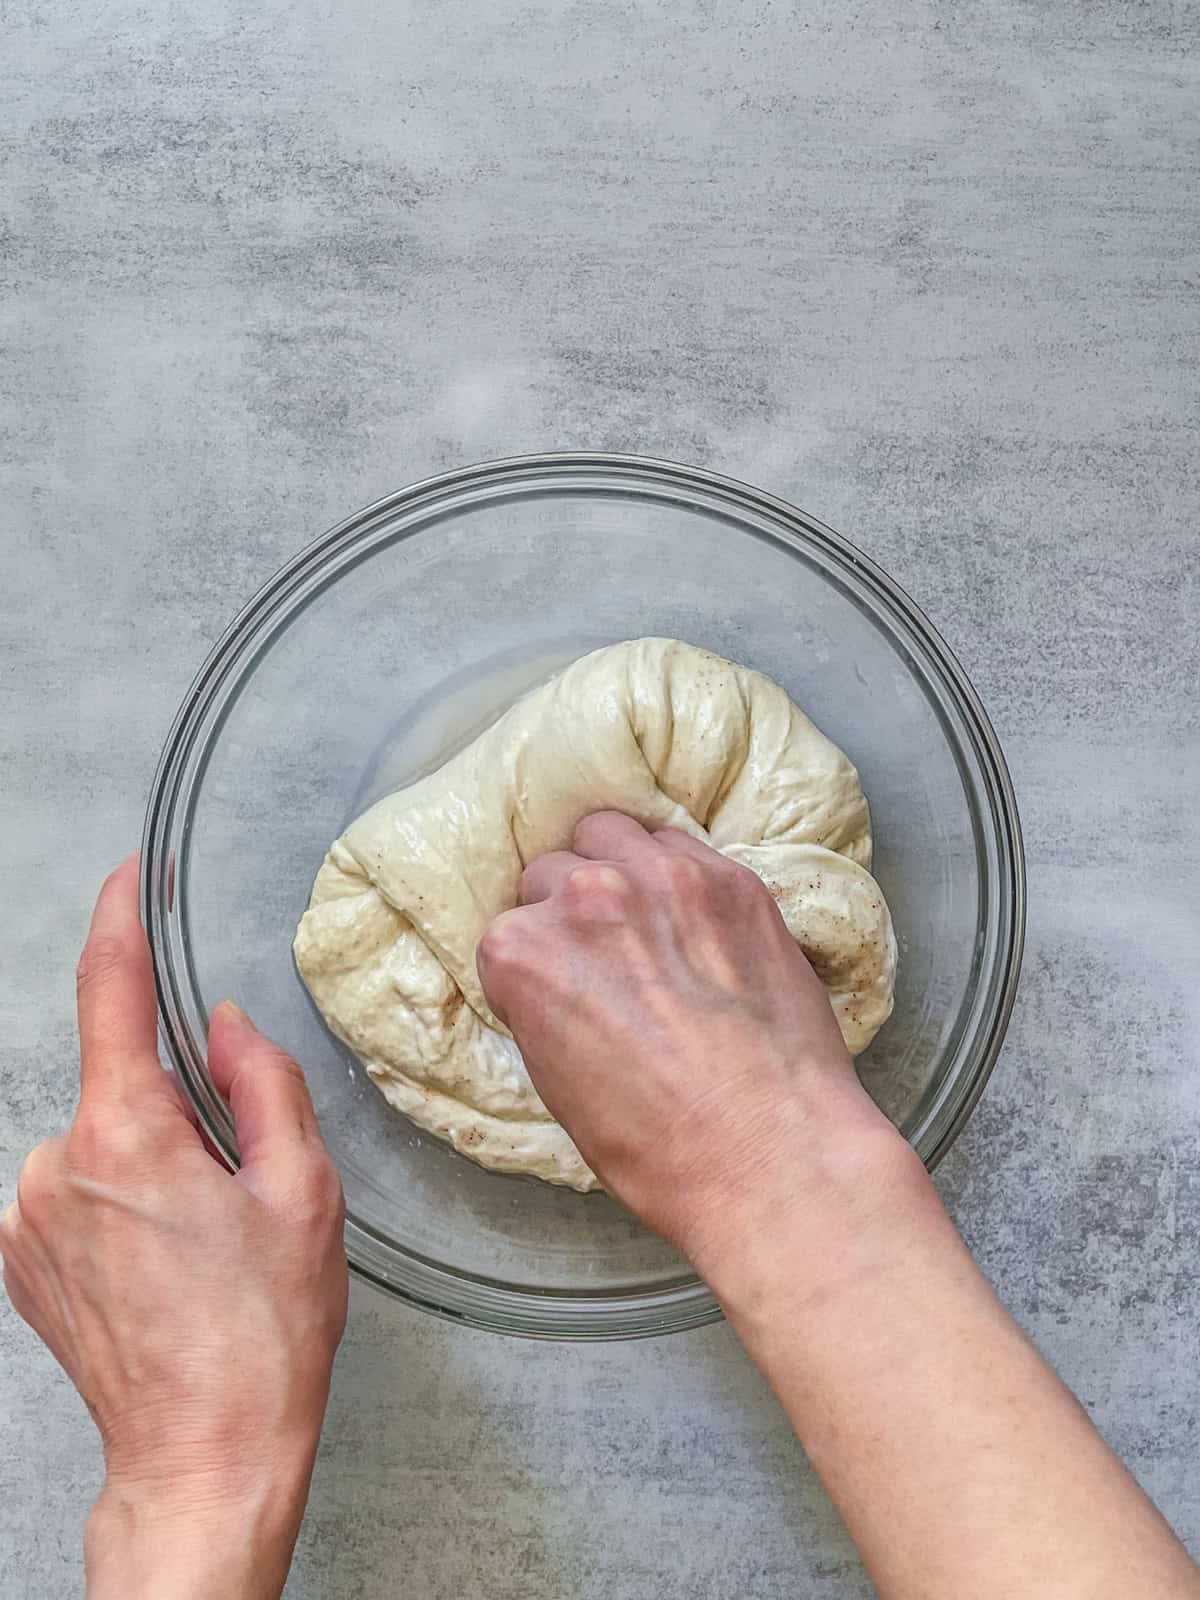
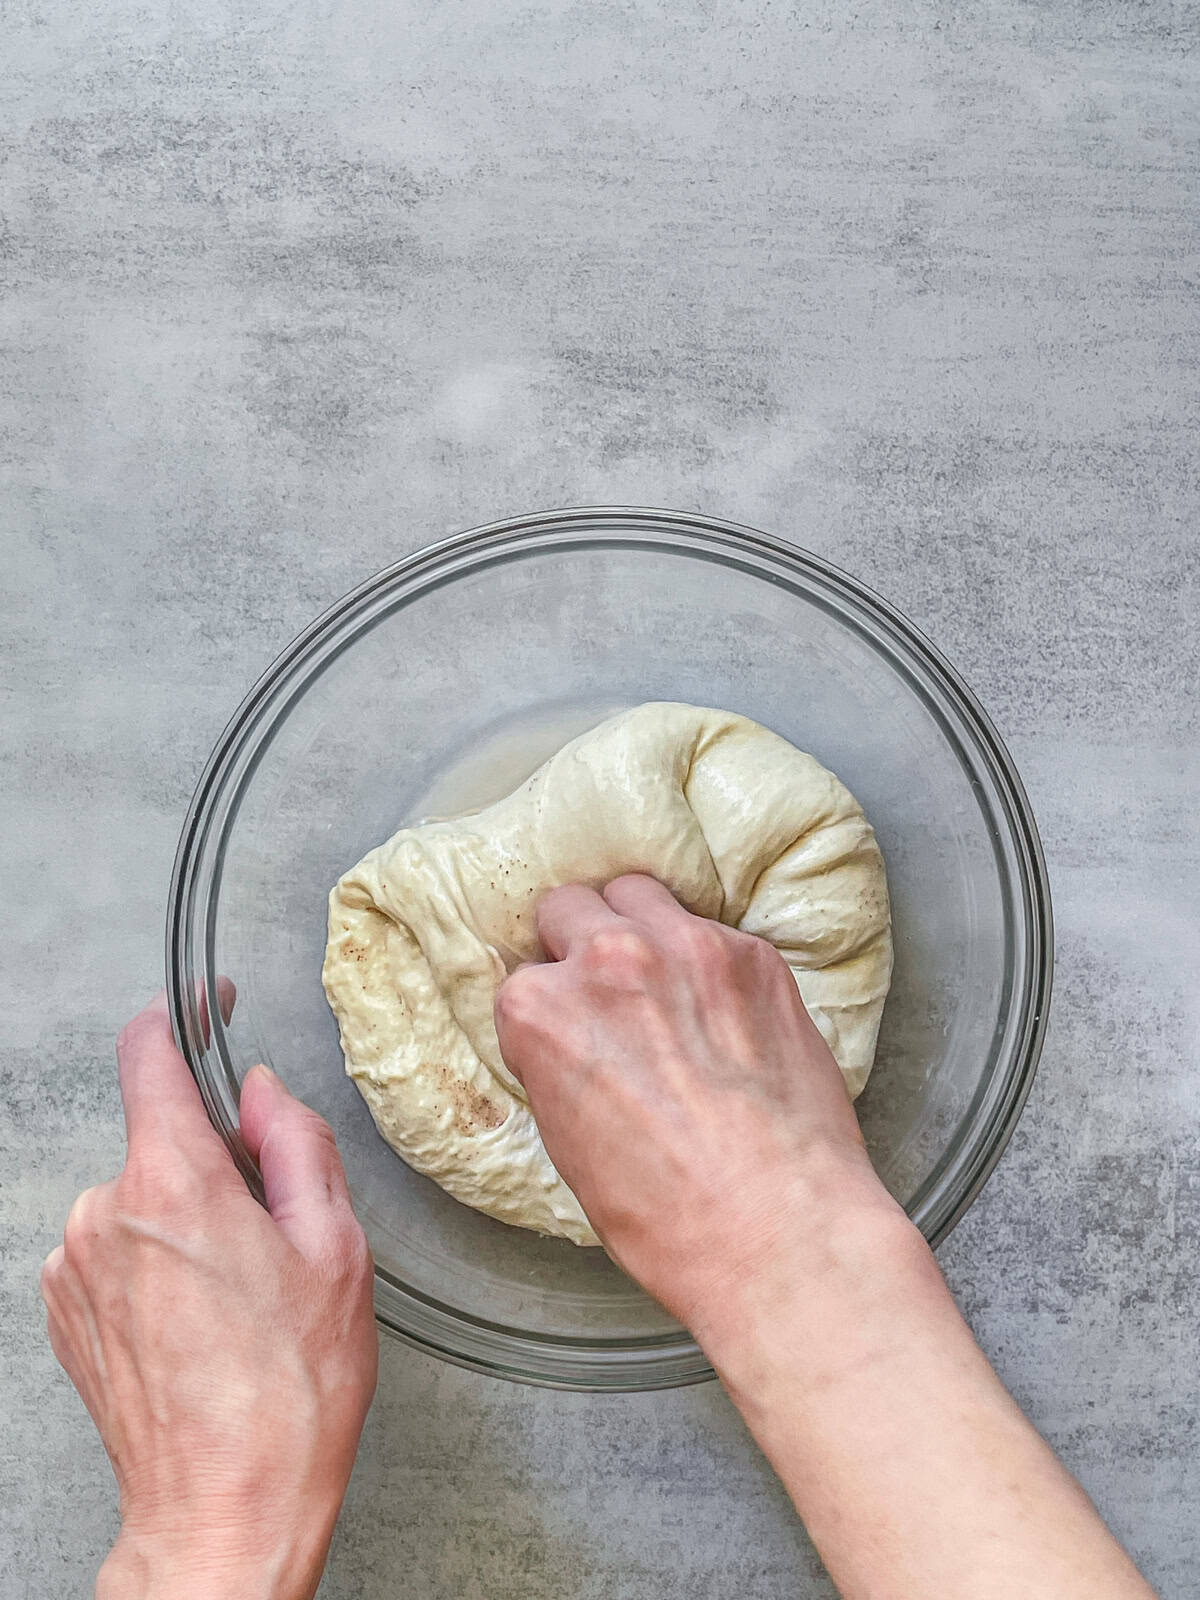
Folding the dough toward the center.
3. Rotate and repeat
Turn the bowl and keep grabbing, lifting, and folding the dough toward the center. Each rotation works the salt and water more evenly through the dough.
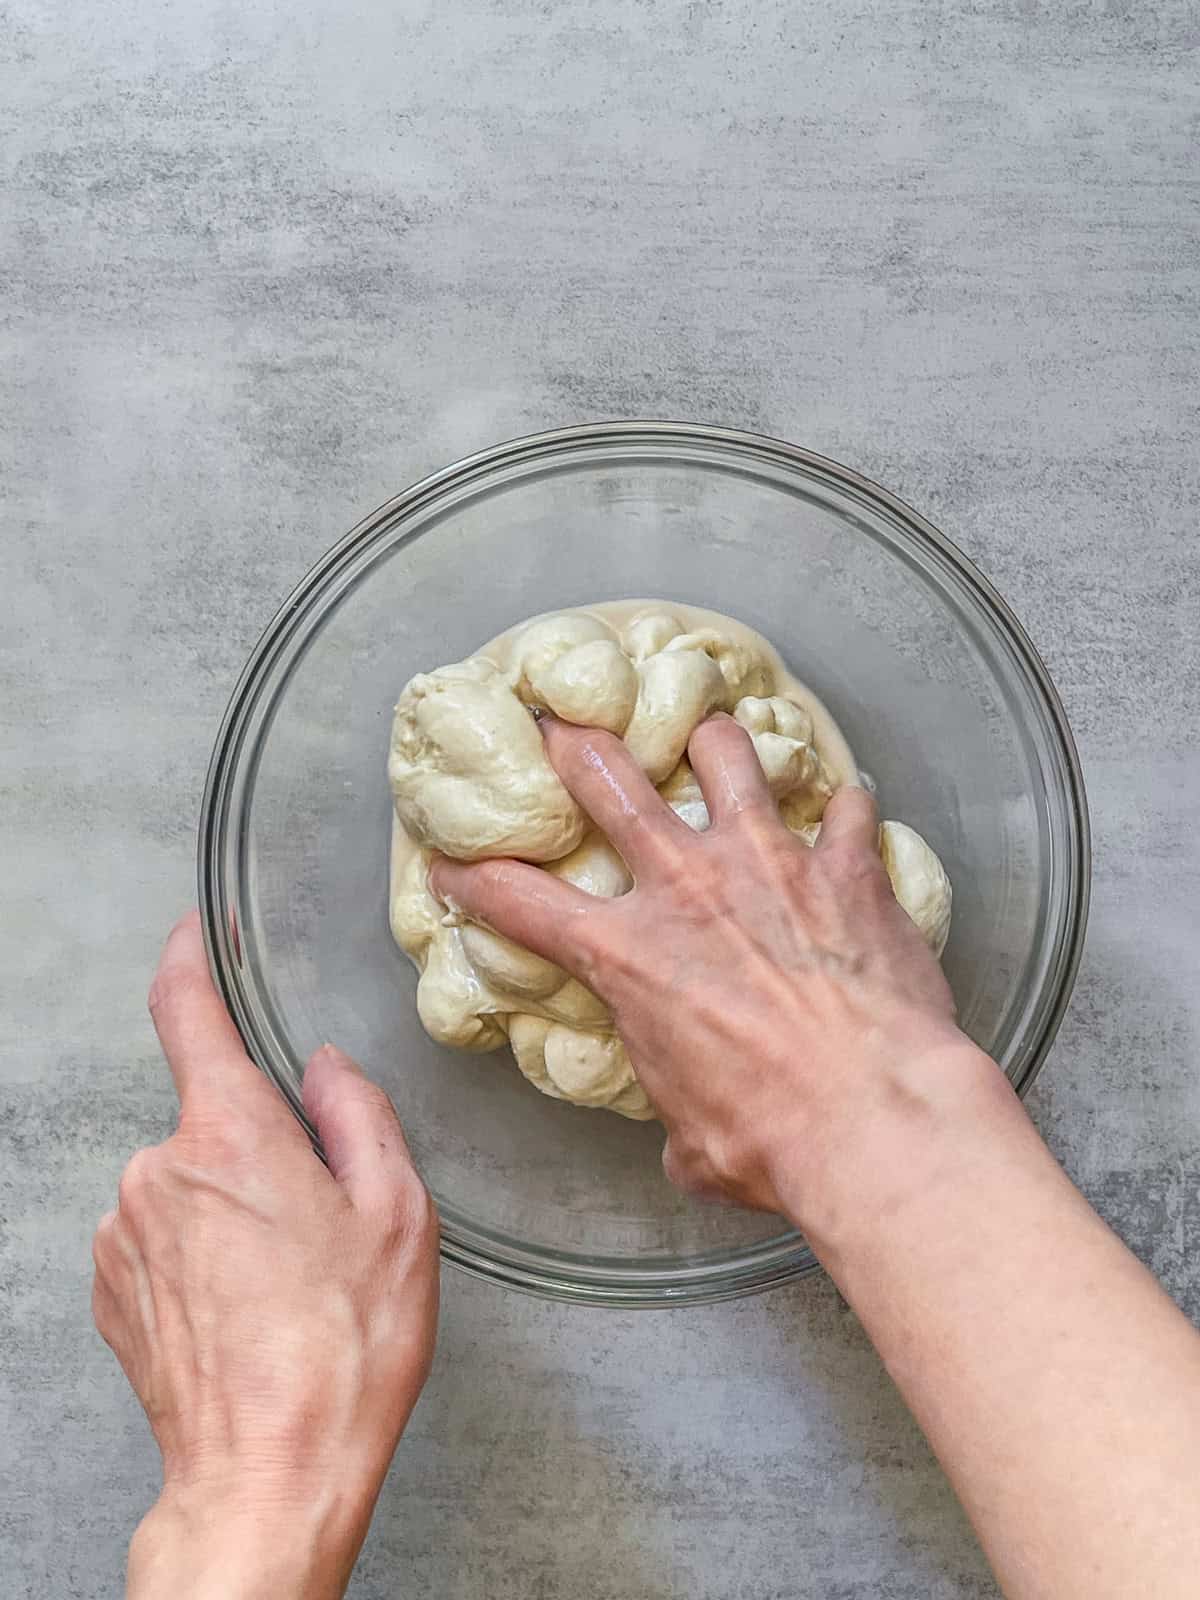
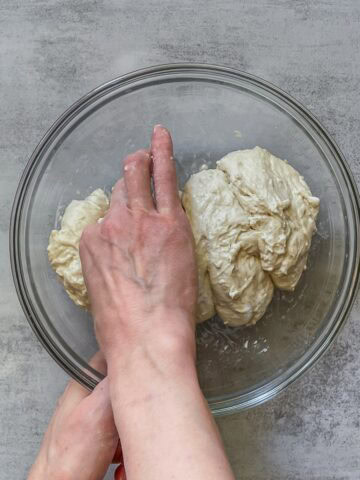
Squeezing the dough with fingers to absorb the water.

Repeating the pinch and fold method.
4. Squeeze to absorb the water
Every so often, squeeze the dough between your fingers to help it fully absorb the water.
Lifting the dough by grasping it with the thumb and four fingers after rotating the bowl.
Folding the dough toward the center after rotating the bowl.
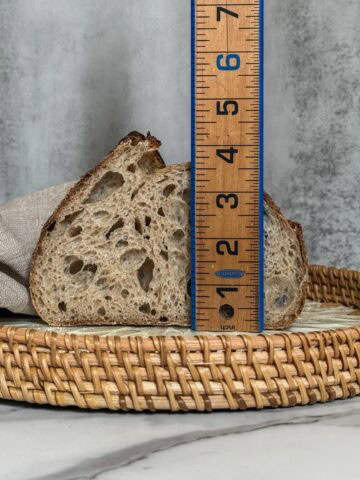
Continue pinching and folding until the salt and water are fully combined and the dough forms a smooth, cohesive ball.
Want to see it in motion? Tom Cucuzza demonstrates the pinch and fold in his YouTube masterclass Tartine Bread: Art & Alchemy, Part 2 (around the 1:10 mark).
Tips for the pinch and fold method
- Use it after a fermentolyse: This is the step that adds salt and the reserved water once the levain is already mixed in.
- Go easy on the water: The method usually doesn't need wet hands, and extra water raises your hydration.
- Squeeze to combine: The occasional squeeze is what helps the dough absorb the added water evenly.
- Follow with strengthening folds: Once the dough is cohesive, move on to your stretch and folds and coil folds during bulk fermentation to build structure.
Pinch and fold FAQs
When do you use the pinch and fold method? Right after a fermentolyse, to mix the salt and reserved water into the dough. Because the levain is already incorporated during fermentolyse, this step focuses on the salt and water.
Is the pinch and fold the same as the pincer method? They're similar but used at different stages. The pincer method pinches through the dough to add levain and salt after an autolyse. The pinch and fold folds the dough toward the center to add salt and water after a fermentolyse.
Is the pinch and fold the same as stretch and fold? No. Pinch and fold is a mixing technique used at the start to incorporate salt and water. Stretch and fold is a strengthening technique done later, during bulk fermentation, to build gluten.
Does the pinch and fold method strengthen the dough? It builds a little strength while mixing, but its main job is even incorporation. A closely related variation, folding in the bowl, uses longer stretches to strengthen dough at 65 to 78% hydration.
Do you need to wet your hands for the pinch and fold method? Usually not. It is one of the few hand-mixing methods that doesn't require wet hands, though you can use a little water if the dough feels too sticky.
Want to keep learning?
The pinch and fold is one of several ways to mix sourdough by hand. See how it fits into the full process in my guide to sourdough mixing techniques, then learn stretch and folds and coil folds to keep building strength.
Comments
No Comments