
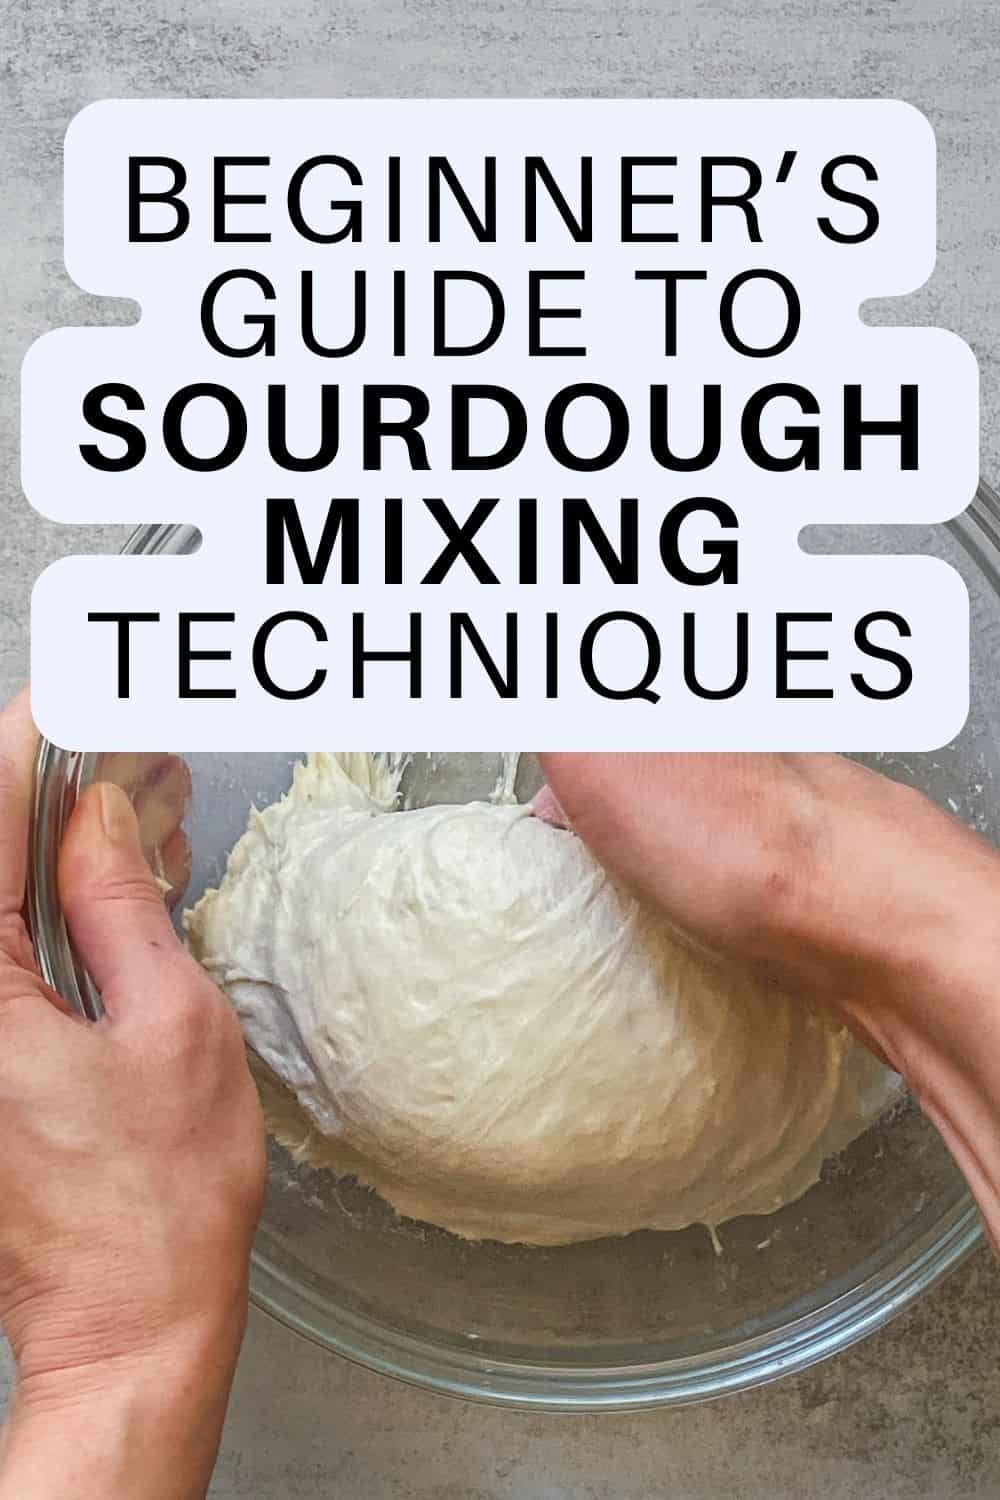
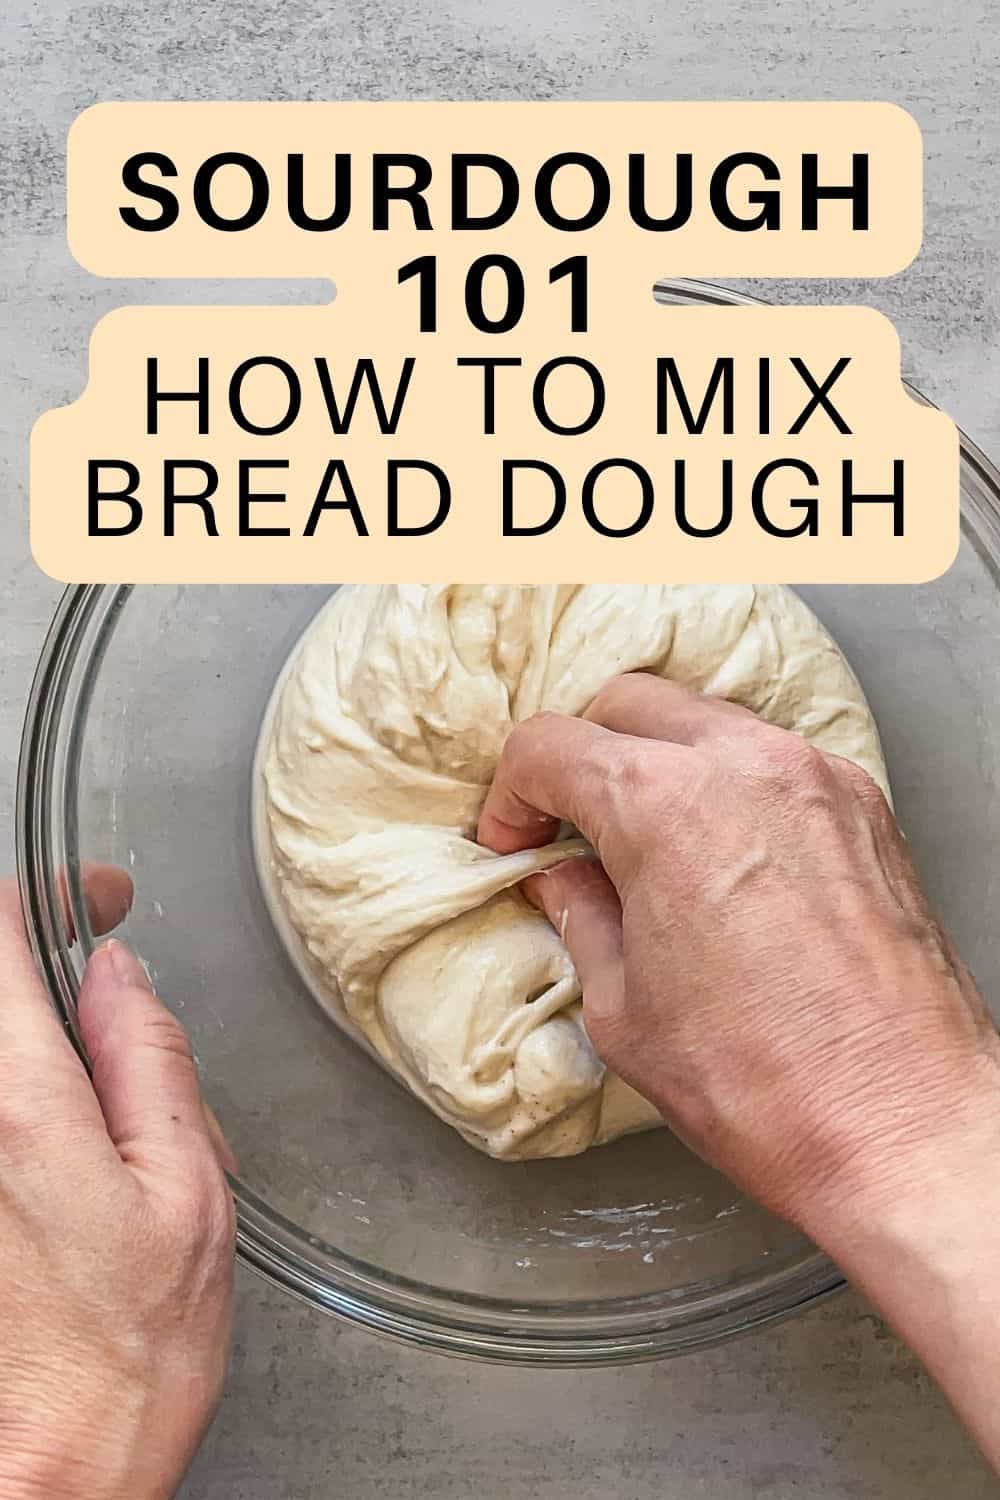
Quick Summary: Sourdough mixing isn't just combining ingredients. It is how you build gluten strength for an open crumb. The main hand-mixing techniques are the pincer method and pinch-and-fold (for incorporating levain, salt, and water), slap-and-fold, the Rubaud method, and folding in the bowl (for strengthening the dough).
Slap-and-fold and Rubaud suit high-hydration dough (78%+), folding in the bowl works for 65 to 78%. Pick the method that suits your dough, and combine them as you like.
A healthy sourdough starter, proper dough mixing, and bulk fermentation are the three most important steps in making the perfect sourdough bread.
Jump to:
- Why does bread mixing matter?
- How to mix the bread dough
- The pincer method
- The pinch and fold method
- Strengthening dough with hand-mixing techniques
- Which mixing method is the best?
- How do you know when the dough is mixed enough?
- Can you mix sourdough with a stand mixer?
- FAQ
- Let's talk sourdough
- Ready to keep learning?
- Comments
Why does bread mixing matter?
Mixing does more than just combine flour, water, starter, and salt. It begins building the gluten network that gives your bread its structure.
Flour contains two proteins, glutenin and gliadin. When they meet water and are agitated, they link together into gluten: an elastic, stretchy web that traps the gas your starter produces, letting the dough rise and hold its shape.
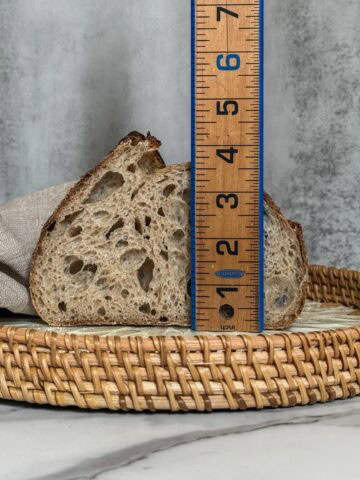
Good mixing evenly hydrates the flour and starts organizing that gluten network, so the dough can trap air, rise well, and bake into an open, airy crumb.
Undermixing results in a weak dough that struggles to hold its shape. So the goal at this stage is a smooth, cohesive dough with the gluten well-developed.
Depending on your mixing techniques, you may not finish all the gluten development during mixing. The stretch and folds and coil folds throughout bulk fermentation gradually strengthen it the rest of the way.
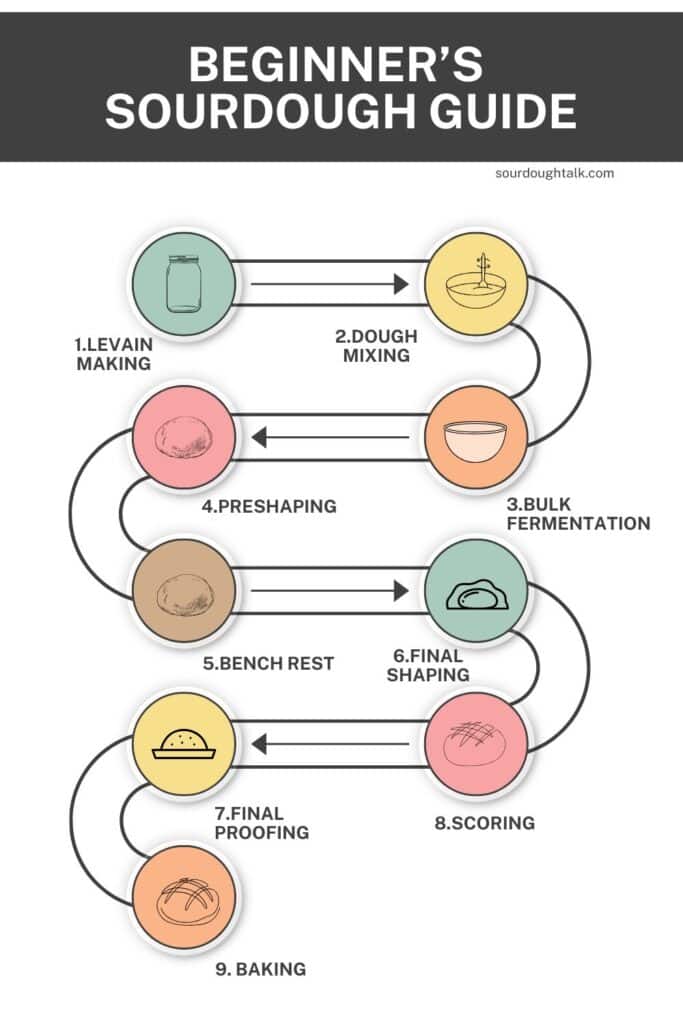
Your Beginner's Guide to Sourdough
This post is part of a series that walks you through every step, from feeding your starter to pulling the loaf from the oven.
How to mix the bread dough
The first thing you need to do is weigh the recipe ingredients accurately. I highly recommend using a kitchen scale for this step.
If you make no-knead sourdough bread, you don't need to strengthen the dough while mixing. The gluten will develop slowly during bulk fermentation using folding techniques.
However, if you want an open, airy crumb or are working with a highly hydrated dough, you will want to strengthen it during mixing.
The mixing process is quite different, depending on whether you use autolyse or fermentolyse.
For autolyse,
- Mix the flour and 95% water with a Danish dough whisk or your hand until the dough is shaggy. Cover the bowl and let the dough rest for 30 minutes to 12 hours. With autolyse over 3 hours, place the dough in the fridge.
- Add the levain (active starter) at peak and salt, and mix it with the pincer method (see below).
- Strengthen the dough with one of the mixing techniques (see below) and let it rest for 30 minutes.
- Proceed with the set of stretch and folds and coil folds.
For fermentolyse,
- Mix the levain (active starter) at peak with 95% of the water using a Danish dough whisk until the starter dissolves. Add the flour and mix by hand until a shaggy dough forms.
- Strengthen the dough using one of these mixing techniques: slap and fold or the Rubaud method for high-hydration dough (78-80%+), or folding in the bowl for dough with 65-78% hydration (see below). Then let the dough rest for 30 minutes.
- Add the salt and the remaining water (5%), and mix by hand using the pinch-and-fold method (see below). Let the dough rest for 30 minutes.
- Proceed with sets of stretch and folds and coil folds.
When mixing dough with wet hands, use only a little water, especially as a beginner, since it increases hydration.
The pincer method
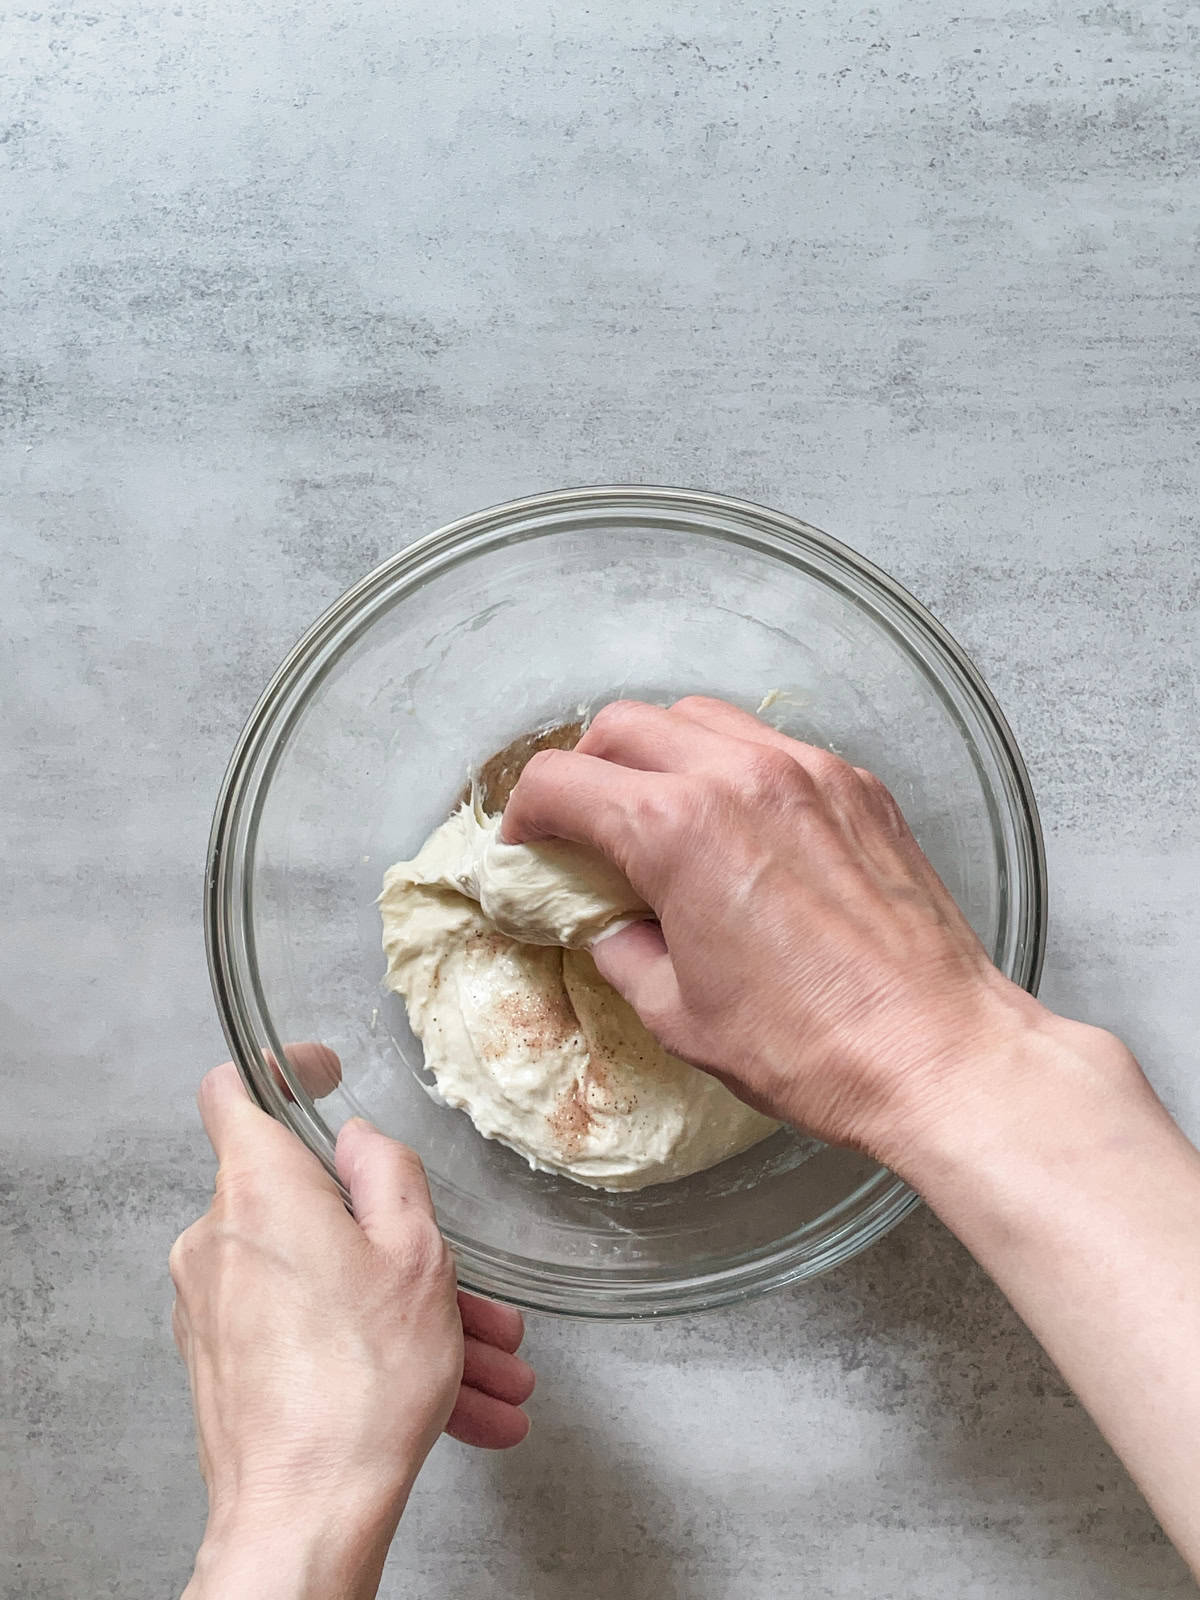
The pincer method uses your thumb and forefinger to pinch through the dough and fold it, evenly incorporating levain and salt after an autolyse. It is gentle and works well on wet dough. See my full guide to the pincer method for step-by-step photos.
The pinch and fold method
The pinch and fold method works salt and water into the dough after a fermentolyse: grab the dough with your thumb and fingers, fold it toward the center, and rotate the bowl until it forms a cohesive ball. See my full guide to the pinch and fold method for step-by-step photos.
Strengthening dough with hand-mixing techniques
The key to proper bread dough mixing is to follow a simple pattern: mix the dough, let it rest, observe, and then repeat.
After adding the levain (active starter), with or without salt, choose a strengthening mixing method from the options below.
Slap and fold method
The slap and fold, also known as a French Fold, is an effective method for mixing sourdough, especially highly hydrated dough. Richard Bertinet popularized this technique, which helps build gluten strength, aerate the dough, and encourage optimal fermentation.
To use the slap-and-fold technique, remove the dough from the bowl and place it on a clean work surface (no dusting or wetting the surface is needed). Wet your hands to prevent sticking, but use only a small amount of water if required.
Next, use a pinch grip to grab the sides of the dough with both hands (or with your index and middle fingers of each hand when making a small loaf), lift it, and slap it down onto the counter. Stretch it toward you, then fold it over itself.
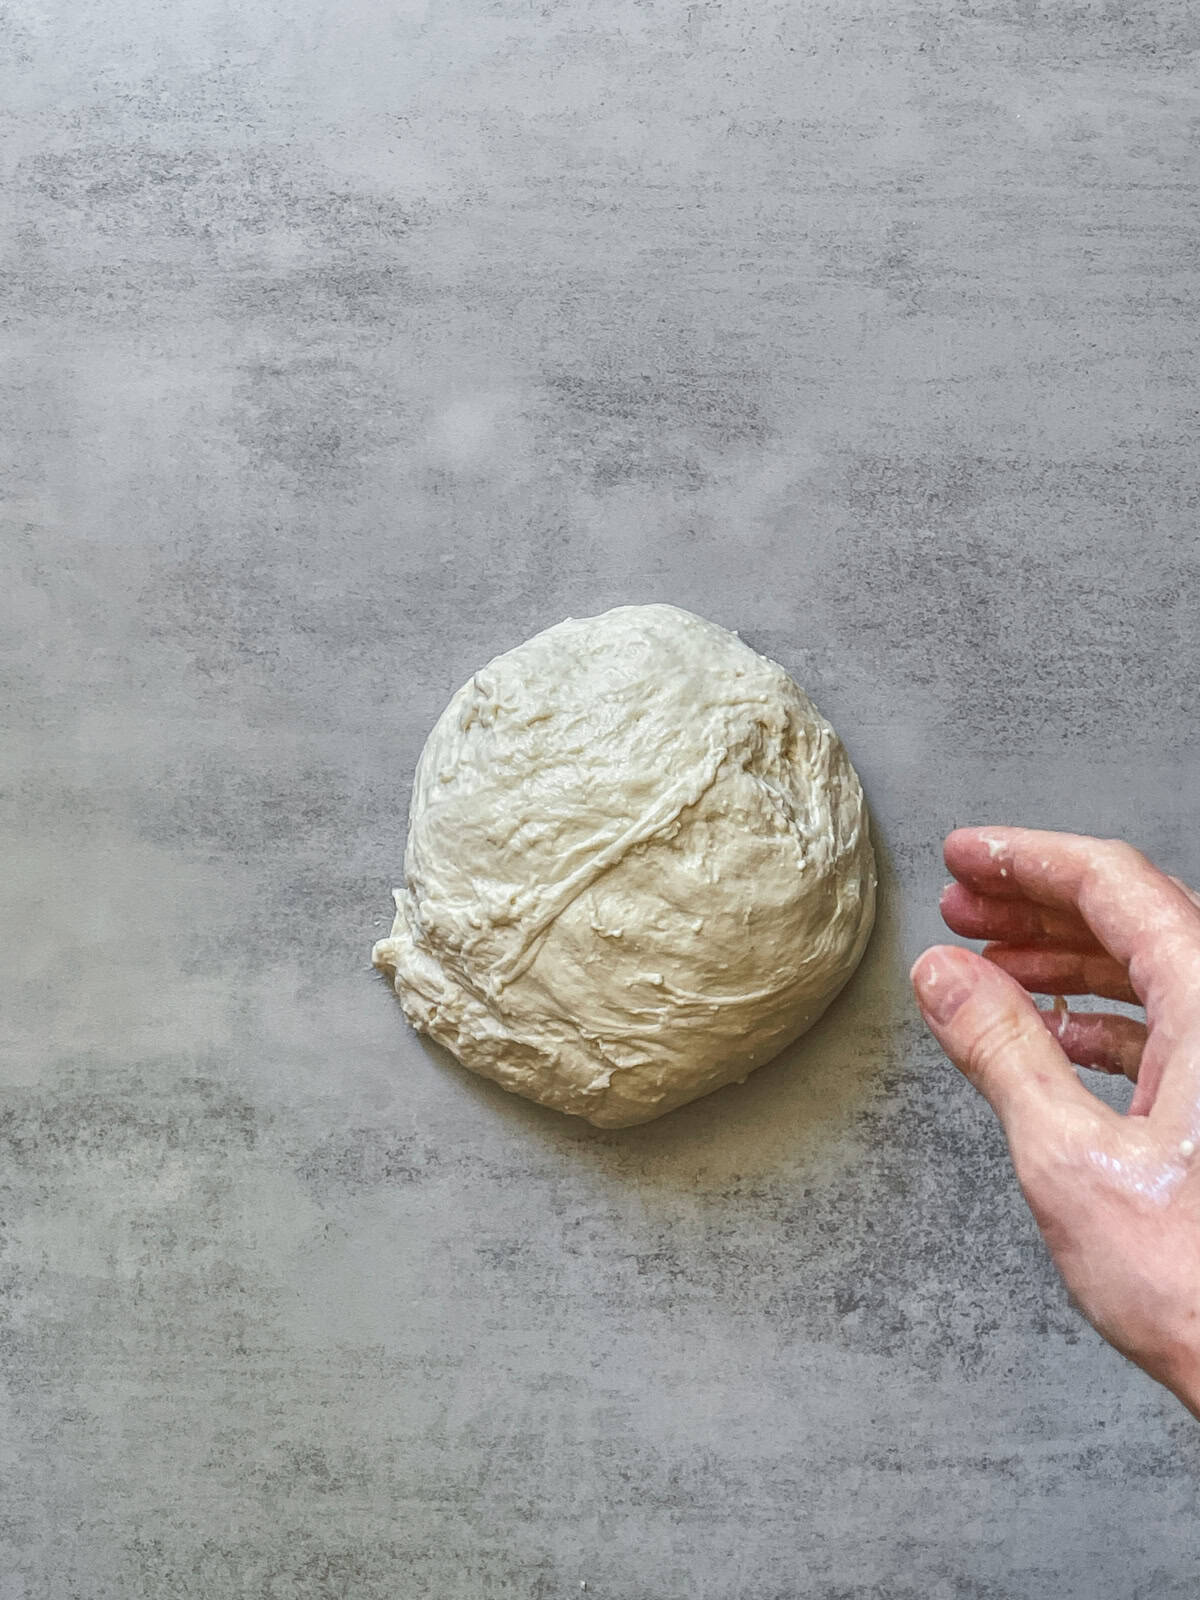
Release the mixed dough from the bowl onto the table.

Stretch the dough toward yourself after slapping it onto the table.
Then, rotate the dough 90 degrees and repeat this process until the dough becomes smooth and elastic.
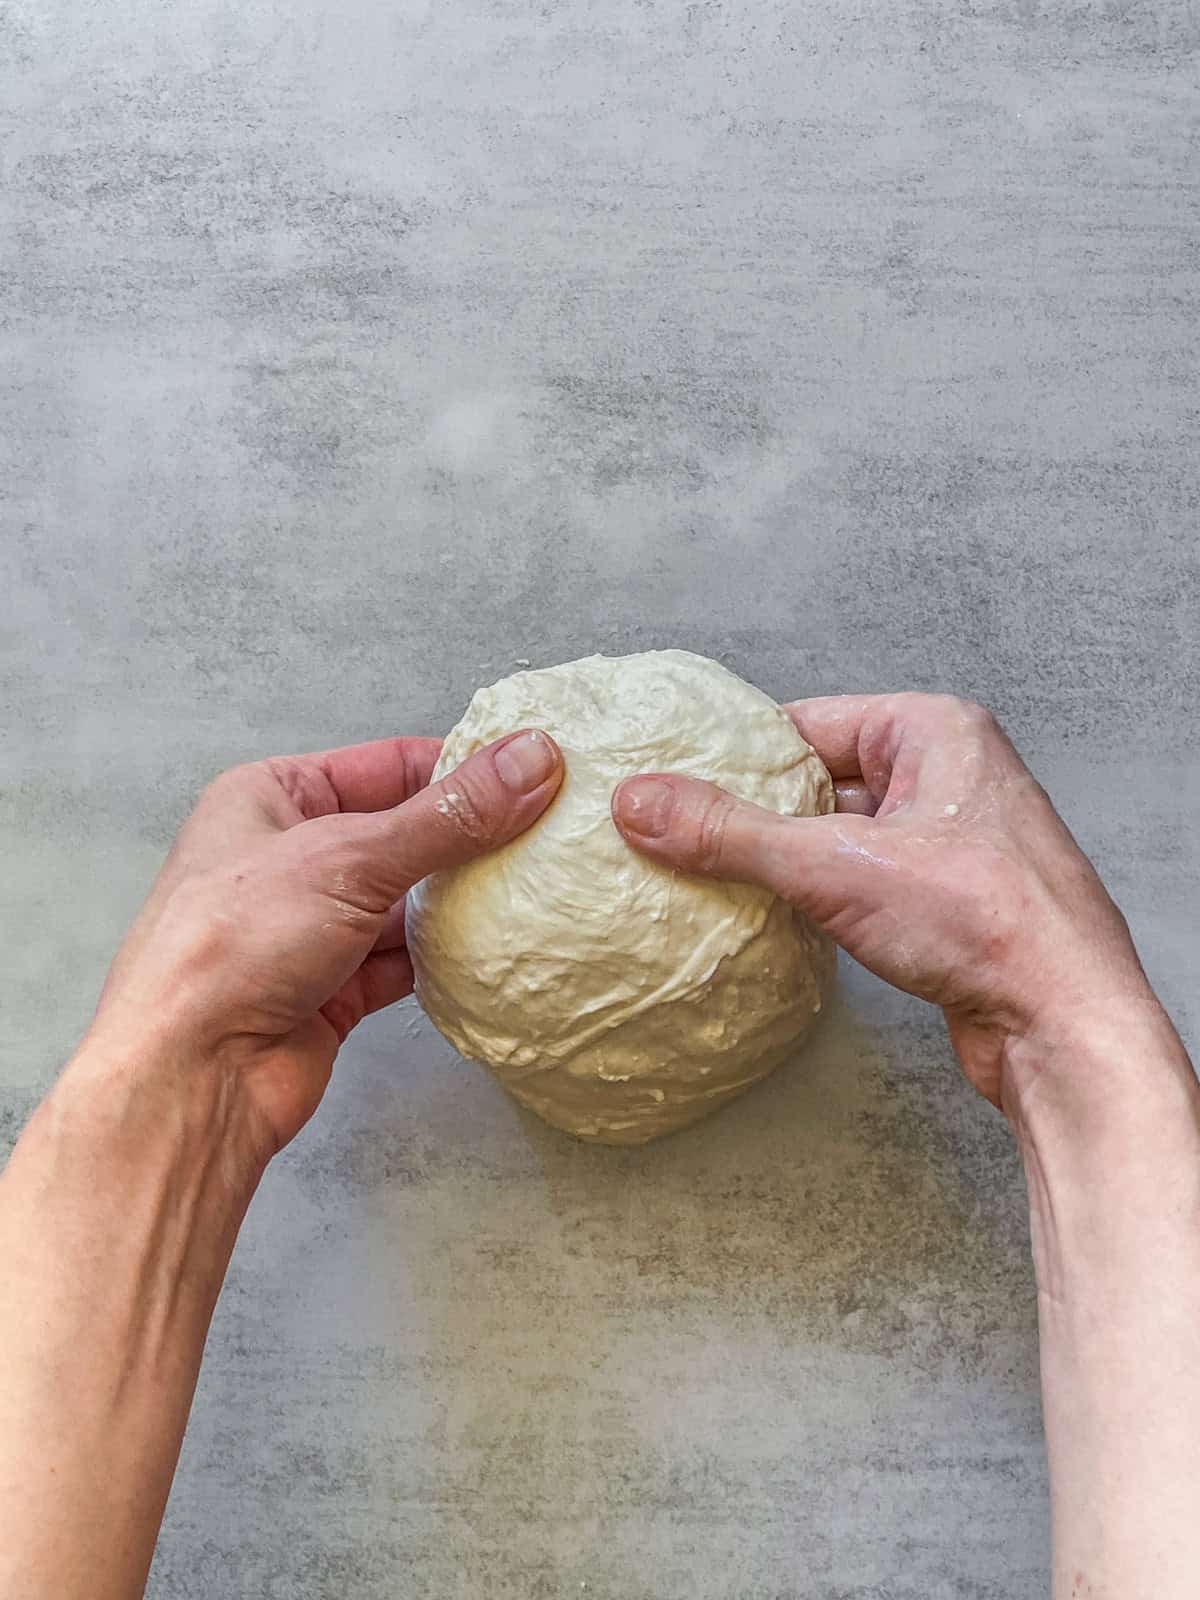
Fold the dough over itself.
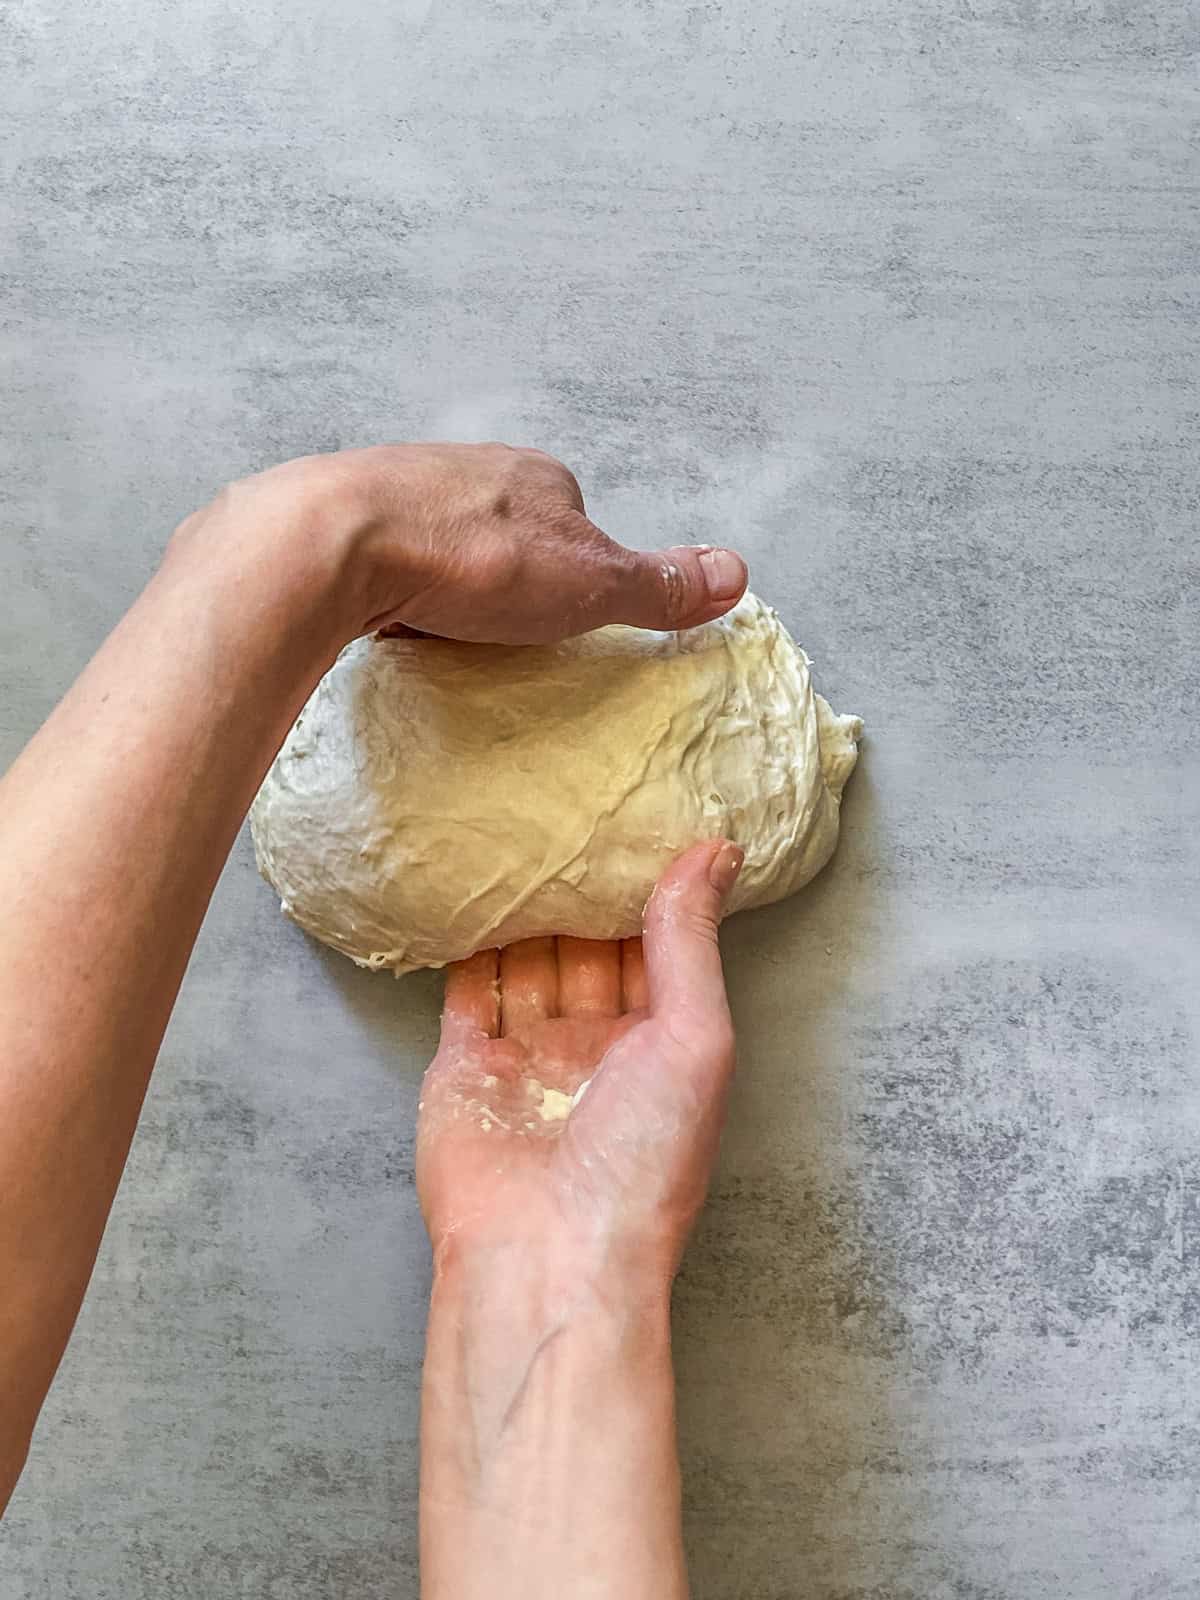
Rotate the dough 90 degrees to repeat the process.
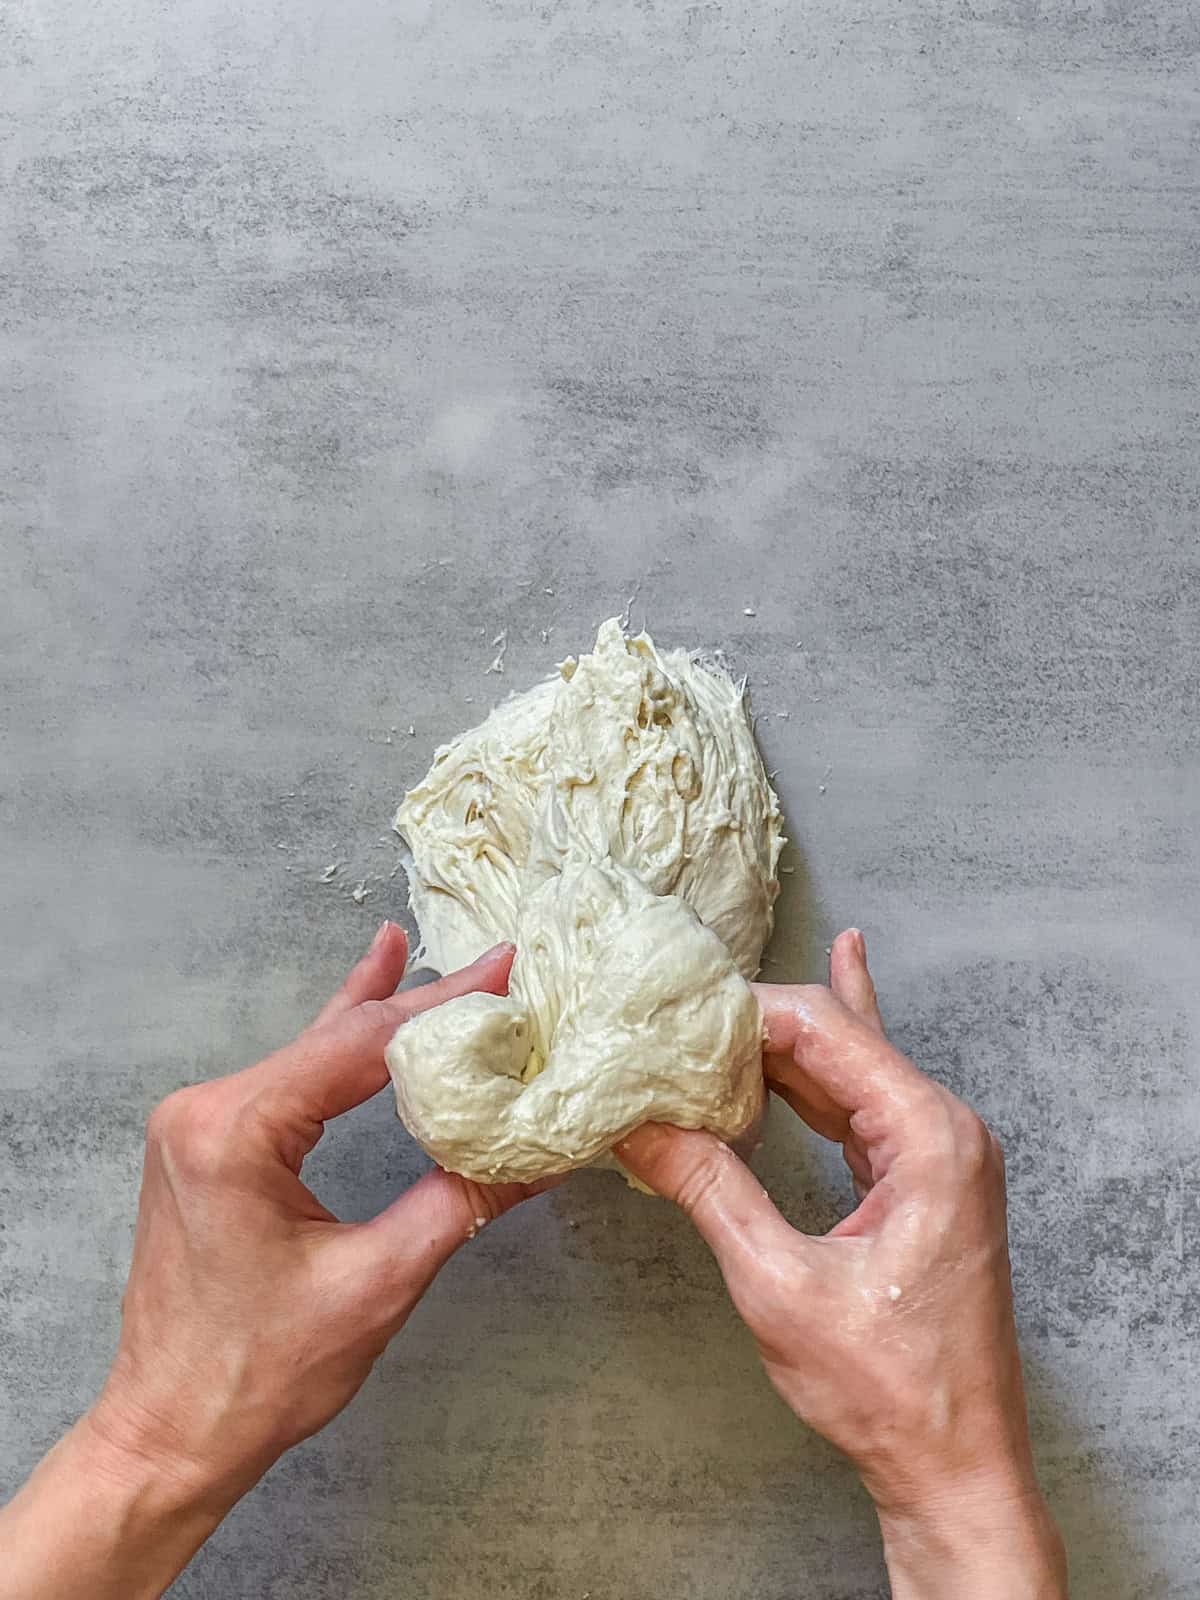
Pull the dough toward yourself after slapping it onto the table.
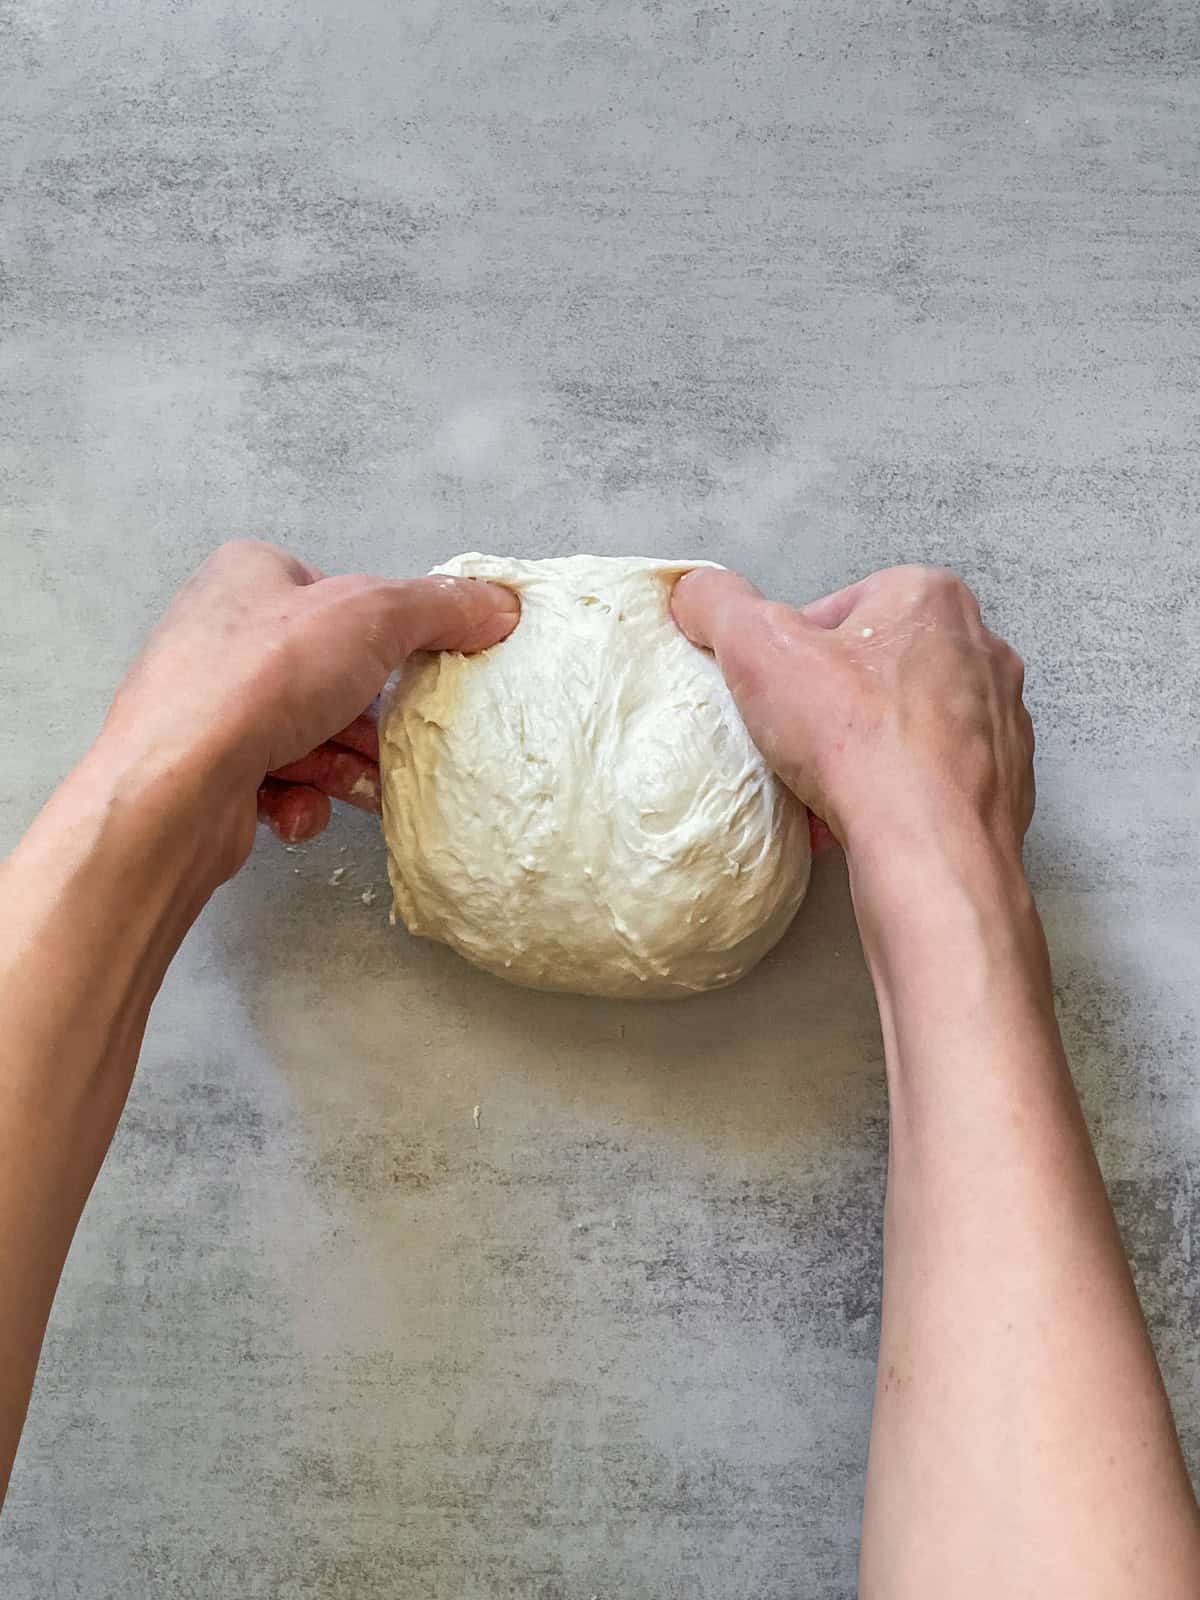
Fold the dough onto itself.
Repeat the technique until the dough is well mixed. This usually takes 3 to 7 minutes, depending on the type of flour and sourdough hydration.
Mix in sets: start by mixing for 2-3 minutes, then let the dough rest for 3-5 minutes before continuing. Repeat this process three times.
Folding in the bowl
If the bread dough has a hydration level of 65% to 78%, folding it in the bowl is an excellent way to strengthen it.
Wet your hands, lift a portion of the dough, gently stretch it to the side, then fold it over itself. Rotate the bowl 90 degrees and repeat. This method is similar to the pinch-and-fold technique, but with more extended stretches to the sides.
This mixing usually takes 2 to 8 minutes, depending on the dough hydration and the type of flour used in the recipe. High-protein flour requires less time, while high-hydration dough takes longer.
The Rubaud method
The Rubaud method, named after Gérard Rubaud, uses a gentle scooping and lifting motion to build strength in dough that's too wet for the slap and fold. It is ideal for very high-hydration dough. See my full guide to the Rubaud method for step-by-step photos and a demonstration.
Which mixing method is the best?
It depends on the type of dough you are working with. The best method is the one that works best for your dough and gives you the results you want. Mix and match techniques to suit your baking style, as many methods can achieve similar results.
Each mixing technique offers a different way to develop dough, from the vigorous slap and fold to folding in the bowl and the gentle Rubaud method.
The slap and fold and Rubaud methods are ideal for high-hydration dough (78-80% or more). Folding in the bowl is perfect for the dough with 65-78% hydration.
Start with a basic sourdough bread recipe. Make one change at a time and write down your process with photos, measurements, and notes. Pay attention to how the dough looks and feels, and use your notes to refine your technique.
If you are a novice in sourdough baking, stick with one simple bread recipe and practice it until you master it (see my guide to choosing the beginner sourdough bread recipe).
Start with a dough with 65-70% hydration, which is easier to handle and perfect for beginners. When you are ready, try my Beginner's Sourdough Bread recipe for a hands-on guide.
Mixing is just one step in the sourdough process. Want to see how it all fits together?
How do you know when the dough is mixed enough?
This is the question almost every baker asks, but your dough is the one that tells you when it is ready. When the dough is properly mixed, you will notice a few clear signs:
- It looks smoother and more cohesive. The rough, shaggy, lumpy dough from the start comes together into one uniform mass, with no dry, floury patches or wet, sloppy spots.
- It holds together and pulls off the surface or your hands more cleanly. Early on, the dough is sticky and clings everywhere. As gluten develops, it becomes more elastic and easier to handle.
- It has some resistance and stretch. Gently pull a section: well-mixed dough stretches before it tears, rather than ripping apart immediately.
- It starts to pass the windowpane test. Stretch a small piece thin. If it forms a translucent "window" without tearing, the gluten is well developed.
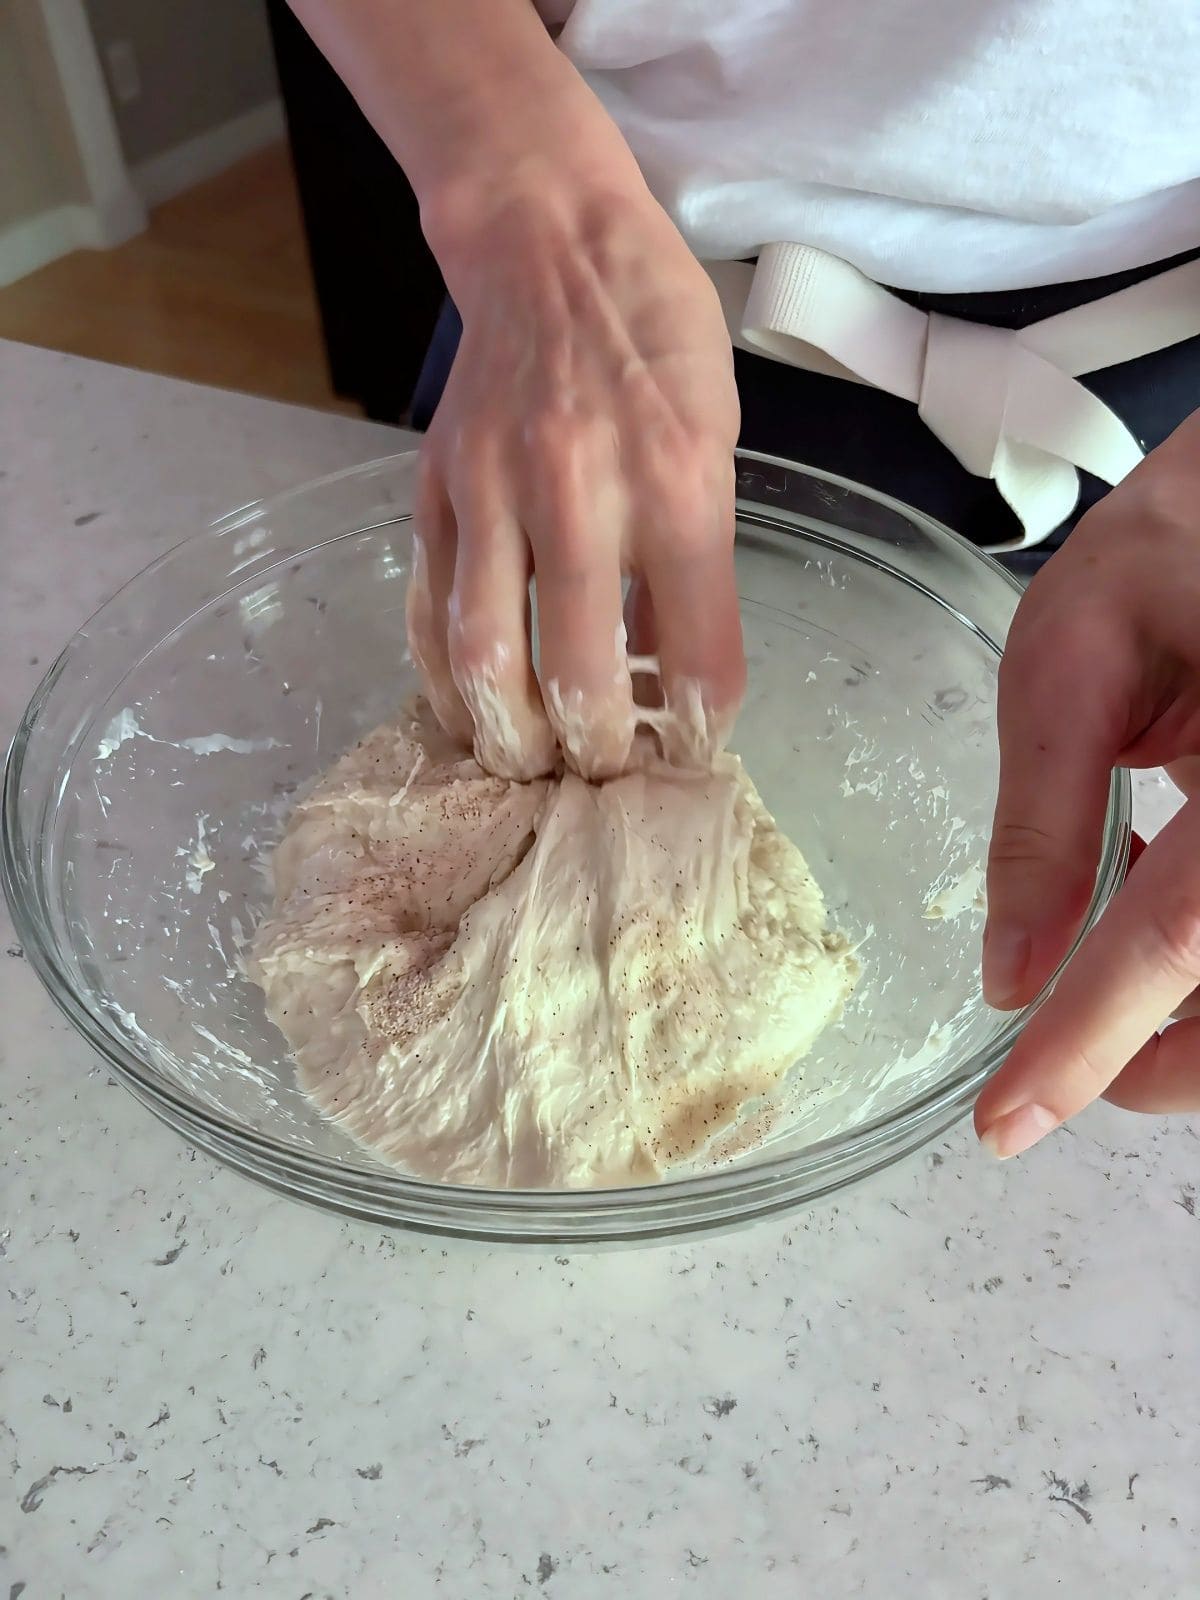
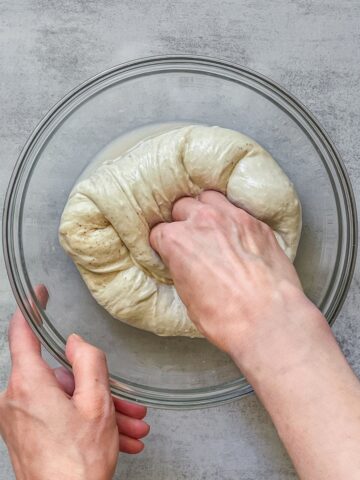
Sourdough dough at the start of hand mixing.
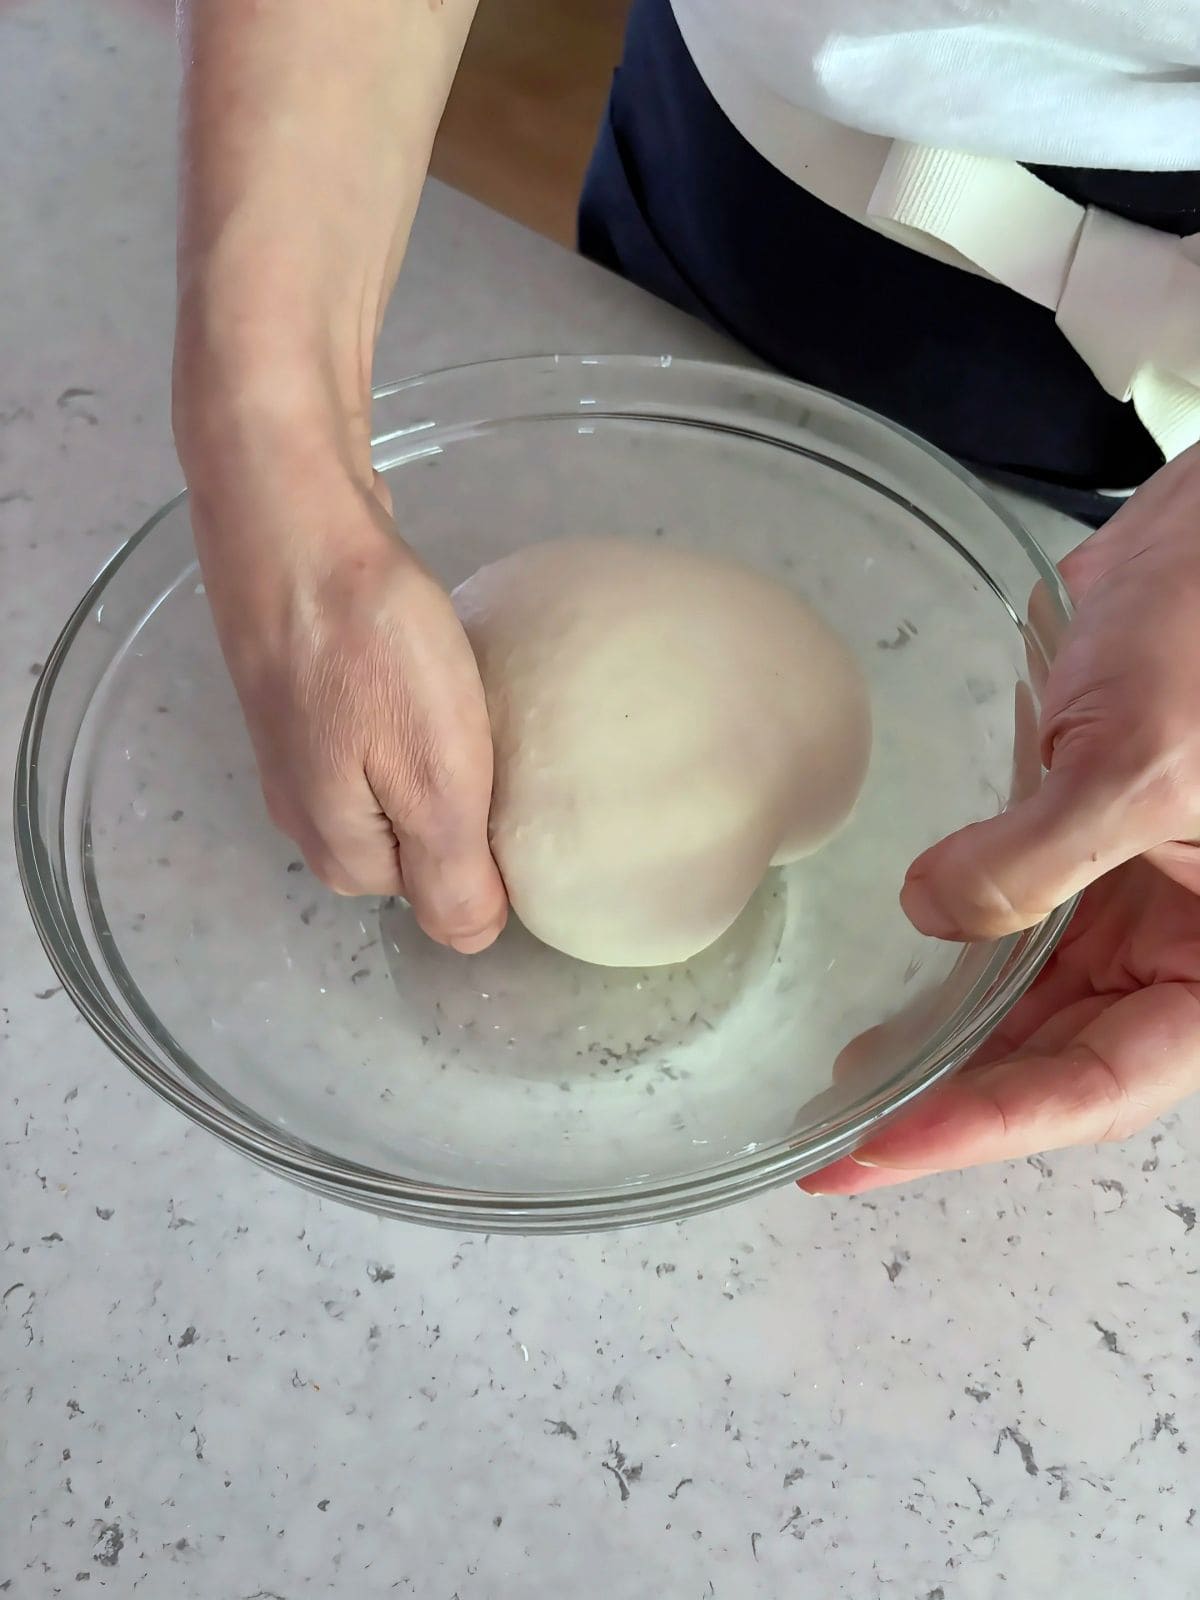
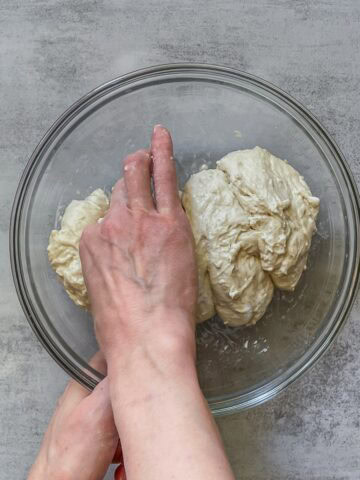
Sourdough dough at the end of hand mixing (after the Rubaud method).
Can you mix sourdough with a stand mixer?
Yes. A stand mixer fitted with a dough hook can handle the mixing for you, which is especially helpful for higher-hydration doughs or if you prefer not to mix by hand. The goal is early gluten development, so mix until the dough reaches a full or nearly full windowpane. From there, the dough will continue to strengthen during bulk fermentation through coil folds.
Because there is more to it, choosing speed, timing, and knowing when to stop, I have covered the full process in a separate guide: how to mix sourdough with a stand mixer.
FAQ
What is the "bassinage" method? The bassinage method involves reserving some water and gradually adding it during mixing to improve dough development.
Can I add enrichments like oil, butter, sugar, or eggs during mixing? Yes, but add them after the dough is strengthened. Ingredients like oil and butter can slow gluten development, so make sure the dough passes the windowpane test first.
Does dough hydration affect mixing? Yes, higher-hydration doughs require more mixing. Techniques like slap and fold or the Rubaud method are great for these doughs.
Can I overmix dough by hand? No, hand-mixing won't overmix the dough, but a mixer at high speed can.
Can I mix sourdough with a mixer? Yes, you can use a stand mixer like a KitchenAid or a spiral mixer, but keep the speed low to avoid overmixing. See my full guide on mixing sourdough with a stand mixer for the details.
Let's talk sourdough
What is your favorite dough mixing technique? Share your method for mixing sourdough dough in the comments.
Ready to keep learning?
After mixing, it is time to strengthen your dough. Learn stretch and folds and coil folds, that help build a strong gluten structure.