
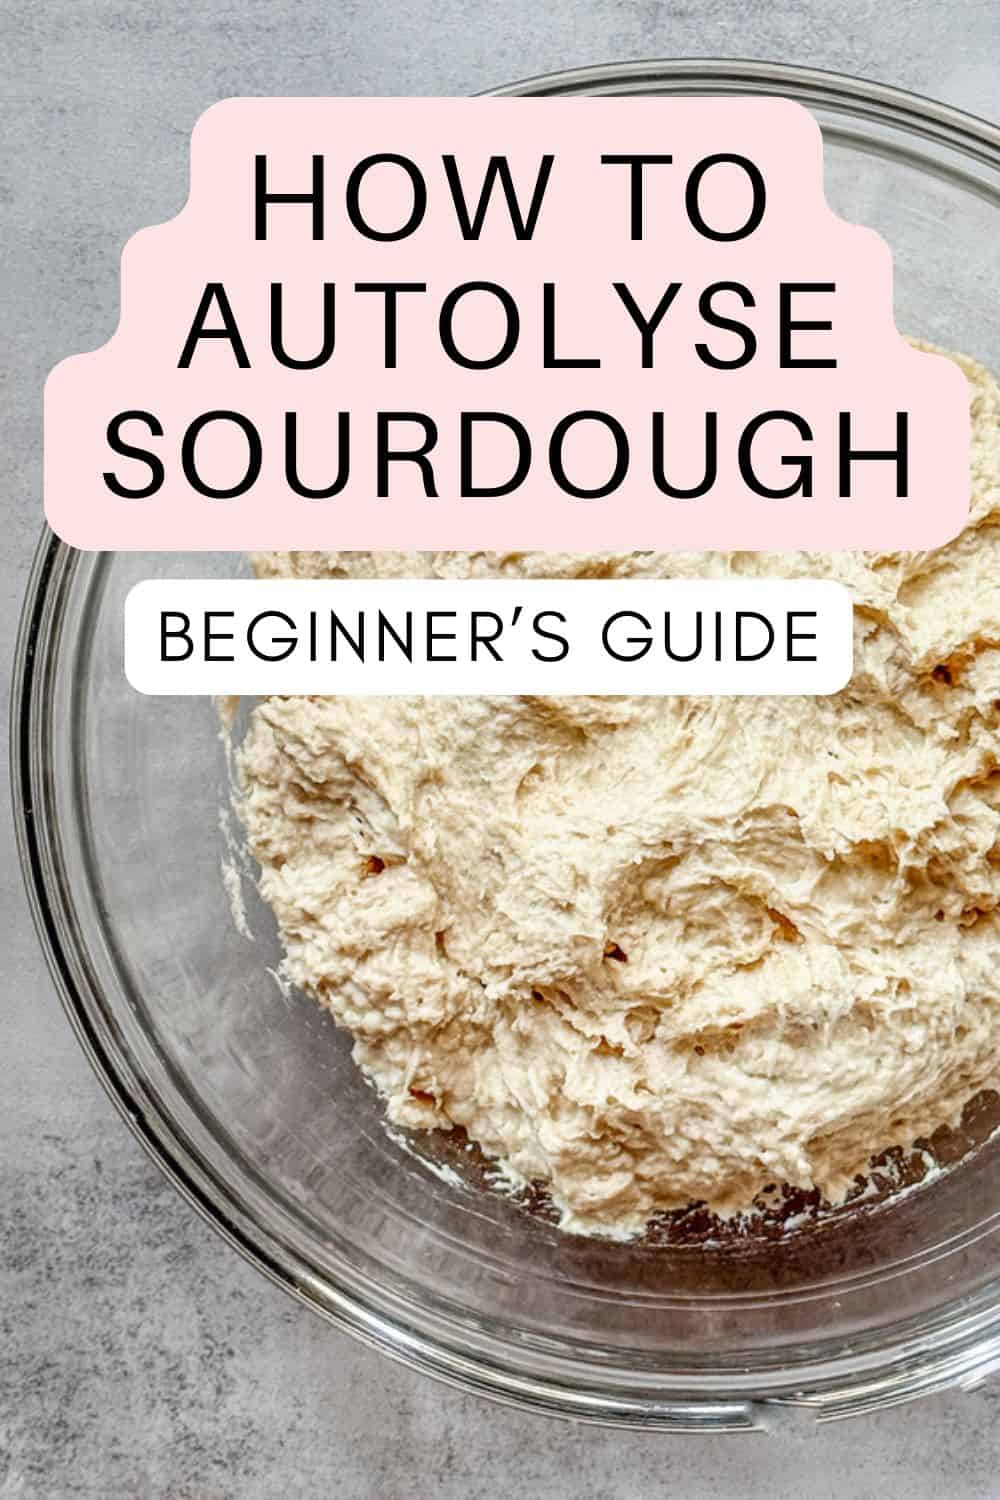
Learning how to autolyze sourdough might seem like a minor and unnecessary step, but this simple technique greatly improves the quality of your sourdough bread. Let me show you how this works and explain why it's worth trying.
What is autolyse?
Autolyse (pronounced "aw-toh-leez") is a bread-making technique developed by French professor Raymond Calvel in 1974. The word "autolyse" means "self-hydrating," which gives a clue about what happens during this process.
The method is straightforward: mix flour and water, then let the dough rest before adding anything else, such as sourdough starter and salt. This rest time helps the flour absorb water more effectively, improves gluten development, and creates a pliable dough that is easier to work with.
However, do not confuse it with fermentolyse, where the levain (an active starter) is added to the flour and water from the start (see my guide on autolyse vs fermetolyse).
Autolyse is not part of bulk fermentation either. It only involves mixing flour and water, whereas bulk fermentation begins after adding the sourdough starter.
How to autolyse sourdough
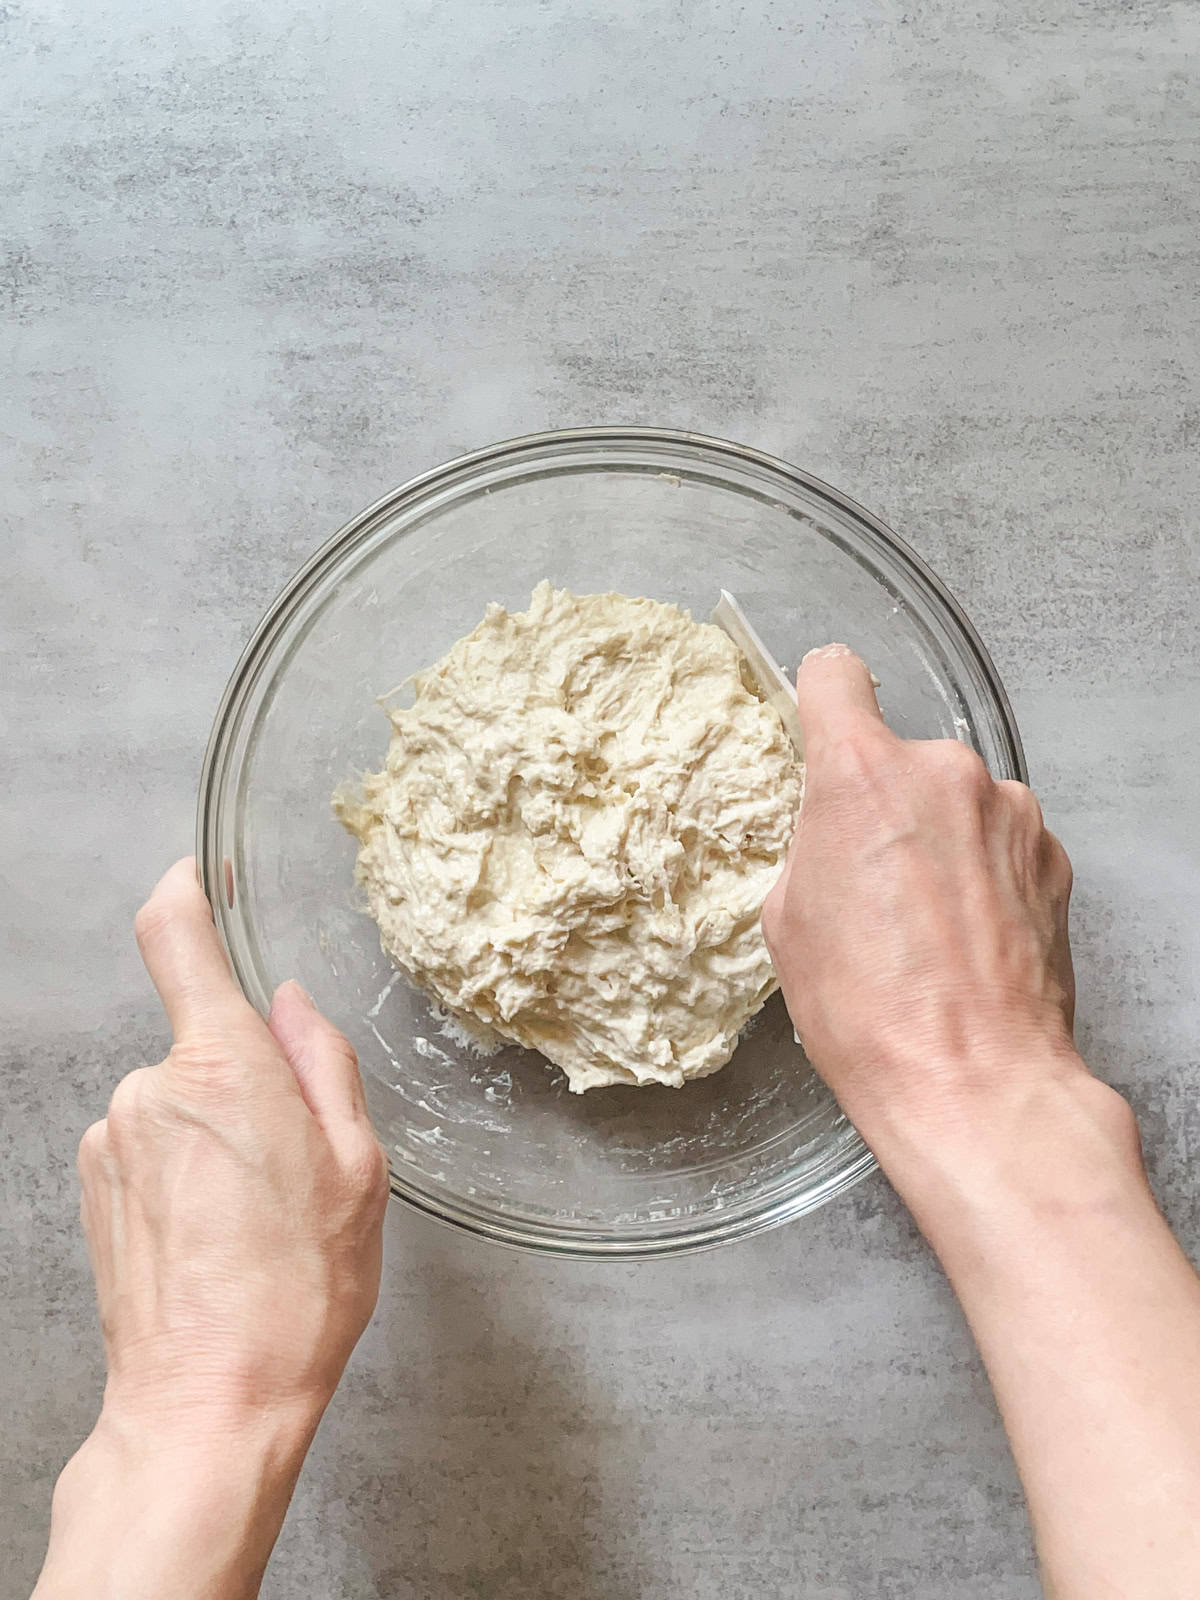
To autolyse, mix flour and water until all the dry bits are moistened. Cover the bowl with a cloth and let it sit for a while. Then, add levain, salt, and some water, and continue mixing the bread dough.
How long should you autolyse bread dough?
For a quick autolyse, 30 minutes to an hour is enough. If you have more time, you can let it rest longer.
- For white bread flour, aim for 30 minutes to 3 hours.
- For whole wheat flour, go for 1 to 4 hours or more.
If your autolyse will last less than 3 hours, leave the dough on the counter. If it will take longer or go overnight, bring it to the fridge to keep it cool.
What is overnight autolyse?
While some bakers skip the autolyze, others push it overnight, like Trevor Wilson (@trevorjaywilson) and Sergey Sulla (@sergey__sulla).
An overnight autolyse, which can last up to 12 hours, makes the dough even more extensible (stretchier) and easier to handle.
To do this, keep the dough refrigerated. However, this method might slow down the fermentation process later, so it does not necessarily save time overall.
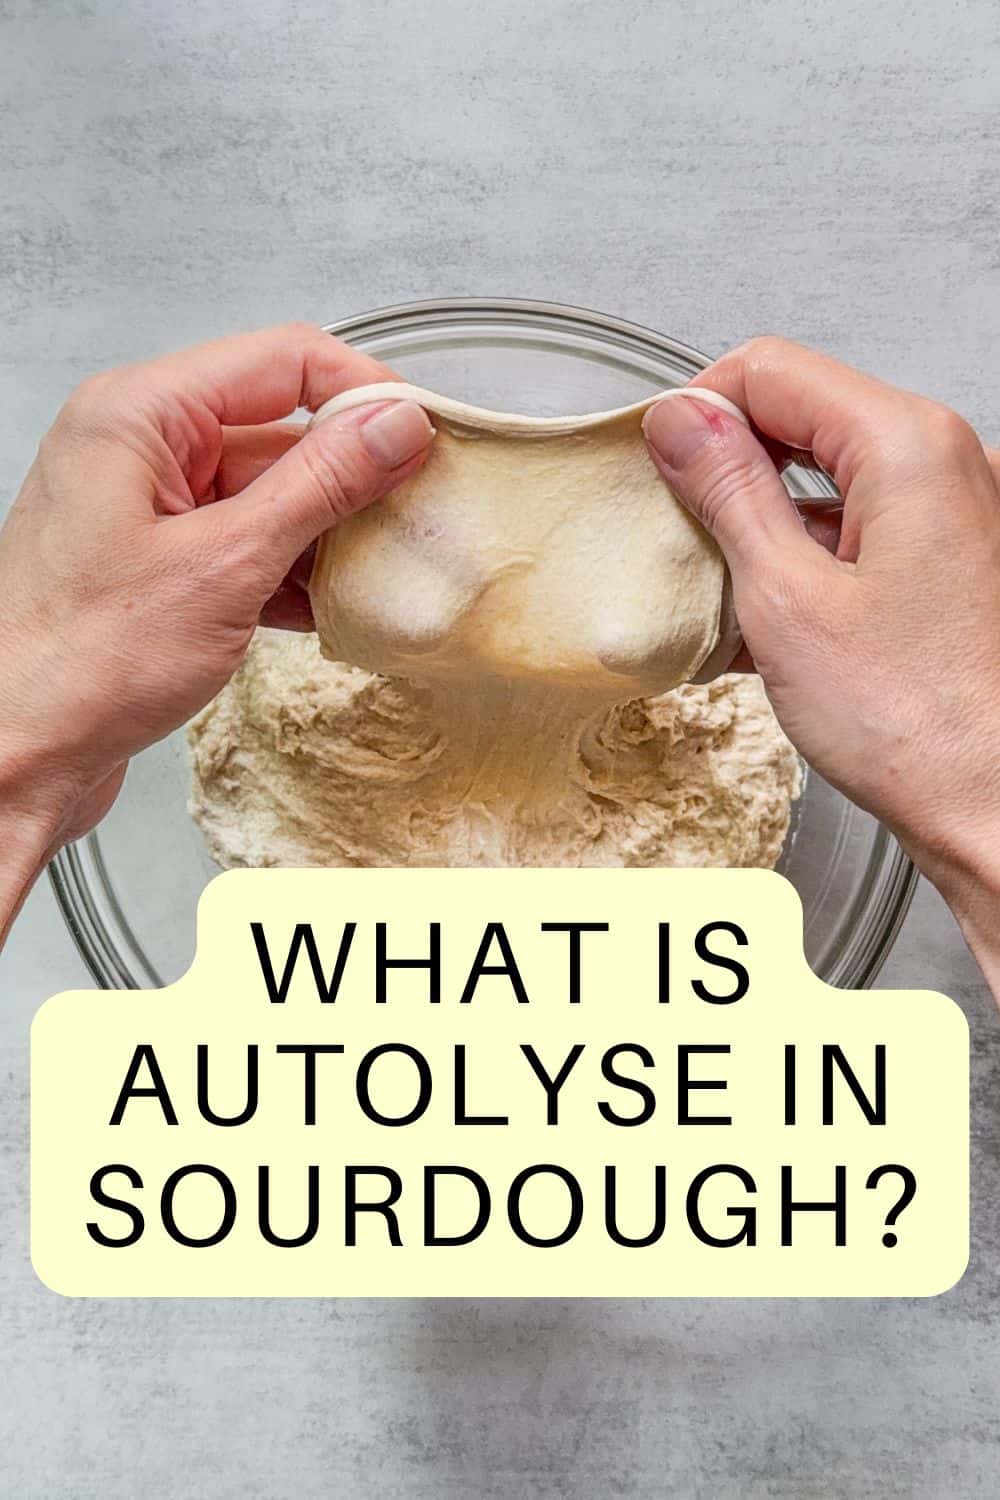
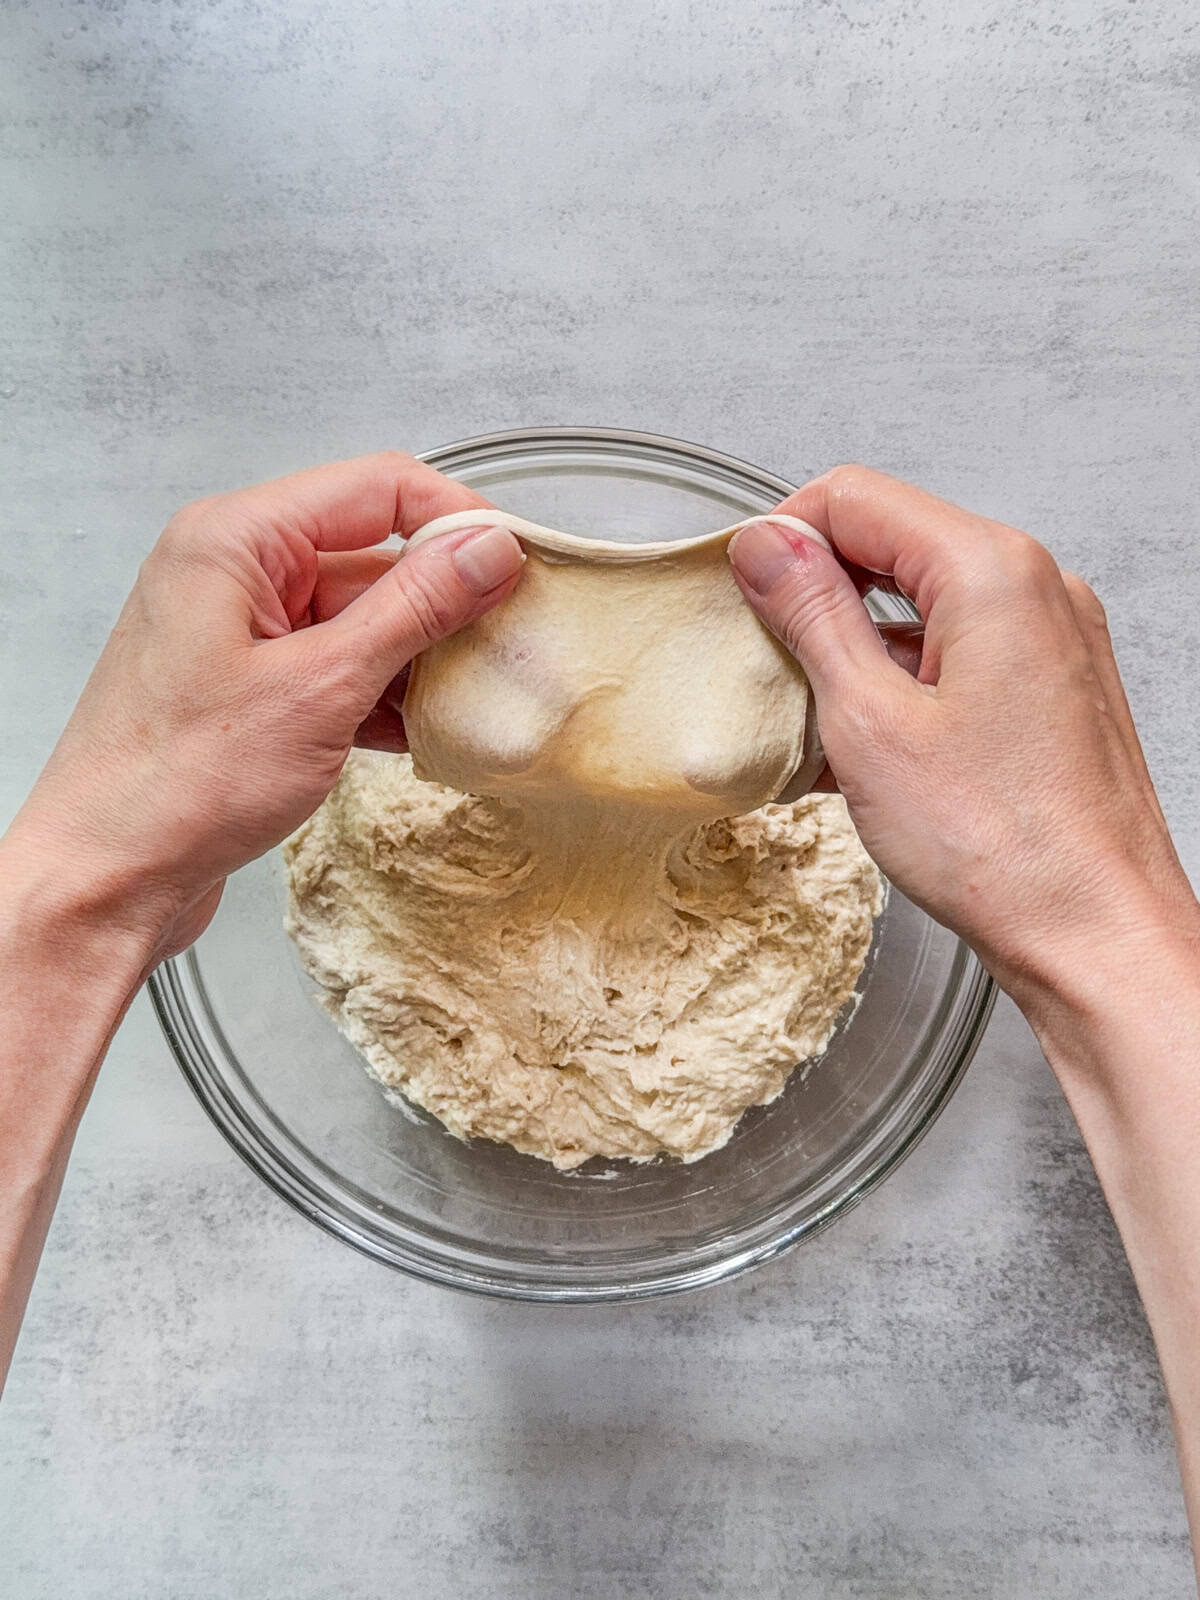
How can you tell when autolyse is done?
You will know the autolyse worked when the dough looks smoother than when you started. It should also pass the windowpane test. This means you can gently stretch a piece of dough until it becomes thin enough for light to pass through it without tearing.
Why autolyse is important
During autolyse, an enzyme in the flour called protease breaks down some of the gluten-forming proteins (glutenin and gliadin). This makes the dough more extensible, meaning it stretches easily without tearing.
Without kneading, water activates proteins in the flour, which begin to form gluten bonds on their own. This reduces the mixing time, whether you are hand-mixing or using a spiral mixer.
Autolyse not only saves time and effort but also preserves more of the bread's flavor, crust, and crumb color by minimizing oxidation during mixing.
Finally, autolyse elevates your bread from good to excellent. While some aim for a decent loaf, others seek the perfect one.
How to fit autolyse into your baking routine
Adding autolyse to your sourdough baking schedule is like giving your bread a little extra care. While it takes a bit more time, the results are often worth it. However, if you are in a rush, you can skip this step and still bake a good loaf of bread.
The great thing about baking sourdough is that you can experiment. Autolyse is just one of many techniques, along with fermentolyse and saltolyse, that you can try. As you bake more, you will figure out what works best for you and your schedule.
When to autolyse bread dough and when to skip it
Autolyse is especially helpful when working with high-protein bread flour (12.7-14% protein). It makes your dough more relaxed and easier to handle.
Working with whole wheat flour, autolyse makes the dough softer and reduces the mixing time. This gives the dough a better chance at developing strength without overworking it.
However, you may want to skip the autolyse when using freshly milled flour (it performs best when all ingredients are mixed at once). In this case, excessive enzyme activity makes the dough sticky and weak. The same goes for dough made with spelt flour, which is already soft and stretchy.
Let's talk sourdough
Have you noticed a difference when using or skipping autolyse? Share your experience in the comments.
What's next?
Now that you know what autolyse is and how it works, learn about the differences between autolyse and fermentolyse.

Nan Damato says
I cannot thank you enough for the way you explain EACH STEP for making sour dough bread. This is my 2nd attempt. My 1st was a disaster. I bought King Arthur starter; I read articles; I watched YouTube. Each step in all those instances was not enough to give a clear understanding of the process. You, on the other hand, make each step clear. I found myself using your tutorial on making the starter until my starter was strong enough to make bread. I can go step by step until I understand and am ready to move to the next step.
Thank you for your ability to explain so clearly what it takes to master this process. So grateful!!!
Irina Totterman says
Hello Nan, I'm really glad the step-by-step approach is making the process click for you. Wishing you a strong second bake and many good loaves ahead.