
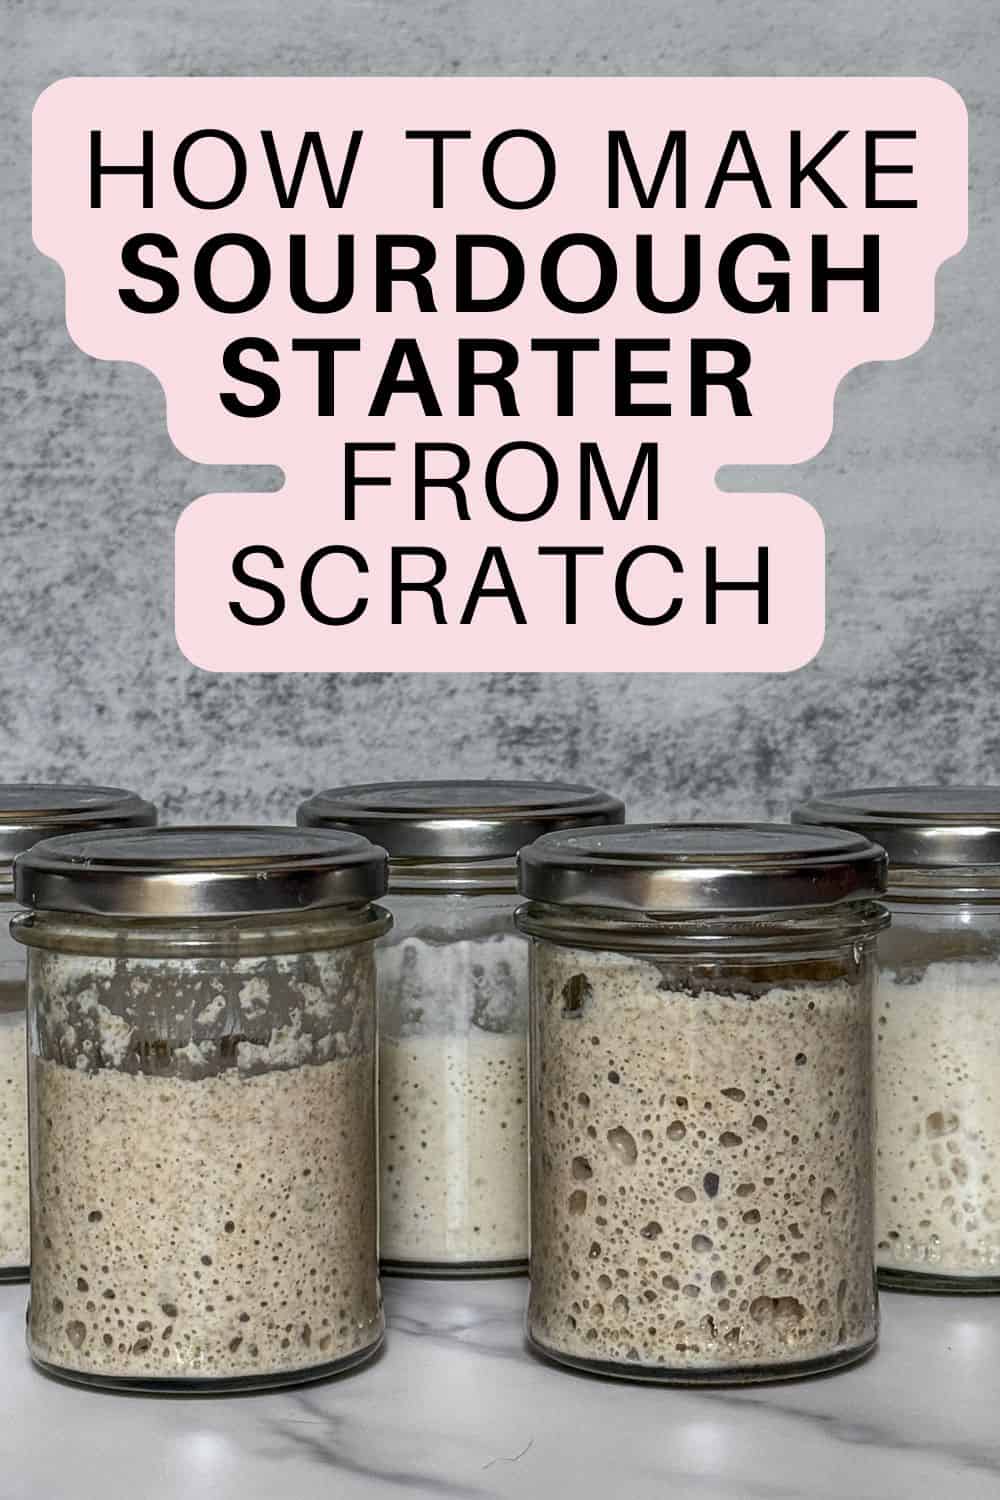
Quick Summary: You make a sourdough starter by mixing flour and water, then feeding it regularly for about 7 to 10 days, until it reliably doubles in 4 to 7 hours after each feeding.
Start with rye flour for the first three days to kickstart fermentation, then transition to white bread flour. Consistent feeding and a warm spot around 75 to 79°F (24 to 26°C) are what turn flour and water into a strong, bubbly starter ready to bake with.
So, let's get started. I will guide you through the whole process, showing you exactly what to do, what to watch for, and when your starter is ready for baking. Make sure to print out my Sourdough Starter Tracker.
Regular feedings and temperature control are the most important factors in creating a healthy, vigorous sourdough starter. And that is what gives you great‑tasting, true sourdough bread.
Jump to:
- What is sourdough starter?
- How long does it take?
- What to know before you begin
- What you will need
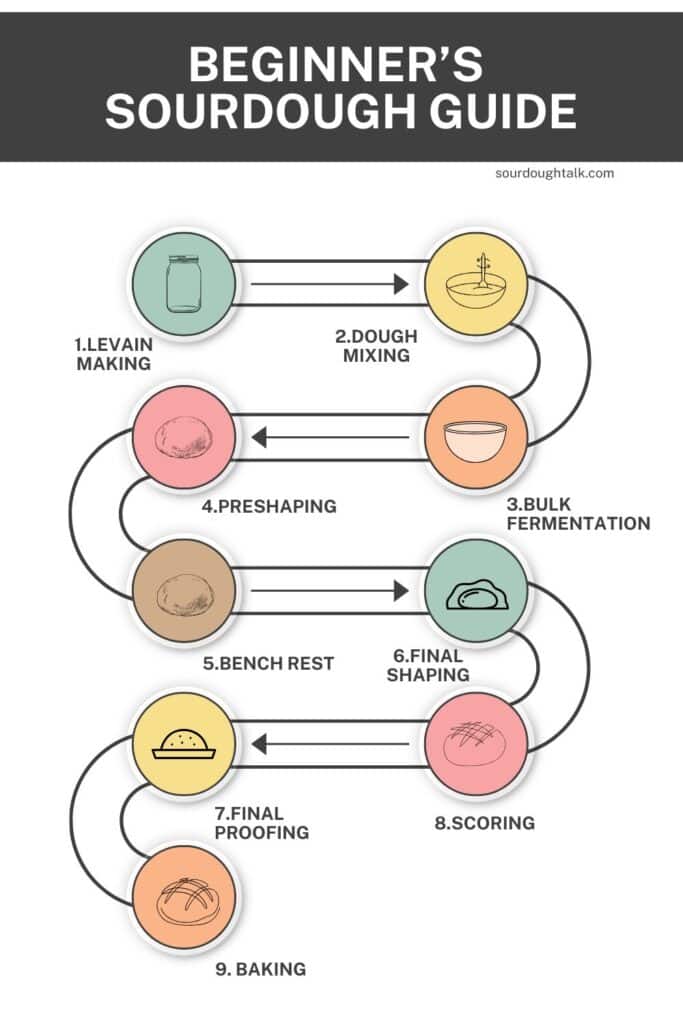
- How to make sourdough starter step-by-step
- Day One
- Day Two
- Day Three
- Day Four
- Day Five
- Days Six and Seven
- Days Eight to Ten
- Sourdough starter timeline
- Daily maintenance
- Monitor your starter's growth and activity
- How to store your sourdough starter
- Best sourdough starter tips
- What to do if your new sourdough starter fails
- FAQ
- Ready to keep learning?
- Recipe
- Comments
What is sourdough starter?
A sourdough starter is a live fermented culture of wild yeast and bacteria made with fresh flour and water. It is nurtured and fed consistently, daily or weekly, to maintain its health and activity.
True sourdough starter is made without commercial yeast and used to bake naturally leavened sourdough bread, focaccia, pizza, and more (see my guide on yeast vs sourdough starter).
In the next 10 days, you will create your first sourdough starter, known as the "mother" starter, which will be used to make levain, the offshoot of the starter.
Your Beginner's Guide to Sourdough
This post is part of a series that walks you through every step, from feeding your starter to pulling the loaf from the oven.
How long does it take?
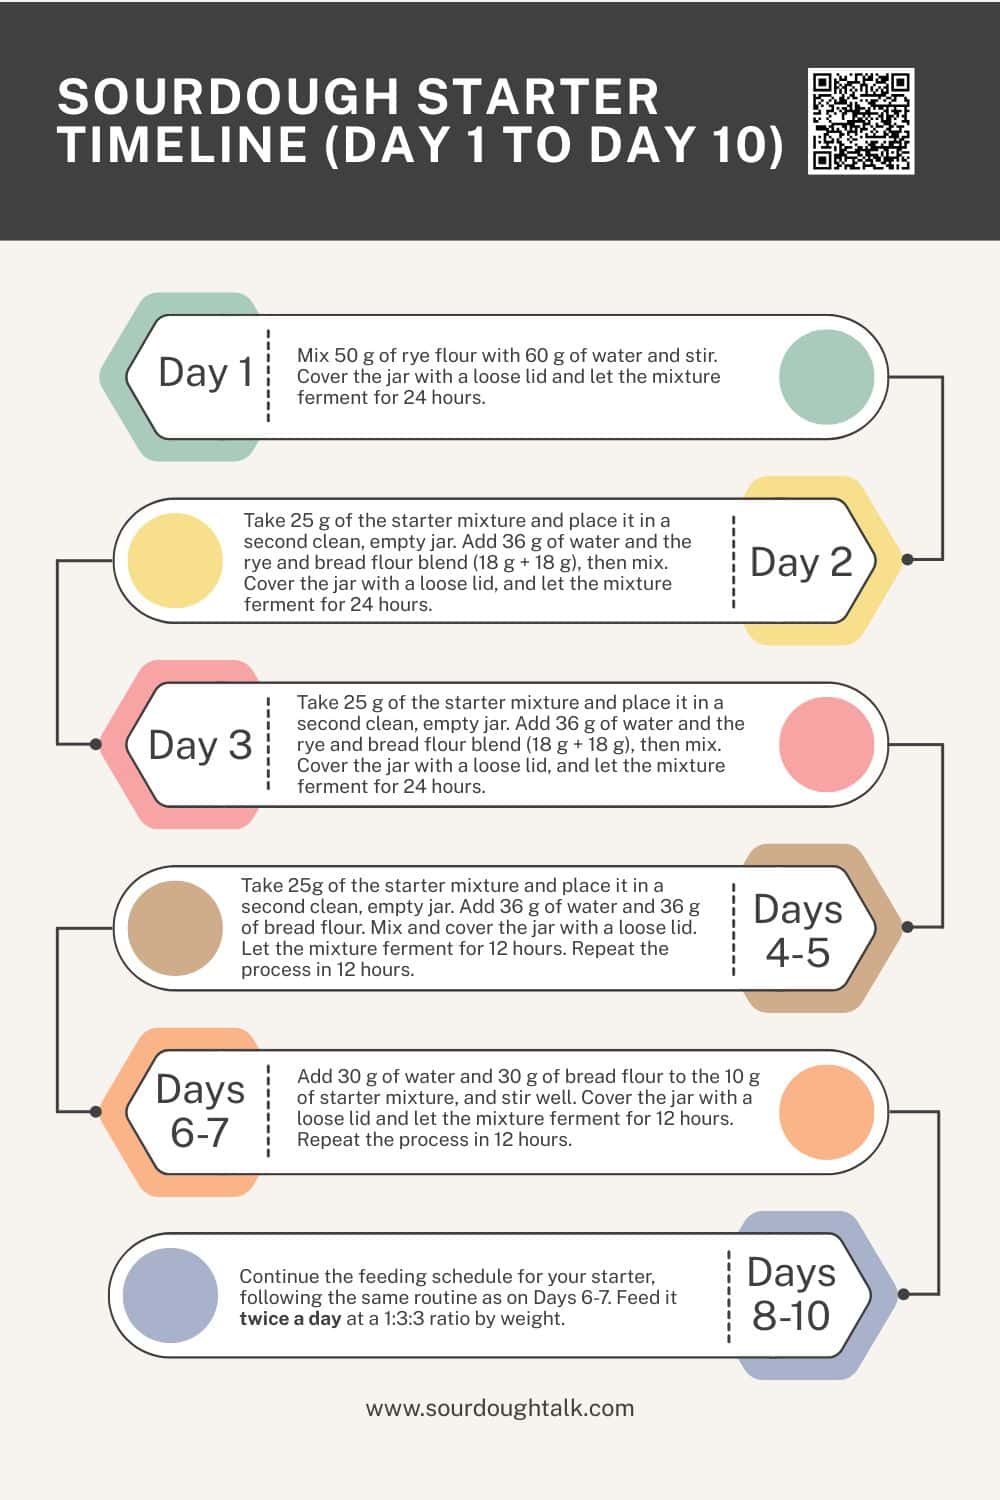
Creating a new starter takes 7-14 days, with an average of 10 days. However, Day 10 doesn't mark the end of your starter's development. You must continue feeding it with unbleached bread or all-purpose flour.
If you don't want to wait to grow your own starter from scratch, you can also get a ready-made starter, like the one I sell on my Etsy shop. It is perfect for US readers who want to start baking sooner, and it comes with clear, step-by-step instructions to get it active and bubbly.
What to know before you begin
Before you start, take a moment to understand a few key things. First, you will want to know how to choose the flour and water for your starter, since the type of flour and the quality of your water have a big impact on how active and healthy your starter becomes.
It is also worth considering the best type of sourdough starter jar to use. The right container makes feeding, monitoring, and maintaining your starter so much simpler.
What you will need
For the beginner sourdough starter recipe, you will need a few basic tools and ingredients:
- Flour: Use rye or whole wheat flour or a blend of (50/50) white bread flour and whole grain flour. If you can, choose organic flour. Try to buy rye or whole wheat flour from a grocery store with a high turnover: the fresher the flour, the more active wild yeasts and beneficial bacteria on the bran and germ.
- Water: Use non‑chlorinated water: filtered, spring, or tap water that is safe for drinking. If your tap water contains chlorine, let it sit out in an open container overnight so the chlorine can evaporate before using it in your starter.
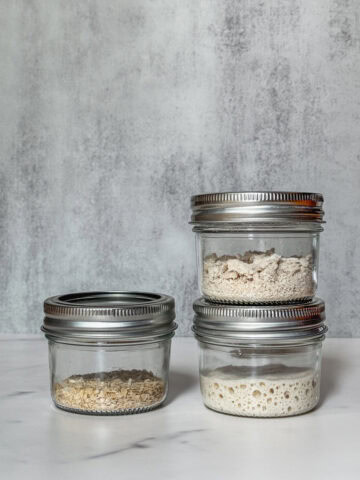
- Container: You will need two clear 8-16-oz glass jars. You can also use food-grade deli plastic containers, but they might be too wide to see the starter rise easily. I use a 6.35-oz repurposed glass jar.
- Rubber band or a washable marker: It helps track the starter rising.
- Spatula: Use a flexible jar spatula to mix and scrape down the sides of the jar. Alternatively, you can use a wooden spoon or a wooden chopstick (yes, the one you can buy at the dollar store).
- Kitchen scale: A digital scale is crucial for accurate ingredient weighing. Avoid using measuring cups or spoons, which can lead to inconsistent results. I like using a compact pocket gram scale.
- Thermometer (desirable) for checking water temperature.
How to make sourdough starter step-by-step
You will produce a rye starter during the first three days to begin fermentation. From Day 4 onward, you will gradually reduce the starter's rye content and transform it into a white starter, using strong bread flour (at least 12% protein).
Note: For this recipe, I use Bob's Red Mill organic dark rye flour and King Arthur unbleached organic bread flour (12.7% protein).
I have the Brod & Taylor Sourdough Home for continuous temperature control. The ideal temperature is 75-79°F (24-26°C), and I have mine set to 75°F (24°C). Alternatively, you can place your starter in the oven with just the light on and a bowl of hot water at the bottom.
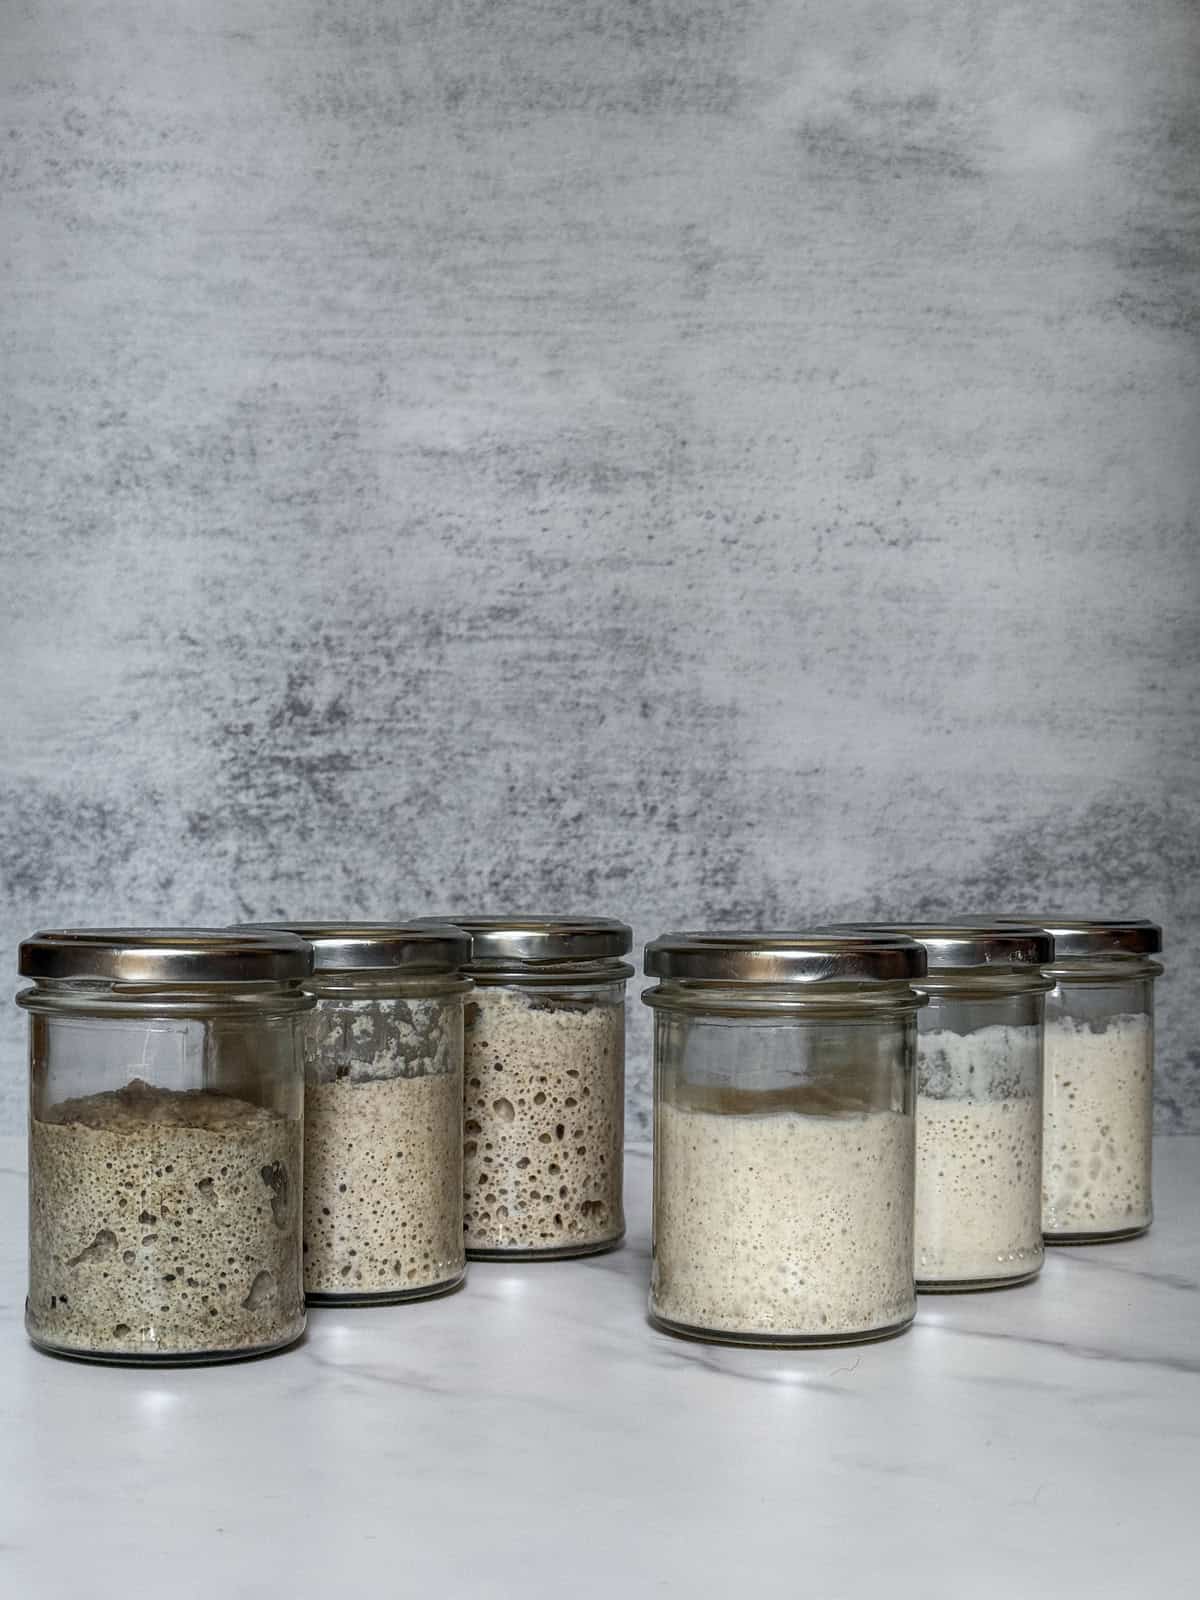
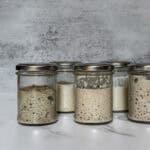
A note on the "second jar": Each feeding, you move a small amount of starter into a clean jar, add fresh flour and water to that, and it becomes your active starter going forward.
Everything left in the old jar is discard (throw it out, compost it, or save it for discard recipes). You are not collecting jars: just rotate between two clean jars, washing the old one after each feed. You only ever keep one active starter going.
Day One
Before you start, print my free Sourdough Starter Tracker, your daily at-a-glance sheet to record feedings, rise, and timing over the next 10 days.
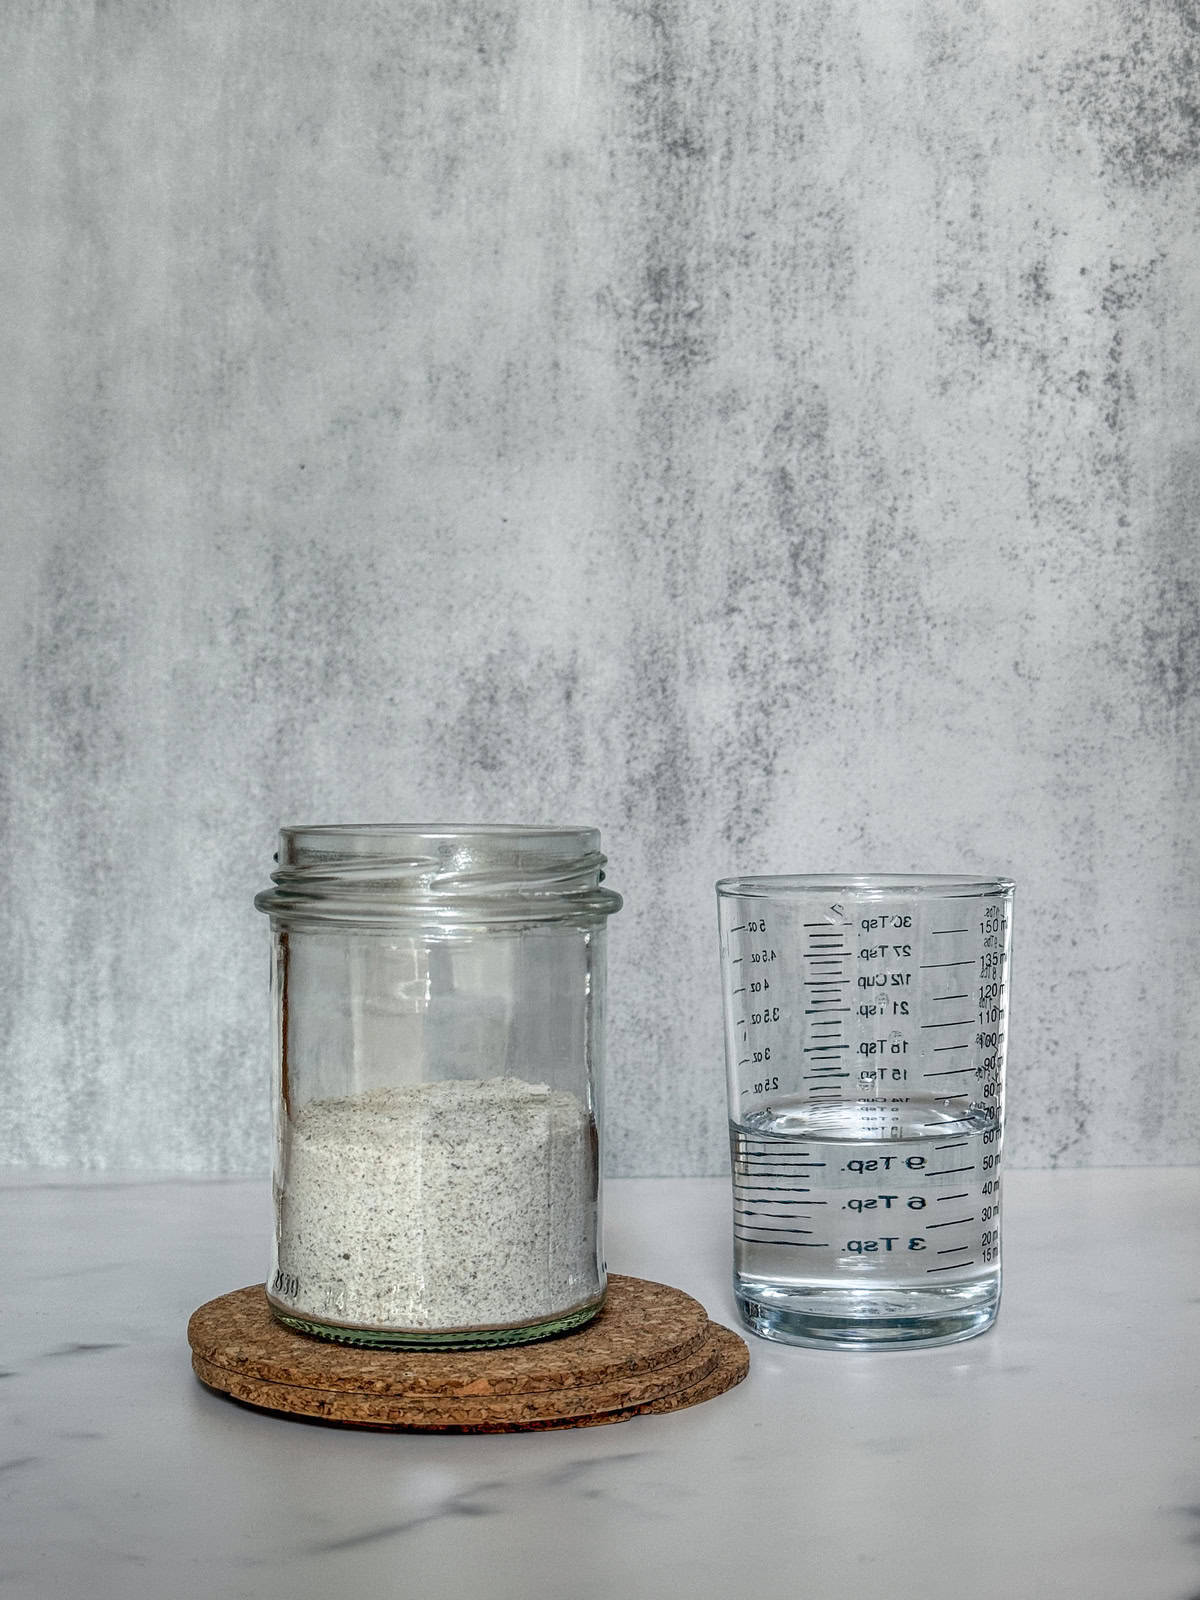
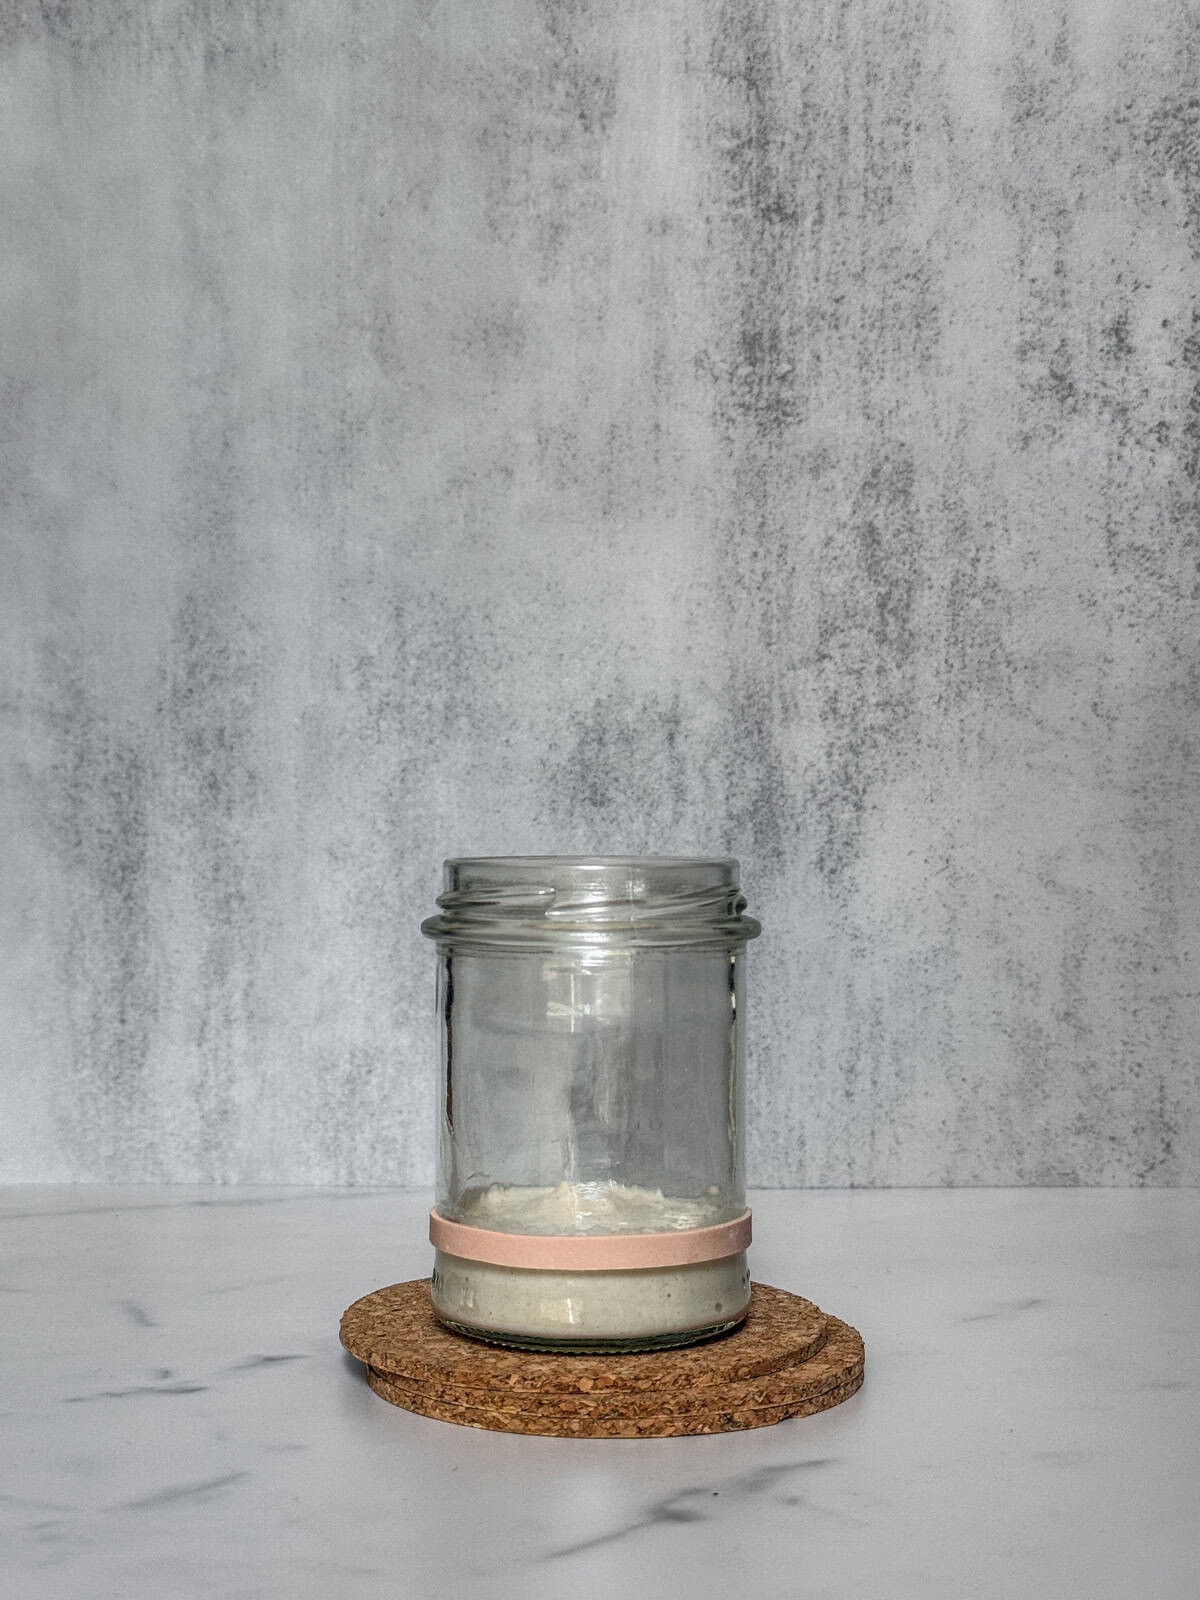
Begin with a clean jar. Weigh the empty jar and write its weight on the bottom with a marker.
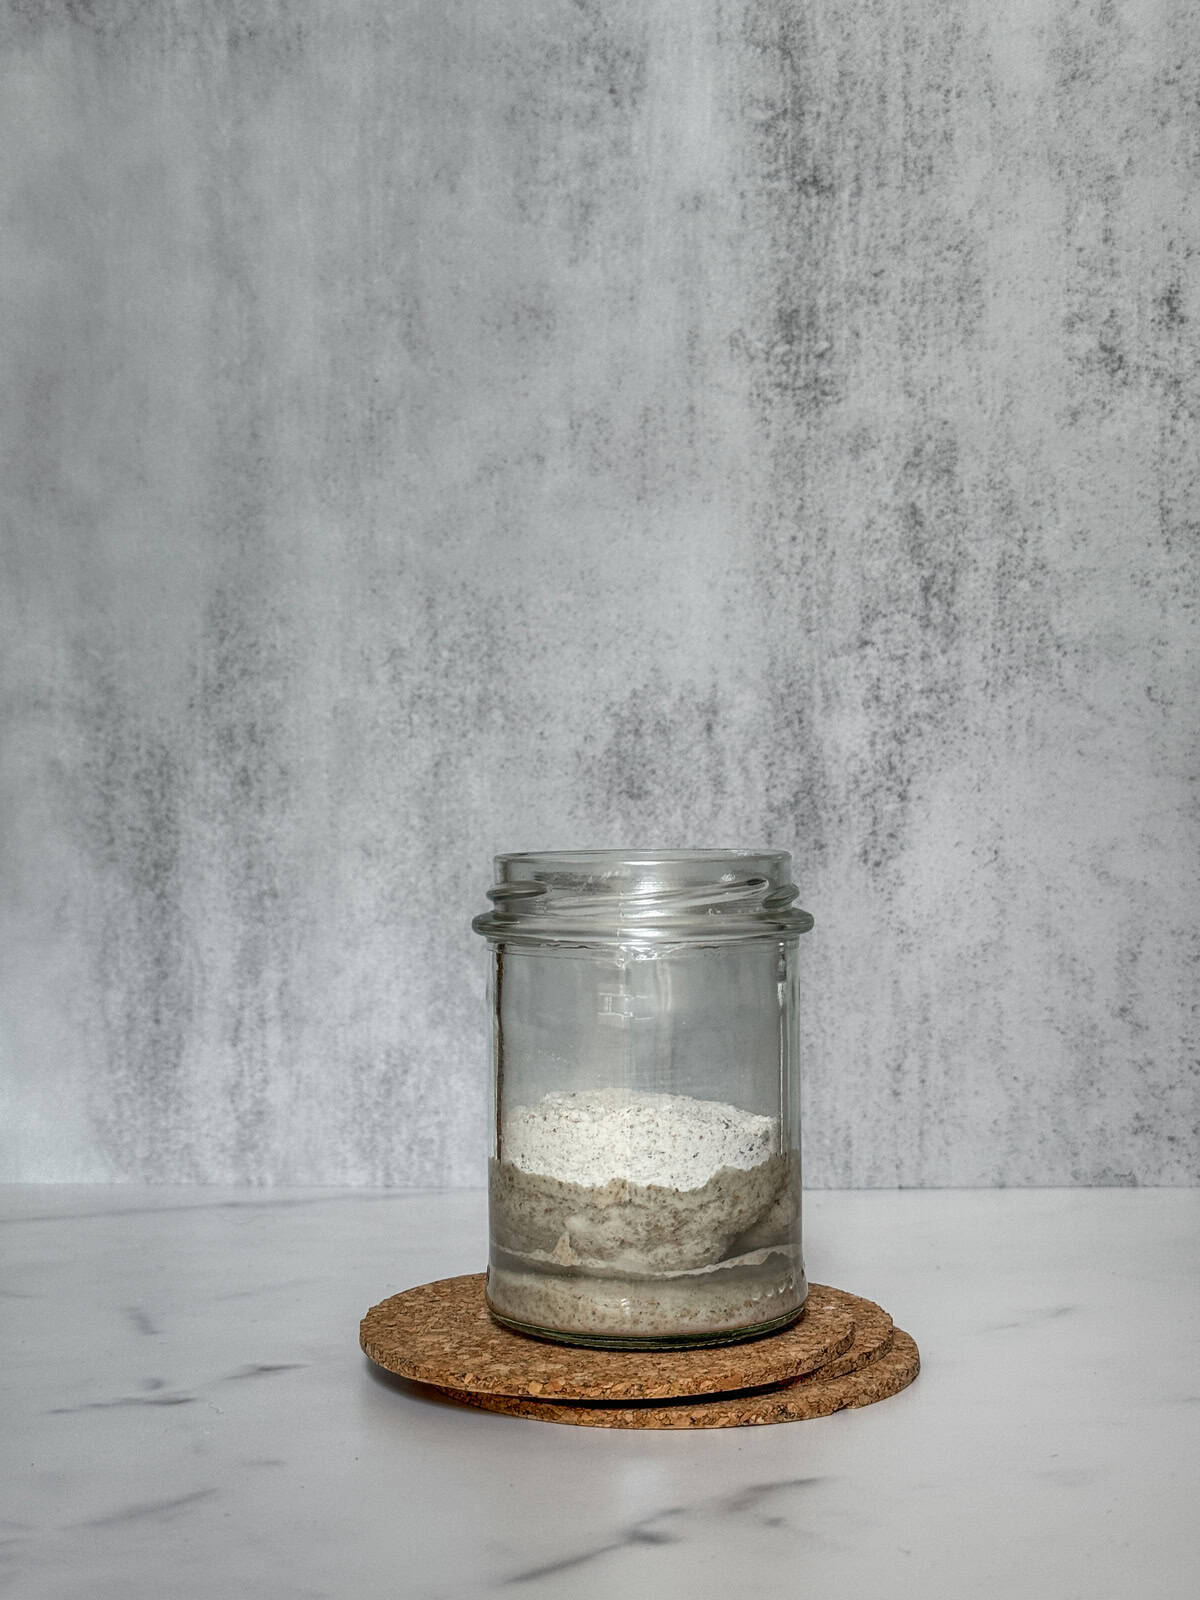
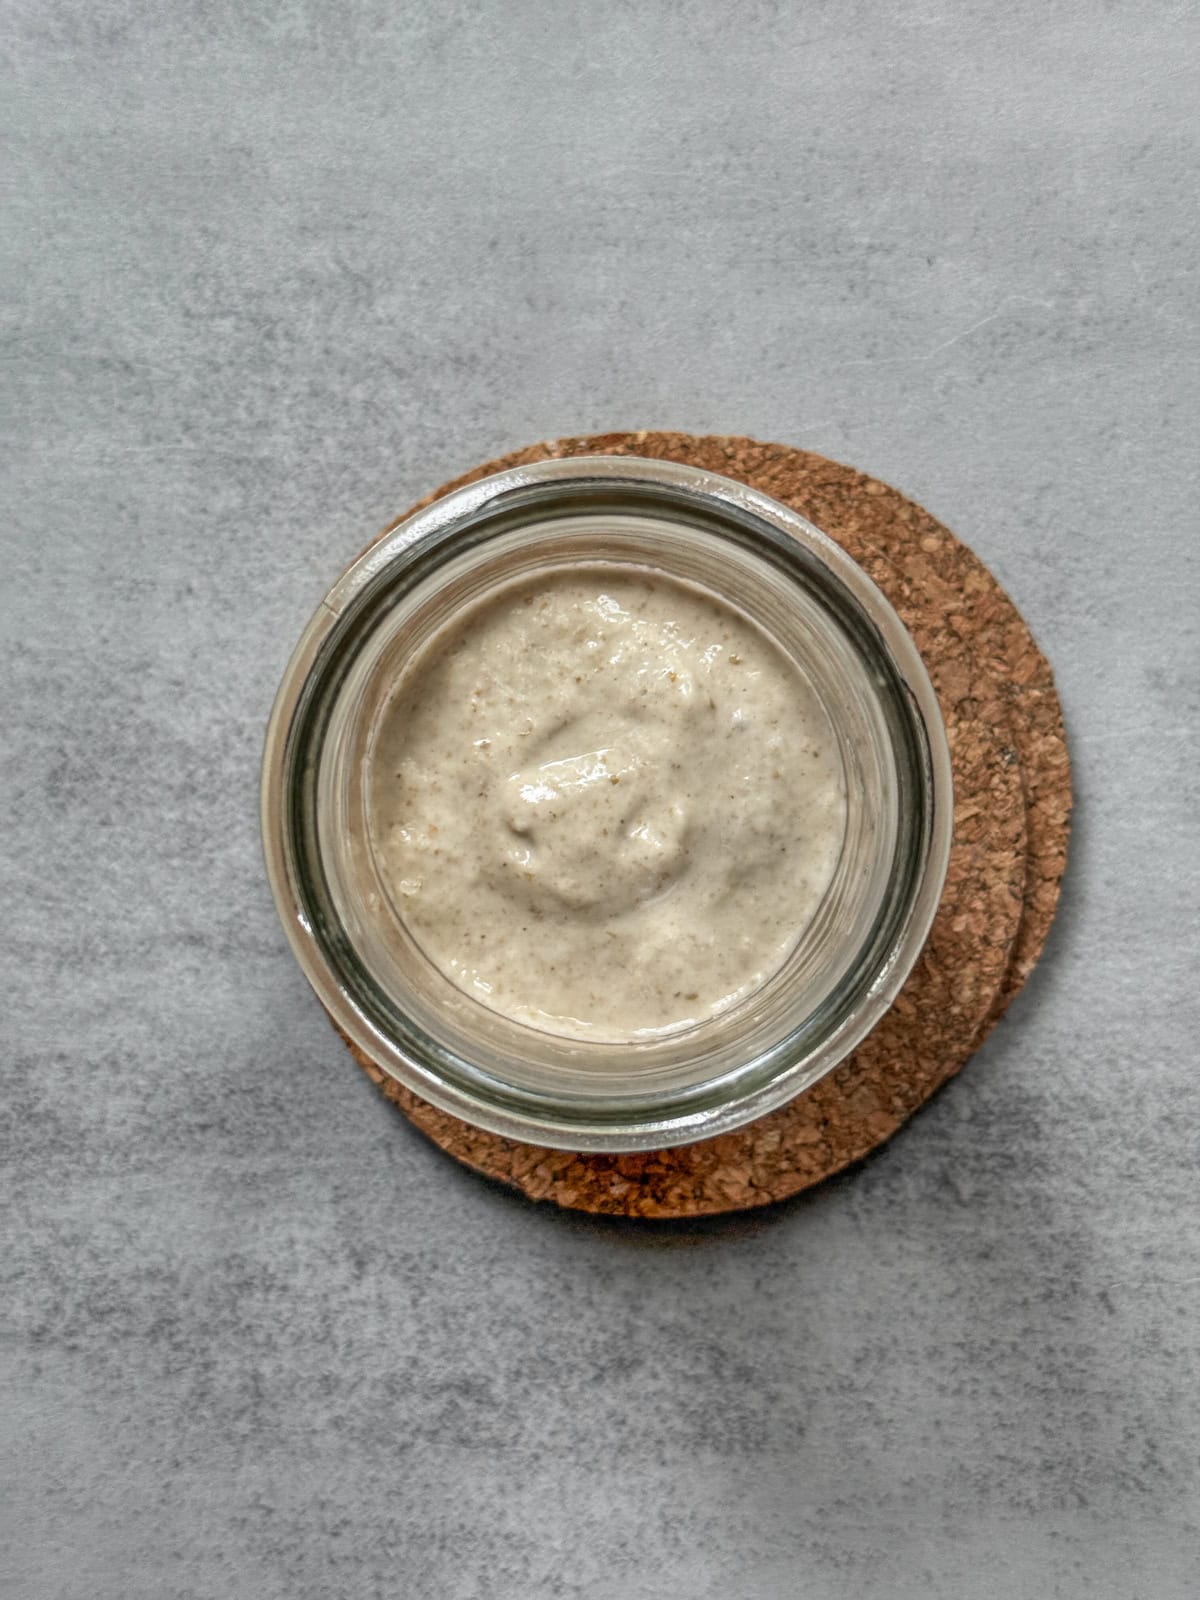
Mix 50 grams of rye flour with 60 grams of lukewarm water (75-78°F/24-26 °C) and stir vigorously until smooth, using a spatula to scrape the sides of the jar. The mixture should resemble thick pancake batter and be lump-free.
Day one: starter ingredients.
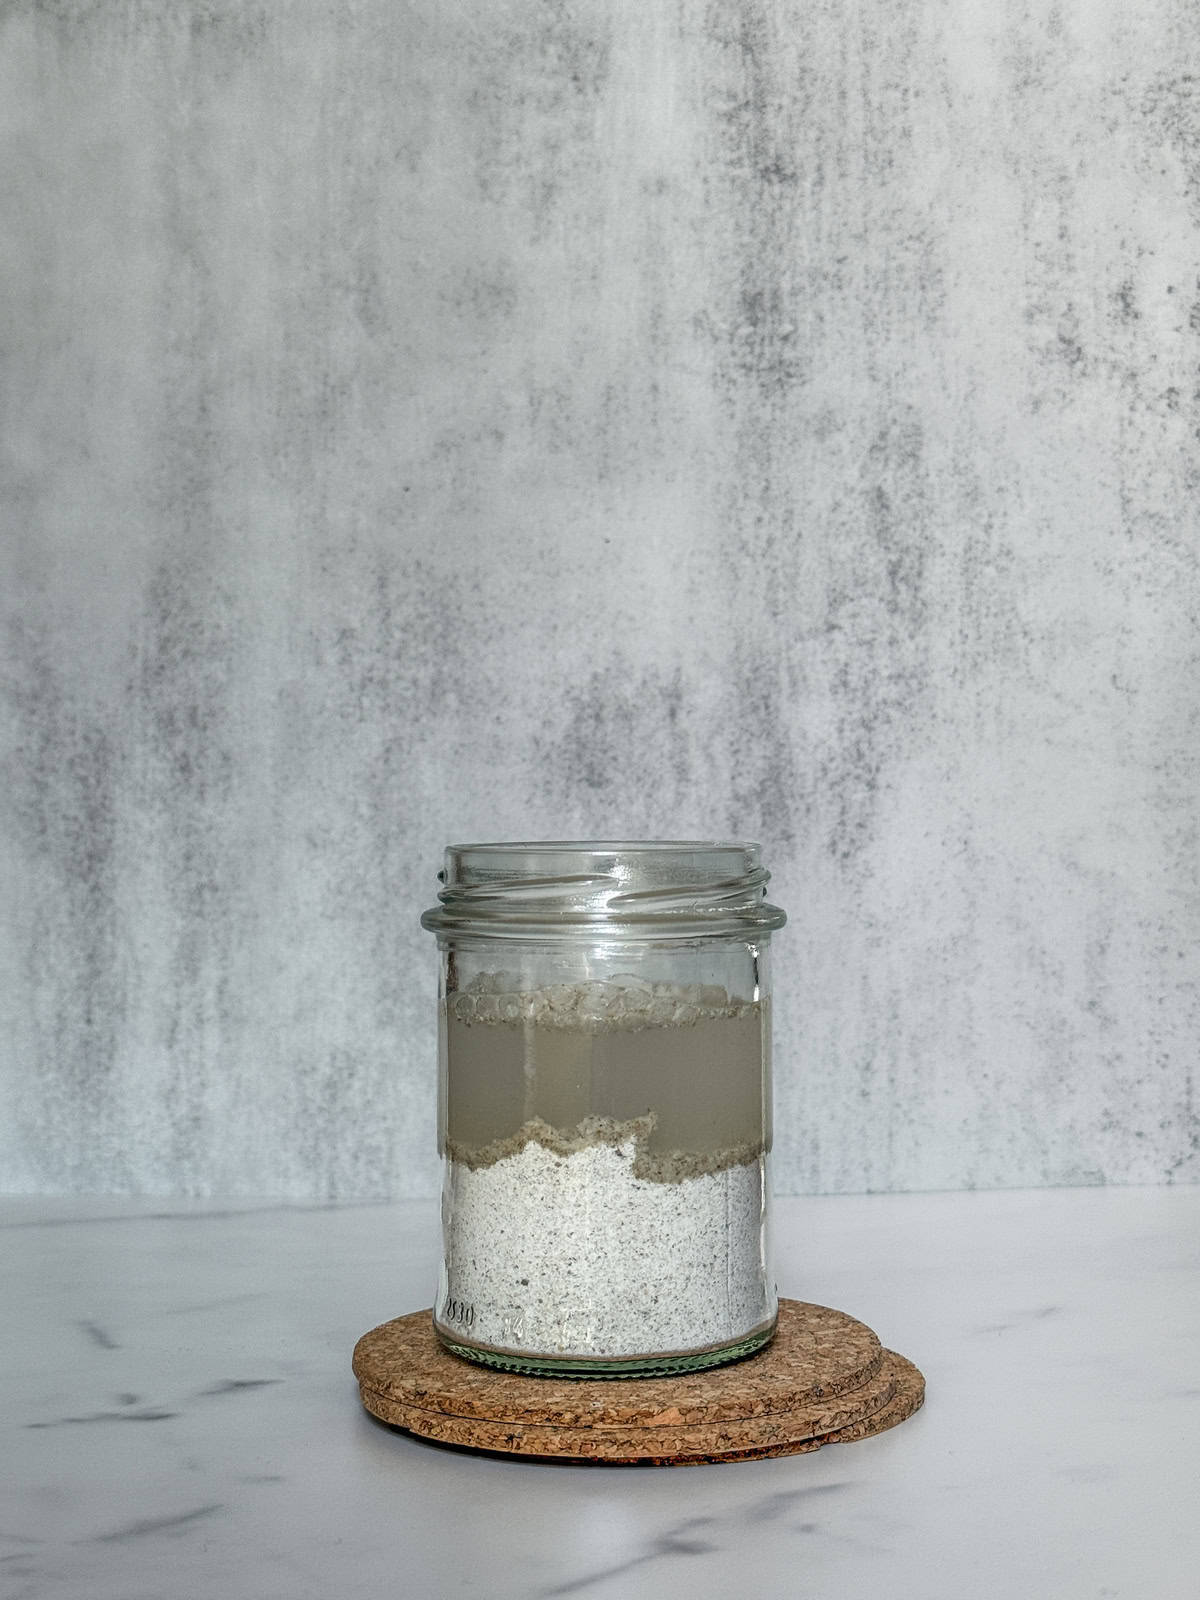
Day one: starter ingredients in a jar.
Day one: starter ingredients mixed in a jar (front view).
Day one: starter ingredients mixed in a jar (overhead view).
Cover the jar loosely with a lid to allow airflow. Place the jar in a warm spot (75-79°F or 24-26°C) with consistent conditions, away from direct sunlight and drafts, for 24 hours.
Day Two
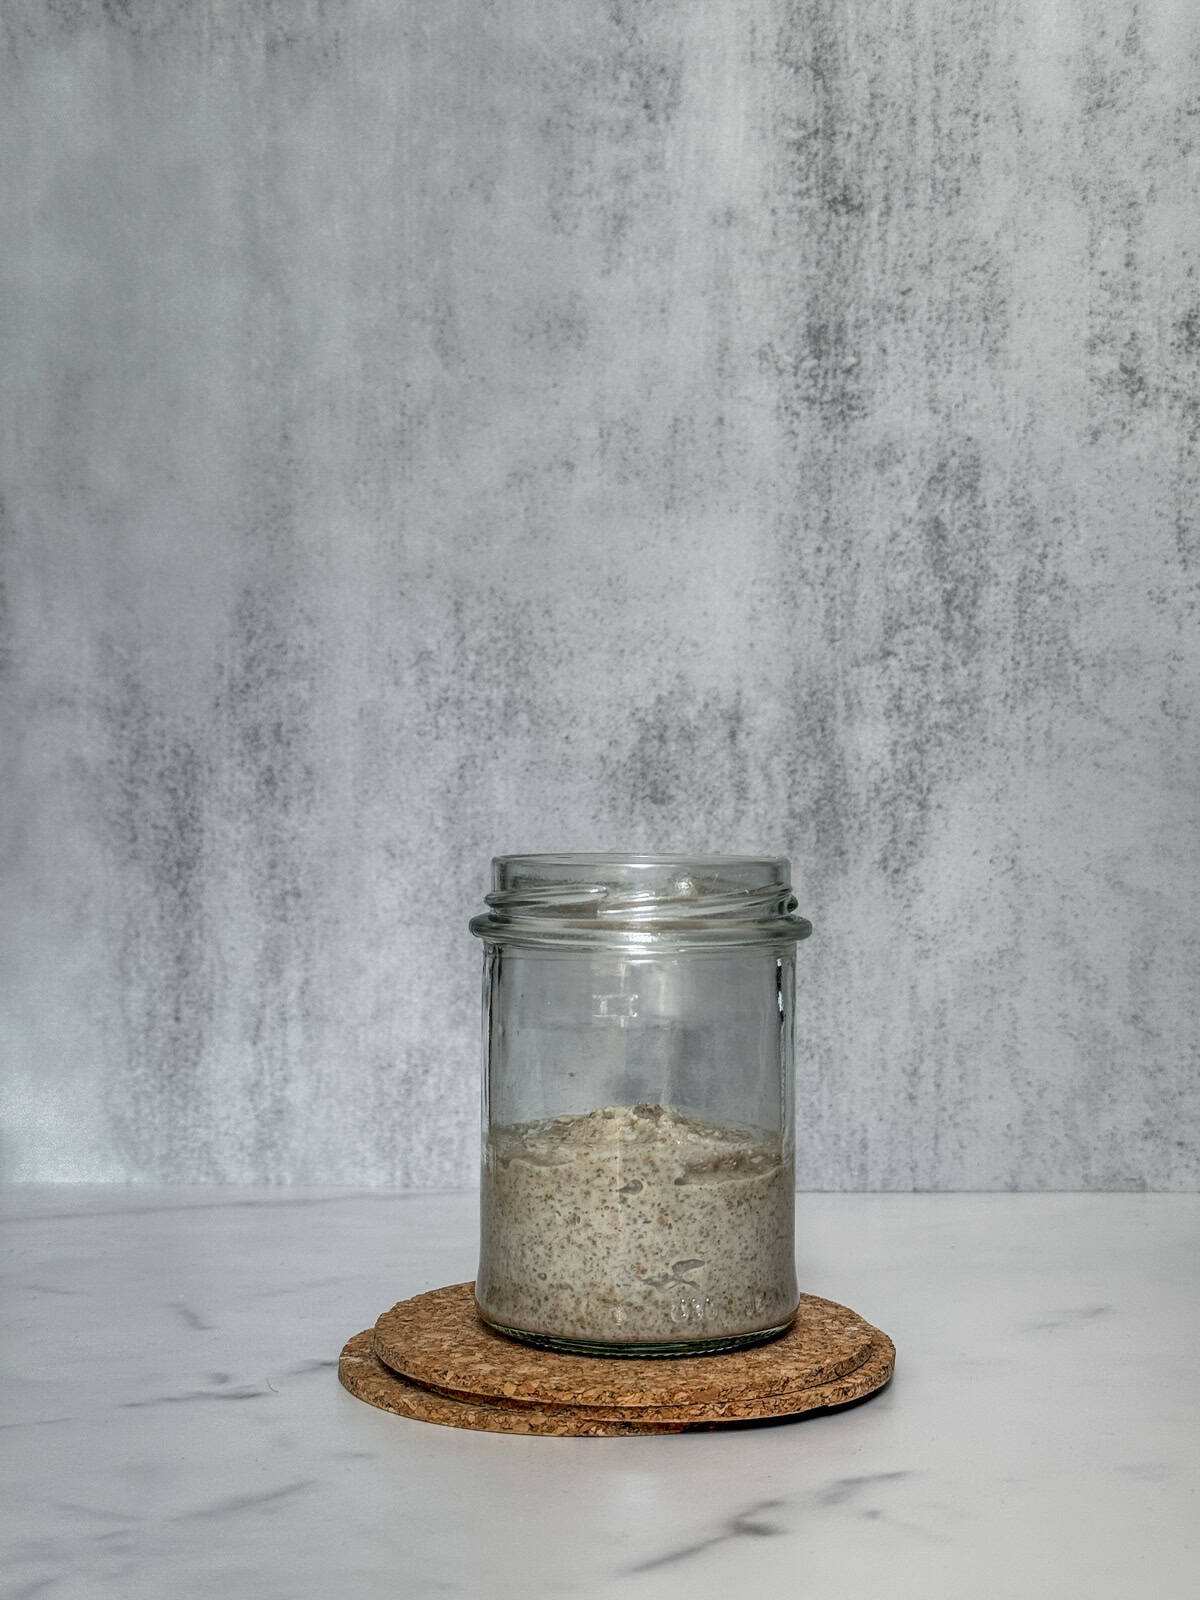
Starter status: Today, you might see a few bubbles in your mixture, but don't worry if you don't, since it is still early. Just stick to the schedule and continue.
Take 25g of the existing "starter" mixture and place it in a second clean, empty jar. Add 18g rye flour, 18g strong white bread flour, and 36g lukewarm water.
Day two: starter progress since yesterday.
Day two: starter ingredients in a jar.
Stir well, cover loosely with a lid, and leave it in the same warm spot for another 24 hours.
Day two: starter ingredients mixed in a jar (front view).
Day two: starter ingredients mixed in a jar (overhead view).
Day Three
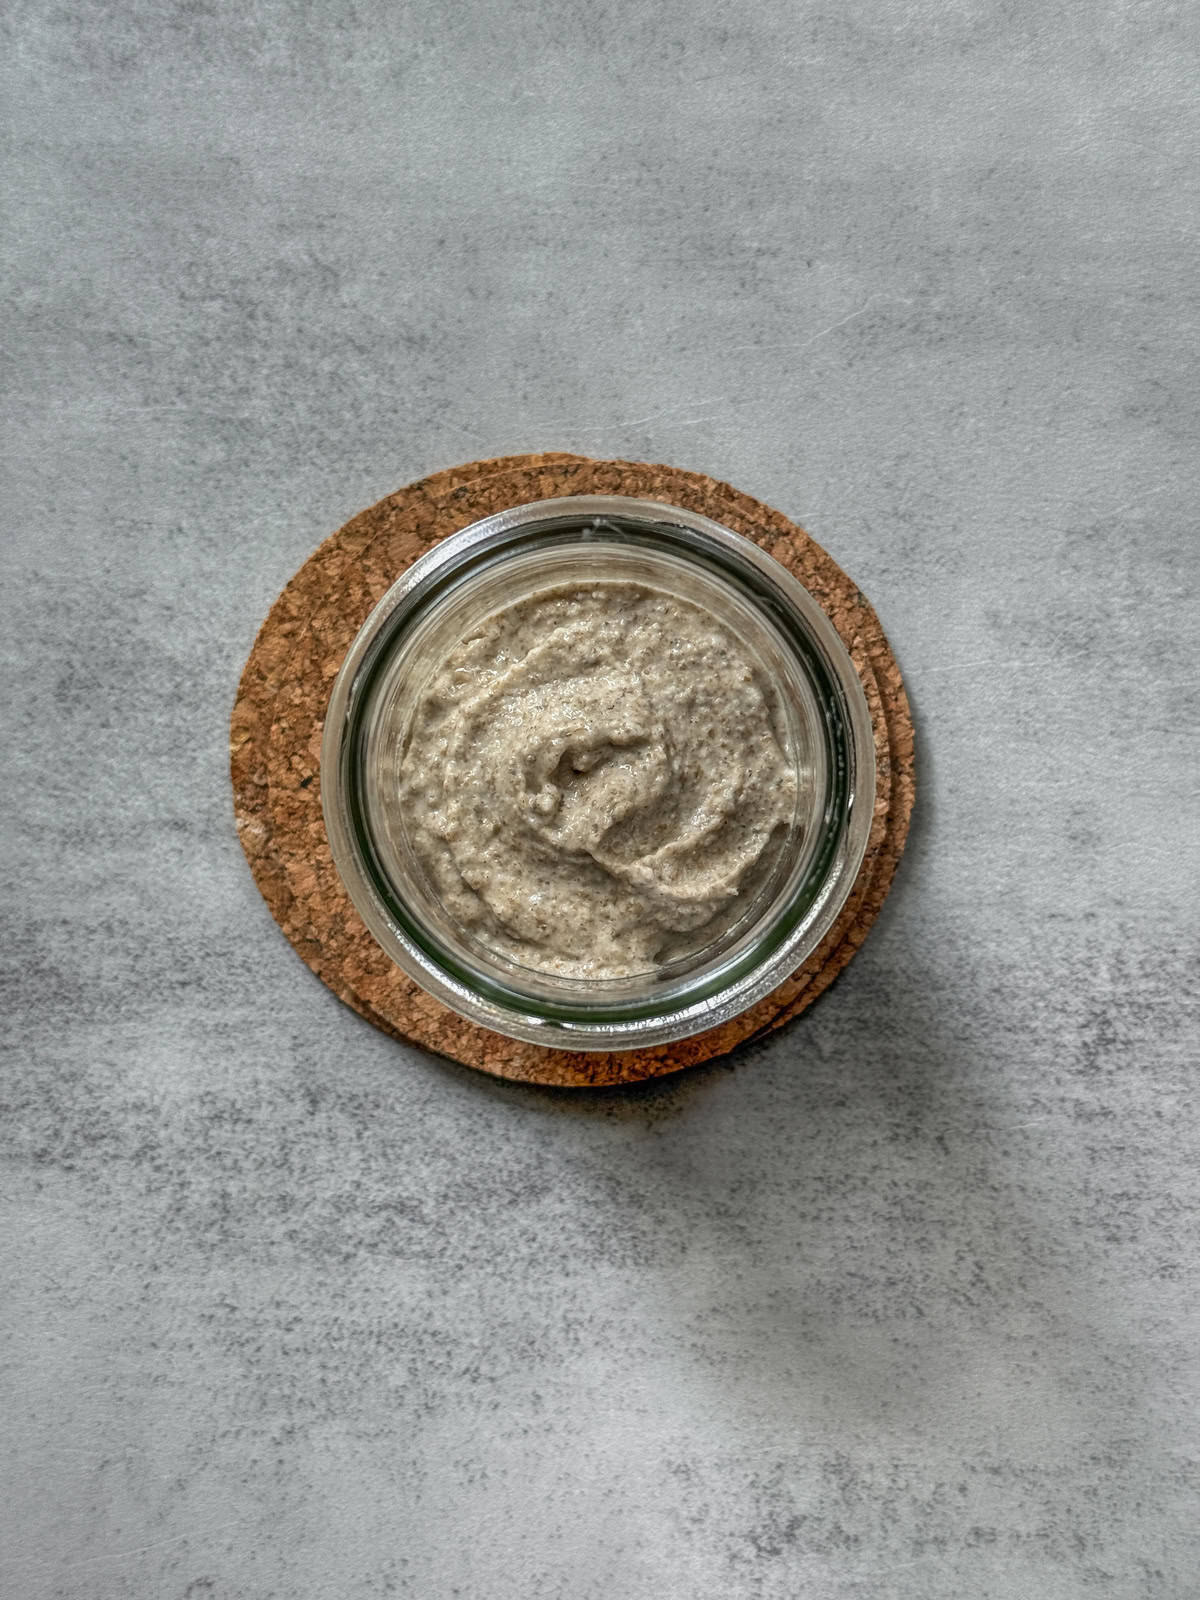
Starter status: By now, you should notice more bubbles, a slight increase in volume called "false rise," and possibly an odd smell.
This is normal and shows that bacterial activity has started. If you see liquid on top, stir it back in. It is a water separation in your starter (not hooch).
Feed your starter the same way: take 25g of it and place it in a second clean, empty jar. Add 18g rye flour, 18g strong white bread flour, and 36g lukewarm water.

Day three: starter progress since yesterday.
Day three: starter ingredients in a jar.
Stir vigorously, cover loosely with a lid, and leave it in the same warm spot for another 24 hours.

Day three: starter ingredients mixed in a jar (front view).
Day three: starter ingredients mixed in a jar (overhead view).
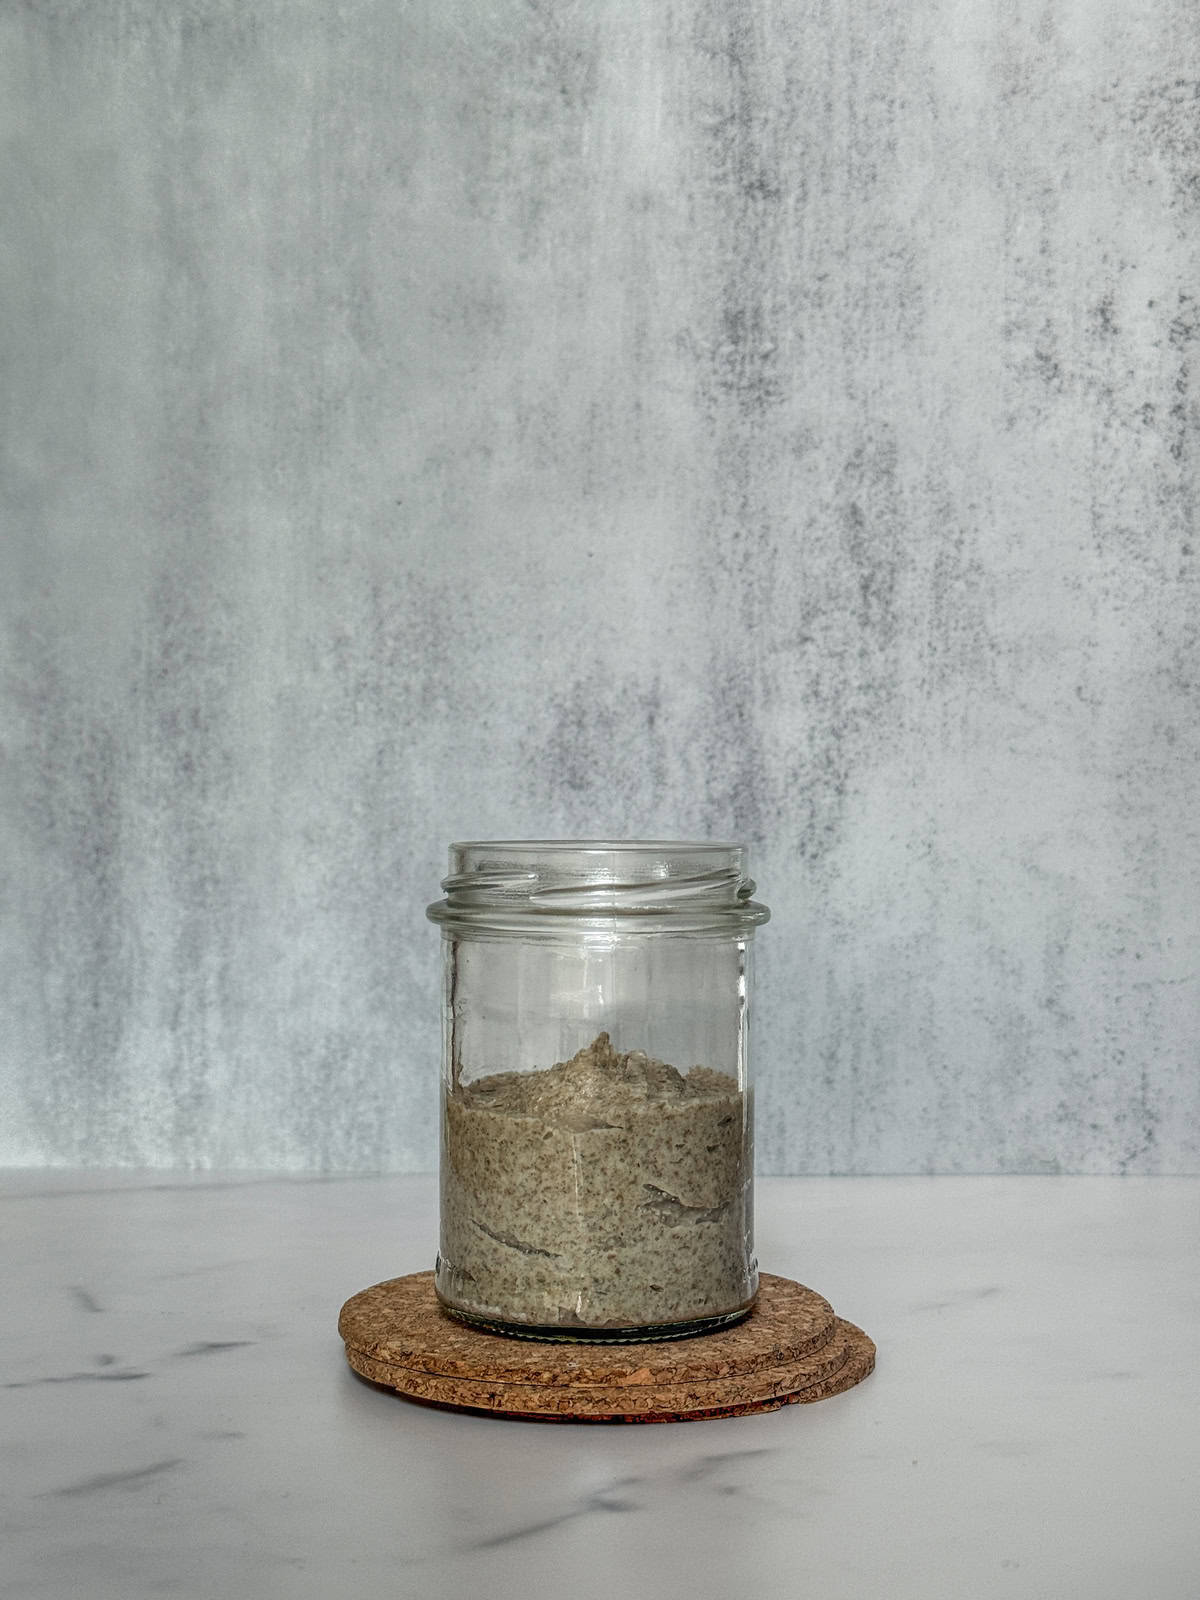
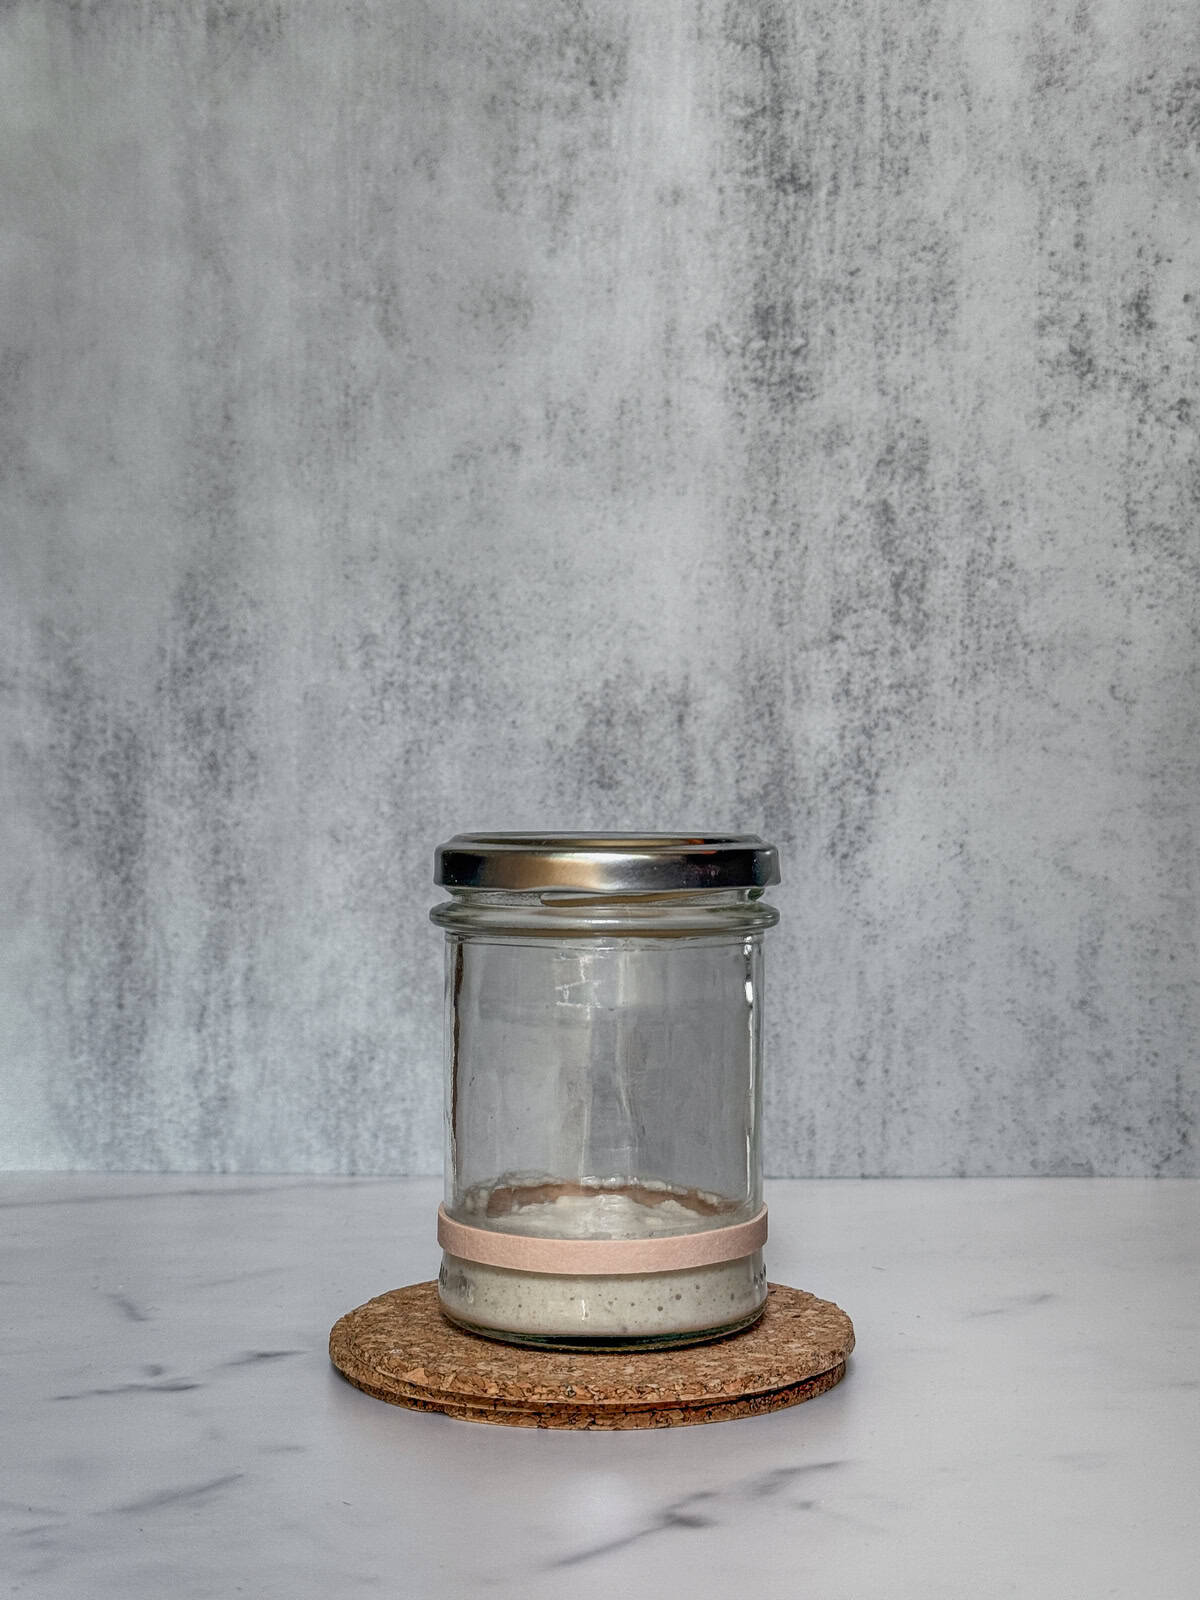
Day Four
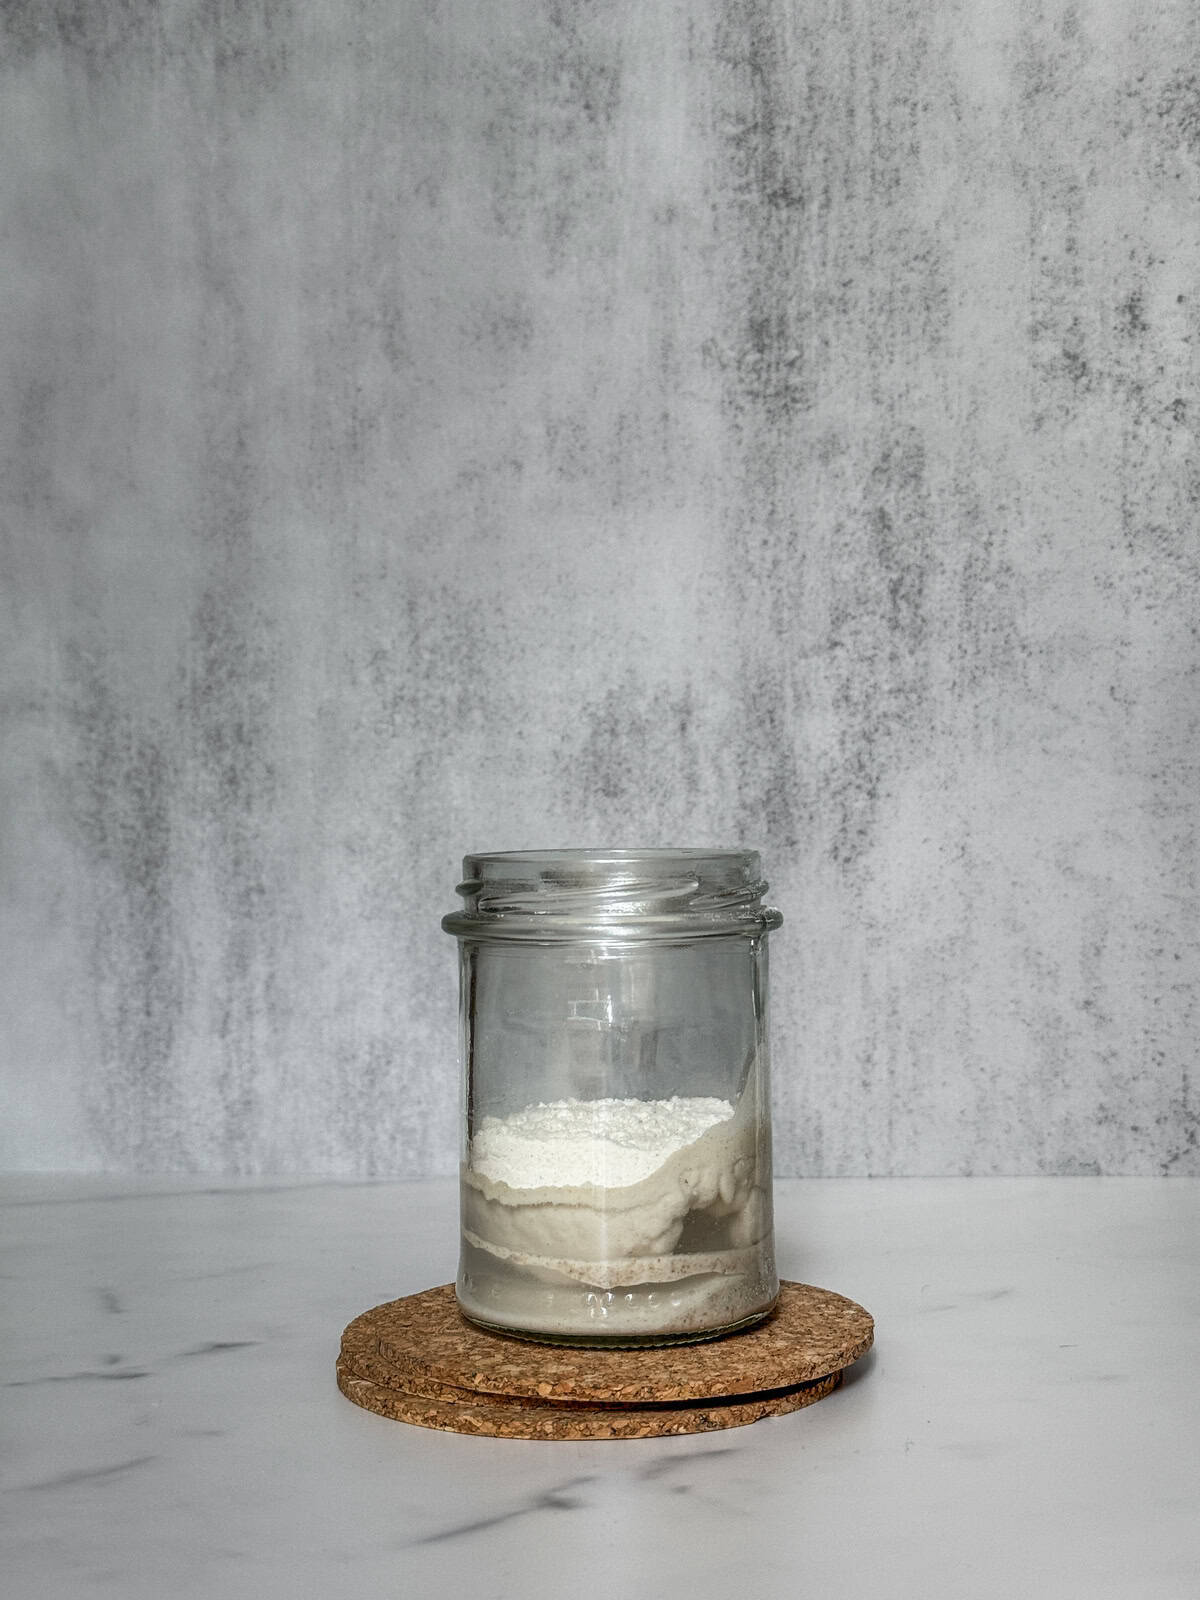
Starter status: Today, before feeding the starter, you will notice increased bubbles on the surface and sides of the jar.
It is also the first day when you will start transforming the starter into a 100% white starter.
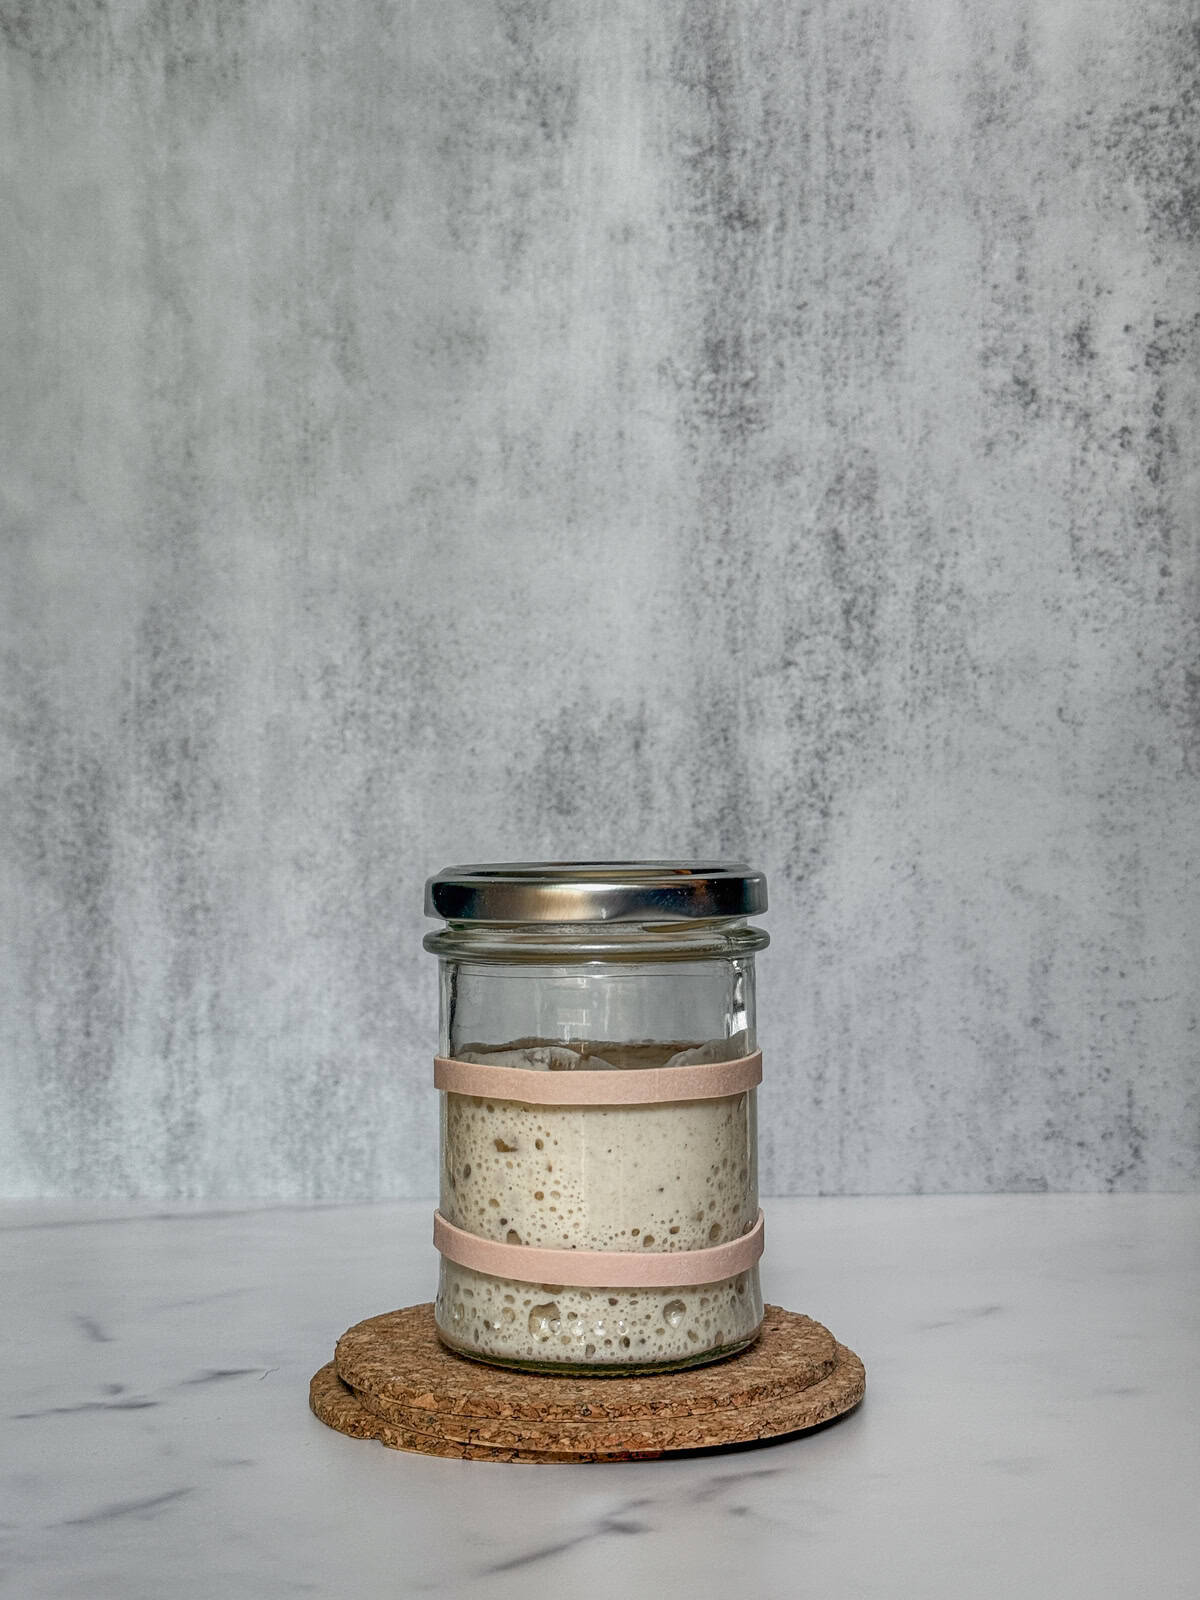
From this point, you will feed your starter twice daily, about 12 hours apart. Place a rubber band around the jar or use a washable glass marker to indicate the initial level of the starter after each feeding.
Take 25g of the starter and place it in a second clean, empty jar. Add 36g strong white bread flour and 36g lukewarm water.
Day four: starter progress since yesterday.
Day four: starter ingredients in a jar.
Stir well until lump-free and smooth. Place the lid on top loosely and keep in a warm place for 12 hours. Repeat the same discard-and-feed in 12 hours.
Day four: starter ingredients mixed in a jar (front view).

Day four: starter ingredients mixed in a jar (overhead view).
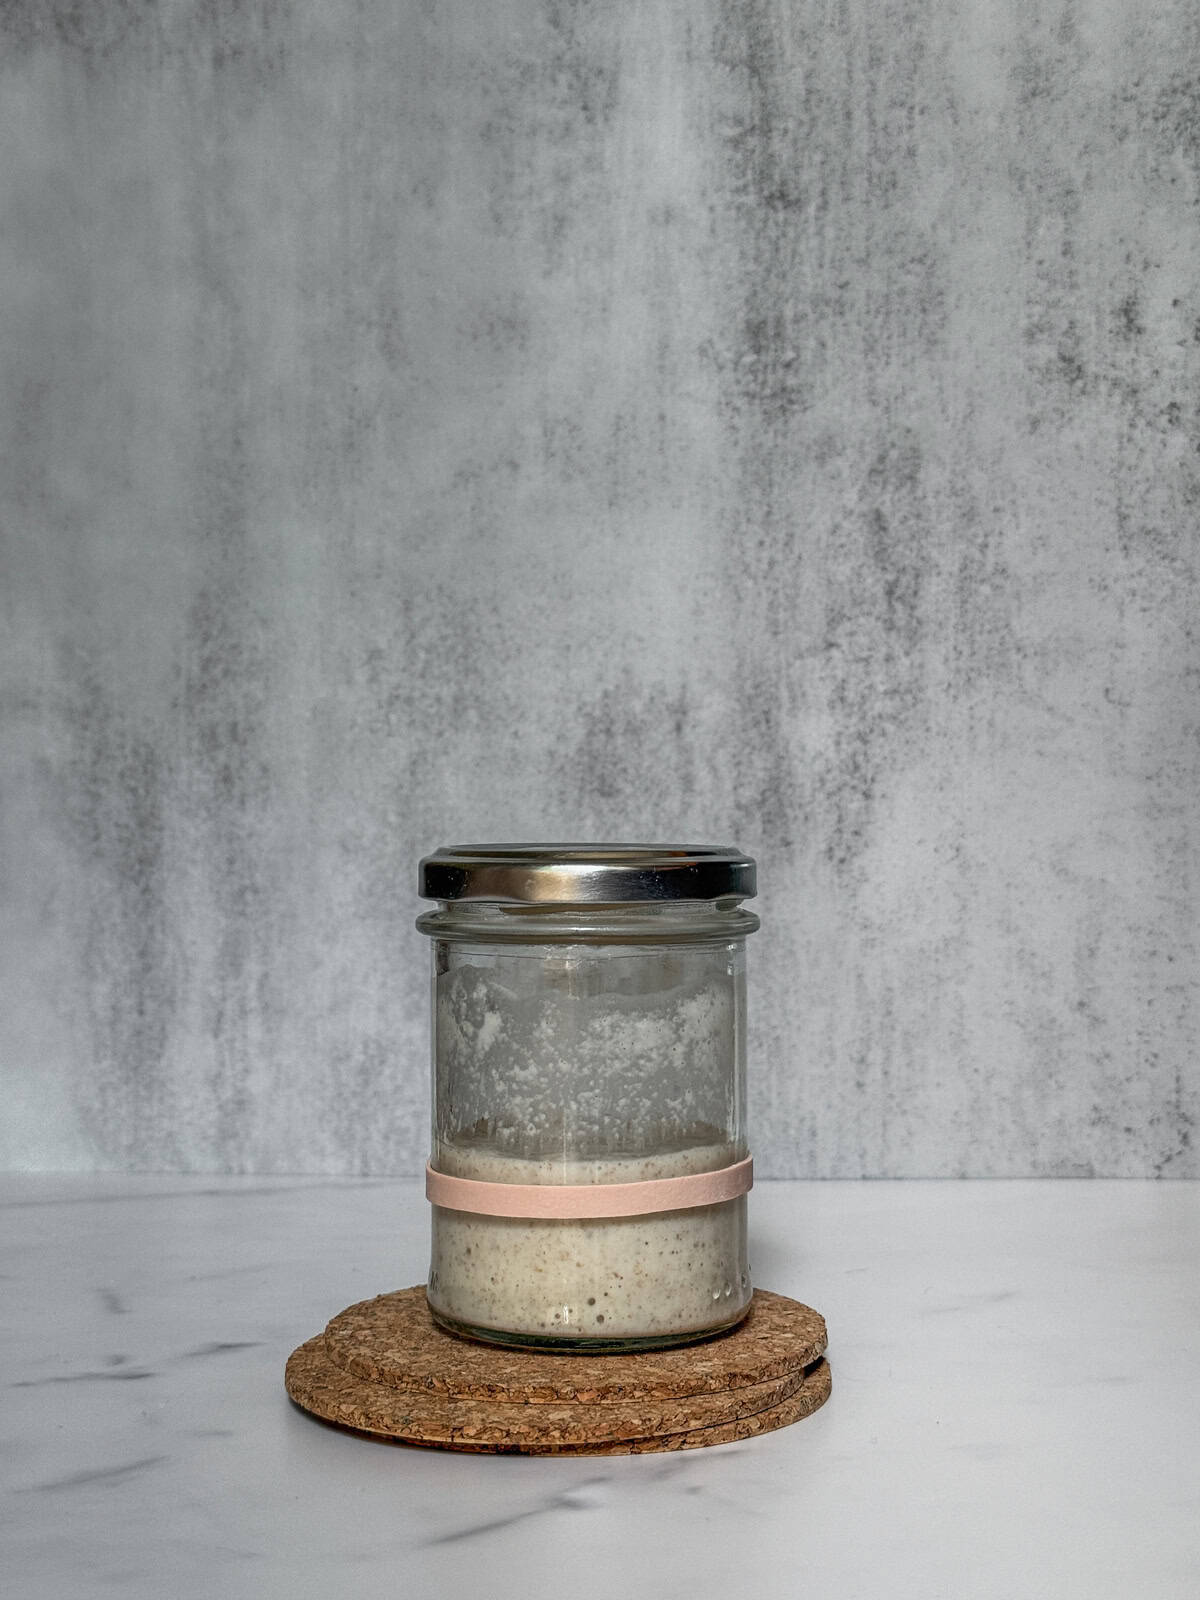
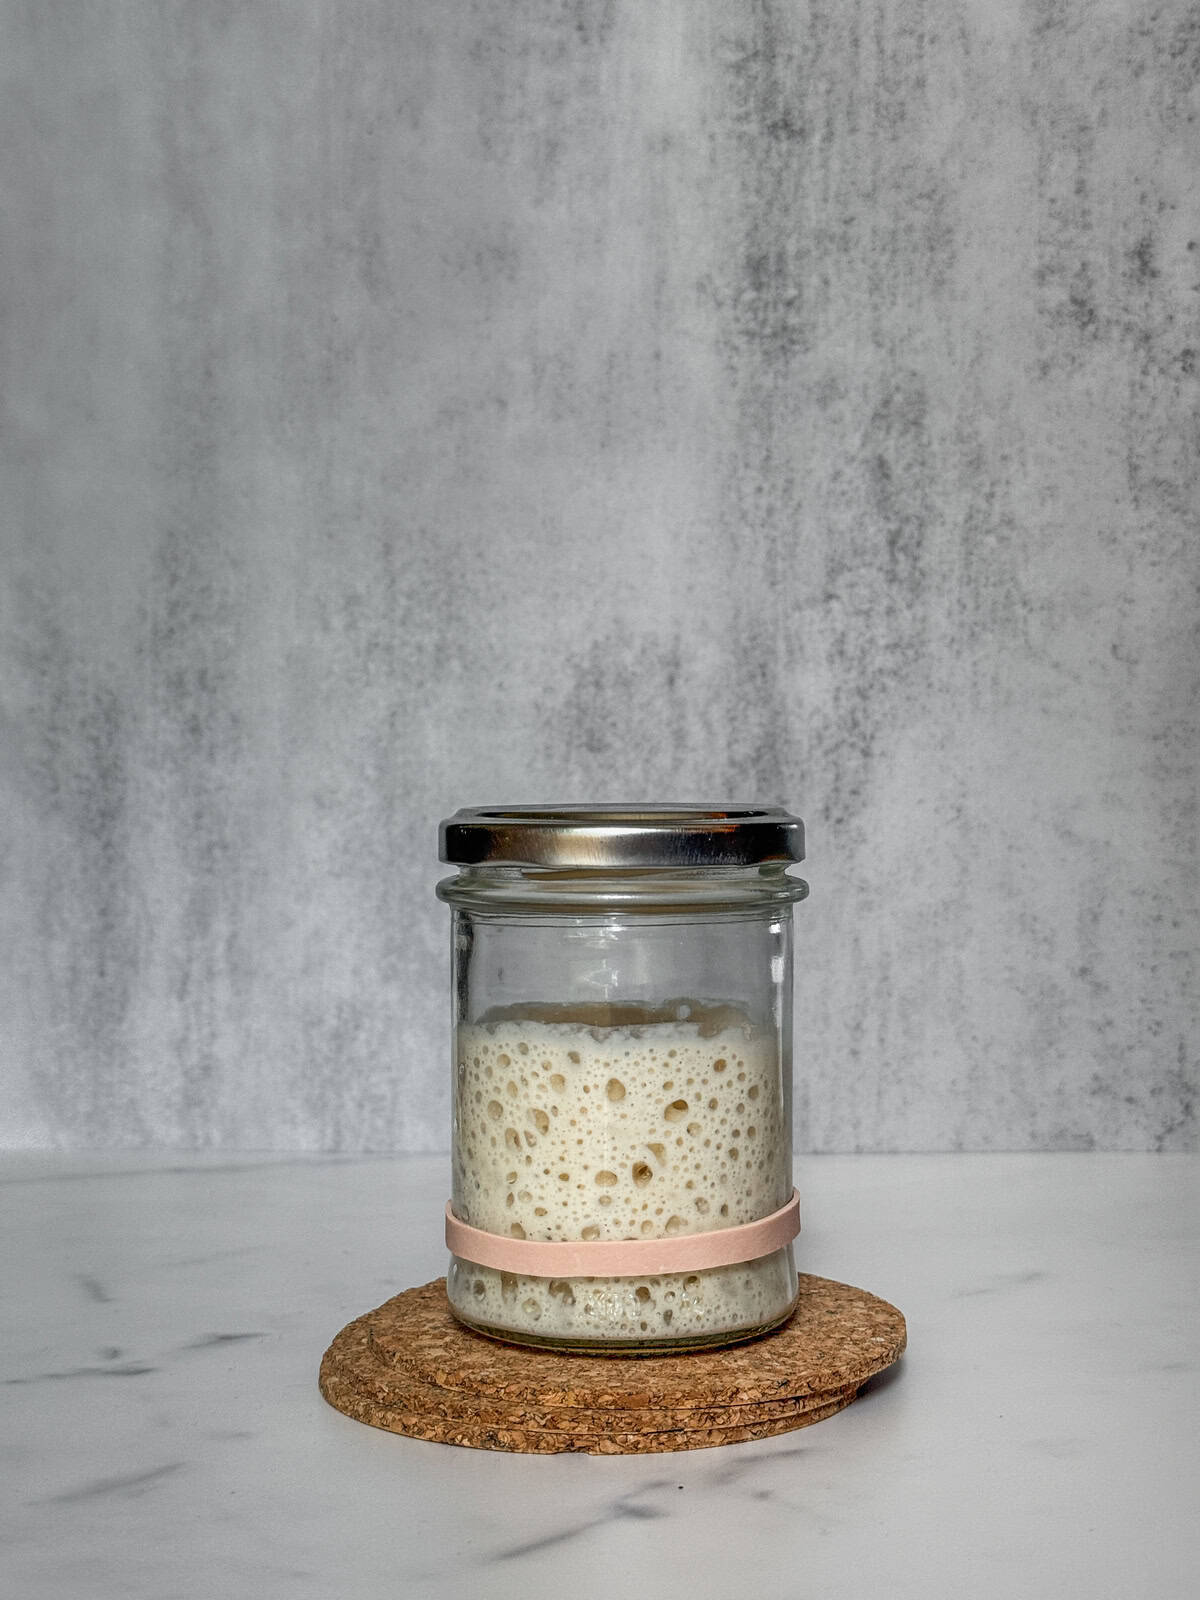
Day Five
Starter status: You will see your starter growing more active, with more bubbles, a better smell, and a noticeable rise in volume. With a rubber band around the jar, you will also notice when your starter has reached its peak and declined.
Continue the twice-daily feeding schedule. Feed it once in the morning and once in the evening.
Follow the same feeding method as on Day 4 with a single feeding of 25g starter, 36g white bread flour, and 36g water.
Day five: starter progress since yesterday.
Day five: starter ingredients mixed in a jar (front view).
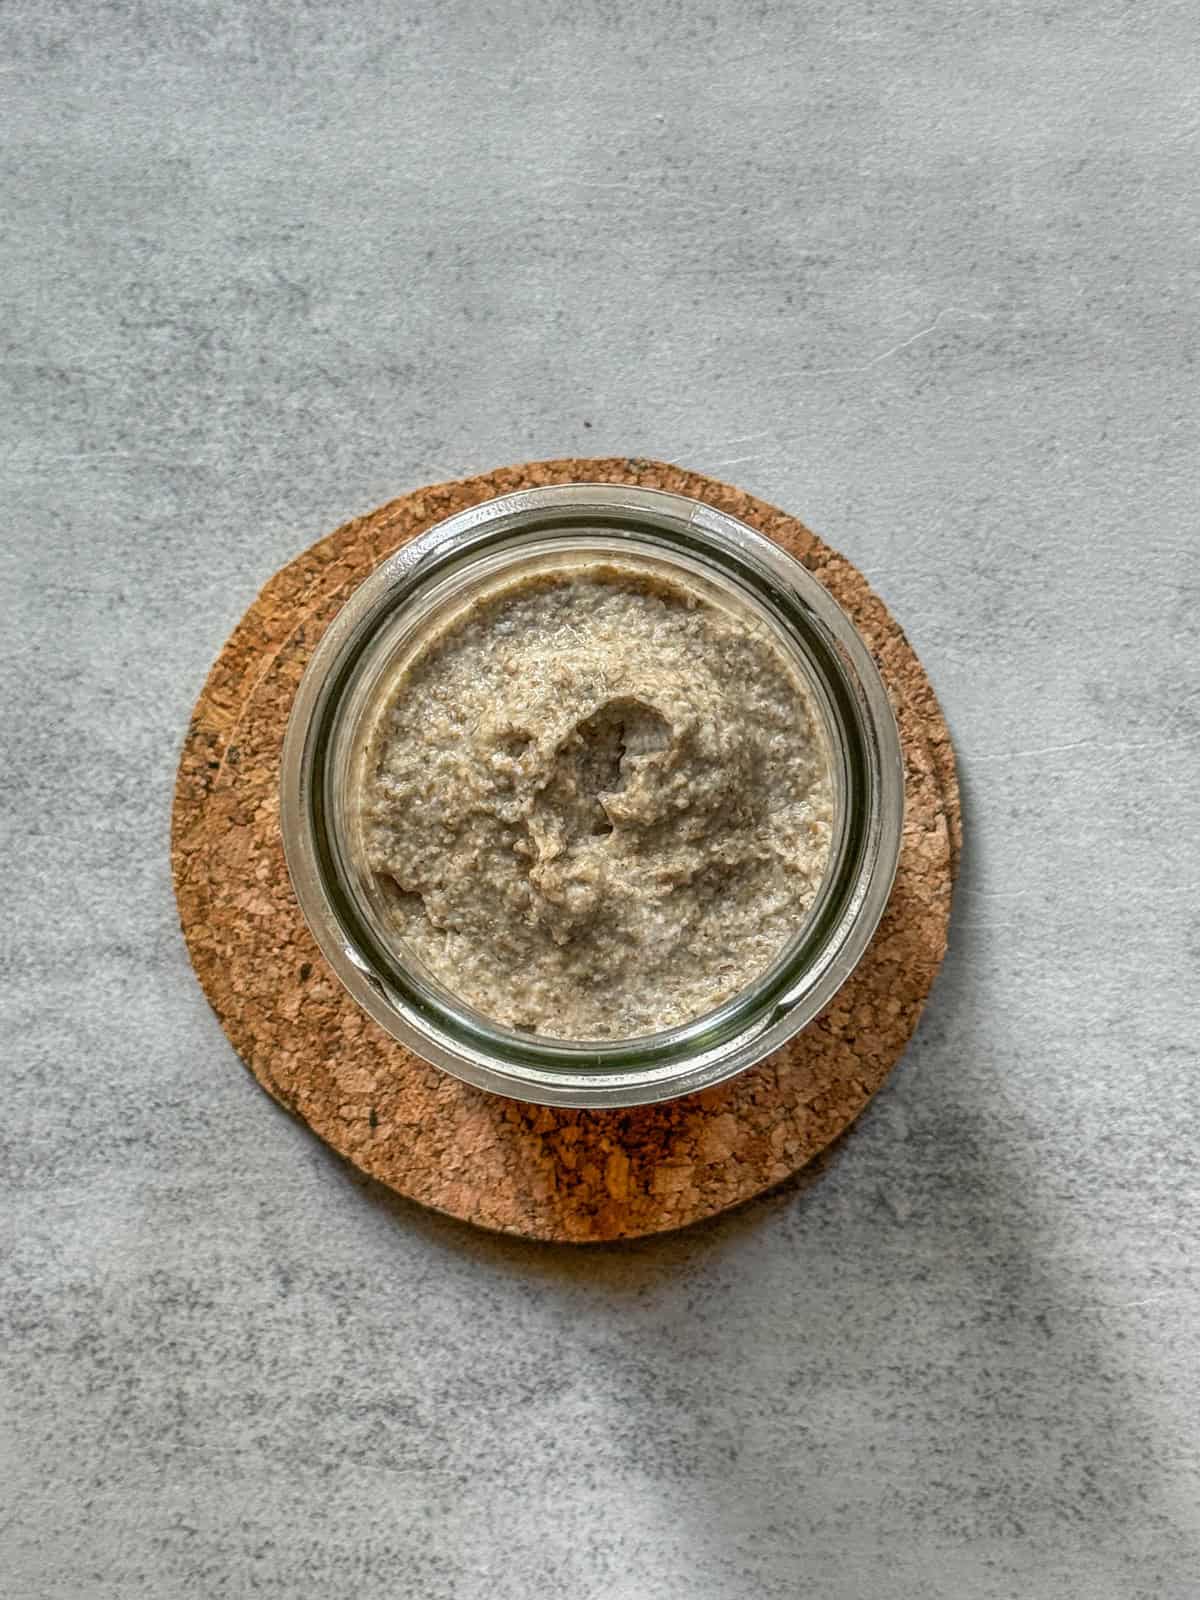
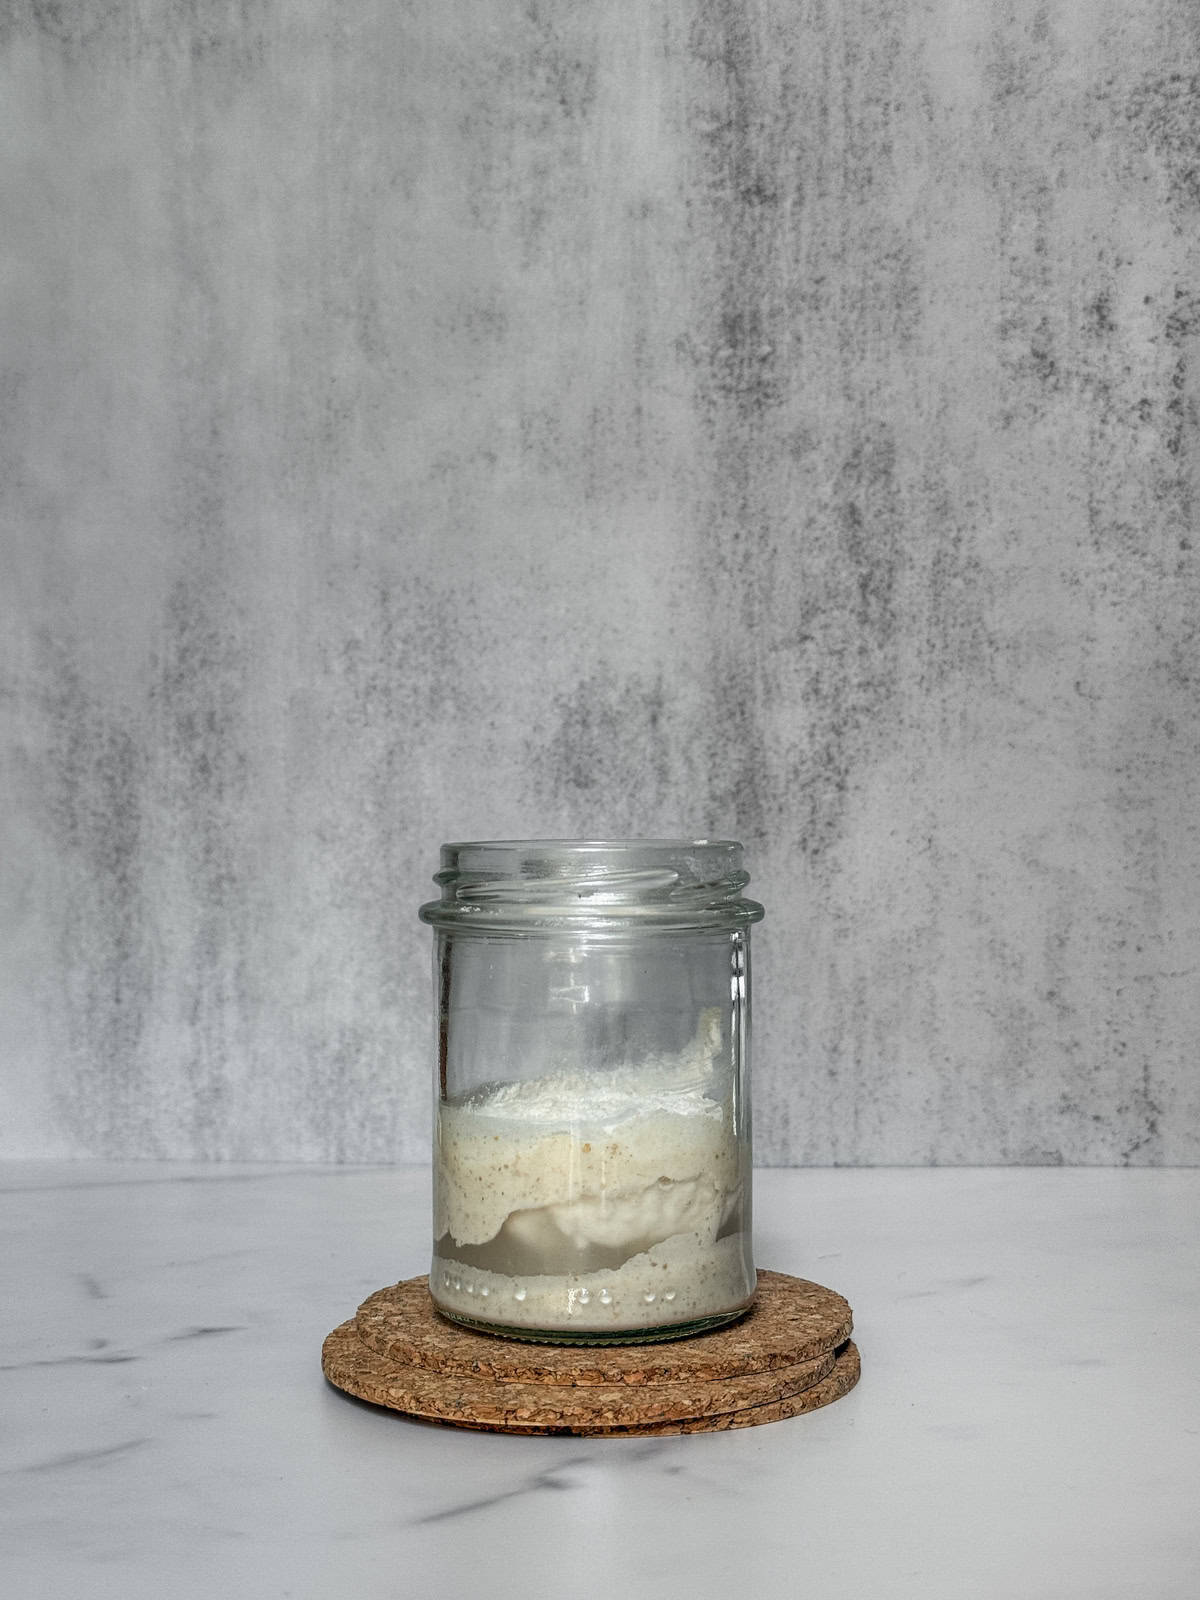
Days Six and Seven
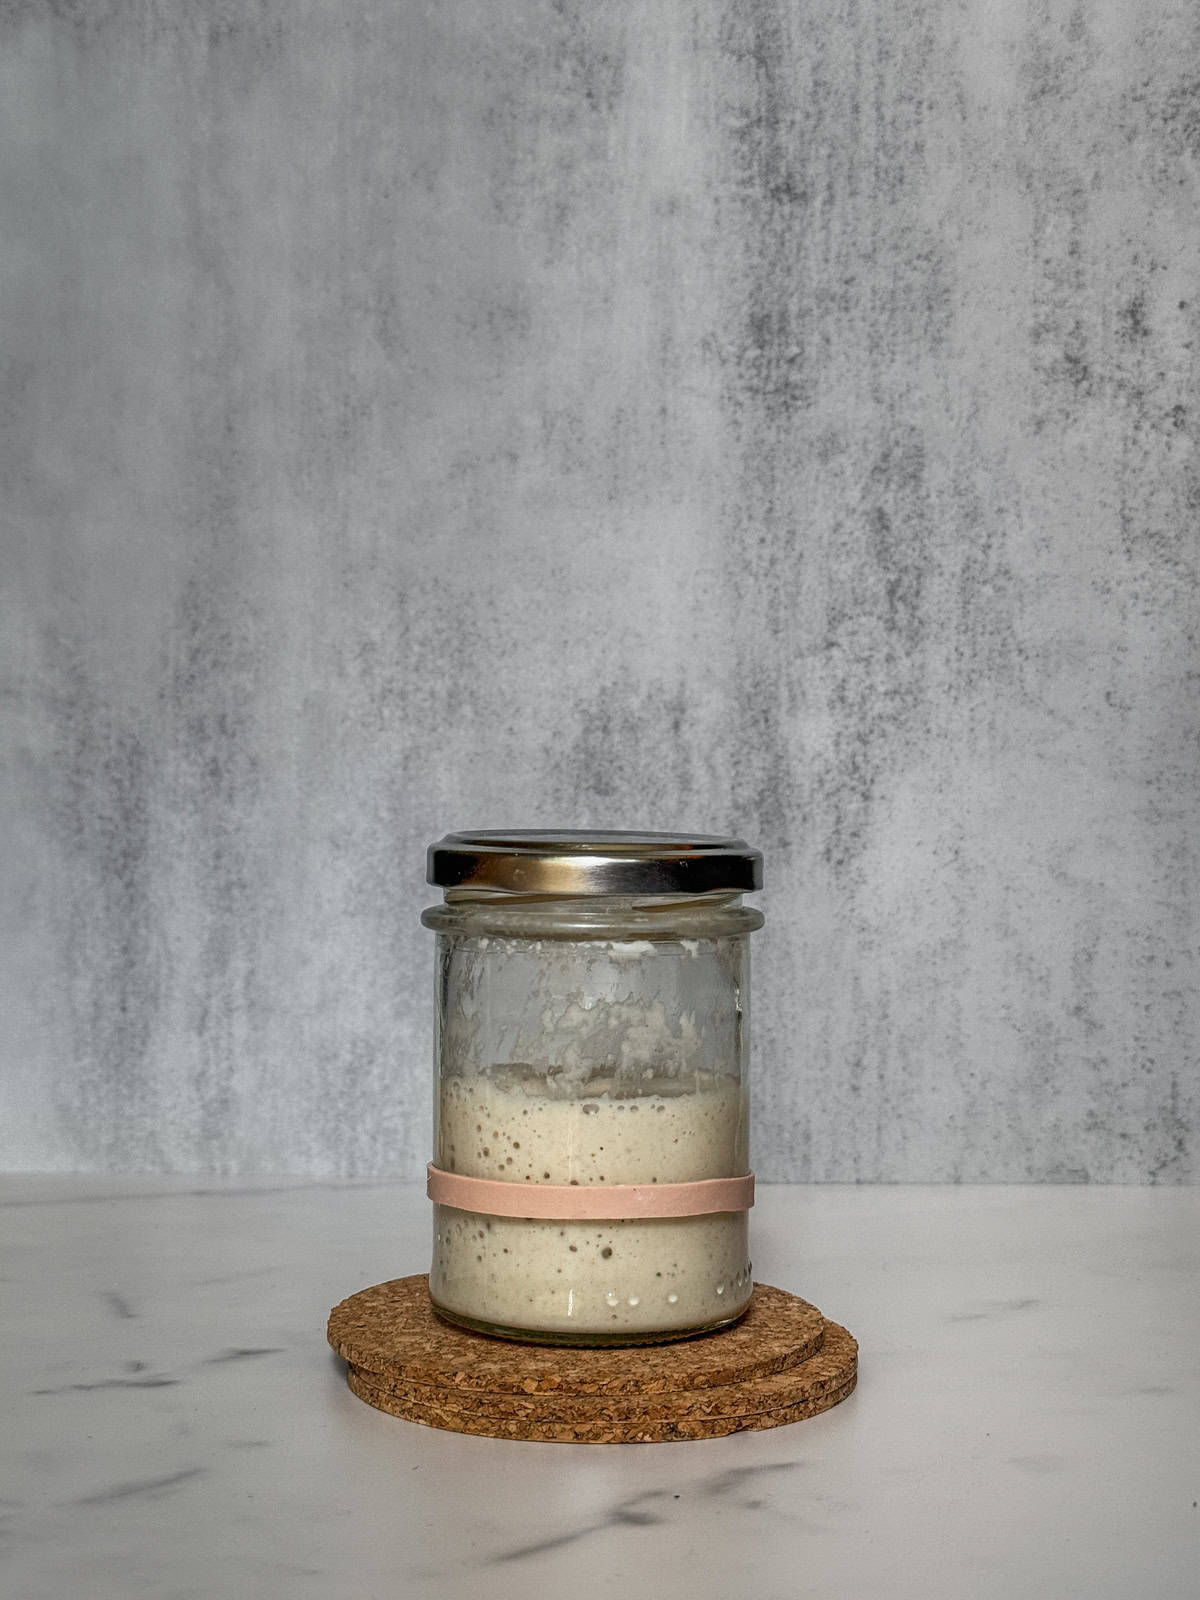
By Day 6, your starter should show good signs of activity, including a light, tangy aroma, bubbles forming on the top and sides of the jar, and, potentially, rising in volume a few hours after being fed.
Keep feeding your starter as you did on Day 5 twice daily today. But if your starter has doubled and deflated within less than 12 hours after feeding, it indicates hunger.
So, starting today, consider changing the feeding ratio to 1:3:3. Take 10g of the starter and place it in a second clean, empty jar. Add 30g strong white bread flour and 30g lukewarm water. Stir well until all flour is well incorporated.
Day six: starter progress since yesterday.
Day six (morning): starter ingredients mixed in a jar (front view).
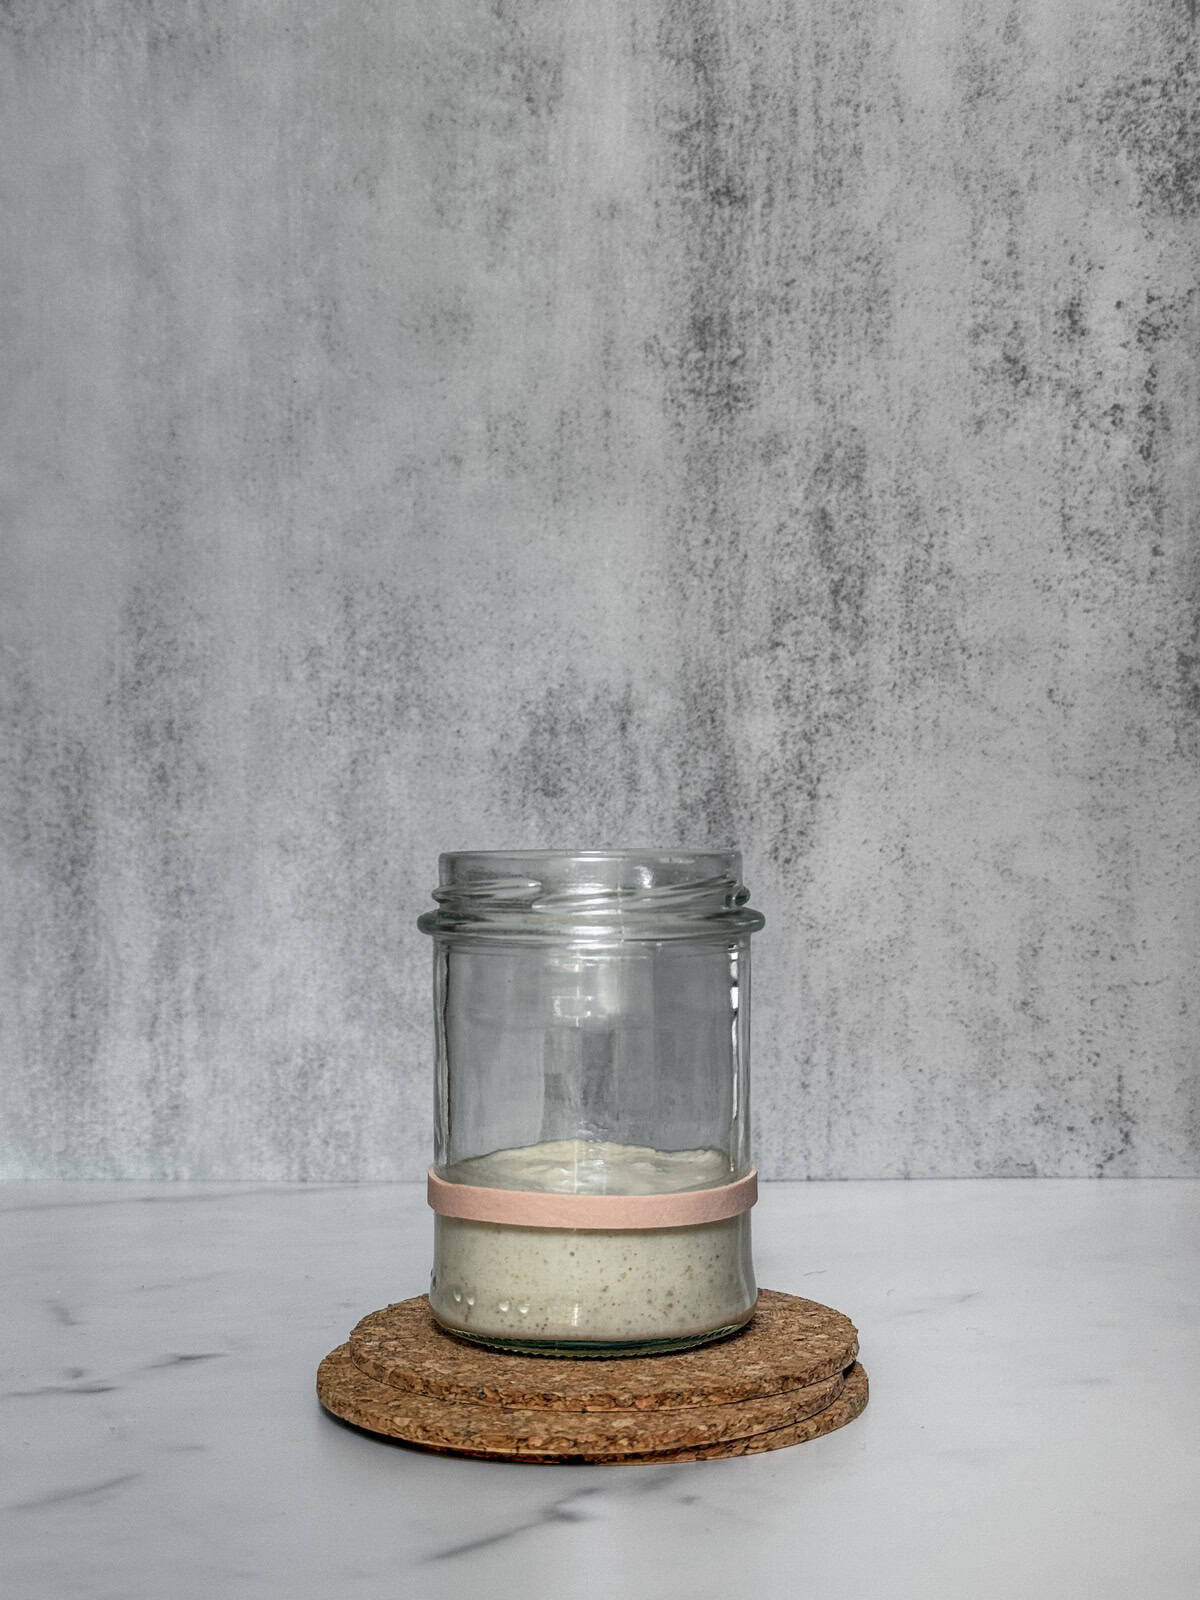
Place the lid on top and a rubber band around the jar, then let it sit in the same warm place for 12 hours. Then repeat the discard-and-feed process every 12 hours.
Day six: starter progress since the morning.

Here is what a hungry sourdough starter looks like.
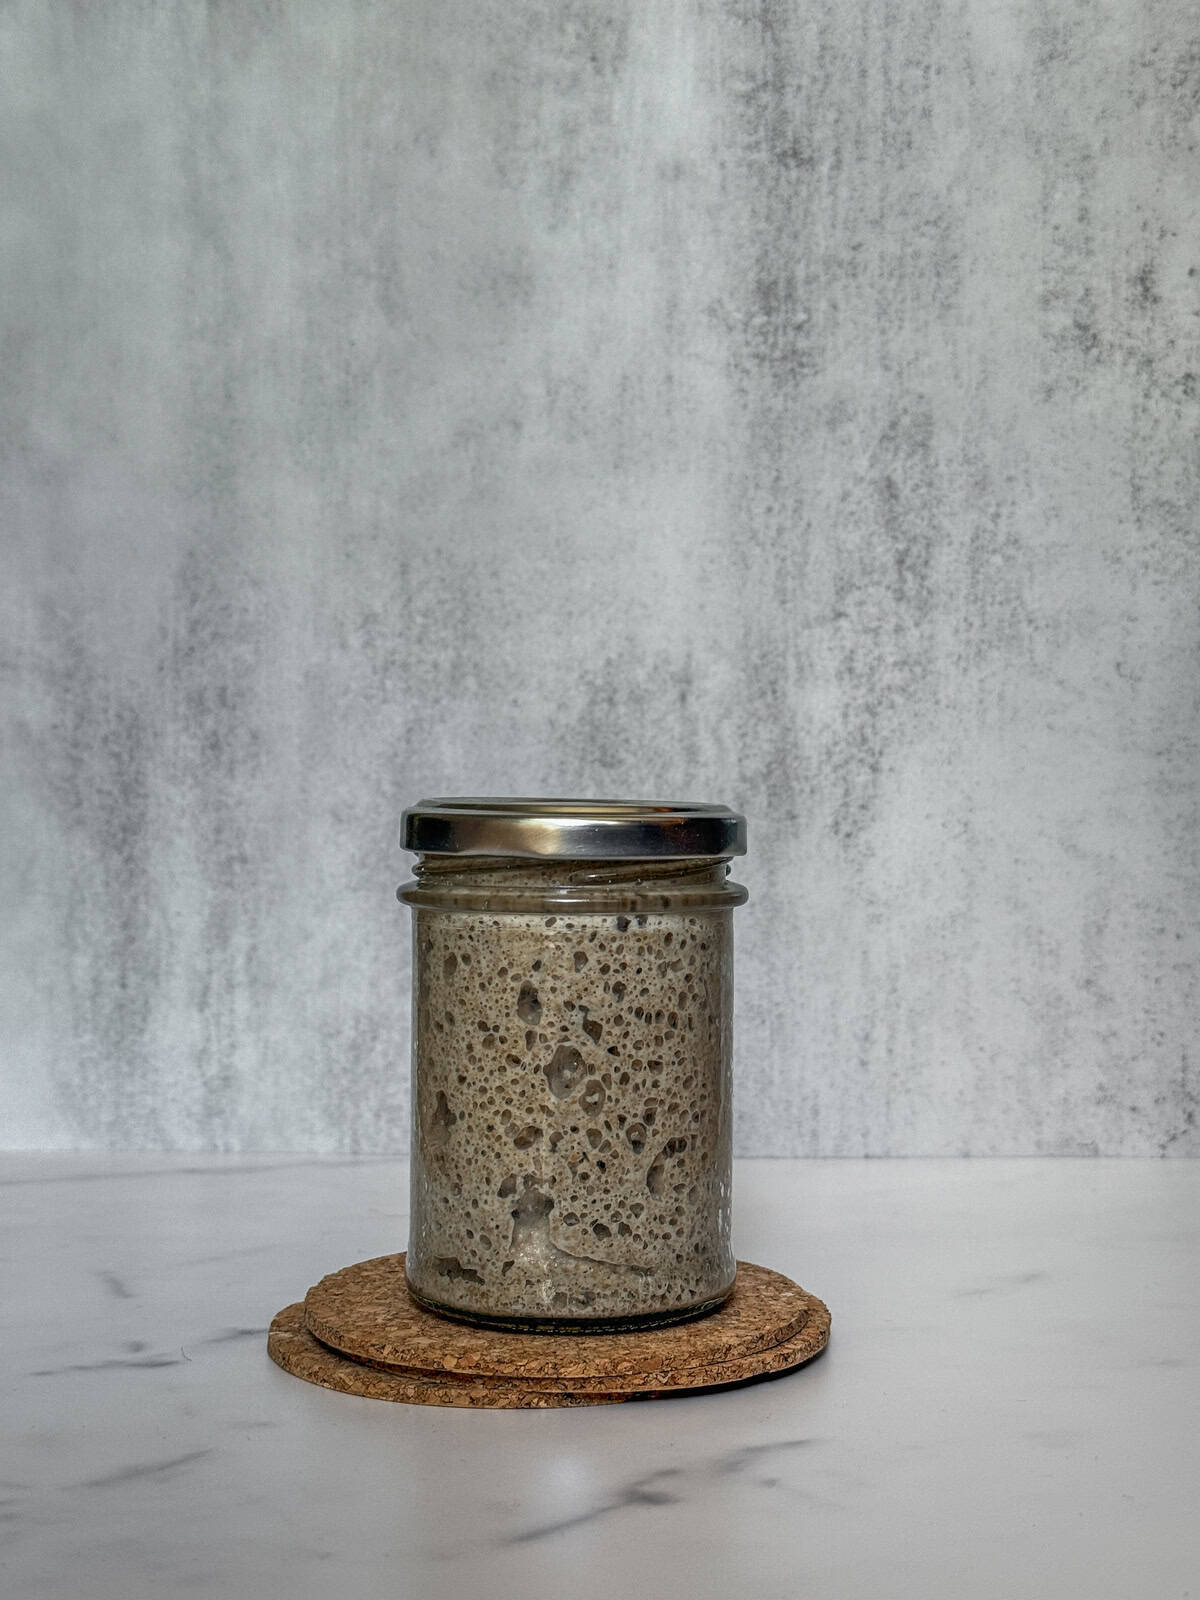
Days Eight to Ten
Continue feeding your starter at a 1:3:3 ratio (10g starter, 30g white bread flour, 30g water) twice a day. You can switch to room-temperature water.
By Day 10, your starter could be ready to bake bread or may require additional fermentation time. After Day 10 (some say Day 7), you can begin collecting the discard to experiment with various discard recipes.
The rule of thumb: your starter is ready for baking if it doubles in volume in 4-7 hours after a 1:2:2 feeding at 76-80°F (24-27°C).
If you see three consecutive days of this rising, your starter is ready for baking. You can also safely keep your discard when it passes this test (see my guide on when sourdough starter is ready for baking).
Your starter will reach some level of maturity by Day 14, although it will continue to develop over the next few weeks.
Sourdough starter timeline
Daily maintenance
Days 10-14 don't mark the end of your starter's development. You will need to keep feeding sourdough starter with white bread or all-purpose flour (for example, Costco's Kirkland Organic All-Purpose Flour).
From now on, try to learn your starter's behavior and set up a feeding schedule. Before each feeding, smell it and observe how hungry your starter is by checking how much it deflates.
The starter will transform from a sweet smell to a slightly tangy, milky smell. Signs of a thriving starter include bubbling, a doubling, or even tripling of volume.
Your starter feeding ratio and schedule will vary for everyone and depend on many factors, such as how often you bake bread, how active your starter is, and how warm your kitchen is.
Monitor your starter's growth and activity
Use a rubber band on the jar to monitor the starter's growth throughout the day. Consistently update your sourdough starter tracker, noting the duration required to reach peak activity with varying feeding ratios.
As a beginner, keep your starter at 100% hydration using the same amount of flour and water. One day, you will experiment with different hydration levels and feed the starter with other types of flour.
How to store your sourdough starter
At room temperature: If you bake daily or a few times a week, store your starter on the counter. This requires regular feeding once or twice a day to keep it active.
In the fridge: If you bake less than once or twice a week, store your starter in the refrigerator. You will feed it once a week to keep it healthy and vigorous.
I recommend feeding the newly created starter daily for at least one month before storing it in the fridge (see my guide to storing sourdough starter).
After you have been feeding your starter for about a month, dehydrate it as a backup (see my guide to dehydrating sourdough starter).
Best sourdough starter tips
- Weigh your starter, flour, and water with a digital scale (I like using this pocket gram scale), since feeding ratios are based on weight, not volume.
- Cover your jar loosely to allow some airflow. If you are using a Weck jar with a glass lid, skip the rubber seal. For a mason jar or any repurposed jar, rest the lid loosely on top.
- Don't worry if your starter stops bubbling after a burst of activity in the first couple of days. It has not stopped working. It just needs more time for the right bacteria and yeast to grow and settle in.
- Wait until Day 10 (or, for some bakers, Day 7) before using or baking with the discard.
- To prevent potential clogs, do not pour the discard down the drain; instead, use a spatula to dispose of it in the trash or compost bin.
- Before cleaning, wipe the spatula and the empty jar with a paper towel. Clean the jar by hand with plain water, and avoid using dish soap or a dishwasher.
- Choose to use a fresh jar each day or stick with the same one for feedings, as many prefer the consistency of the same jar.
- There is no need to sterilize jars or utensils, but all items that come into contact with the starter should be clean.
- Add water to the starter before incorporating the flour for effective mixing. This ensures an even water distribution to hydrate the flour properly and promote better rising.
- After each feeding, remember to scrape the sides of the jar with a rubber spatula and wipe the rim clean with a paper towel.
- Avoid feeding your starter before it reaches its peak, as this can weaken it (see my guide on overfeeding sourdough starter).
- While growing the starter, don't exceed 80°F (27°C); avoid placing it next to a radiator. The hot environment increases acidity in the starter.
- Starting on Day 6, you will find the need to increase the feeding ratio. Start with a 1:3:3 ratio twice daily, progressing to 1:4:4 if needed.
- Be patient and feed your starter regularly while keeping it in a steady environment. Using the same flour, water, and temperature each time will help you understand how it behaves. The Brod & Taylor Sourdough Home is great for keeping your starter at a consistent temperature.
- Don't panic if your starter looks odd in the early days. A clear liquid on top is usually hooch, and a thin white-to-beige film is often kahm yeast. Both are common and manageable.
What to do if your new sourdough starter fails
Creating a new starter is challenging. It requires time (sometimes up to 30 days), patience, and a bit of luck.
Don't be discouraged if your starter activity is low by Days 10-14. Check out my sourdough starter troubleshooting guide and sourdough starter FAQs to help you along the way.
If your starter doesn't show signs of activity for 2 weeks,
- Start with a new starter, but double the ingredients, including the amount of starter mixture used for daily feedings, in the beginner's sourdough starter recipe below. Using more rye or whole wheat flour can help, as these contain higher amounts of natural wild yeast.
- Buy sourdough starter online or from a local bakery.
Although you can always borrow a starter from a friend, it is not always a good option. As a beginner, it can be challenging to make sure the starter is healthy and active.
FAQ
Can you create a sourdough starter in a cold kitchen? Although the optimal temperature for starter development is 75-79°F (24-26°C), you can still create a successful starter at lower temperatures. Just expect it to take longer for the starter to double in volume and mature.
Can you add packaged yeast to kickstart the starter? No, packaged yeast is intended to make yeasted bread. To achieve artisan sourdough bread, we create a starter using wild yeast.
What is the best feeding ratio for sourdough starter? I recommend feeding your starter at a 1:3:3 ratio by weight twice daily, or at a 1:5:5 ratio once daily. However, every starter is different, so you may need to adjust the feeding schedule and ratio to match your starter's activity.
When can I use the sourdough discard from my starter? When making a new starter, don't use the discard in the first 10 days (sometimes 7 days for some bakers). The first two to three days of feeding may show false activity due to undesirable bacteria, so wait until your starter is fully established.
Do I need a new jar every day? No. You keep just one active starter, rotating between two clean jars. Each feed, you move a small portion into a fresh jar with new flour and water. The rest is discard, and you wash the old jar for next time. Jars don't accumulate.
What happens if I feed my starter while it is still rising? Feeding before it peaks dilutes its activity before it reaches full strength, and over time that can make it weaker and less predictable. Doing it once won't hurt it, but aim to feed it when it is at its peak or only slightly past it.
Can I use einkorn or other flours instead of strong bread flour? Not as a 1:1 swap. Einkorn has weaker gluten and absorbs water differently, so substituting it directly will change your results. If you want to use it, replace only 20-30% of the bread flour with einkorn and adjust the water as needed. (Rye and whole wheat are fine and even helpful in the early days.)
Ready to keep learning?
Once your starter is ready, try my Beginner Sourdough Bread recipe for your first loaf.
PrintRecipe
Beginner Sourdough Starter Recipe
Learn how to make sourdough starter from scratch with this beginner recipe. It includes easy steps to grow a healthy starter for baking sourdough bread.
- Prep Time: 5 minutes
- Total Time: 10 days
- Yield: 70g 1x
- Method: No-Cook
- Cuisine: American
Ingredients
- 86 grams rye flour, divided (Bob's Red Mill brand)
- 480 grams unbleached white bread flour, divided (King Arthur brand)
- 576 grams water, divided (non-chlorinated tap water, filtered or spring water)
Instructions
- Check the photos and instructions earlier in the post for reference before you start.
- Day 1: Weigh the empty clean jar and write its weight on the bottom with a marker. Mix 50 grams of rye flour with 60 grams of lukewarm water at 75-78°F (24-26°C) and stir vigorously until smooth, using a spatula to clean the sides of the jar. The mixture should resemble thick pancake batter and be lump-free. Cover the jar loosely with a lid to allow airflow. Place the jar in a warm spot (75-79°F or 24-26°C), a consistent environment, away from direct sunlight and drafts, for 24 hours.
- Day 2: Take 25g of the existing "starter" mixture and place it in a second clean, empty jar. Add 18g rye flour, 18g strong white bread flour, and 36g lukewarm water. Stir well, cover loosely with a lid, and leave it in the same warm spot for another 24 hours.
- Day 3: Take 25g of the starter and place it in a second clean, empty jar. Add 18g rye flour, 18g strong white bread flour, and 36g lukewarm water. Stir vigorously, cover loosely with a lid, and leave it in the same warm spot for another 24 hours.
- Day 4: Starting today, place a rubber band around the jar or use a washable glass marker to indicate the initial level of the starter after each feeding. Take 25g of the starter and place it in a second clean, empty jar. Add 36g strong white bread flour and 36g lukewarm water. Stir well until lump-free and smooth. Place the lid on top loosely and keep in a warm place for 12 hours. Repeat the same discard and feeding in 12 hours.
- Day 5: Follow the same feeding method as on Day 4 (twice a day) with a single feeding of 25g starter, 36g white bread flour, and 36g water.
- Days 6-7: Keep feeding your starter as you did on Day 5 twice daily today. But if your starter has doubled and deflated within less than 12 hours after feeding, it indicates hunger. So, starting today, consider changing the feeding ratio to 1:3:3. Take 10g of the starter and place it in a second clean, empty jar. Add 30g strong white bread flour and 30g lukewarm water. Stir well until all flour is well incorporated. Place the lid on top and a rubber band around the jar, and let it sit for 12 hours in the same warm place. Then, repeat the discard and feeding process every 12 hours.
- Days 8-10: Continue feeding your starter at a 1:3:3 ratio (10g starter, 30g white bread flour, 30g water) twice a day. You can switch to room-temperature water.
- By Day 10, your starter could be ready for baking bread or require additional fermentation time. Your starter will reach some level of maturity by Day 14, although it will continue to develop over the next few weeks.
Notes
- Weigh the starter, flour, and water using a digital scale, as the feeding ratios rely on weight, not volume.
- Add water to the starter before incorporating the flour for effective mixing. This ensures an even water distribution to hydrate the flour properly and promote better rising.
- After each feeding, remember to scrape the sides of the jar with a rubber spatula and wipe the rim clean with a paper towel.
- Starting on Day 6, you will find the need to increase the feeding ratio. Start with a 1:3:3 ratio twice daily, progressing to 1:4:4 if needed.
- Wait until Day 10 (or, for some bakers, Day 7) before using or baking with the discard.
- Your starter is ready for baking if it doubles in volume in 4-7 hours after the feeding at a temperature of about 76-80°F (24-27°C). Read about when your starter is ready to bake.


Becky says
I'm learning about sourdough bread to help my daughter as she begins her sourdough journey, so I signed up for your sourdough email series. Your blog looks like it will be very helpful, however I do need clarification regarding the starter. Every day you instruct to remove a portion "of the starter and place it in a second clean, empty jar." Every day. So, I'm picturing a lot of jars adding up around the kitchen that contain discard, new water, and new flour! Ha! I'm sure you intend for the additional water and flour to be mixed into the starter jar (after some has been removed to "a second clean, empty jar"), but what happens to that second jar every day?
Irina Totterman says
Hello Becky. Yes, you transfer a small portion of the starter (I only use 4 grams) and feed it with fresh flour and water. The rest of the starter in the jar (you are calling it second jar) is considered discard. You have a couple of options: you can collect it in a single jar, washing out the starter jar and getting it ready for the next feeding or you can throw it away. If you want, you can store discard in an airtight jar in the fridge for up to a week and use it in so-called “discard recipes.” I personally don’t do this. Since I feed only 4 g of starter at a 1:4:4 feeding ratio (4 g starter, 16 g flour, 16 g water) twice a day, I don’t end up with much discard anyway.
Becky says
Thank you so much for the quick reply!
Lori says
What will happen if I feed my starter while it’s still rising?
Irina Totterman says
Hello Lori, If you feed your starter while it’s still rising, you dilute its activity before it reaches peak strength. Over time, this can make it weaker and less predictable, but doing it once won’t harm it.
Pat Sweigert says
Good evening, I have a recipe that is made with fresh milled grain. It calls for 365 sourdough levain for 1000gms of flour. 780 gms water. I’m not sure how to make that amount of levain. I guess my question would be what the ratio of starter to flour to water would be?? Thanks for your help. Pat
Irina Totterman says
Hello Pat, This depends on how much starter ("mother") you have. The calculation will be different if you have 10 g versus 100 g. If you have 100 g of starter, simply feed it at a 1:1.5:1.5 ratio (starter : flour : water) in the morning, and you'll have about 400 g of starter by the afternoon. If you have only 10 g of starter, you'll need to build up that amount gradually over two days. Please check out the article on making levain for more details.
Saitofi Deem says
Can Einkorn whole grain wheat be used wherever strong bread flour is listed?
Irina Totterman says
Hello Saitofi, Not exactly. Einkorn whole grain flour behaves very differently from strong bread flour. It has weaker gluten and absorbs water differently, so you usually can't substitute it 1:1 in bread recipes. For sourdough, it's best to start by replacing only 20–30% of the bread flour with einkorn and adjust the hydration as needed.
Maria says
I’m following your recipe and everything is going well, but I completely forgot to feed my starter yesterday, and I didn’t discard it either. Did I ruin it? Do I have to start over?
Irina Totterman says
Hello Mari, Oh, no, you should be fine. New sourdough starters are much more resilient than they seem. Missing a feeding or discard for a day usually isn't a problem. Just resume your normal feeding schedule, and your starter should recover. It may take an extra day or two to get back on track, but there's rarely a need to start over.