
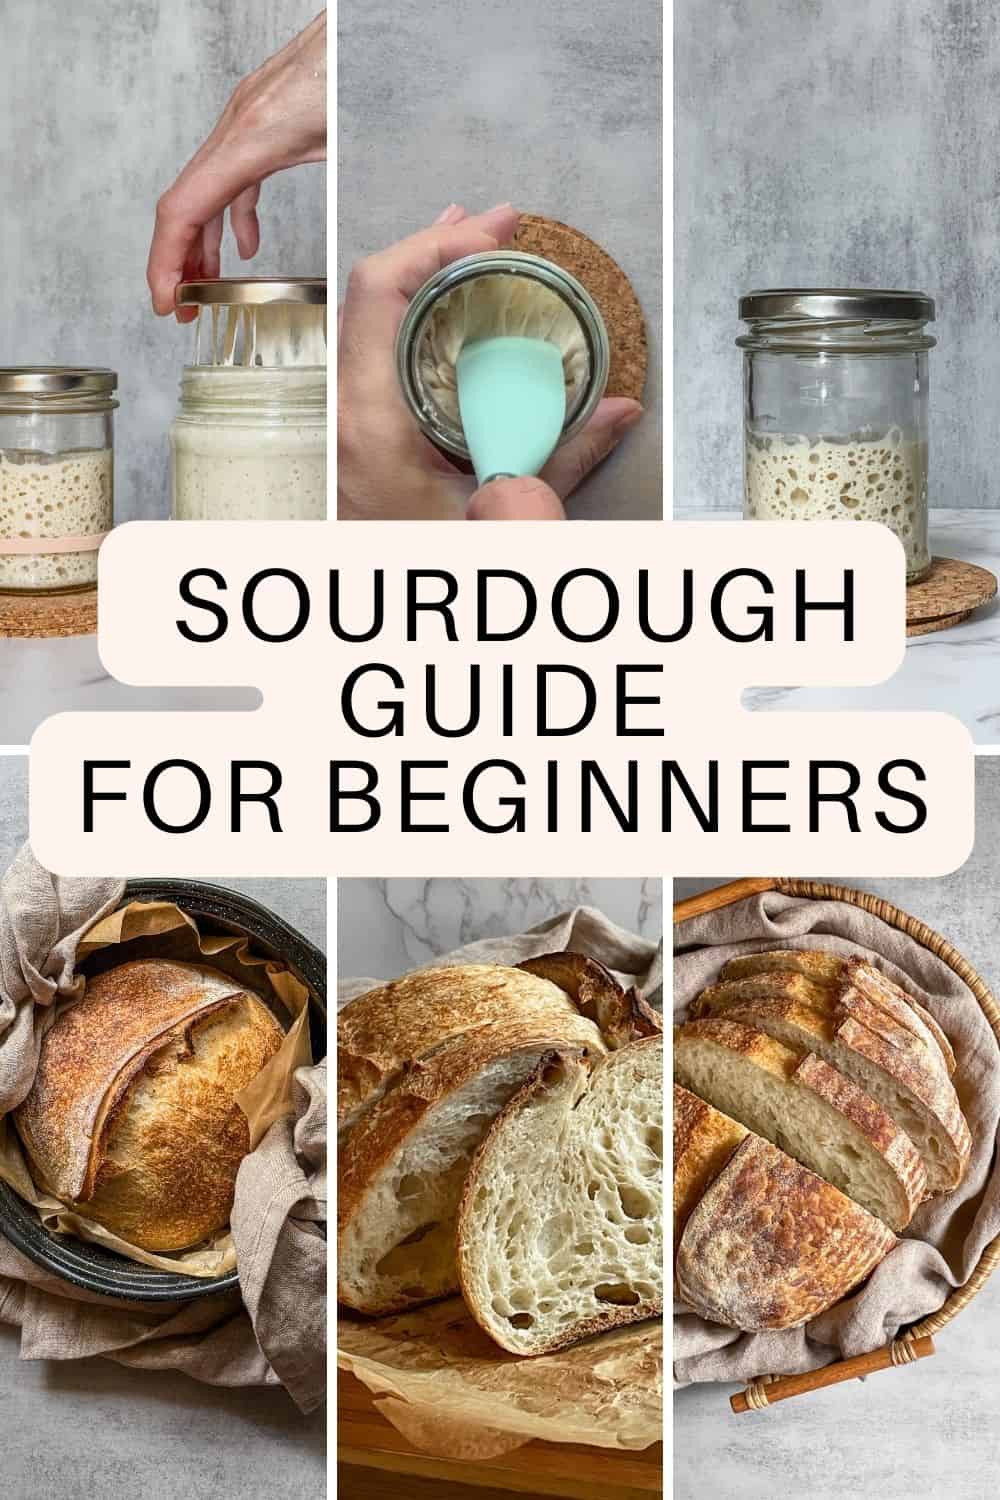
Welcome to the Beginner's Sourdough Guide. If you are new to sourdough baking, or you have tried it and want to finally understand what you are doing, this is the perfect place to start.
In this guide, I will walk you through the 9 essential steps to making beautiful sourdough bread, from building your starter to pulling a golden loaf from the oven. I will explain not just how to do each step, but what to look for along the way, so you learn to read your dough instead of watching the clock.
Let's get started.
Jump to:
At a Glance
- Best for: Complete beginners learning sourdough from scratch
- What you'll learn: The 9 essential steps of making sourdough bread, from building levain to baking
- Skill level: Beginner
- Time commitment: About 24 hours from mixing to baking (plus 10 days if starting a new starter)
- Key techniques: Levain building, bulk fermentation, shaping, proofing, scoring, and baking
- Optional steps: Autolyse and fermentolyse for improved dough development
- Main takeaway: Great sourdough comes from understanding the process and mastering each step, not from rushing to the recipe
- Next step: Once you understand the workflow, try the Beginner's Sourdough Bread Recipe and bake your first loaf with confidence.
What is sourdough bread?
Sourdough is bread made without commercial yeast. It is naturally leavened with a sourdough starter, a living culture of wild yeast and beneficial bacteria created from flour and water. The wild yeast makes the dough rise, while the bacteria develop sourdough's signature tangy flavor, chewy crumb, and open texture.
What makes sourdough special is the slow fermentation. Unlike quick breads made with packaged yeast, sourdough ferments over many hours, which builds flavor, improves the bread's structure, and can make it easier to digest.
It is an ancient way of baking, the original way bread was made, and it rewards patience and attention over speed.
Why bake sourdough bread?
Beyond the incredible flavor, there are real reasons bakers fall in love with sourdough. The long fermentation breaks down some of the gluten and phytic acid in the flour, which many people find makes sourdough easier to digest than standard bread.
It is made with just flour, water, and salt, no commercial yeast, no additives, no preservatives. Even more rewarding is the process itself: transforming three simple ingredients and a jar of wild culture into a beautiful, crusty loaf. Once you understand the basics, you can bake bakery-quality sourdough at home.
What you need to get started
You don't need much to bake sourdough, but a few tools make it far easier. At minimum, you will need a sourdough starter, a kitchen scale (the one tool with no substitute), a mixing bowl, a bench scraper, and a Dutch oven to trap steam. Everything else is a nice-to-have you can add later as you go.
Don't feel you need to buy it all at once. A bowl lined with a towel stands in for a banneton, a sharp knife replaces a bread lame, and a lightweight roasting pan works as well as a heavy Dutch oven.
For the complete breakdown, must-haves, budget alternatives, and upgrades worth making later, see my full guide to essential sourdough tools.
Beginner's guide to sourdough bread
Here is a simple breakdown of the sourdough bread-making process, with nine steps and autolyse or fermentolyse optional.
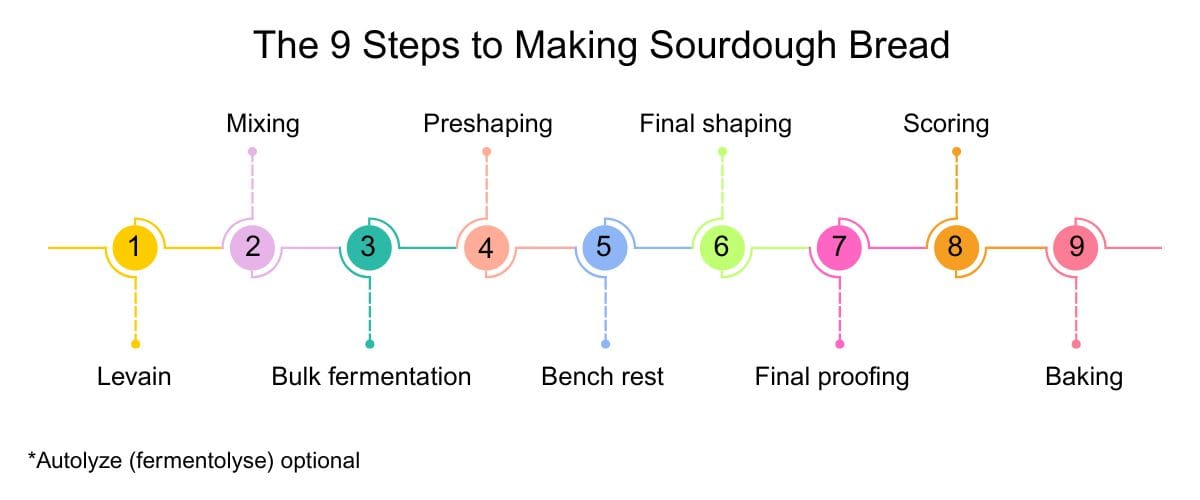
Let's go through each step together, learn how to master it, and see what your dough should look like at each stage.
Levain building
The first step involves creating a lively and active offshoot of your starter. You will mix flour and water with your "mother" starter and let it ferment. This creates levain, the natural leavening agent that helps sourdough rise and gives it its tangy flavor. A healthy levain is key to a great loaf.
Read more: How to Make Levain and How to Make Sourdough Starter in 10 days
Mixing
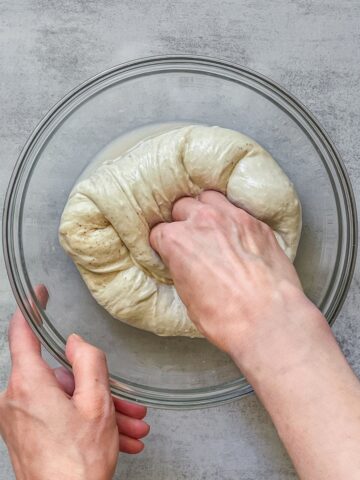
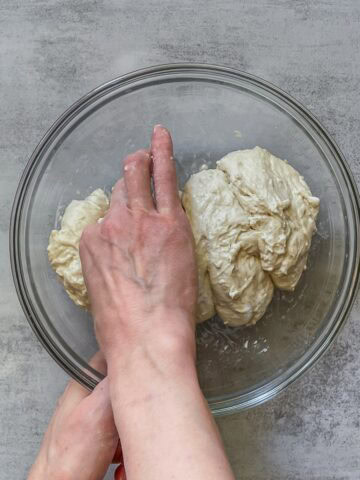
Next, you will mix all the ingredients. Sometimes, you might let the flour and water sit first (autolyse) to give the enzymes time to hydrate the flour. Other times, you mix the flour, water, and levain and allow your dough to fermentolyse. These steps are optional, but they help develop the gluten and create a strong and stretchy dough.
Read more: How to Mix Bread Dough
Bulk fermentation
This step is where the magic happens. When you add levain to the dough, it starts to ferment. This step involves a series of folds to strengthen the dough and allow it to rise. The yeast and bacteria from the levain help the dough grow, making it light and airy when baked.
Read more: How to Bulk Ferment Bread Dough and When Bulk Fermentation Is Done
Preshaping
After the bulk fermentation, you divide and preshape the dough into rough rounds. This helps the dough redistribute the gas inside and gives it a more even texture, making it easier to shape in the next step.
Read more: How to Divide and Preshape Bread Dough
Bench rest
Let the dough rest for 15-30 minutes. This helps the gluten relax, making it easier to handle in the next step when you finalize the shape.
Read more: How to Bench Rest Bread Dough
Final shaping
Now, it is time to shape your dough into its final form: a boule, batard, or other desired shape. This process gives your loaf its final structure and surface tension, which helps it rise nicely in the oven.
Read more: How to Shape Bread Dough
Final proofing
After shaping, let the dough rest again, usually in the fridge. This final proofing time allows the dough to finish fermentation and develop even better flavor. The timing is important for the texture and sourness of true sourdough bread.
Read more: How to Proof Bread Dough
Scoring
Before baking, you will score your dough with a sharp knife or blade. This allows steam to escape and helps the bread expand in the oven, creating a beautiful crust pattern.
Read more: How to Score Sourdough
Baking
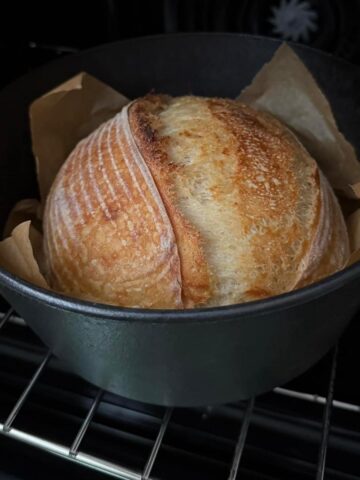
The final step is baking. The dough goes into a preheated oven to create a great oven spring and crisp crust. The heat transforms the dough into a golden-brown loaf with rich flavors and a soft, chewy inside.
Read more: How to Bake Sourdough Bread
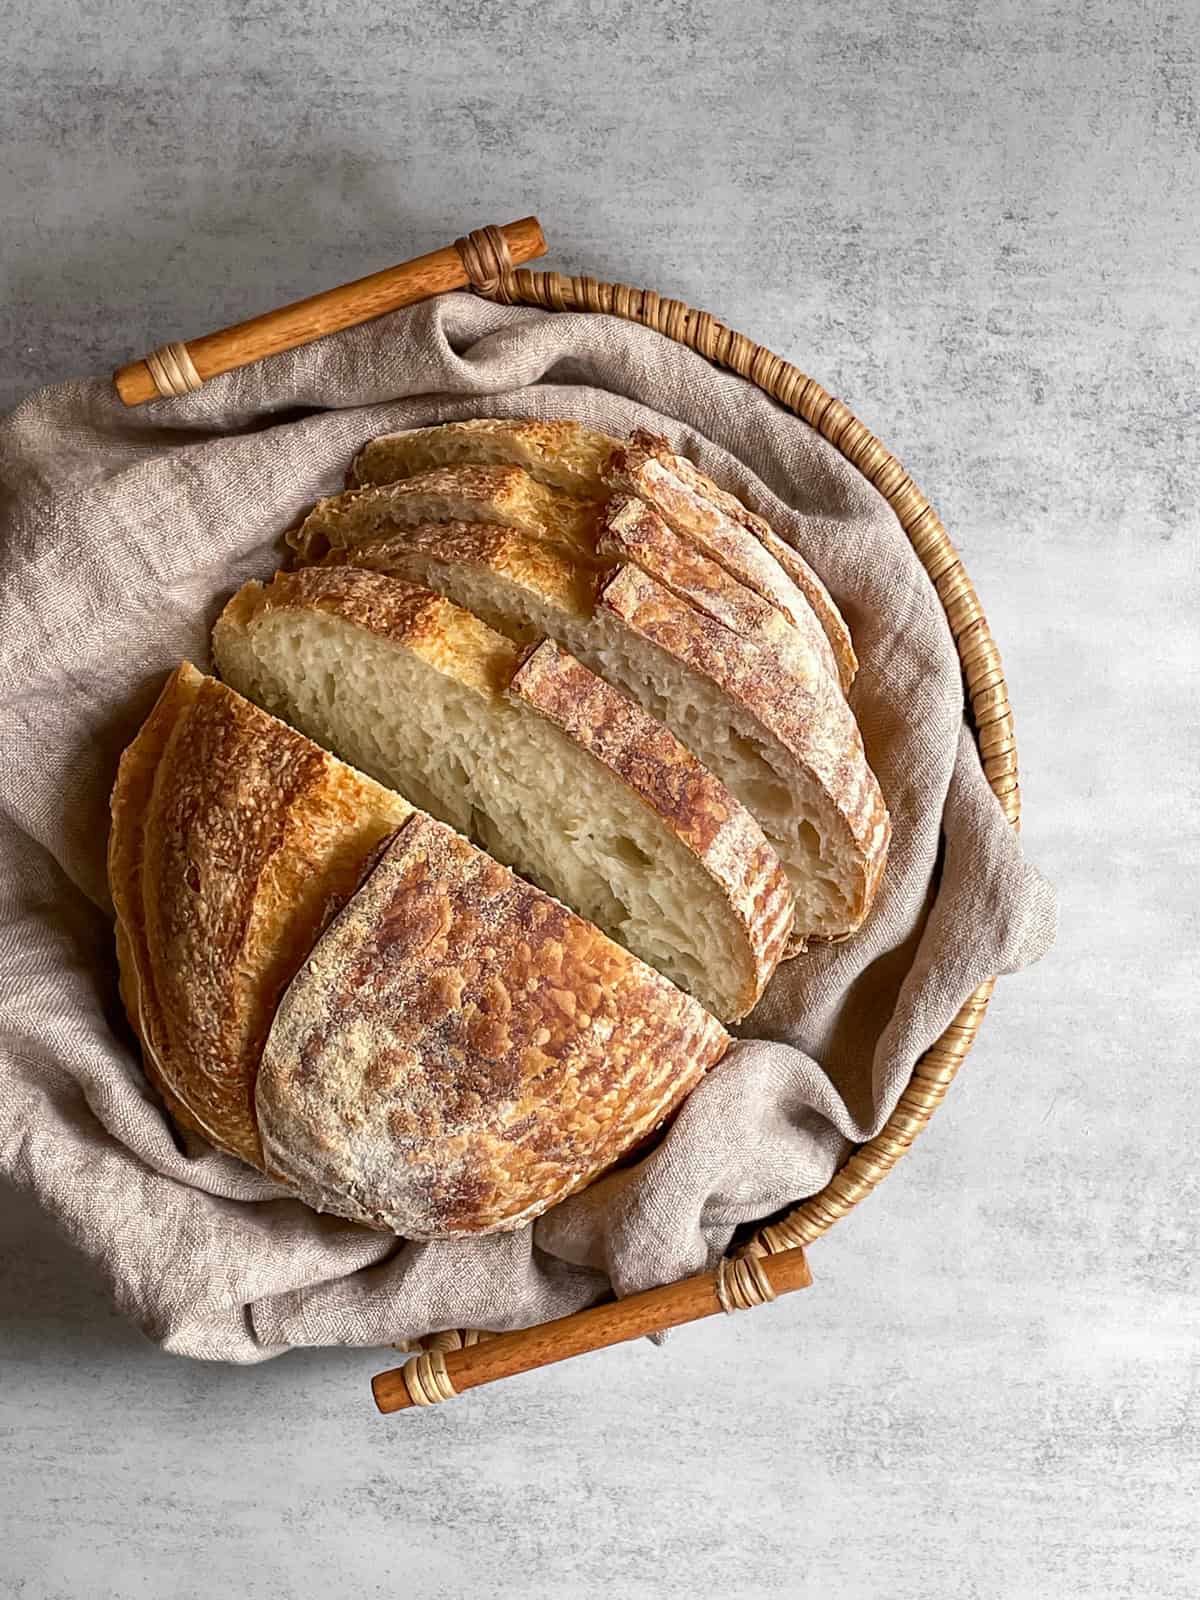
Once your sourdough is out of the oven, let it cool for at least 2 hours before slicing. When it is time to slice, grab a bread knife and cut it like a pro.
Now, enjoy your fresh sourdough with some butter, and remember to check out how to store sourdough bread to keep it fresh.
Learning the nine steps is easier with a cheat sheet by your side. Want them all on one page?
Bake your first sourdough loaf
Now that you understand the full sourdough process, you're ready to put it into practice. Follow the step-by-step Beginner's Sourdough Bread Recipe to bake your first loaf.
FAQ
Do I need a sourdough starter before I begin? Yes. Everything starts with a healthy starter, the living culture that makes sourdough rise. If you don't have one, you will need to create one first (it takes about 10 days) or get one from another baker.
How long does it take to make sourdough bread? From mixing to baking, expect about 24 hours (most of it hands-off fermentation). If you are starting a brand-new starter, add about 10 days to get it active first.
Is sourdough hard for beginners? It has a learning curve, but it is very achievable. The key is understanding each step rather than rushing. Many bakers nail a good loaf within their first few tries by following the process and judging the dough, not the clock.
What's the difference between a starter and a levain? Your starter is the culture you keep alive in the long term. A levain is an offshoot you build from your starter specifically for a bake (see my guide on the difference between sourdough starter and levain).
When is my starter ready to bake with? Your starter is ready when it reliably doubles in size after a 1:2:2 feeding (starter:flour:water) within 4-6 hours at 76-80°F (24-27°C) for three consecutive days (see my guide on when a sourdough starter is ready for baking).
Ready to keep learning?
Choose how you want to learn sourdough baking: guided or self-taught.
If you would like me to guide you step by step, sign up for my newsletter. You will receive easy-to-follow daily emails, perfect for your morning coffee, that guide you through sourdough basics and, later, advanced techniques.
My emails are designed logically, so you can learn sourdough baking without missing a step or jumping around.
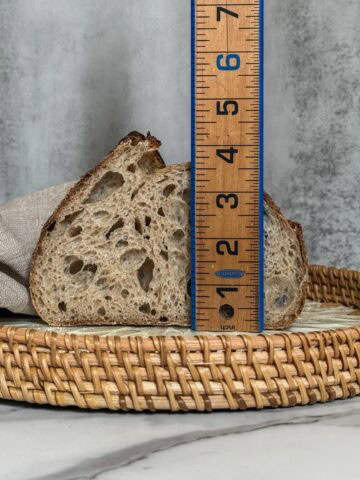
If you go the self-taught route, start by reading about what perfect sourdough bread looks and tastes like.
When a bake goes wrong, start with my sourdough bread troubleshooting guides to diagnose the problem by symptom. And remember, if you ever need help, I'm just a comment away!