
Quick Summary: Sourdough proofing is the final rise after shaping, before baking. You can proof at room temperature (about 1.5-3 hours, faster, milder flavor, same-day baking) or in the fridge, called cold retard (8-16 hours and longer, tangier flavor, better scoring and oven spring).
For room-temperature proofing, the dough is ready when it looks puffy and passes the poke test: press it gently, and it should spring back slowly, leaving a slight indentation. For most bakers, an overnight cold proof gives the best flavor and the most flexible schedule.
Jump to:
- What is sourdough proofing?
- The difference between bulk fermentation and proofing
- Sourdough proofing times and temperatures
- Sourdough proofing at room temperature
- Proofing sourdough in the fridge
- How long to proof sourdough
- What is the best proofing temperature?
- Moving dough from the counter to the fridge
- How do you know when sourdough is done proofing?
- How to prevent overproofing during cold retard
- FAQ
- Let's talk sourdough
- Ready to keep learning?
- Comments
What is sourdough proofing?
Bread proofing is the second rise of the dough, also known as the final proof. It begins after you shape the dough and lasts until it is baked.
During the final proofing, the dough continues to ferment, even in the fridge, and determines the texture and flavor of your bread.
The dough can be proofed at room temperature or in the fridge (called cold retard), and both methods affect how your bread turns out.
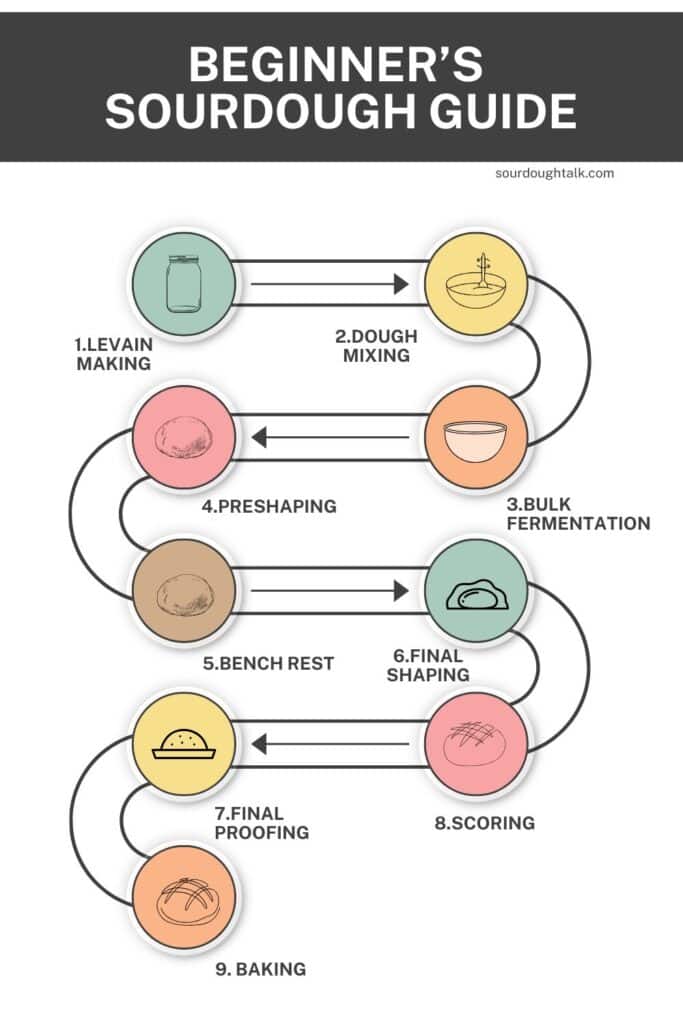
Your Beginner's Guide to Sourdough
This post is part of a series that walks you through every step, from feeding your starter to pulling the loaf from the oven.
The difference between bulk fermentation and proofing
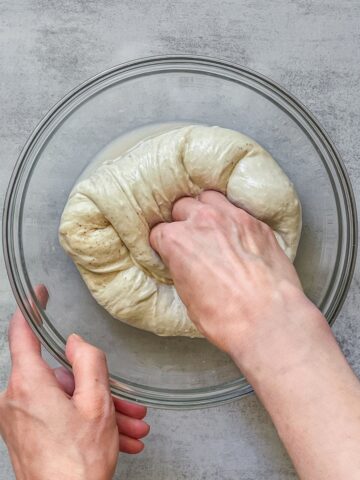
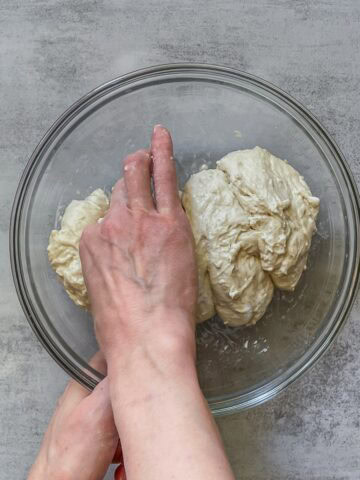
Though bulk fermentation and proofing sound similar, they serve different purposes.
- Bulk fermentation is the first rise of the dough, during which fermentation begins, and gluten develops, while final proofing, a second rise, occurs after shaping.
- During bulk fermentation, the dough is stretched and folded at intervals in a large container as a single dough mass. For final proofing, the dough is transferred to proofing baskets or loaf pans.
- Bulk fermentation lasts anywhere from 3 to 9 hours or longer. Final proofing generally lasts 1 to 3 hours at room temperature or overnight in the fridge.
Sourdough proofing times and temperatures
Proofing time depends on temperature, warmer proofs faster, cooler (like the fridge) proofs slower. Here is a quick reference:
| Method | Temperature | Time | Result |
| Room temperature | 70-75°F (21-24°C) | 1-3 hours | Faster, milder flavor, same-day bake |
| Cold proof (fridge) | 39°F (4°C) | 8-16 hours (up to 48) | Tangier, better scoring & oven spring |
Remember to judge by the dough, not just the clock. These are starting points, not exact rules.
Sourdough proofing at room temperature
Proofing sourdough at room temperature, also known as warm proofing, speeds up fermentation and lets you bake the bread the same day.
However, the faster fermentation results in a milder flavor and less chewy texture. Plus, scoring warm dough becomes tricky, making intricate designs nearly impossible.
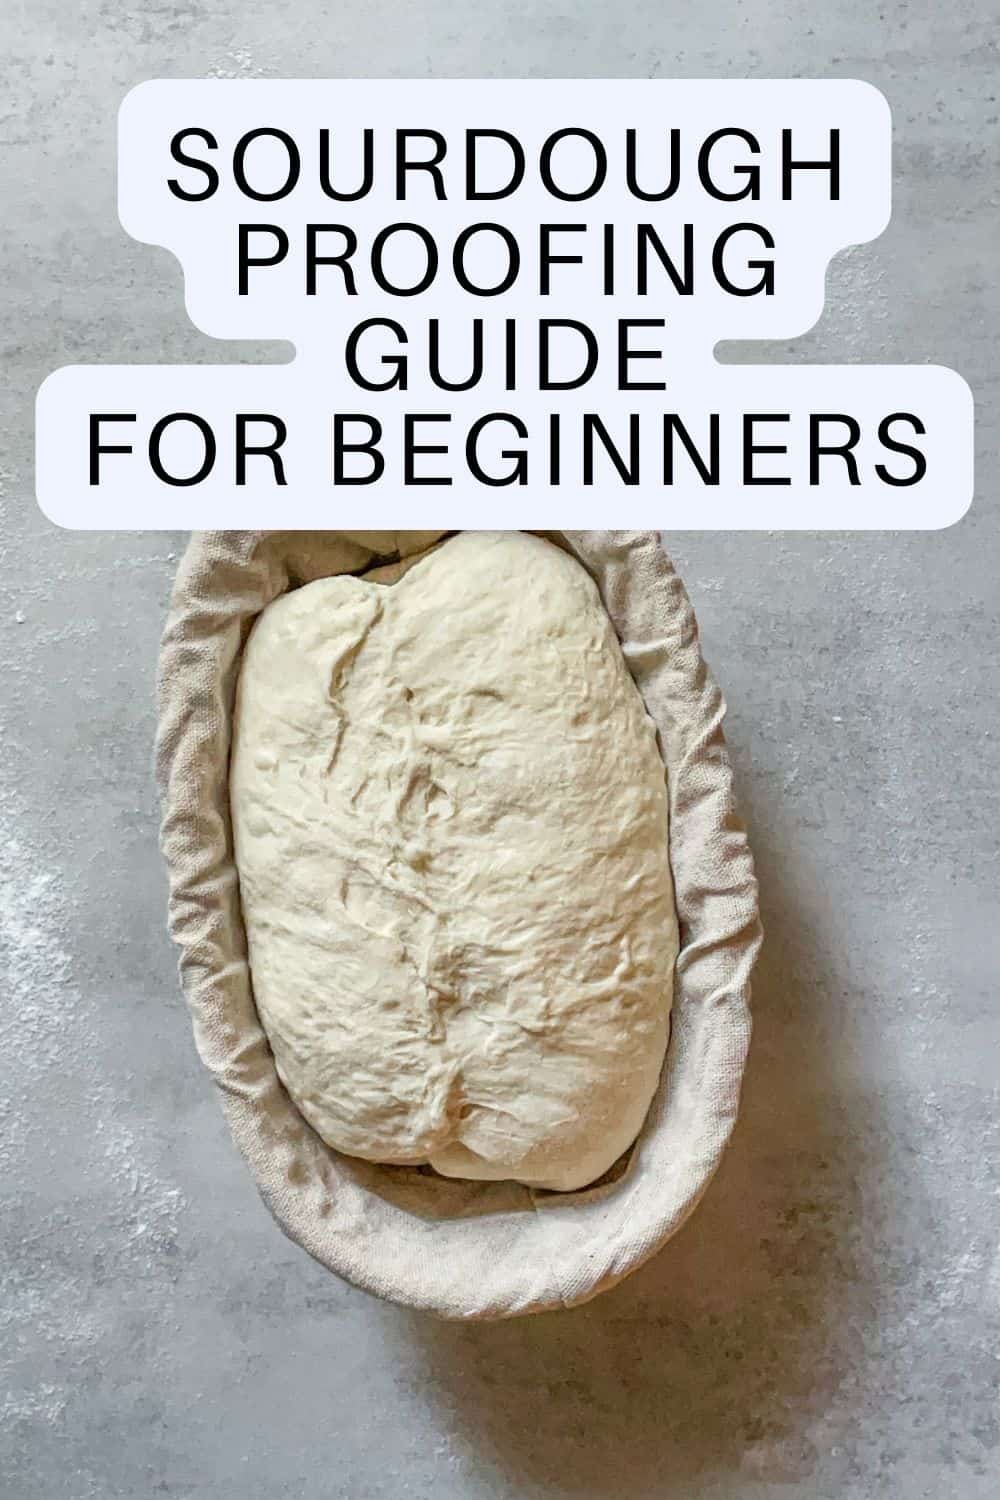
To proof bread dough at room temperature, place it in a banneton and cover it with a tea towel. Let it sit on the counter for about 1 ½ to 3 hours. The exact time depends on the room temperature, which can fluctuate between 60 and 80°F (16°C and 27°C).
Let the dough rise until it almost doubles in volume. The aliquote jar method helps monitor its rise. Then, check if the dough is ready to bake using the poke test.
Proofing sourdough in the fridge
Proofing sourdough in the fridge, also known as cold retard, is the final proofing done in the refrigerator until the dough reaches 39°F (4°C). It is called retard because low temperatures slow the dough's rise.
This method allows flexibility in baking schedules, enhances the tangy flavor and chewy texture of sourdough, simplifies scoring, and improves the bread's oven spring.
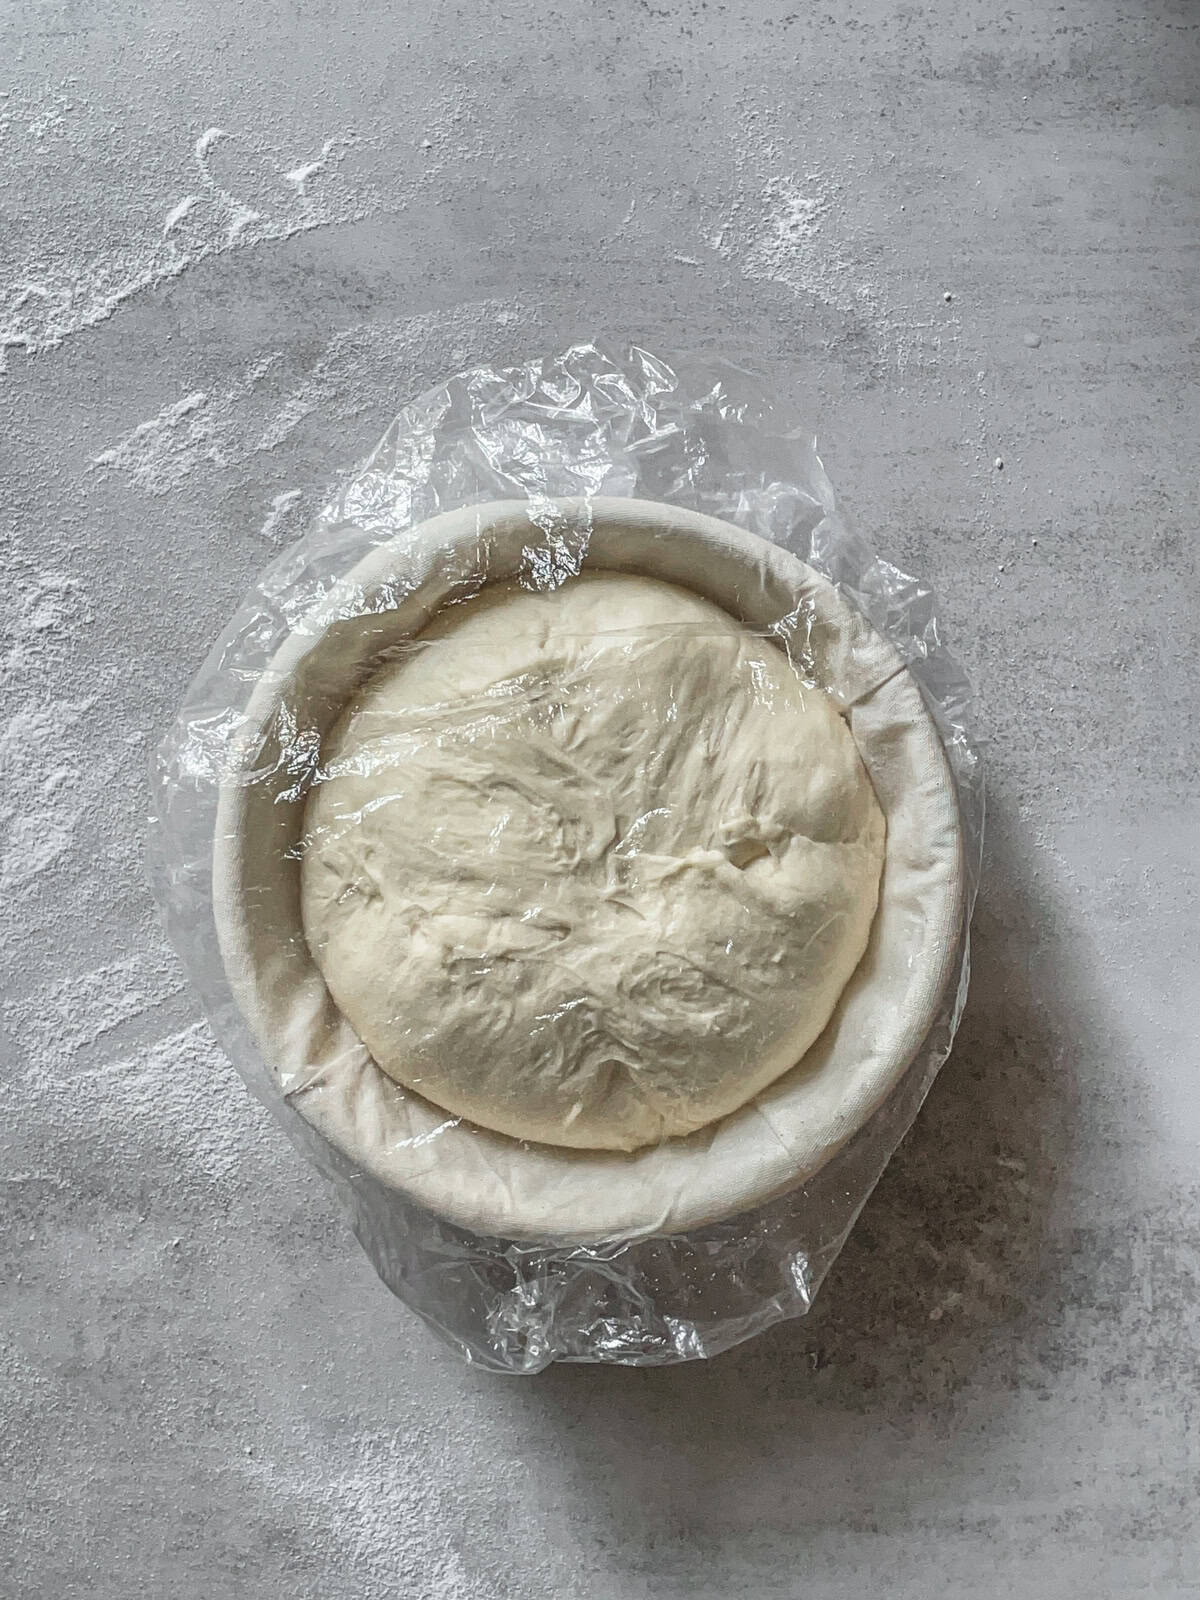
To proof the dough in the refrigerator, place it in a prepared banneton and chill it overnight at 39°F (4°C). The cold retard usually takes 8 to 16 hours, but you can extend it up to 48 hours for a stronger, tangier flavor.
The dough doesn't visibly rise in the refrigerator, unlike during bulk fermentation. It still rises slowly, but the cold temperature also causes it to shrink slightly, so you may not notice a significant change in size.
Keep the dough cold in the fridge until it is time to bake. You don't need to bring it to room temperature before placing it in the oven. Also, note that the poke test isn't effective for sourdough straight from the fridge.
How long to proof sourdough
Warm proofing usually takes 1 ½-3 hours, depending on the room temperature. Cold proofing usually lasts between 8 and 16 hours, but you can leave the dough in the fridge for up to 48 hours for a stronger, tangier flavor (see my guide on making extra sour sourdough bread).
Can you cold retard for less than 8 hours? While most bakers agree that 8 hours is the minimum for cold retard, some suggest you can shorten it to 4-8 hours if you are short on time.
Can you go beyond 48 hours? Some bakers experiment with longer cold proofing times (up to 3-5 days). It really depends on your preference.
Just remember, the longer the dough stays in the fridge, the stronger and tangier the flavor will get, which might not appeal to everyone.
Also, since the cold slows fermentation but doesn't stop it entirely, there is a risk of the dough overproofing.
What is the best proofing temperature?
There isn't a single best temperature for bulk fermentation (first rise). The dough can be proofed between 50°F (10°C) and 90°F (32°C). The important factor is matching the dough temperature to the target percentage rise.
Wild yeast, which helps the dough rise, prefers a temperature range of 75°F to 80°F (25°C to 27°C) for bulk fermentation.
The optimal temperature for final proofing (second rise) on the countertop is between 60°F and 80°F (16°C to 27°C). The best temperature for cold proofing is 39°F (4°C).
Moving dough from the counter to the fridge
After shaping the dough, it is time to move it from room temperature to the refrigerator set to 39°F (4°C) for cold retard.
You might wonder how the dough transitions from bulk fermentation at room temperature to cold retard in the fridge.
If your dough starts warm, like at 80°F (27°C), it will rise quickly (about 20%) during its first hour in the refrigerator. Cooler dough, such as at 70°F (21°C), skips this rapid rise entirely.
Tom Cucuzza notes that it takes roughly 8-10 hours for the dough to cool to fridge temperature, and once it does, fermentation slows so dramatically that there is little difference between proofing for 10, 12, 14, or 16 hours.
This means if you plan to use cold retard, be sure to end the bulk fermentation sooner.
How do you know when sourdough is done proofing?
For countertop proofing, the best way to check is the poke test. Lightly flour your finger and gently press into the dough about half an inch. Watch how it springs back:
- Springs back slowly and leaves a slight indentation: perfectly proofed, ready to bake.
- Springs back immediately and fully: underproofed, needs more time.
- Doesn't spring back at all, and the dent stays: overproofed.
For room-temperature proofing, the poke test works well. For dough straight from the fridge, the poke test is less reliable because the cold firms the dough, so judge cold-proofed dough more by how it looked before chilling (puffy, relaxed) and by your bulk fermentation. For more, see my guide on how to tell if dough is proofed.
Proofing is just one step in the sourdough process, and it all connects.
How to prevent overproofing during cold retard
Even though cold proofing slows fermentation, it does not completely stop it, so overproofing can still happen. Here are some tips to help you avoid this:
- Check your fridge temperature: Use a fridge thermometer to make sure it is accurate. Remember that refrigerators vary in cooling: at the top or bottom, with vents, or none. Even the same shelf in the fridge can have slightly different temperatures.
- Plan your timing: Mix and bulk ferment your dough later in the evening. This way, the time your dough spends in the fridge aligns with your overnight schedule, making the proofing period a little shorter.
- Start with cooler dough: Let your dough ferment in a cooler kitchen before refrigeration. If it starts at 70°F (21°C), it will cool to 39°F (4°C) faster than if it begins at 80°F (27°C), which helps reduce the chance of overproofing.
- Shorten the bulk fermentation: Finish it 15 to 30 minutes earlier than usual.
- Adjust fridge settings for multiple loaves: If you prepare multiple sourdough loaves, temporarily lower the fridge temperature for an hour. Then, return it to the regular 39°F (4°C) setting.
FAQ
How long should you proof sourdough? At room temperature, 1.5-3 hours. In the fridge (cold proof) for 8-16 hours, or up to 48 hours for a tangier flavor.
Can you proof sourdough too long? Yes. Even in the fridge, fermentation continues slowly, so dough left too long can overproof, becoming slack, sticky, and flat with poor oven spring.
Do you proof sourdough covered or uncovered? Cover it to prevent the surface from drying out, unless you want a drier "skin" for crisp scoring (see my guide on whether to cover dough when proofing).
Should you proof sourdough at room temperature or in the fridge? Both methods work. Room-temperature proofing is faster and produces a milder flavor, while cold proofing in the fridge develops a tangier loaf, makes scoring easier, and gives you a more flexible baking schedule. That is why many bakers prefer an overnight cold proof.
Do you bring cold-proofed dough to room temperature before baking? No. Bake it straight from the fridge. Cold dough scores more cleanly and holds its shape better in the oven.
Let's talk sourdough
How do you prefer to proof your dough, at room temperature or in the fridge? Do you notice a big difference in flavor or texture?
Ready to keep learning?
Curious about refrigeration? Learn if cold proofing is worth the extra time.
Danta Cole says
Yes, I'm trying to find out what the consistency of the dough should I feel like when its time to bake.
Irina Totterman says
Hello Danta, I think there are two different stages here.
If you are asking about the dough texture right before baking (during final proof), you can check it using the poke test. The dough should slowly spring back and leave a slight indentation.
If you are asking about the dough consistency before shaping, it should feel soft, airy, and slightly jiggly, with visible bubbles on the surface and along the sides of the bowl (especially if it is transparent).
Patricia Mullins says
Thank you for such excellent advice….this is day 14 for my starter… Sooner or later, we will have sour dough bread…i certainly have learned to be patient….this is my 8th attempt at starter since Thanksgiving…
I refuse to quit….but I think I got it right this time…
Irina Totterman says
Hello Patricia, 'm glad to hear that your starter is cooperating with you this time. 😊 Please, check out this beginner's sourdough guide and beginners bread recipe. Happy baking!