
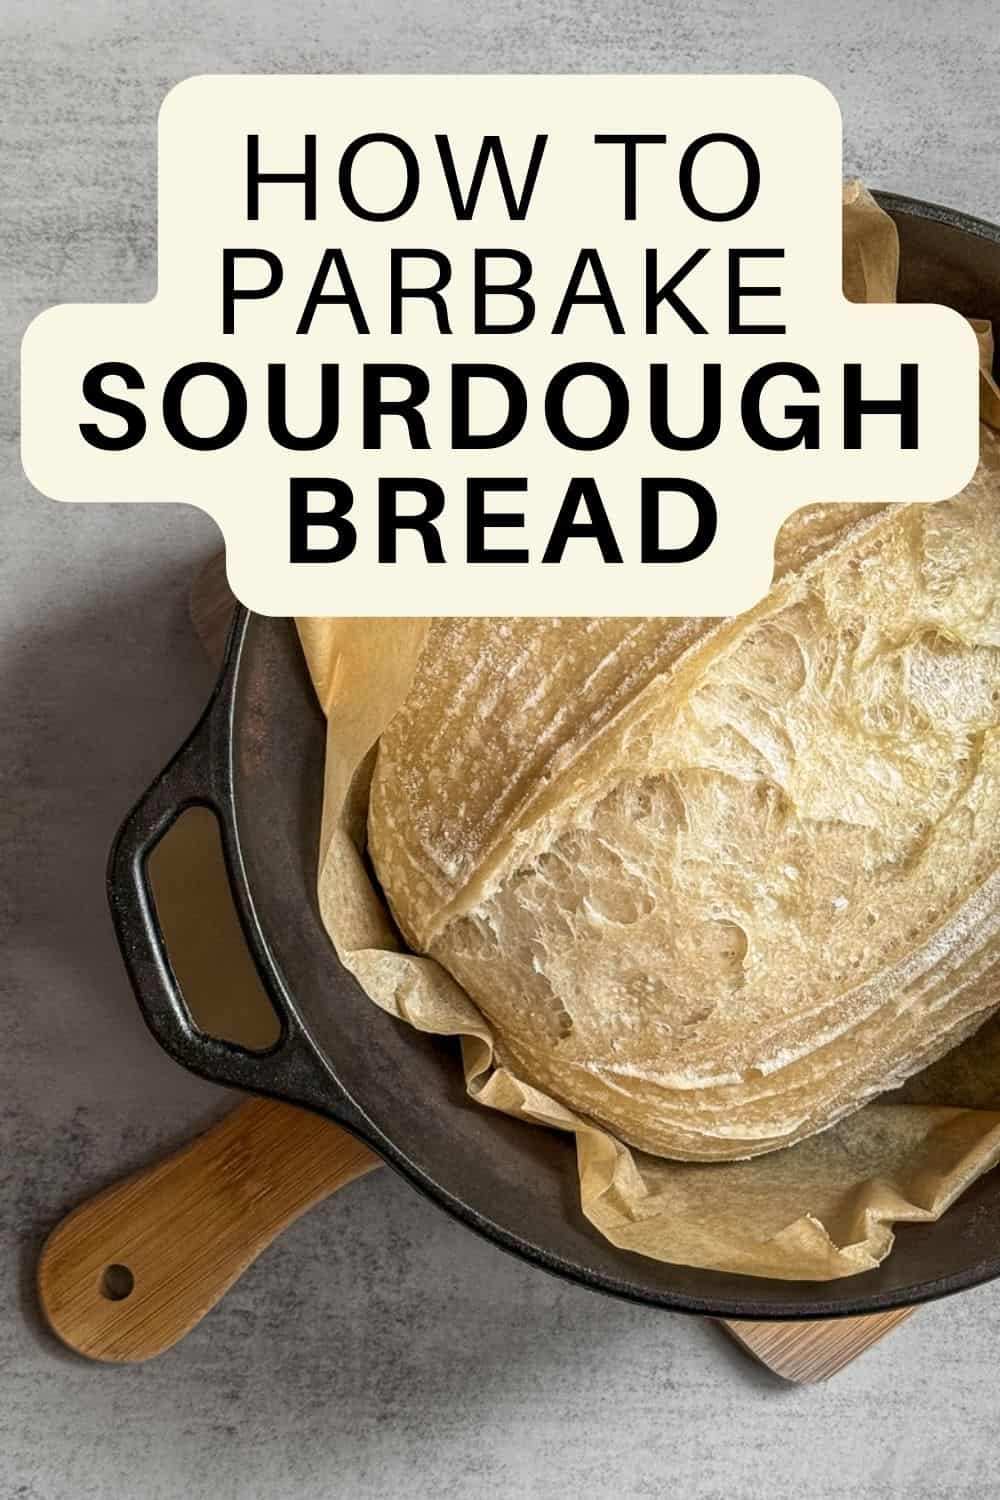
Parbaking is one of those tiny baking tricks that lets you bake your sourdough partway, store it, and finish it later. Once you learn how to parbake sourdough bread, you can enjoy fresh-from-the-oven loaves anytime, without starting the whole baking process from scratch.
This method gives you freedom while keeping your sourdough delicious. You can prepare bread for a busy week in advance and bake it right before serving. Trust me, you won't tell the difference between parbaked bread and a loaf baked in a single bake.
What is parbaking?
Parbaking (short for partially baking) is the process of baking your loaf until the structure is set, but the crust is still pale and soft. Think of it as hitting pause halfway through the bake.
Your sourdough ferments, sets, and becomes "bread," but you don't let the crust brown yet. Later, when you are ready to serve, you finish baking it to get that crunchy, golden exterior.
Why parbake sourdough bread?
- Fresh bread anytime: You can bake several loaves at once and finish them right before meals. No scheduling dough-making around dinner.
- Perfect for busy weeks: You still get fresh bread, but with almost no work the day you serve it.
- Ideal for freezing: Parbaked sourdough freezes well and tastes freshly baked when finished.
- Keeps crust soft for storage: Fully baked loaves often soften when stored. Parbaked loaves maintain quality longer.
- Good for gifts and selling: Many bakeries sell parbaked loaves. Customers feel like they baked fresh bread themselves without the kneading. But if you plan to sell sourdough bread as a Cottage Food baker, be sure to check your state's regulations and permit requirements first.
Dough hydration for parbaking sourdough
For parbaked sourdough, it is important to choose the right dough hydration. The recommended hydration range of 65-75% provides a good balance of oven spring, structure, and ease of handling.
My Beginner's Sourdough Bread recipe is built for 68% hydration, while my Master Sourdough Bread recipe is designed for 75%. You can always use my sourdough calculator to adjust hydration and other variables to suit your needs.
Dough below 65% hydration is firmer and easier to shape, but the crumb tends to be tighter and less open.
Dough with a hydration above 80% makes it harder to parbake. It can collapse or develop a gummy crumb, and the extra steam released during the final bake can make it harder to achieve a crisp crust.
If you still choose the high-hydration sourdough, watch the internal temperature and visual cues. The crumb should be set, and the crust should remain pale. This confirms the loaf is stable and ready for storage or freezing.
When should you start parbaking in the bake?
This is the moment that makes all the difference. You want to bake your sourdough just long enough for the loaf to rise fully and for the interior structure to set, while keeping the crust pale, soft, and not yet golden. This usually happens around 60-70% of the way through the full bake time.
For example, if your sourdough normally bakes for 40 minutes, you will parbake it for about 20 minutes. Still, visual cues are always more reliable than the clock.
How to tell when your loaf is parbaked
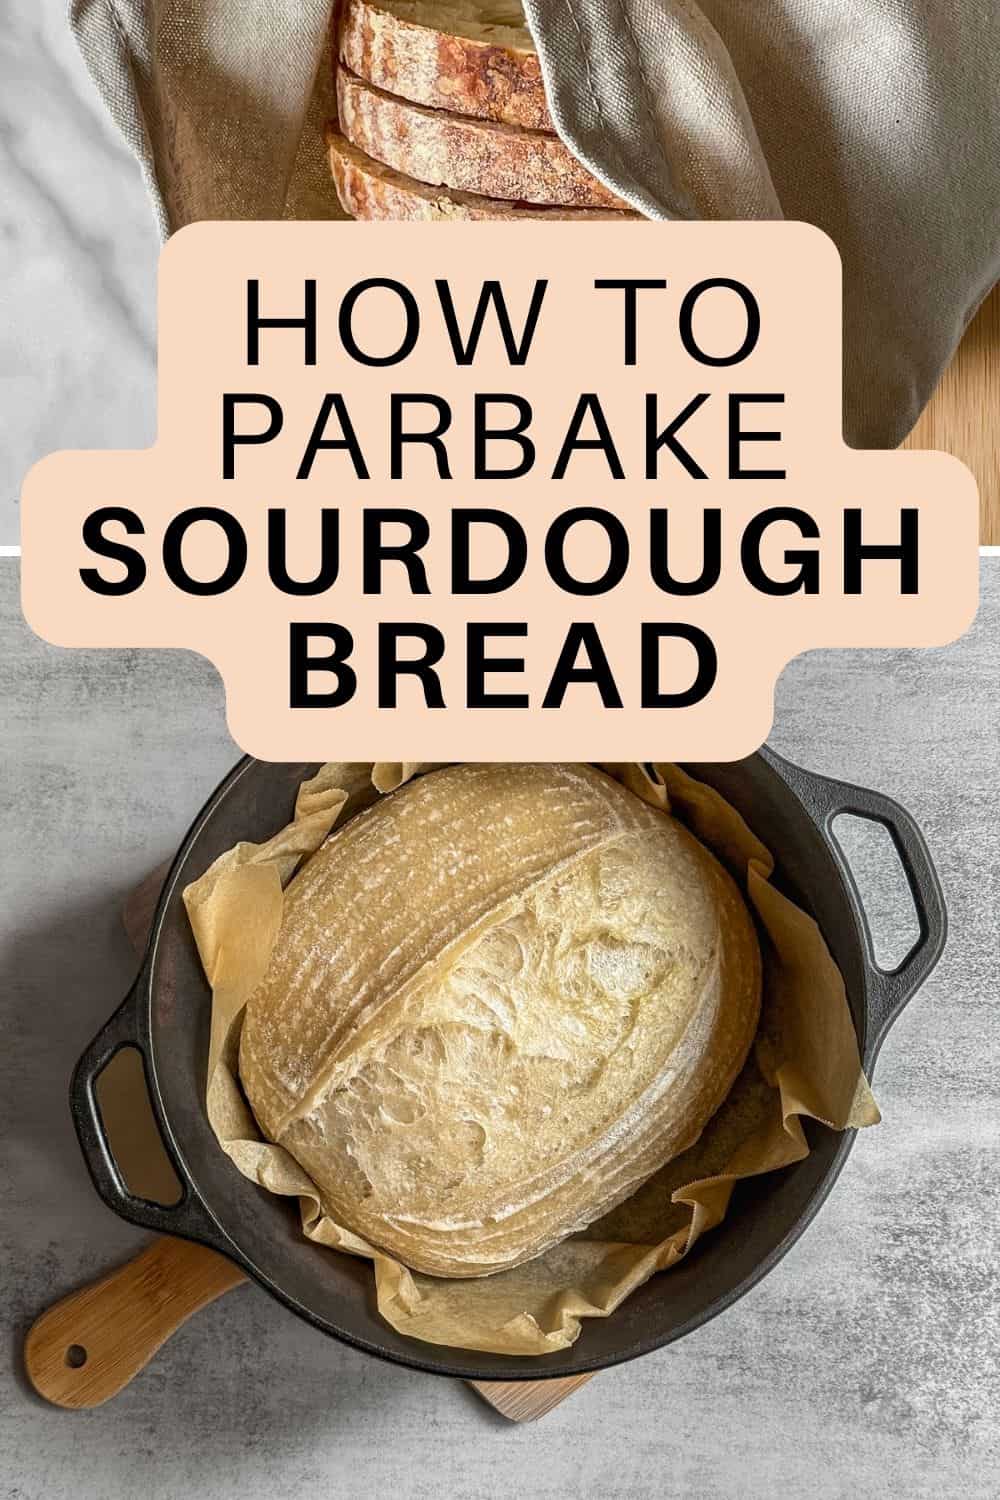
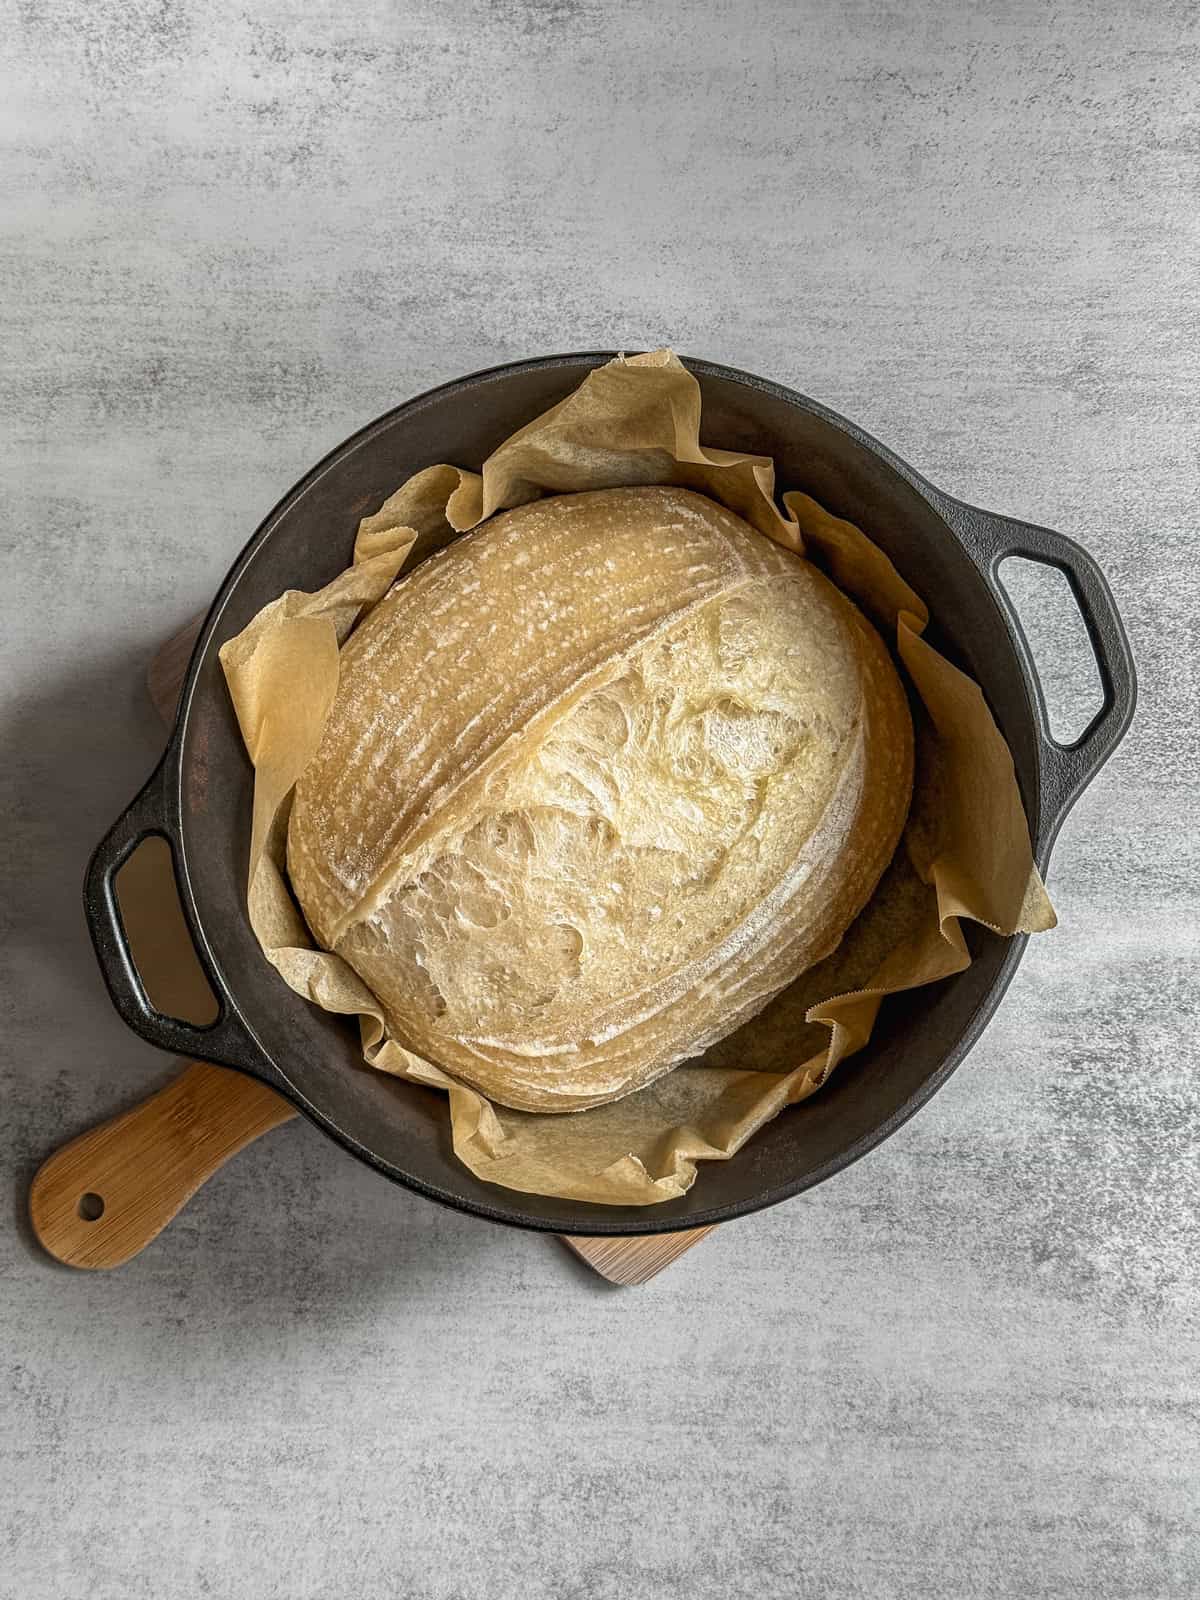
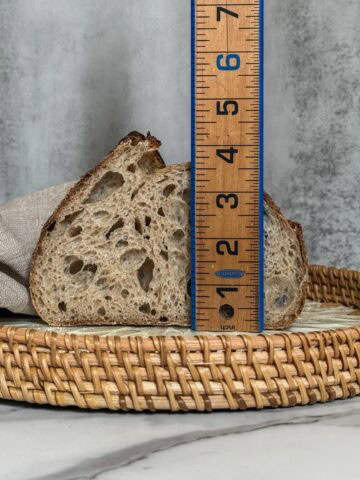
Your loaf is ready when you see a few simple signs. The bread should have good oven spring and look fully shaped, but the crust will still be very light, more creamy than golden.
The surface should feel dry yet soft, with no deep browning anywhere. With a probe thermometer, the internal temperature of bread should reach 180-190°F (82-88°C).
Once you see these cues, take the bread out of the oven, carefully lift it out of the Dutch oven or roasting pan, and place it on a wire rack to cool.
There is some debate over the ideal point at which to stop parbaking. According to CyBread, an internal temperature of 140-160°F (60-71°C) is enough to set the bread's structure while leaving moisture and starches partially ungelatinized for the final bake.
On the other hand, Sune from FoodGeek.io recommends 194°F (90°C), the temperature at which starches fully gelatinize and enzyme activity ends.
How to parbake sourdough bread step by step
1. Mix, ferment, and shape the dough as usual:
Feed your starter, mix the dough, bulk ferment, shape, and cold-proof overnight. Follow one of my staple recipes: Beginner's Sourdough Bread or Master Sourdough Bread recipe.
2. Preheat the oven
Use your regular setup with a Dutch oven, an enamel roaster, a baking steel with a steam pan, or any other bakeware you normally use.
If you are baking in a Dutch oven, preheat the oven with the pot inside to 500°F for about 30 minutes (see my guides to baking sourdough bread in a Dutch oven). If you are using a Granite Ware roaster, preheat the oven on its own and add the roaster later.
And if you bake using the open-bake method, preheat the oven with both the baking steel and steam pan already in place (see my guides to baking sourdough without a Dutch oven).
3. Load the dough and bake
Place the scored dough in the oven and bake the loaf, covered, at 450°F (232°C) for 20 minutes.
With the open-baking method, place the dough on a preheated baking steel, pour hot water into the steam pan, add extra steam with a handheld steamer if you like, and bake at 400°F (200°C) for 20 minutes.
4. Remove the lid and continue baking
After the first 20 minutes of baking with steam, remove the lid from your Dutch oven or take out the steam pan if you are using the open-baking method. Continue baking for 5-10 minutes more. At this stage, you want the loaf to set, but not start browning.
5. Remove the loaf
Stop baking when the loaf is pale and matte. If in doubt, underbake slightly because you can always brown it later. Check the internal temperature of bread. It should be around 180-190°F (82-88°C).
6. Cool completely
Carefully lift the loaf out of the Dutch oven or off the baking steel and set it on a wire rack to cool. This step is important as it allows steam to escape, preventing the crust from softening as the bread cools and later goes into storage.
How to store parbaked sourdough
You can store your parbaked sourdough in the freezer, in the refrigerator, or at room temperature, depending on when you plan to finish baking.
If you plan to bake the loaf later the same day, leave it on a cooling rack at room temperature. For short-term storage (up to 24 hours), wrap the loaf lightly to prevent drying.
For anything longer, freezing is the best option. It preserves the bread's flavor, moisture, and structure. Wrap the fully cooled loaf tightly in a ziplock bag, removing as much air as possible. Then, wrap the bag in a layer of aluminum foil, label it, and freeze for up to 1-2 months.
How to finish baking parbaked sourdough
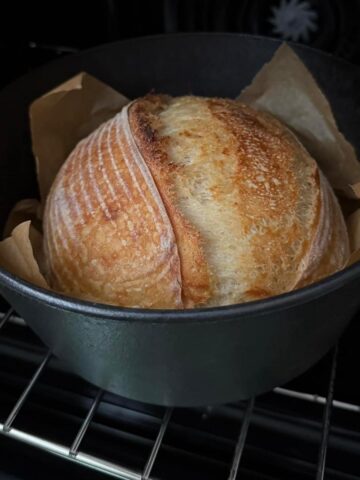
If the bread was frozen, don't thaw the loaf. Bake it straight from the freezer. Preheat your oven to 450°F (232°C), then bake on a preheated steel or stone for 15-30 minutes, until the crust is golden and crisp.
If the bread was refrigerated, mist it lightly with water and bake at 425°F (218°C) for 12-16 minutes. Some bakers recommend letting the loaf come to room temperature fully before finishing the bake, especially if it was previously frozen or chilled.
If the bread was stored at room temperature, bake it at 425°F (218°C) for 10-12 minutes.
Your sourdough loaf is done when the crust turns deep golden brown, and the bread's internal temperature reaches 205-210°F (96-99°C).
Common mistakes and how to avoid them
- Parbaking too long: If the crust starts browning, you have gone too far. The final bake will over-brown before the inside heats through.
- Storing before fully cooling: Warm loaves trap steam, leading to soggy crust and freezer ice crystals.
- Thawing frozen loaves: Thawed parbaked bread becomes gummy. Always bake straight from the freezer.
- Understeaming the first half: You still need steam during the parbake so the loaf rises properly.
Can you parbake any sourdough bread?
The answer is yes. This method works with classic artisan sourdough, whole-wheat and spelt loaves, seeded sourdough, sourdough baguettes, and sourdough rolls. The only difference is timing. Smaller breads need shorter parbake times.
When to avoid parbaking
Parbaking works well for sourdough bread, but there are a few situations where it is not ideal. Skip parbaking if you want a super-thin, crackly crust, like a competition-style or Instagram-worthy loaf.
It is also not the best choice for loaves with butter, eggs, or cheese. The cheese tends to melt and leak during the second bake. Enriched breads, like brioche-style sourdough, brown too quickly and don't hold up well in parbake storage.
Let's talk sourdough
There is an ongoing debate in the sourdough world: Is there a real difference between parbaked bread that is frozen and then finished, versus fully baked bread that is frozen and later reheated? What do you think? Which team are you on?
PrintRecipe
Parbaked Sourdough Bread
Parbaked sourdough bread lets you bake your loaf partway, store it, and finish it later for fresh, crusty bread. Perfect for busy schedules, meal prep, or sharing with friends.
- Prep Time: 20 hours, 40 minutes
- Cook Time: 40 minutes
- Total Time: 21 hours, 20 minutes
- Method: Baking
- Cuisine: American
Ingredients
For the levain (an active starter):
- 30 g sourdough starter
- 30 g bread flour
- 30 g water
For the bread dough:
- 400 g bread flour (I use King Arthur organic bread flour)
- 300 g water (75% hydration)
- 80 g levain (active starter at peak)
- 8 g fine sea salt (I use Redmond ancient fine sea salt)
10 g white rice flour (for dusting)
Instructions
- Make levain: Feed the sourdough starter at a 1:1:1 ratio and let it rise in a warm place until it peaks.
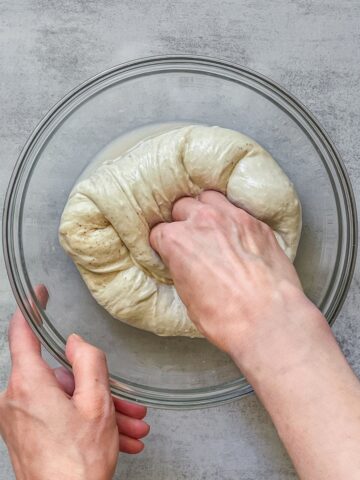
- Autolyse: Pour the water into a mixing bowl. Add the flour to the water, mix until combined, and let the dough rest for 30 minutes.
- Incorporate levain and salt: Add levain (active starter at peak) and mix. Sprinkle in the salt and mix using one of the bread dough mixing techniques. Cover the dough and let it rest for 30 minutes.
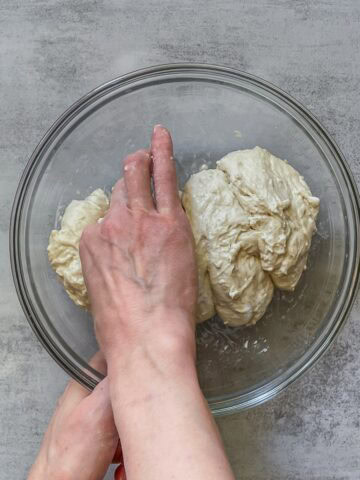
- Bulk fermentation: Perform two sets of stretch and folds and two sets of coil folds, with a 30-minute rest between sets. After the final set of coil folds, let the dough continue bulk fermentation and monitor its rise closely. Bulk fermentation is done when the dough shows bubbles on the surface and along the sides, the edges appear slightly domed, and the dough gently wobbles when you shake the bowl.
- Preshape and shape: Lightly flour your work surface, pre-shape the dough into a round, and let it rest for 10-15 minutes. Perform the final shaping into a battard, then place it in a prepared 10-inch oval banneton.
- Proof: Cover the banneton with a clean towel, disposable plastic cap, or place it inside a reusable plastic bag. Refrigerate overnight (8-14 hours).
- Bake: Preheat the oven to 500°F (260°C) with a Dutch oven inside for 30 minutes. Transfer the dough onto parchment paper, score the top, and place it inside the Dutch oven. Decrease the oven temperature to 450°F (232 °C), then bake, covered, for 20 minutes. After 20 minutes, remove the lid, and continue baking for another 5-10 minutes. At this stage, you want the loaf to set, but not start browning. Stop baking when the loaf is pale and matte. If in doubt, underbake slightly because you can always brown it later. Check the internal temperature of bread. It should be around 180-190°F (82-88°C).
- Cool: Carefully lift the loaf out of the Dutch oven and place it on a wire rack to cool. This step is important as it allows steam to escape, preventing the crust from softening as the bread cools and later goes into storage.
Notes
- Adjust to your oven: Tweak baking times and temperatures to get the best baking results.
- Safety tip: Always use oven mitts or silicone gloves when handling hot pans.
- Be gentle when removing the loaf: Handle parbaked bread carefully when removing it from a hot Dutch oven or roaster.
- Cool completely before storing: Let parbaked bread cool fully on a wire rack to prevent trapped steam from softening the crust.
- Freeze: Parbaked loaves freeze very well. Wrap tightly in plastic and foil to preserve flavor, texture, and structure for up to 1-2 months.
- Label your loaves: If storing multiple parbaked loaves, label with the date and type so you can track freshness and bake times.
- Want to create a custom formula for your loaf? Try my sourdough calculator.
- Need help getting started? Check out my beginner's sourdough bread guide to learn sourdough basics first.
- Note: Nutritional information does not include the white rice flour used for dusting.
Nutrition
- Calories: 1602
- Sugar: 1.2g
- Sodium: 3120mg
- Fat: 4.3g
- Saturated Fat: 0.7g
- Carbohydrates: 335.8g
- Fiber: 11.9g
- Protein: 45.5g
- Cholesterol: 0mg
Allan J Fisher says
Can you please explain this statement in the recipe: "Wrap the fully cooled loaf tightly in a ziplock bag (remove as much air as possible), add a second layer of foil, label the loaf, and freeze for up to 1-2 months." Does this mean there are two wraps of foil about the loaf and you then place it in the ziplock bag. Sorry if this doesn't make sense. Please clarify. Thank you in advance.
Irina Totterman says
Hello Allan, I’m sorry for the confusion my writing caused.Once the loaf is completely cooled, place it in a ziplock bag and squeeze out as much air as possible. Then wrap the bag in a layer of aluminum foil, label it, and freeze for up to 1–2 months.