
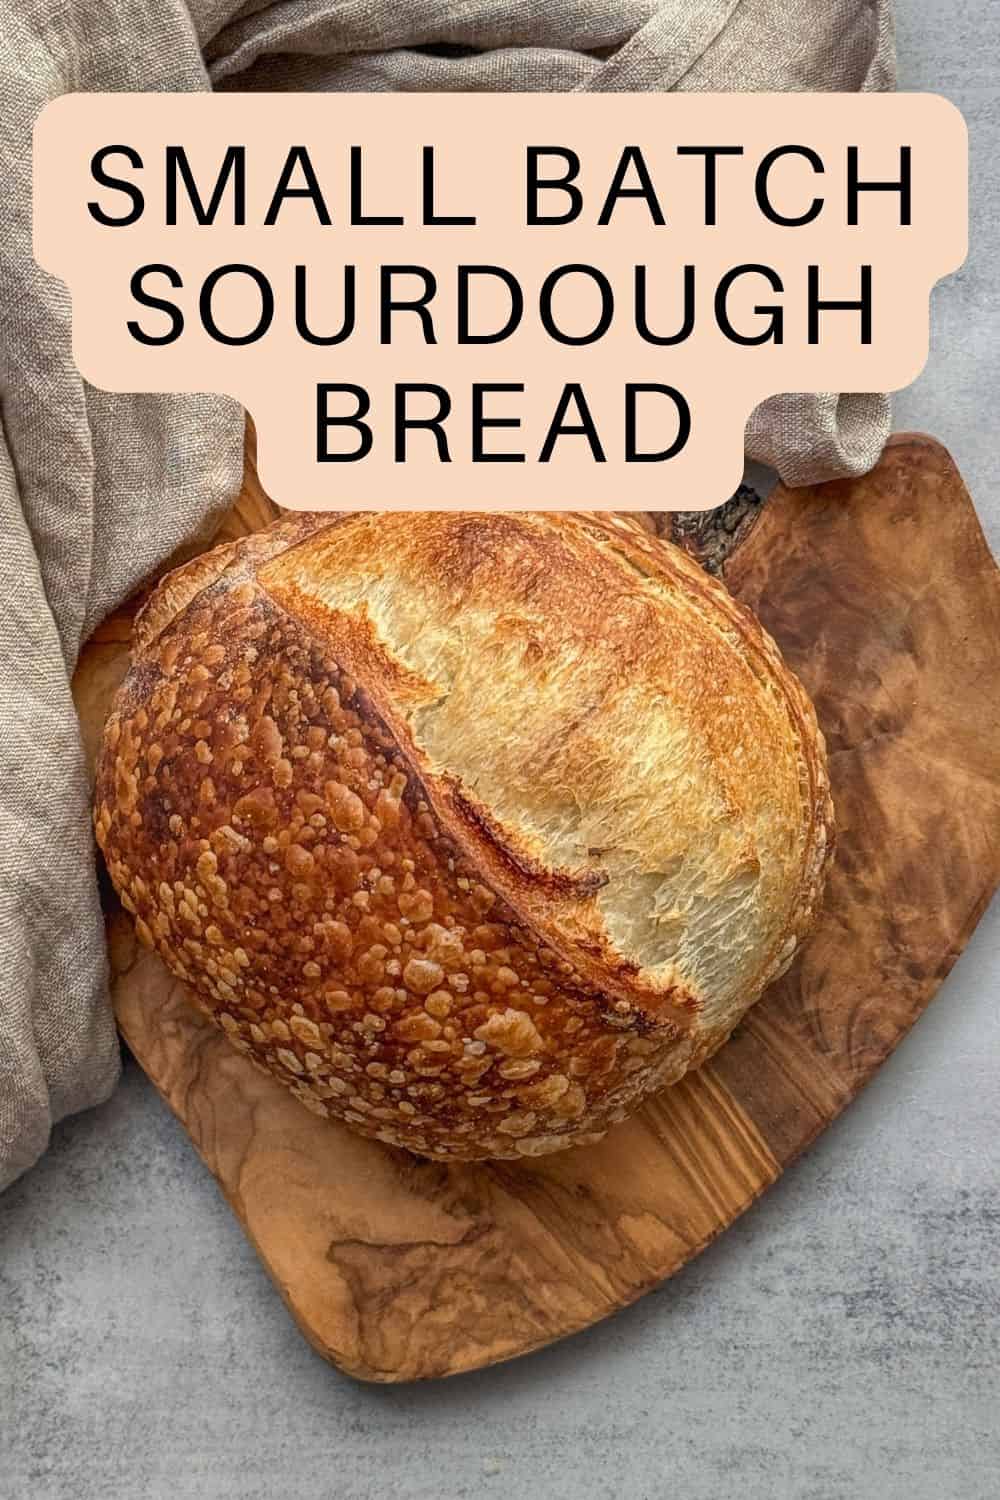
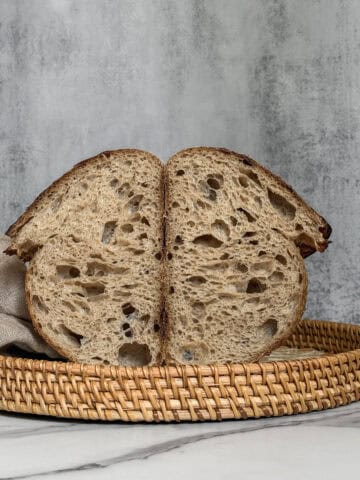
Here is a small batch sourdough bread recipe, perfect for one or two people. It is also a great way to save ingredients while mastering sourdough baking. Plus, the smaller size makes it ideal for vacuum sealing, gifting, or serving delicious bruschettas.
This recipe assumes you have an active sourdough starter that reliably doubles within 4-6 hours, understand sourdough basics, and can recognize when bulk fermentation is complete. Also, don't forget to download and print out my sourdough baking log to track your bake.
If you are new to sourdough, start with my Pilar Beginner's Sourdough Bread before attempting this recipe.
Why make a small batch sourdough bread
While a standard sourdough bread recipe uses 500g of flour, this recipe uses 285g. But why go small?
This small batch of sourdough bread is
- Perfect for singles, couples, or small households
- Ideal for beginners learning sourdough without wasting ingredients
- Great for testing new flours, techniques, or hydration levels
- Easier to handle, shape, and bake
- Fits well into smaller Dutch ovens or baking pans
- Makes just enough for a few meals, minimizing waste
- Convenient for meal prep, freezing, or gifting
- Allows you to bake more often and enjoy fresh bread every time
Ingredients
This recipe is created for a small sourdough loaf using 285 grams of flour. Make sure all ingredients are at room temperature before you start. Use a digital kitchen scale to measure the ingredients accurately.
- Flour: Use unbleached bread flour with a protein content of at least 12.5%. If you are comfortable working with whole wheat flour, substitute 5-10% of the flour with whole wheat.
- Water: Opt for unchlorinated tap water, filtered or spring water. To
- Sourdough starter: Use 100% hydration wheat levain or active starter at peak.
- Salt: Use fine sea salt. Avoid iodized table salt.
- White rice flour is used to dust the work surface and the proofing basket.
Final bread formula
| Ingredient | Baker's Percentage | Weight |
|---|---|---|
| Bread flour | 100% | 285g |
| Water | 70% | 200g |
| Leavin/Active starter, 100% hydration | 20% | 57g |
| Fine sea salt | 2% | 6g |
- Total dough weight is 548g. If you need to adjust the bread formula for your own loaf, see my guide to baker's percentages and use my sourdough calculator.
- My kitchen temperature is 73°F (23°C), with a humidity level of 40%
- Bulk fermentation: 6 hours 30 minutes to 7 hours 30 minutes with a 75-80% increase in dough size
- Proofing time: 14 hours cold-proof in the fridge
- Baking in a conventional oven: 450°F (232°C) with lid on, 20 minutes; without lid, 16-18 minutes.
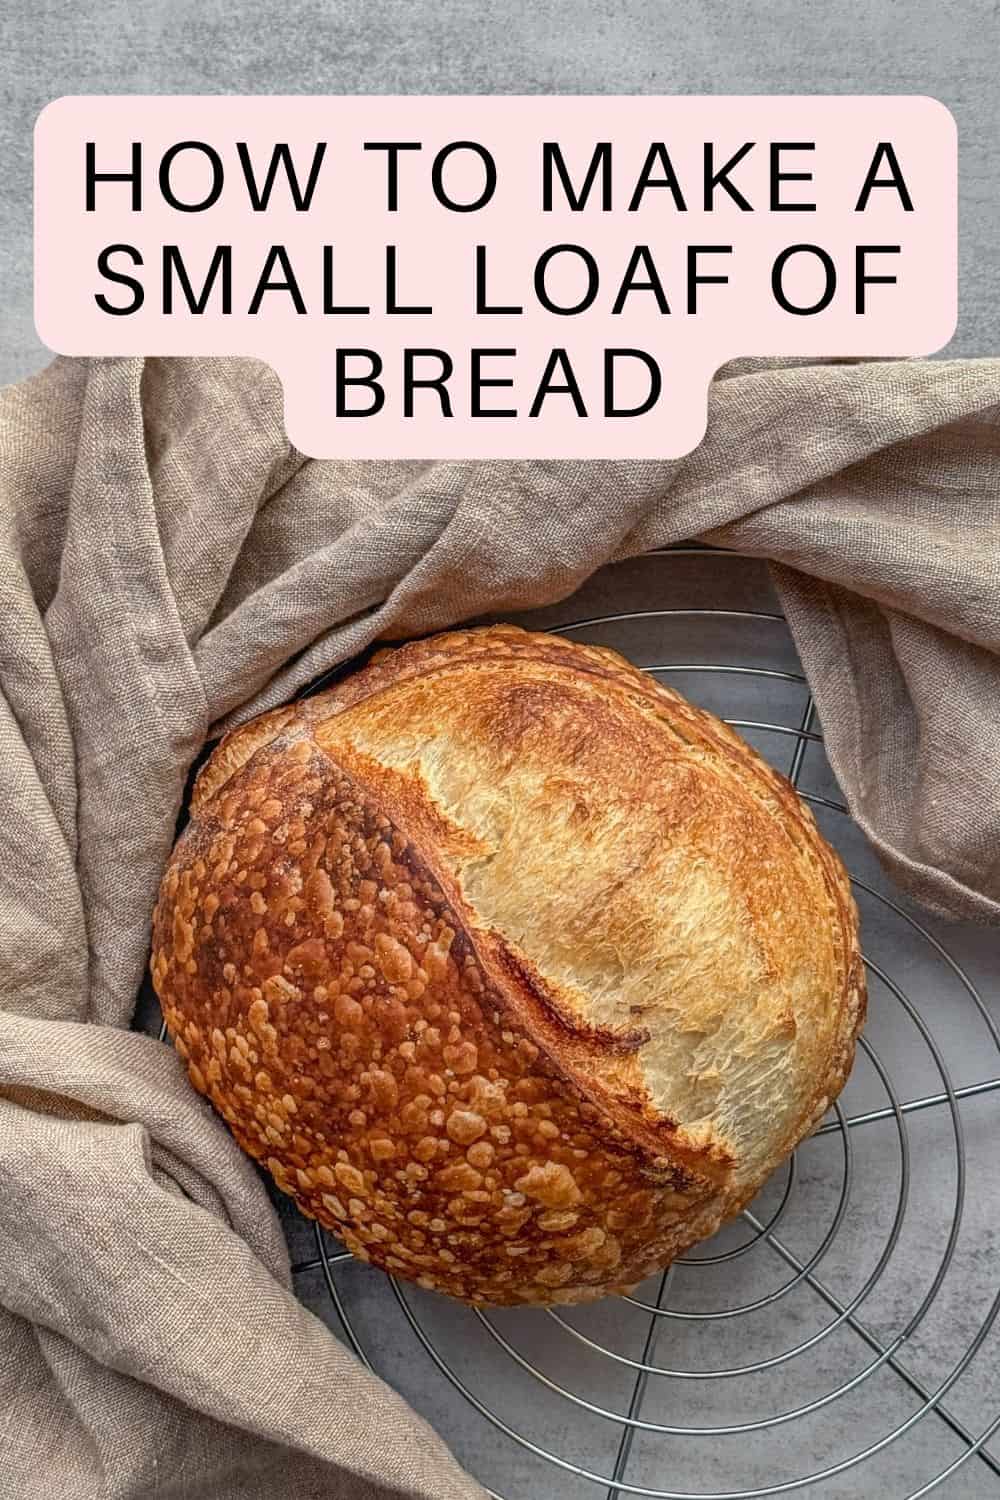
How to make small batch sourdough bread
Make a levain (an active starter):
Feed the starter in the morning at a 1:1:1 ratio (22g starter, 22g flour, and 22g water), place it in a warm place, and wait 4-6 hours for it to peak (see my blog post about sourdough starter peak).
1. Fermentolyse
Weigh levain (active starter), 190g of water, and flour into a large mixing bowl. Mix the weighted ingredients with your hand or a Danish dough whisk until you have a shaggy dough. Cover the bowl with a plastic film or a damp kitchen towel and let it sit for 30 minutes.
If you are familiar with autolyse, you can use that instead. Mix flour and water first, then rest the dough for 30-60 minutes. Next, add the levain (active starter) and salt.
2. Mix the dough
Add the sea salt and 10g of water to the bowl. Use your hand to thoroughly mix the dough for 3-10 minutes, depending on your schedule, available time, and desired level of gluten development. The longer you mix, the stronger the gluten structure will be.
Cover the bowl with plastic wrap or a damp kitchen towel and let it rest for 30 minutes. Once you add your starter, bulk fermentation starts.
3. Bulk fermentation
Perform two sets of stretch and folds, spaced 30 minutes apart, followed by two sets of coil folds, also 30 minutes apart. For each set, stretch the dough in all four directions. Cover the bowl with plastic wrap or a damp kitchen towel between folds.
After the last set of coil folds, allow the dough to continue bulk fermentation, checking its rise to track progress. Warm kitchens accelerate bulk fermentation, while cooler environments slow it.
Note: I usually aim for about a 75-80% rise at 73°F (24°C), though with King Arthur bread flour and upfront gluten development by using bread dough mixing techniques, I can push it to 90%.
By the end of bulk fermentation, the dough should look with bubbles on the surface and sides of the bowl (if using glass). The edges where the dough meets the bowl should be slightly domed. The dough should jiggle from side to side when the bowl is gently shaken.
5. Preshape the dough
Preshape the dough into a round, then let it rest uncovered for 15-20 minutes (see my guide to preshaping bread dough).
6. Shape the dough
Lightly flour your work surface with rice flour. Flip the dough from the bowl onto the table and shape it into a boule or batard (see my guide to shaping bread dough).
Prepare an 8-inch (20-cm) oval banneton or a proofing basket alternative, such as a small bowl lined with a cotton tea towel. Generously dust it with rice flour.
Place the shaped dough into the proofing basket or bowl, seam side up. If using a loaf pan, place the dough, seam side down, in a lightly greased tin (see my guide to the double loaf pan method).
7. Proof the dough
Cover the banneton or loaf tin (if using) with a clean towel or place it inside a reusable plastic bag, then refrigerate. Cold proof the dough for 12-16 hours, up to 48 hours. The longer the proof, the more pronounced the sourdough flavor will be.
8. Bake the bread
Place your Dutch oven into the oven and preheat to 500°F (260°C) for 30 minutes.
Remove the dough from the fridge. Flip it out of the banneton onto a piece of parchment paper. Use a pastry brush to remove any excess flour. Score the dough using a bread lame. Opt for a single slash for a batard or a cross "X" for a boule.
Using oven mitts, transfer the dough to the Dutch oven, cover with the lid, and place it on the middle rack of the oven. For extra steam, spritz the dough with water or lightly spray the hot Dutch oven lid before covering. Lower the temperature to 450°F (232°C) and bake for 20 minutes.
After 20 minutes, remove the lid (use oven mitts) and bake for an additional 16-18 minutes, or until the crust reaches your desired color.
Once baked, let the bread cool on a wire rack for at least 2 hours before slicing. I share tips for cutting sourdough bread and storing sourdough bread in separate guides.
Expert Tips
- Make sure your levain (active starter) is at peak.
- Reduce the cold proof to 8 hours if you are short on time.
- Use oven mitts for handling a hot Dutch oven.
- Wear safety goggles for protection when adding hot water to a steam pan when baking without a Dutch oven.
- Check for doneness: The internal temperature of bread should be 205-210°F (96-99°C).
- Advanced notes: Track bulk fermentation using the aliquot jar method. Check the dough temperature after each set of folds and every 30-40 minutes during bulk fermentation. End the bulk fermentation once the dough reaches the target percentage rise. Refer to my Master Sourdough Bread recipe if needed.
Baking without a Dutch oven
You can still bake sourdough bread without a Dutch oven. Place an empty steam pan, like a roasting pan or cast-iron skillet, on the lower rack of your oven. Preheat the oven to 500°F (260°C) with a baking steel, baking stone, or even a baking sheet on the middle rack for 30 minutes.
Meanwhile, bring a kettle of water to a boil. Once the oven is fully preheated, use a pizza peel to slide your scored dough onto the hot surface. Carefully pour 2 cups of boiling water into the steam pan, and quickly close the oven door to trap the steam.
Immediately reduce the temperature to 430°F (220°C) and bake for 20 minutes. Then, remove the steam pan and continue baking for an additional 16-20 minutes, or until the crust is deep golden brown.
FAQ
For a loaf made with about 250-300 g of flour, an 8-inch (20 cm) oval or a 6-inch (15 cm) round banneton works perfectly.
The size of the Dutch oven matters less than proper fermentation and shaping. For small loaves, a 3-4-quart Dutch oven works well. Just avoid one that's too tight, as it can restrict oven spring.
Yes. You can use an enamel roasting pan with a lid, a deep oven-safe pot, or a baking sheet with an inverted bowl to trap steam. You can also bake this loaf using an open-bake method.
Recipe
Small Batch Sourdough Bread For Two
A small batch sourdough bread recipe is perfect for yourself or two people. It is ideal for vacuum sealing, gifting, or serving as delicious bruschettas.
- Prep Time: 17 hours
- Cook Time: 40 minutes
- Total Time: 17 hours, 40 minutes
- Yield: 1 loaf 1x
- Method: Baking
- Cuisine: American
Ingredients
For the levain (an active starter):
- 22 g sourdough starter
- 22 g bread flour
- 22 g water
For the bread dough:
- 285 g bread flour (I use King Arthur organic bread flour)
- 200 g water (190 g + 10 g)
- 57 g levain (active starter at peak)
- 6 g sea salt (I use Redmond ancient fine sea salt)
10 g white rice flour (for dusting)
Instructions
- Make a levain (an active starter): Feed the starter in the morning at a 1:1:1 ratio (22g starter, 22g flour, and 22g water), and wait 4-6 hours for it to peak.
- Fermentolyse: Weigh levain (active starter), 190g of water, and flour into a large mixing bowl. Using your hand or a dough whisk, mix the weighted ingredients until you have a shaggy dough. Cover the bowl with a plastic film or a damp kitchen towel and let it sit for 30 minutes.
- Mix the dough: Add the sea salt and 10g of water to the bowl. Use your hand to thoroughly mix the dough for 3-10 minutes. The longer you mix, the stronger the gluten structure will be. Cover the bowl with plastic wrap or a damp kitchen towel and let it rest for 30 minutes. Once you add your starter, bulk fermentation starts.
- Fold the dough: Perform two sets of stretch and folds, spaced 30 minutes apart, followed by two sets of coil folds, spaced 30 minutes apart. For each set, stretch the dough in all four directions. Between folds, cover the bowl with plastic wrap or a damp kitchen towel and let the dough rest for 30 minutes.
- Continue bulk fermentation: Allow the dough to keep fermenting. By the end of bulk fermentation, the dough should look with bubbles on the surface and sides of the bowl (if using glass). The edges where the dough meets the bowl should be slightly domed. When gently shaken, the dough should jiggle from side to side.
- Preshape the dough into a round and let it rest uncovered for 15-20 minutes.
- Shape the dough: Lightly flour your work surface with rice flour. Flip the dough from the bowl onto the table and shape it into a boule or batard. Prepare a 6-inch banneton or a proofing basket alternative, such as a small bowl lined with a cotton tea towel. Generously dust it with rice flour. Place the shaped dough into the proofing basket or bowl, seam side up. If using a loaf pan, place the dough seam side down in a lightly greased pan.
- Proof the dough: Cover the banneton or loaf tin (if using) with a clean towel, or place it inside a plastic bag, then refrigerate. Cold-proof the dough for at least 8 hours, up to 48 hours. The longer the proof, the more pronounced the sourdough flavor will be.
- Score the dough: Place your Dutch oven into the oven and preheat to 500°F (260°C) for 30 minutes. Remove the dough from the fridge. Flip it out of the banneton onto a piece of parchment paper. Use a pastry brush to remove any excess flour. Score the dough using a bread lame. Opt for a single slash for a batard or a cross "X" for a boule.
- Bake the bread: Using oven mitts, transfer the dough to the Dutch oven, cover with the lid, and place it on the middle rack of the oven. Lower the temperature to 450°F (232°C) and bake for 20 minutes. After 20 minutes, remove the lid (use oven mitts) and bake for an additional 16-18 minutes, or until the crust reaches your desired color. For extra steam, spritz the dough with water or lightly spray the hot Dutch oven lid before covering. Let it cool for at least 2 hours before slicing.
Notes
- Storage and freezing: Store sourdough bread for 3-5 days. Freeze individual slices for up to 1-2 weeks, a whole loaf for 1-2 months.
- To bake on a baking stone: Preheat the oven to 500°F (260°C) with a baking stone, a steel, or a sheet on the middle rack and an empty steam pan (such as a roasting pan or cast-iron skillet) on the lower rack. Boil water. Once preheated, use a pizza peel to slide the dough onto the hot surface. Then, pour 350-400 ml (about 2 cups) of boiling water into the steam pan and quickly close the oven. Reduce the oven temperature to 430°F (220°C) and bake for 20 minutes. Remove the steam pan and bake for another 16-20 minutes.
- Safety tip: Always use oven mitts or silicone gloves when handling hot pans. When pouring boiling water into the steam pan, wear safety goggles.
- Check for doneness: Your bread is fully baked when the internal temperature reaches 205-210°F (96-99°C). Use a digital thermometer to check.
- Flour: Use bread flour or a mix of all-purpose and bread flour. Substitute 5-10% of the flour with whole wheat flour, if desired.
- Want to create a custom formula for your loaf? Try my sourdough calculator.
- Need help getting started? Check out my beginner's sourdough bread guide to learn sourdough basics first.
- Note: Nutritional information does not include the white rice flour used for dusting.
Nutrition
- Calories: 1139
- Sugar: 0.9g
- Sodium: 2353mg
- Fat: 3.1g
- Saturated Fat: 0.5g
- Carbohydrates: 238.9g
- Fiber: 8.5g
- Protein: 32.3g
- Cholesterol: 0mg


Pamela Goehring says
If I make a smaller loaf can I still use my normal Dutch oven?
Irina Totterman says
Hi Pamela, Yes, absolutely! Happy baking!!!