
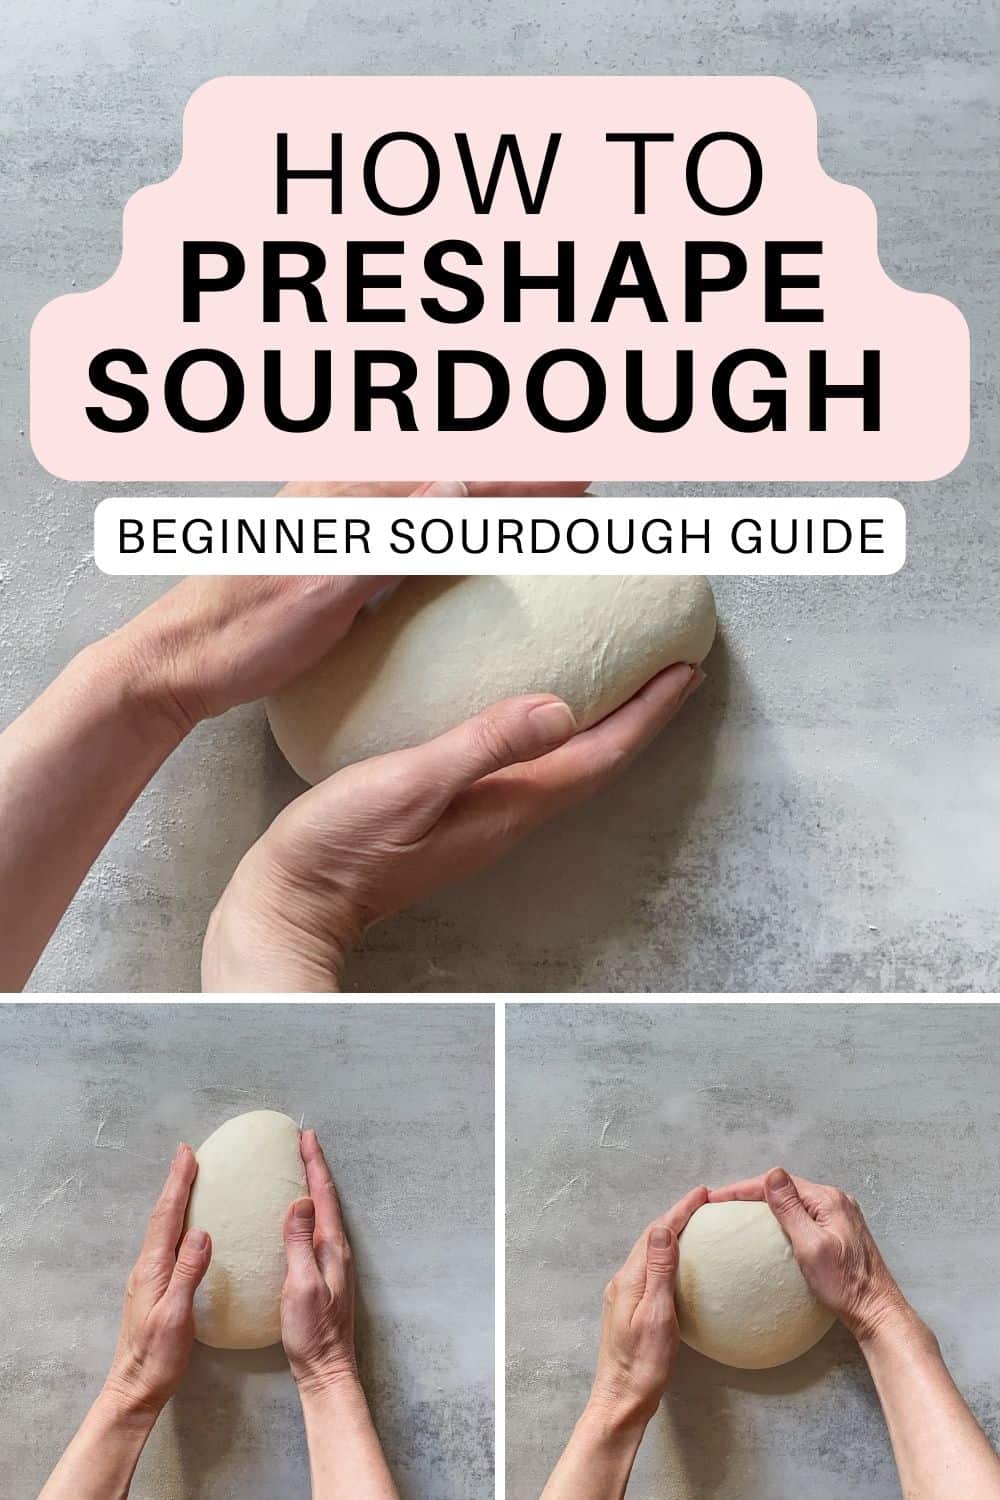
Now, it is time to learn how to divide and preshape sourdough dough, followed by bench rest and final shaping. After reading, you will understand the importance of these steps in creating the perfect sourdough loaf.
What is dividing bread dough?
Dividing bread dough means cutting the bulk dough into smaller portions, each with a specific weight. This step is essential when making multiple sourdough loaves to make sure they are evenly sized.
If you plan to make only one loaf, proceed directly to the preshaping step.
What is preshaping sourdough?
Preshaping bread dough involves shaping the divided dough into rough rounds. This process isn't just about getting the dough into shape. Preshaping builds strength and structure in the dough, helping create surface tension essential for the final shaping.
How to divide sourdough
Once your dough has finished bulk fermentation, it is time to divide it into smaller portions. This step sets you up for evenly sized loaves and makes final shaping much easier.
1. Prepare your work surface
Lightly flour your countertop with white rice flour. Prepare a bench scraper for clean cuts and easy handling of the dough without tearing, and a kitchen scale for accurate portioning.
2. Turn out the dough
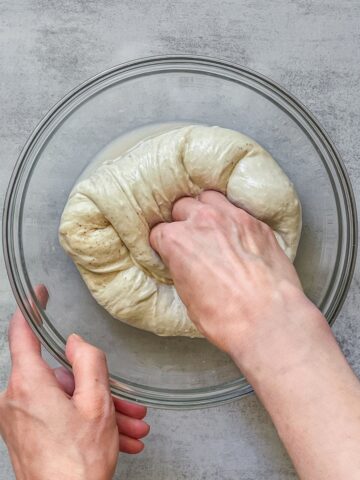
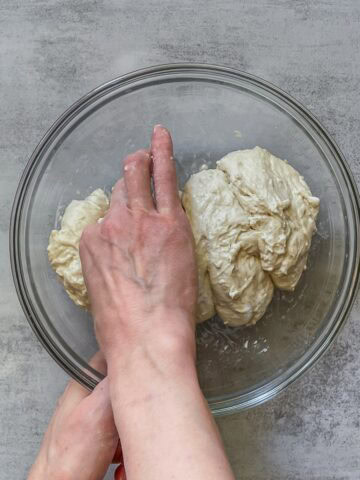
Gently turn the dough out onto the floured surface. Try to keep the gas bubbles built during bulk fermentation. A well-fermented dough will easily slide from the mixing bowl onto the surface.
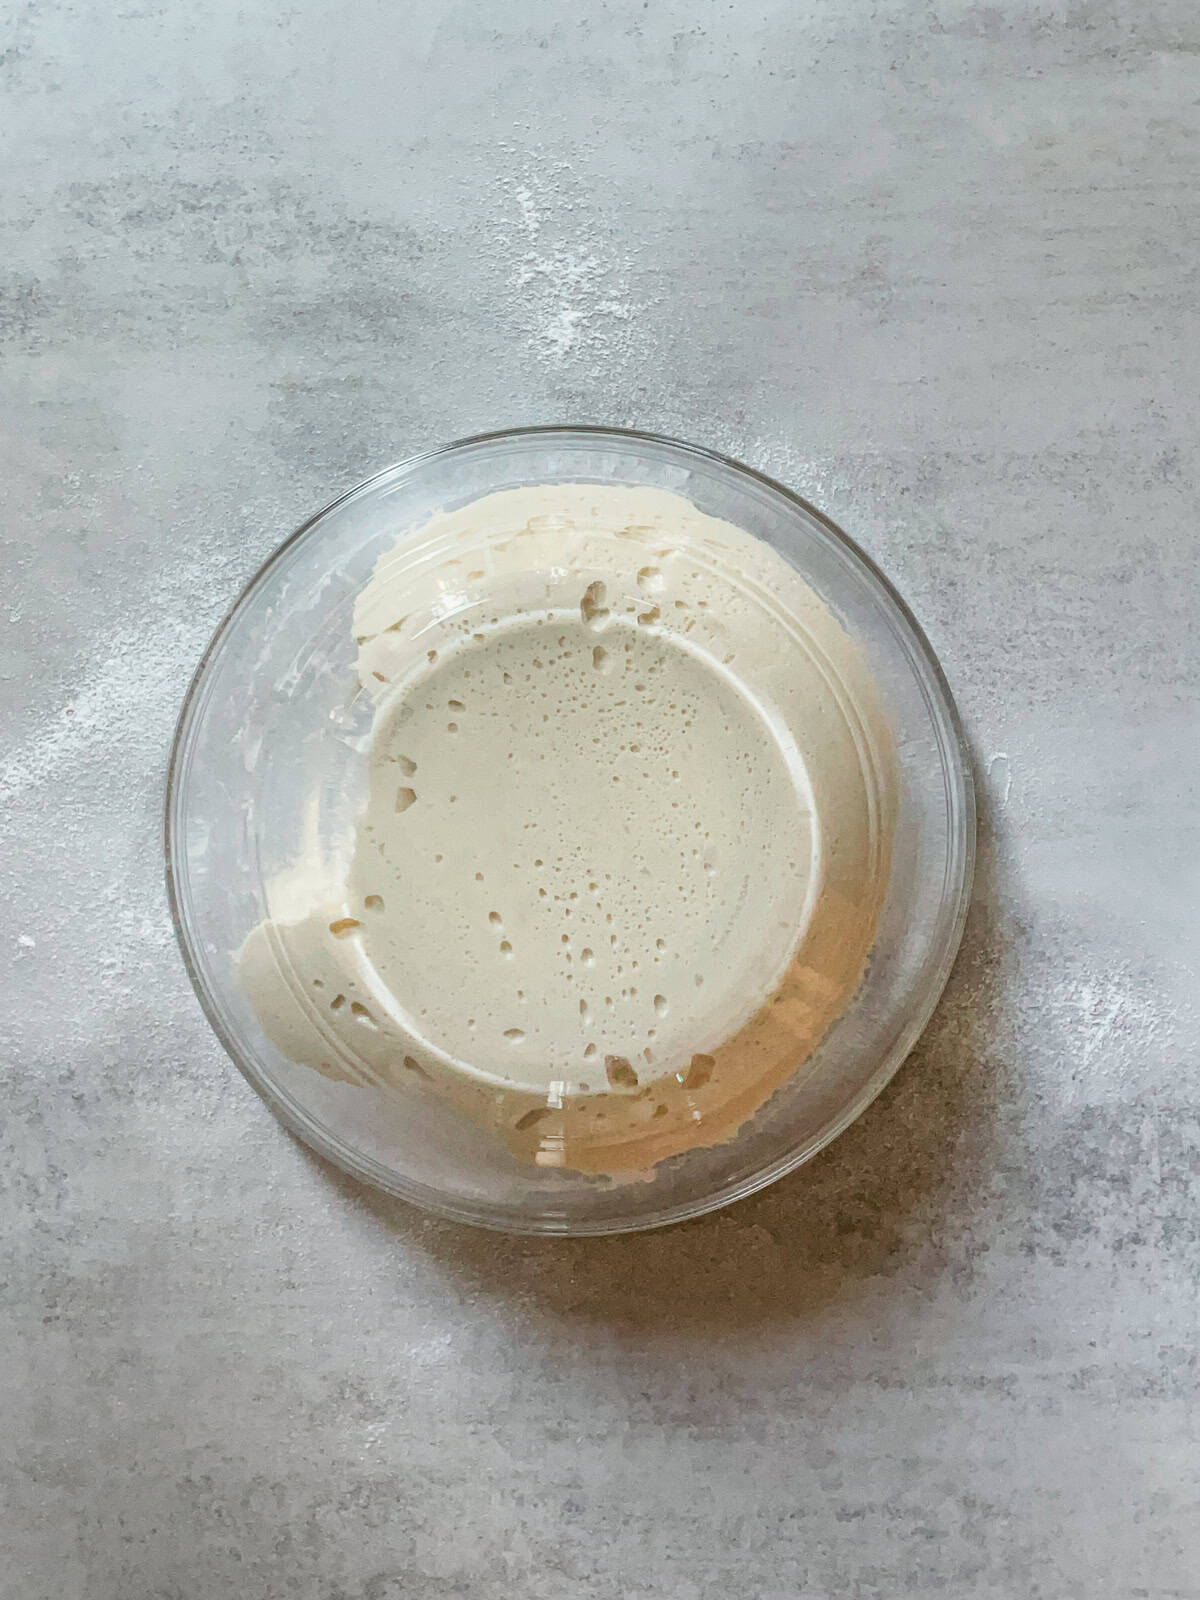
Let the fermented sourdough dough release from the bowl.
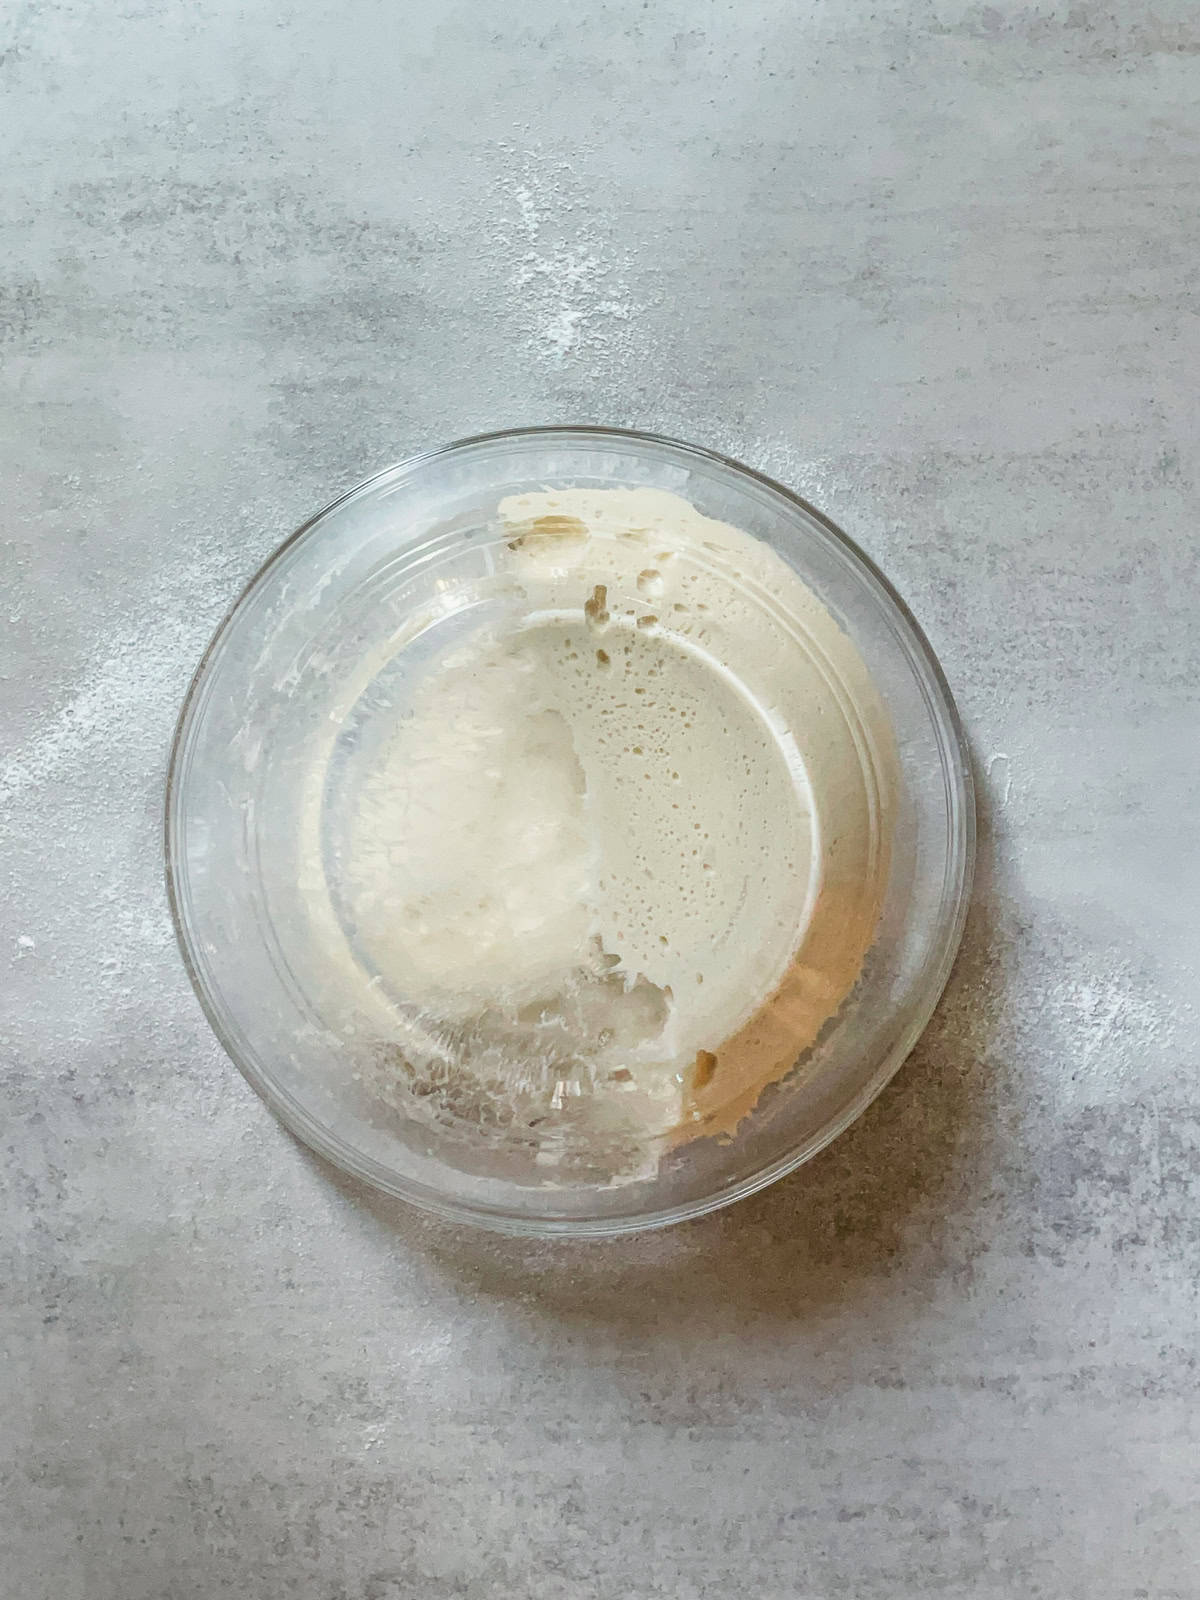
Release fermented sourdough dough from the bowl.
3. Decide on portion size
Divide the dough into the number of loaves you plan to bake. The easiest way to figure out the weight of each loaf is to add up the ingredient weights from your recipe for one loaf.
For example, if one loaf uses 500g of flour, 350g of water, 100g of levain, and 10g of salt, your total dough weight will be approximately 960g.
4. Cut cleanly
Use the bench scraper to cut straight down into the dough rather than pulling or tearing it. This maintains the structure and helps the dough retain its shape. Use a kitchen scale to weigh each portion of the dough, making sure the loaves are the same size.
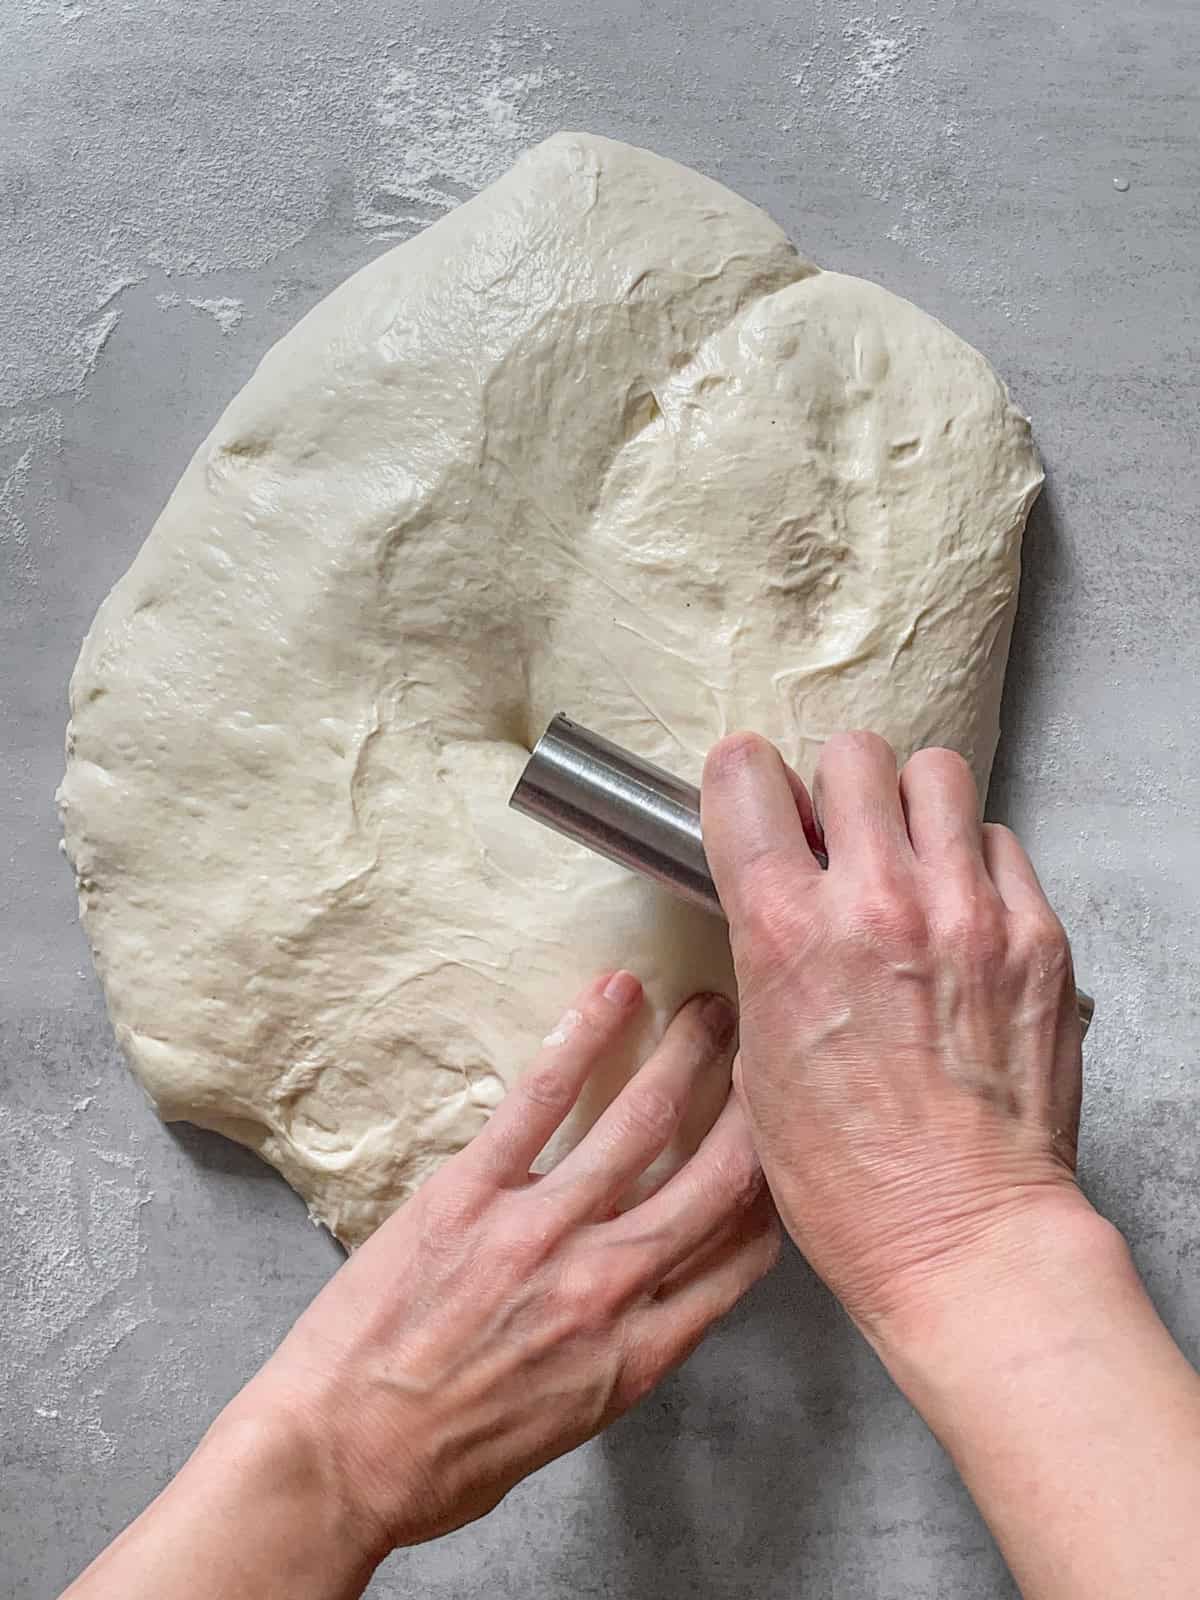
Divide the sourdough dough into two equal parts.
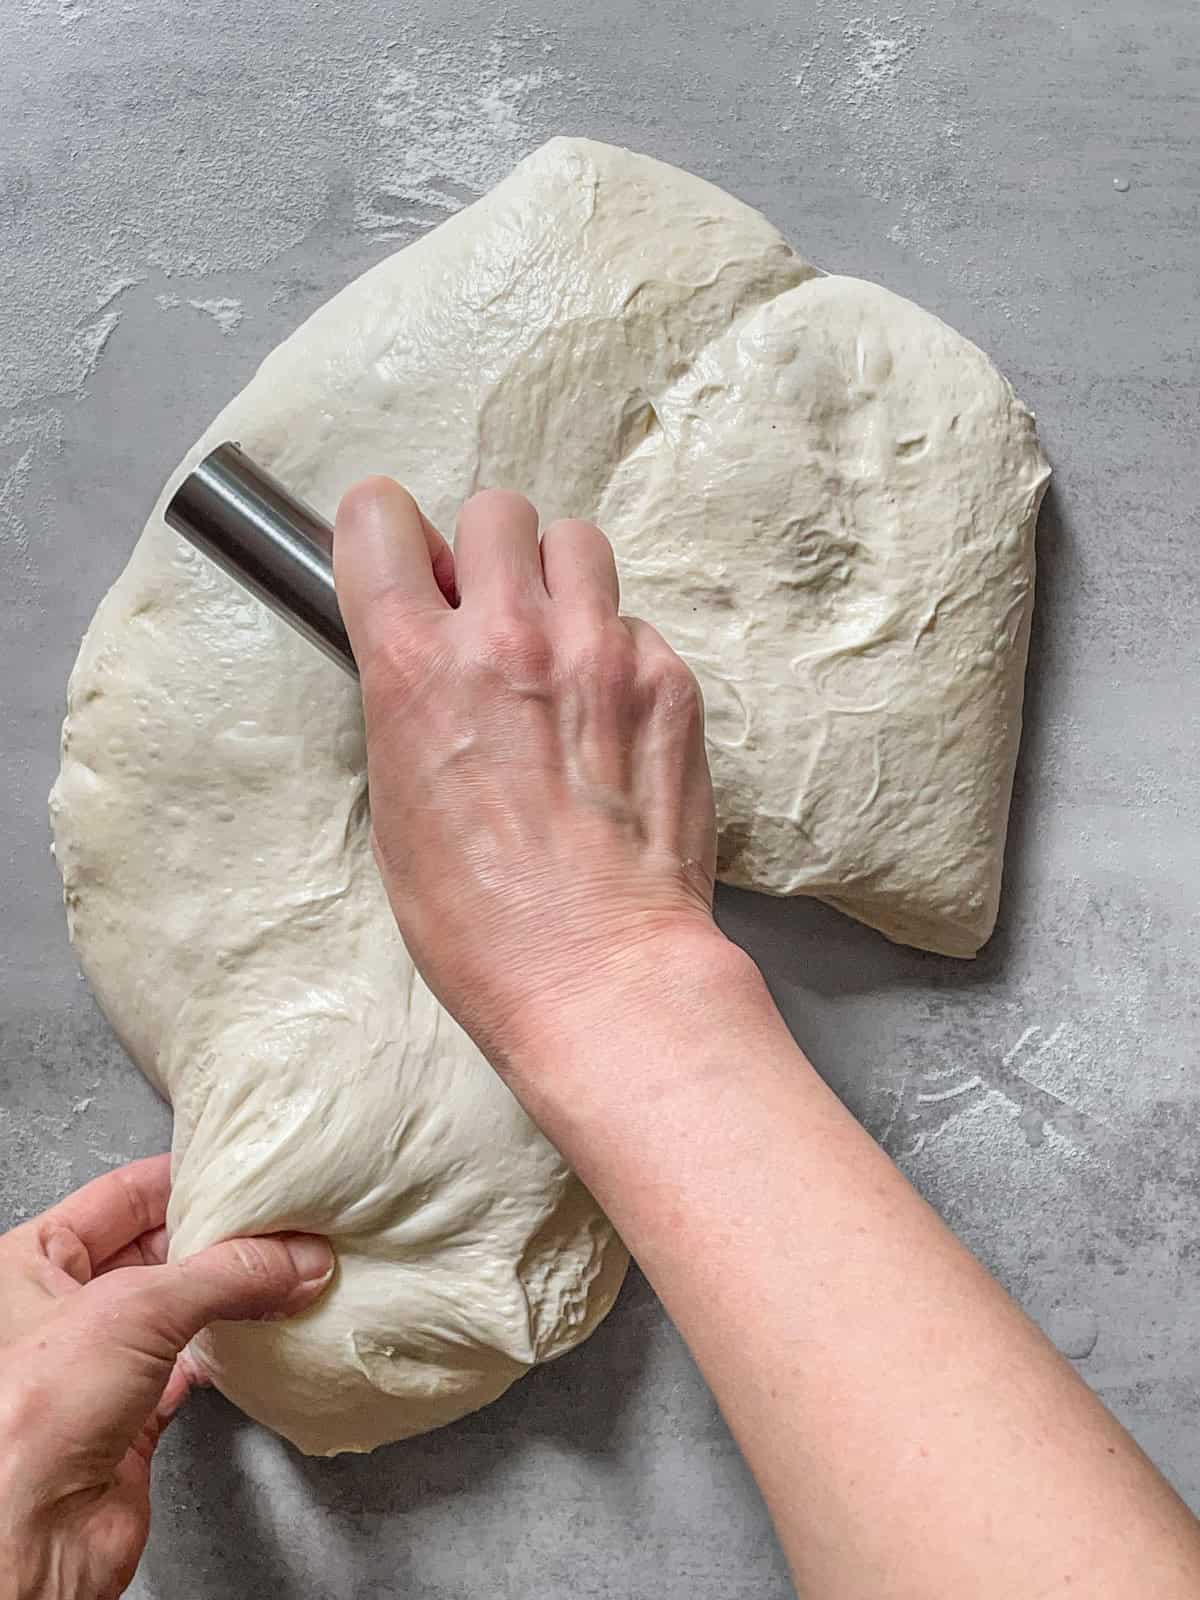
Divide the sourdough dough with a bench scraper.
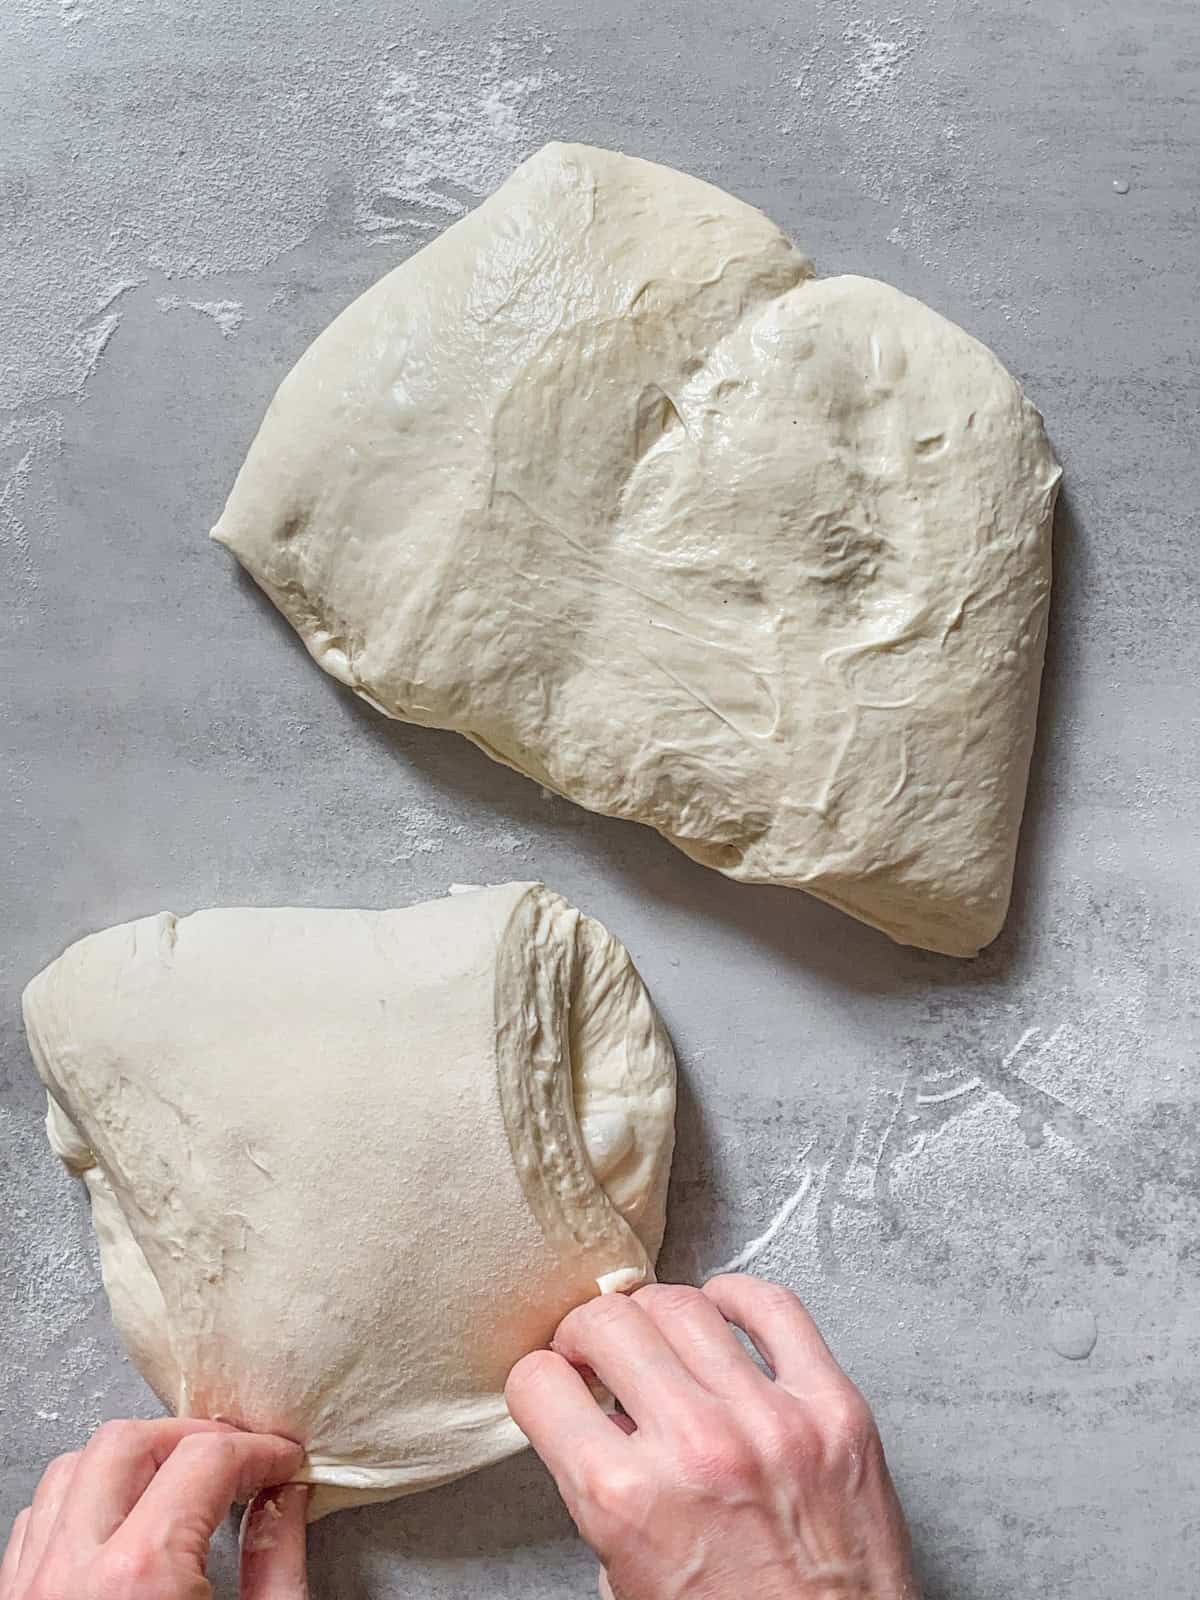
Fold the first part of the dough for preshaping.
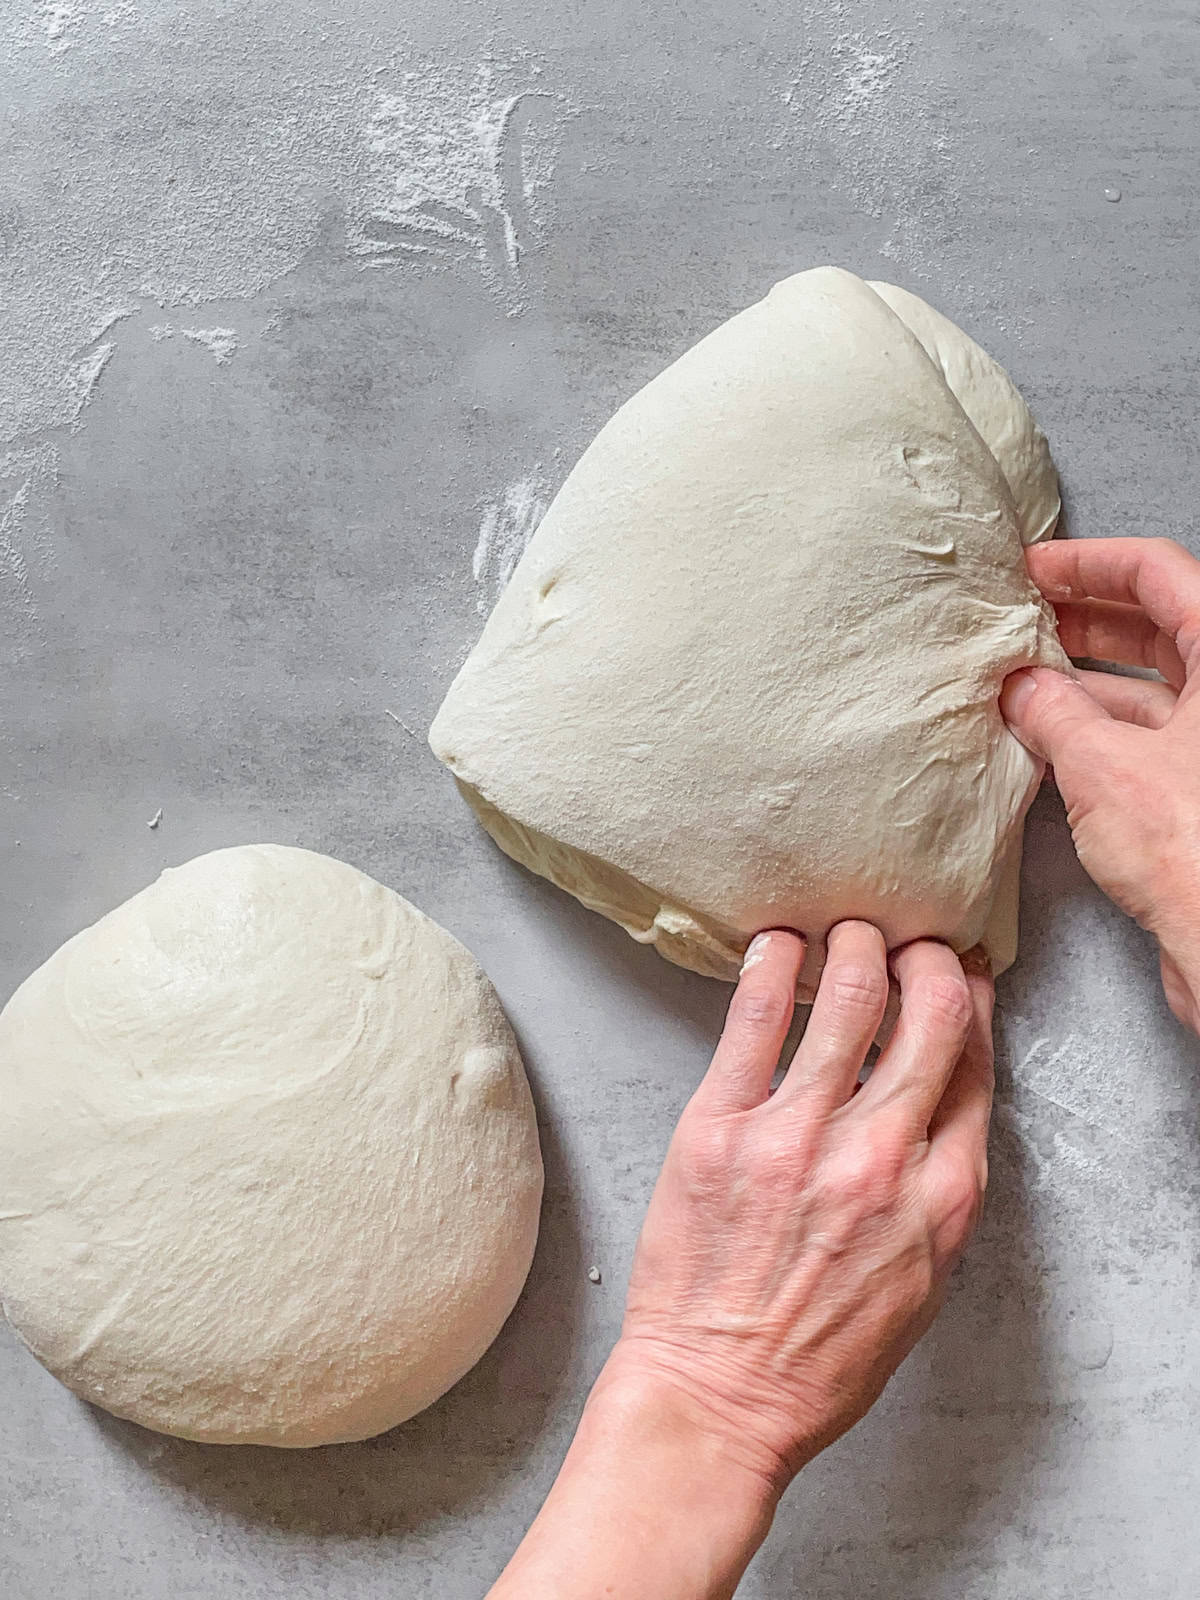
Fold the second part of the dough for preshaping.
How to preshape sourdough
1. Shape into rounds
Take each portion of dough and choose one of two methods.
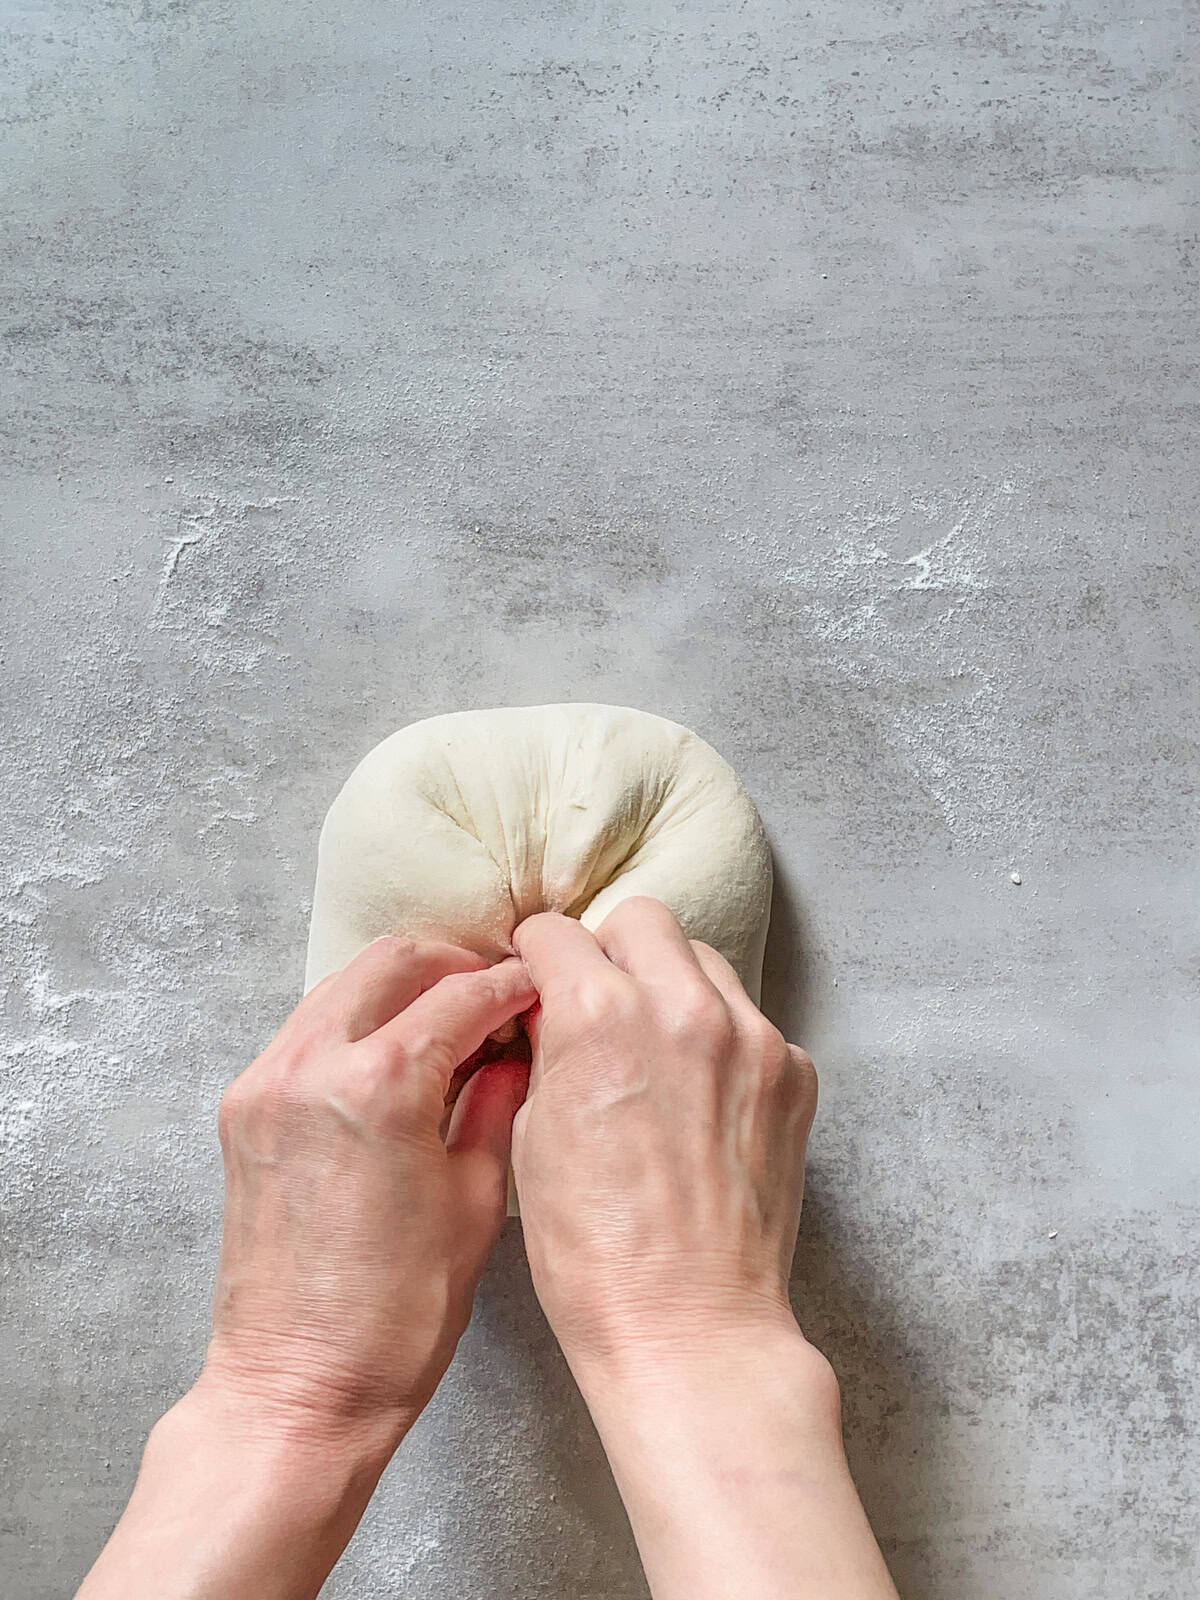
Method 1 - Gather and Round: Gently pull the edges of the dough toward the center, gathering them to form a loose, round shape.
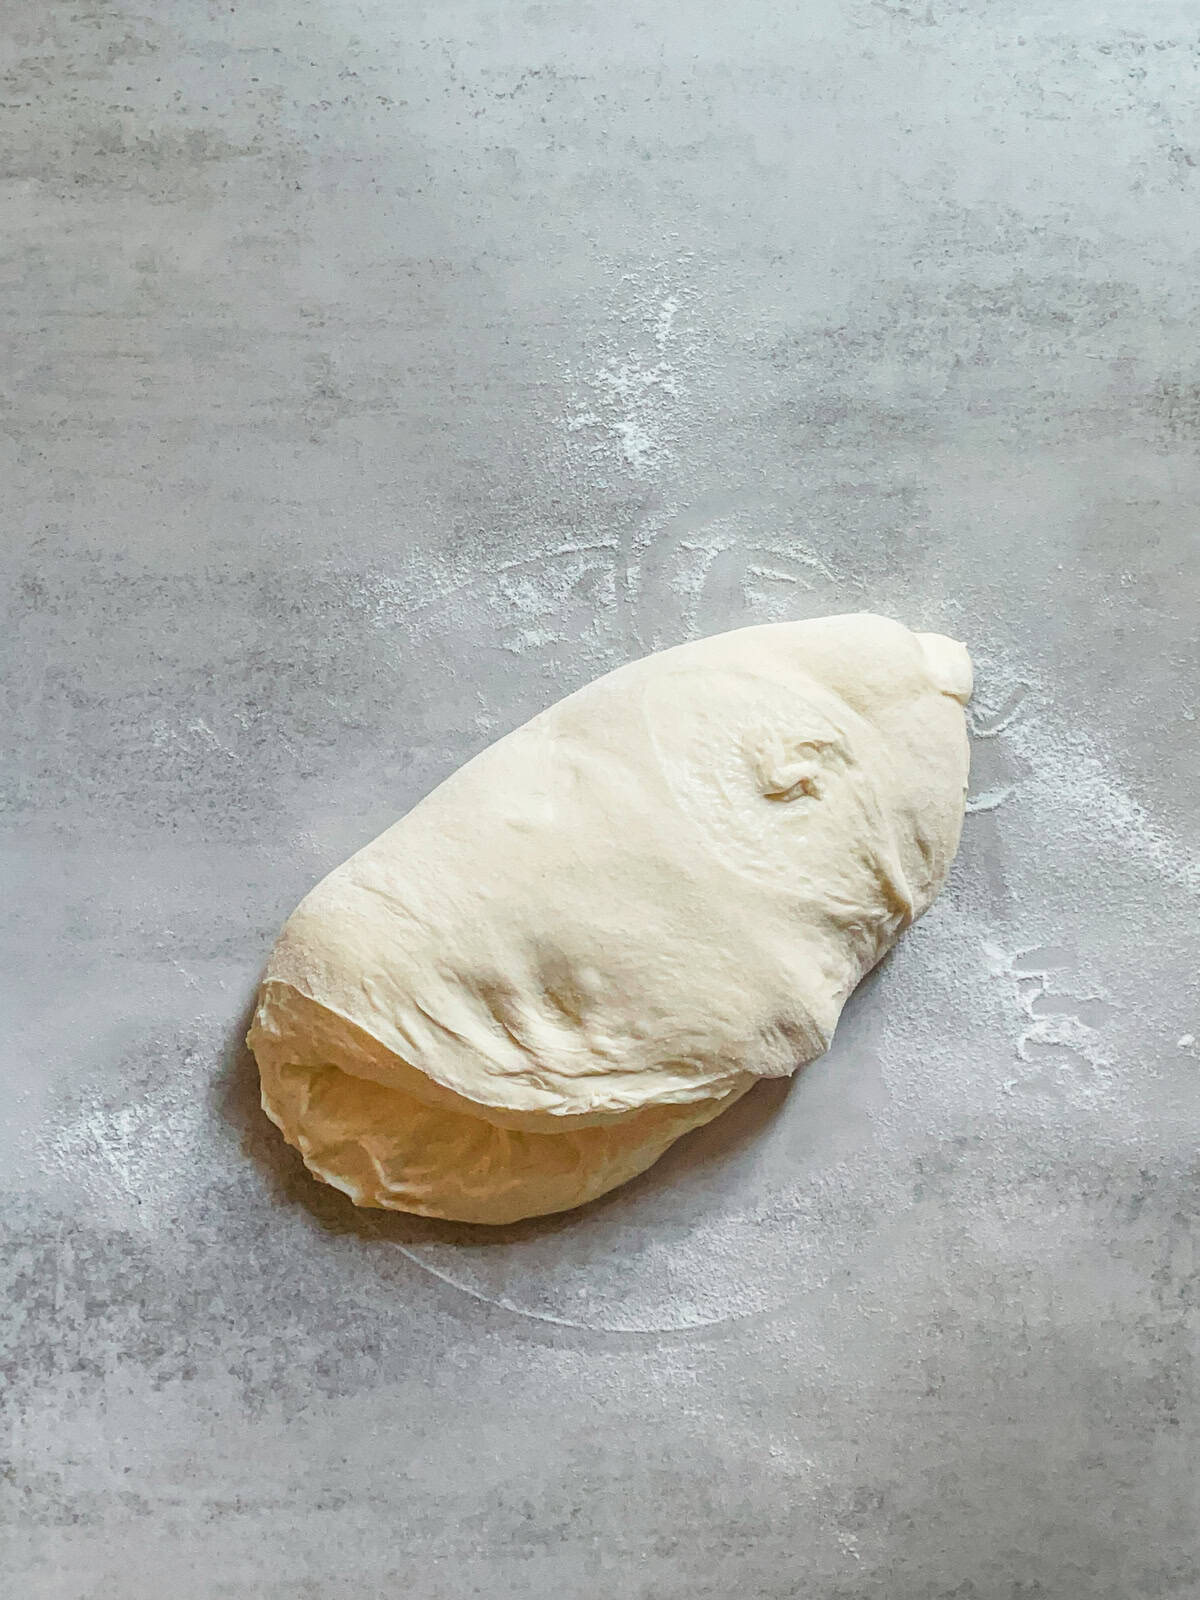
Method 2 - Fold Over: Take one half of the dough and fold it over the other half to create a rough ball.
2. Create tension
Using a bench scraper, flip the dough ball over (if you used the gathering method) so the sticky side rests on the counter. If you used the folding method, move on to the pull-turn-push technique described below.
Now, with gentle movements, use the pull‑turn‑push technique to tighten the outer layer and build surface tension on the dough. Repeat a few times (about 2 to 4).
Here is how to do it with your hands:
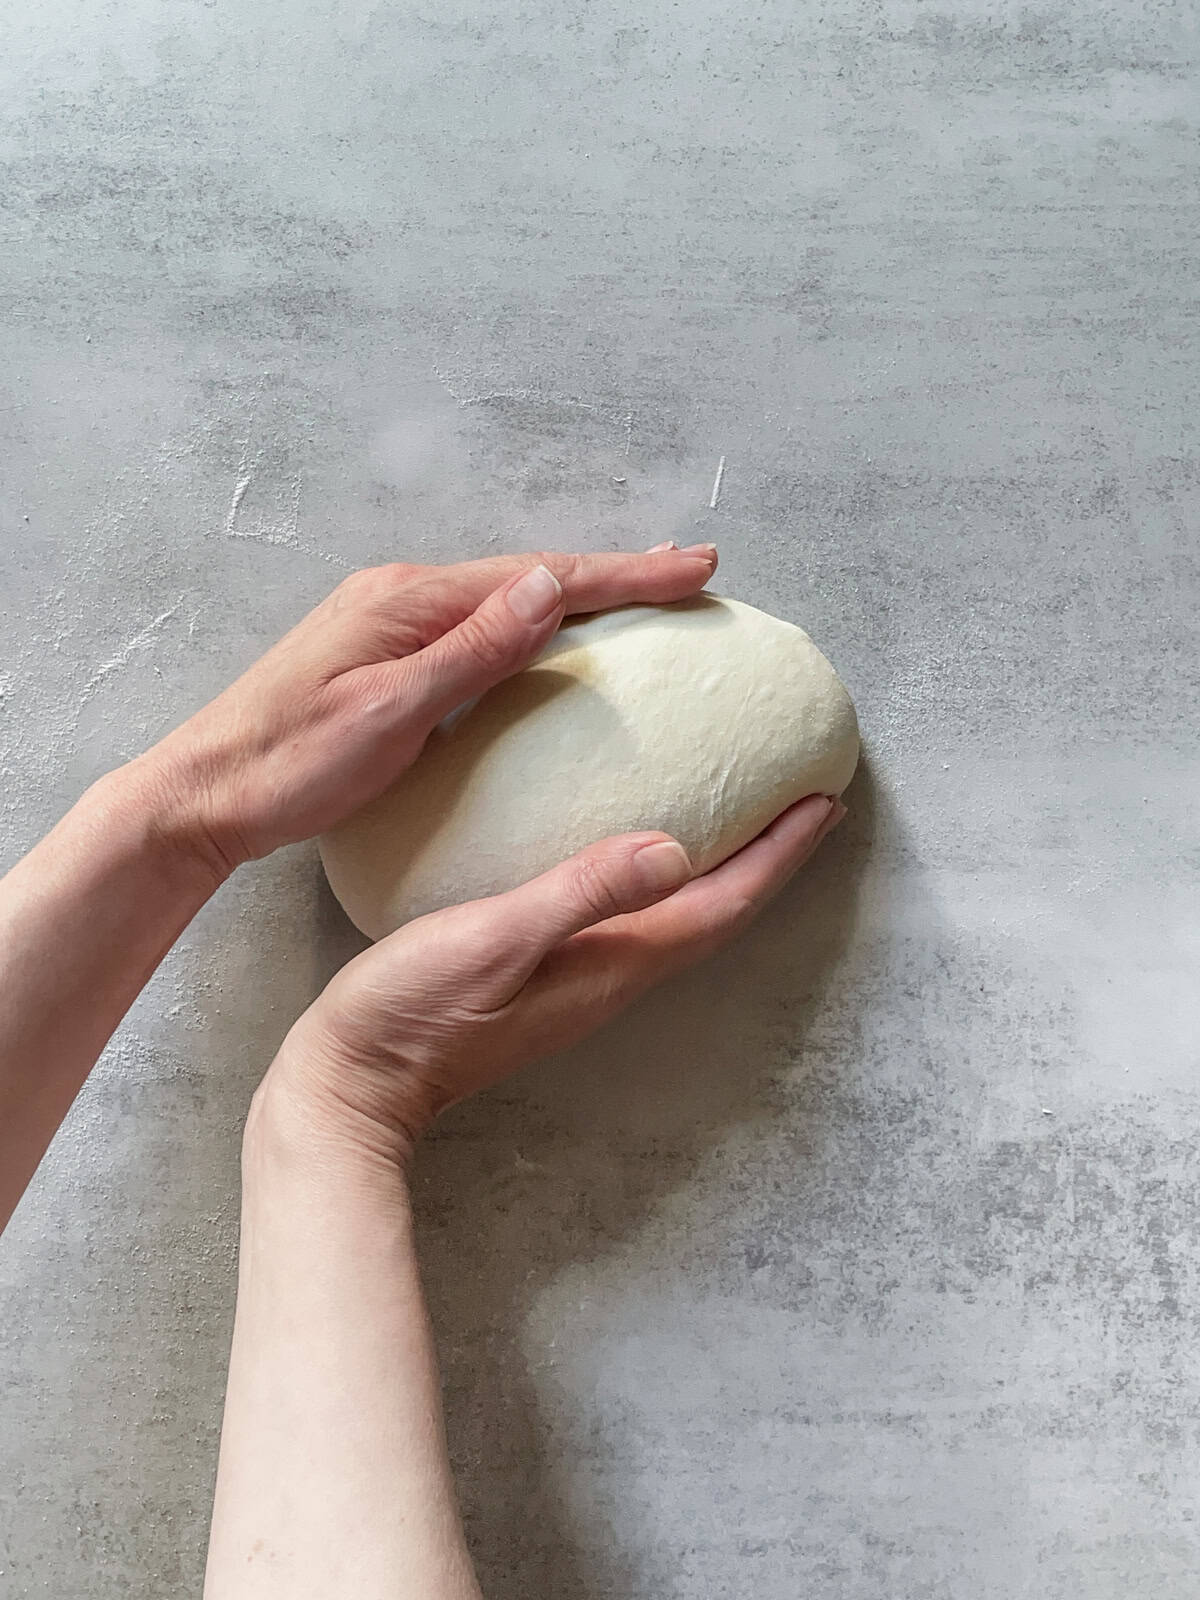
Step 1 - Pull: With your hands, pull the dough slightly away from yourself to create tension on the surface.
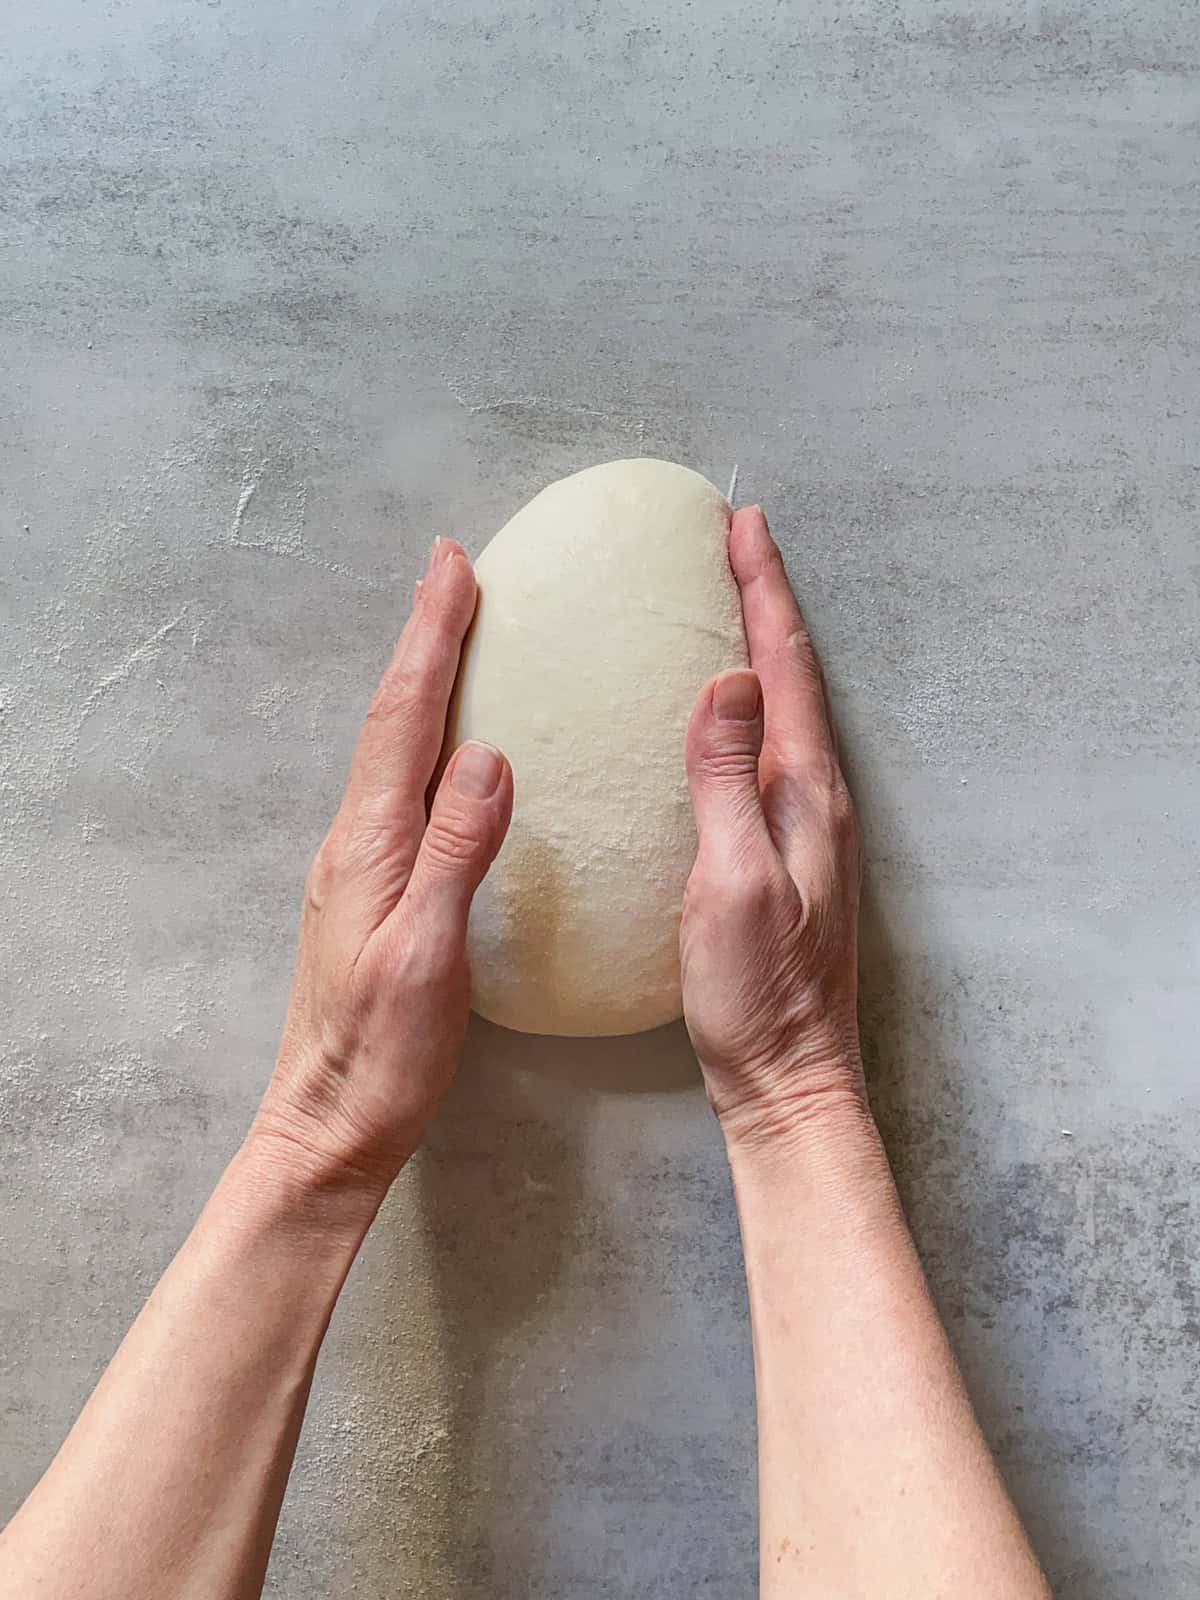
Step 2 - Turn: Rotate the dough a quarter turn.
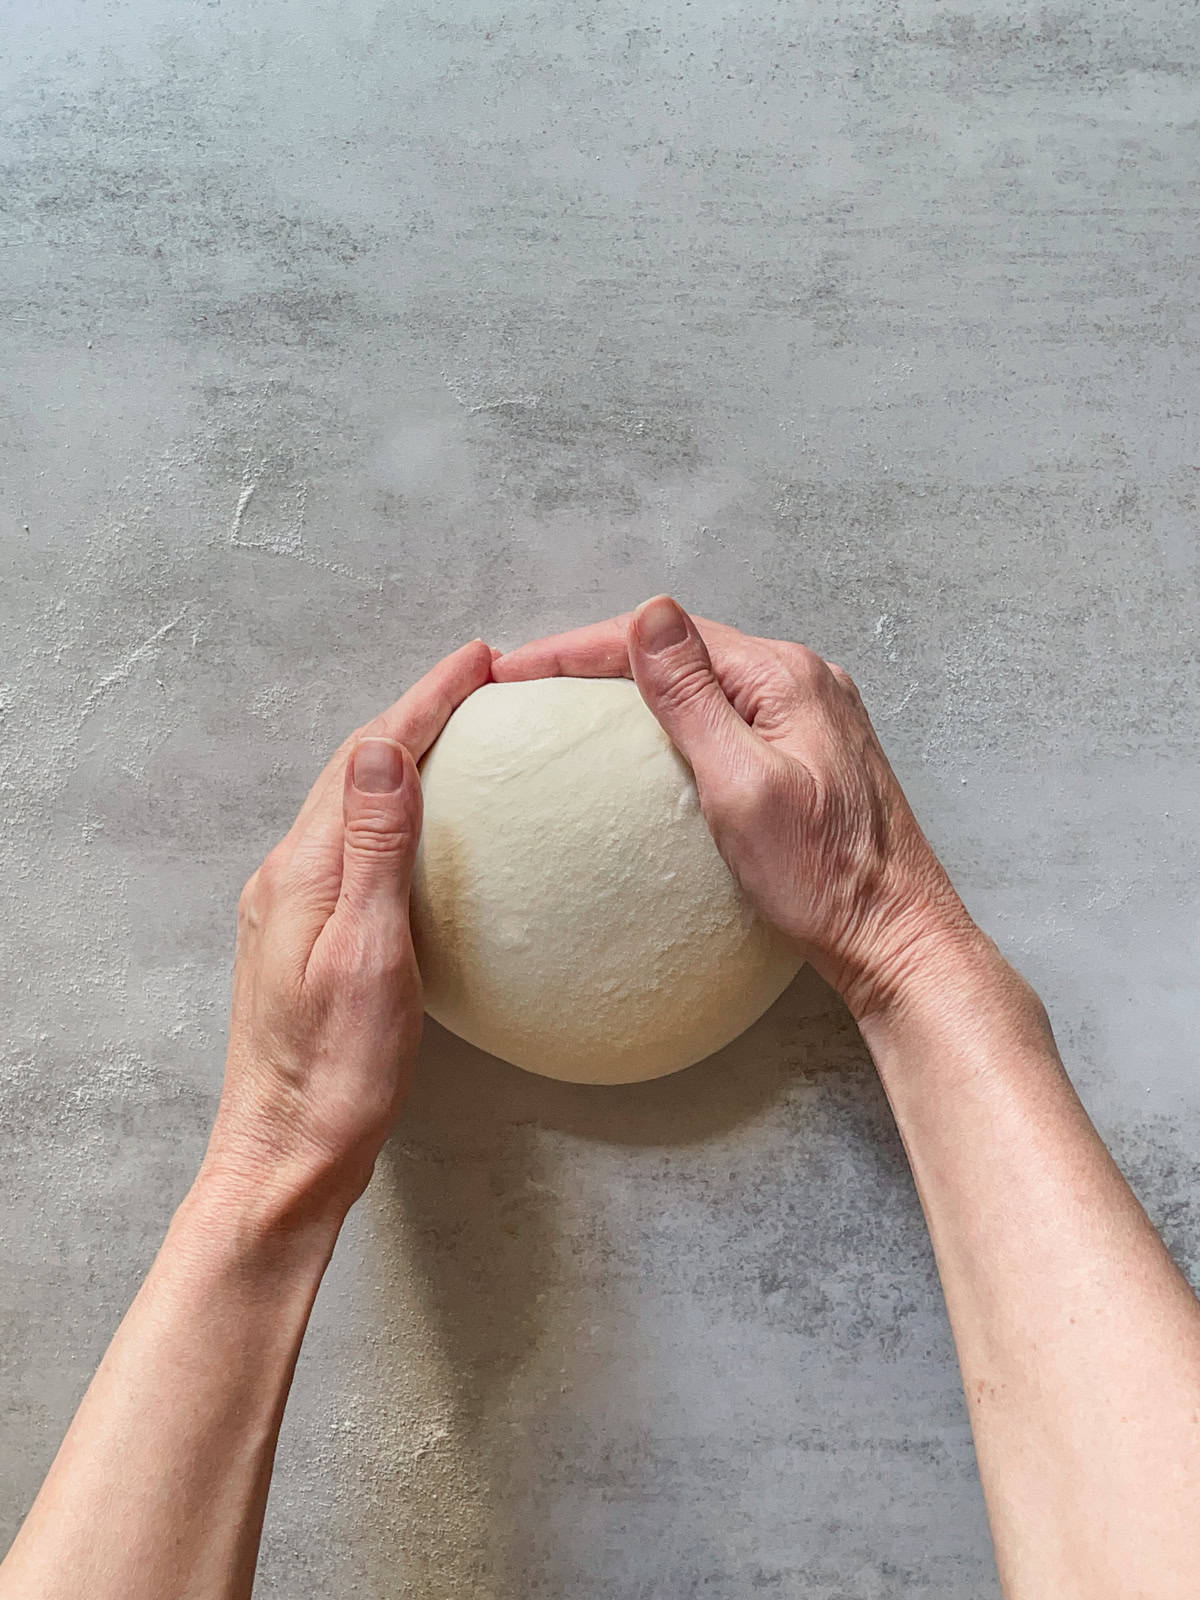
Step 3 - Push: Gently push the dough back toward yourself, tucking the edges underneath.
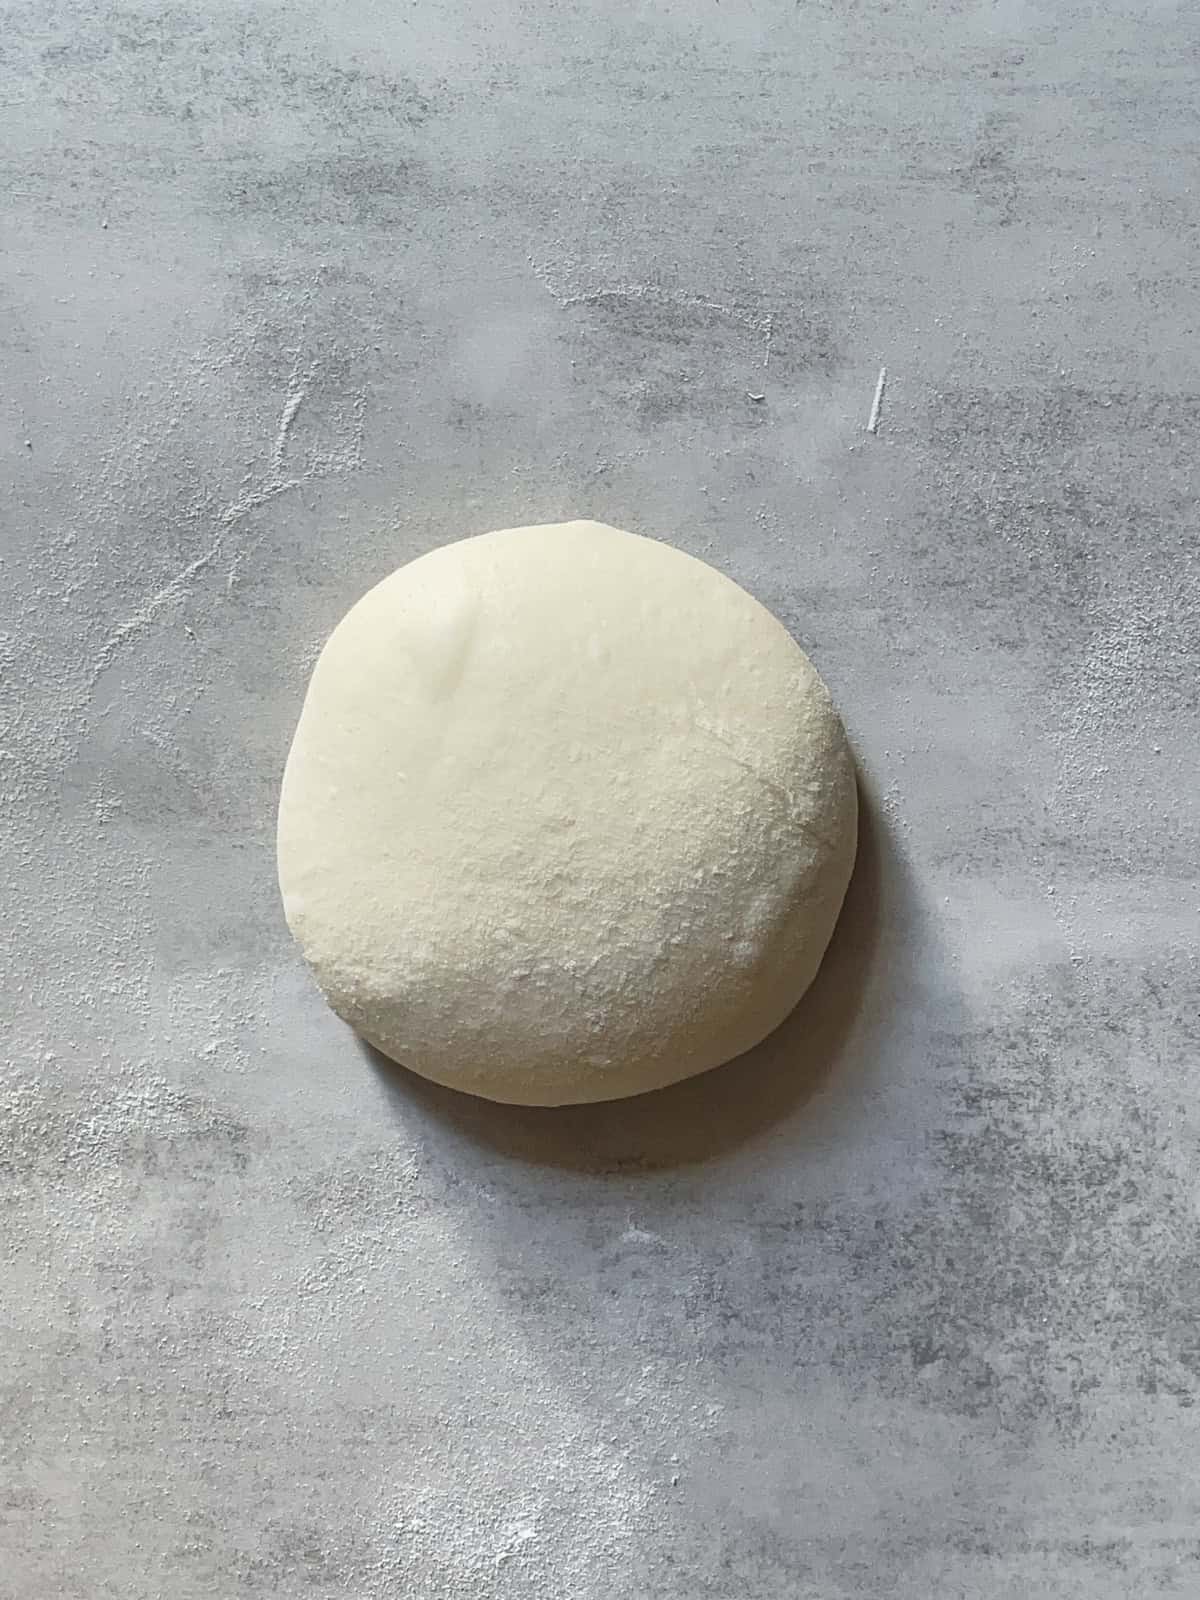
Step 4 - Rest: Let the dough rest.
Here is how to do it with your hands and a bench scraper:
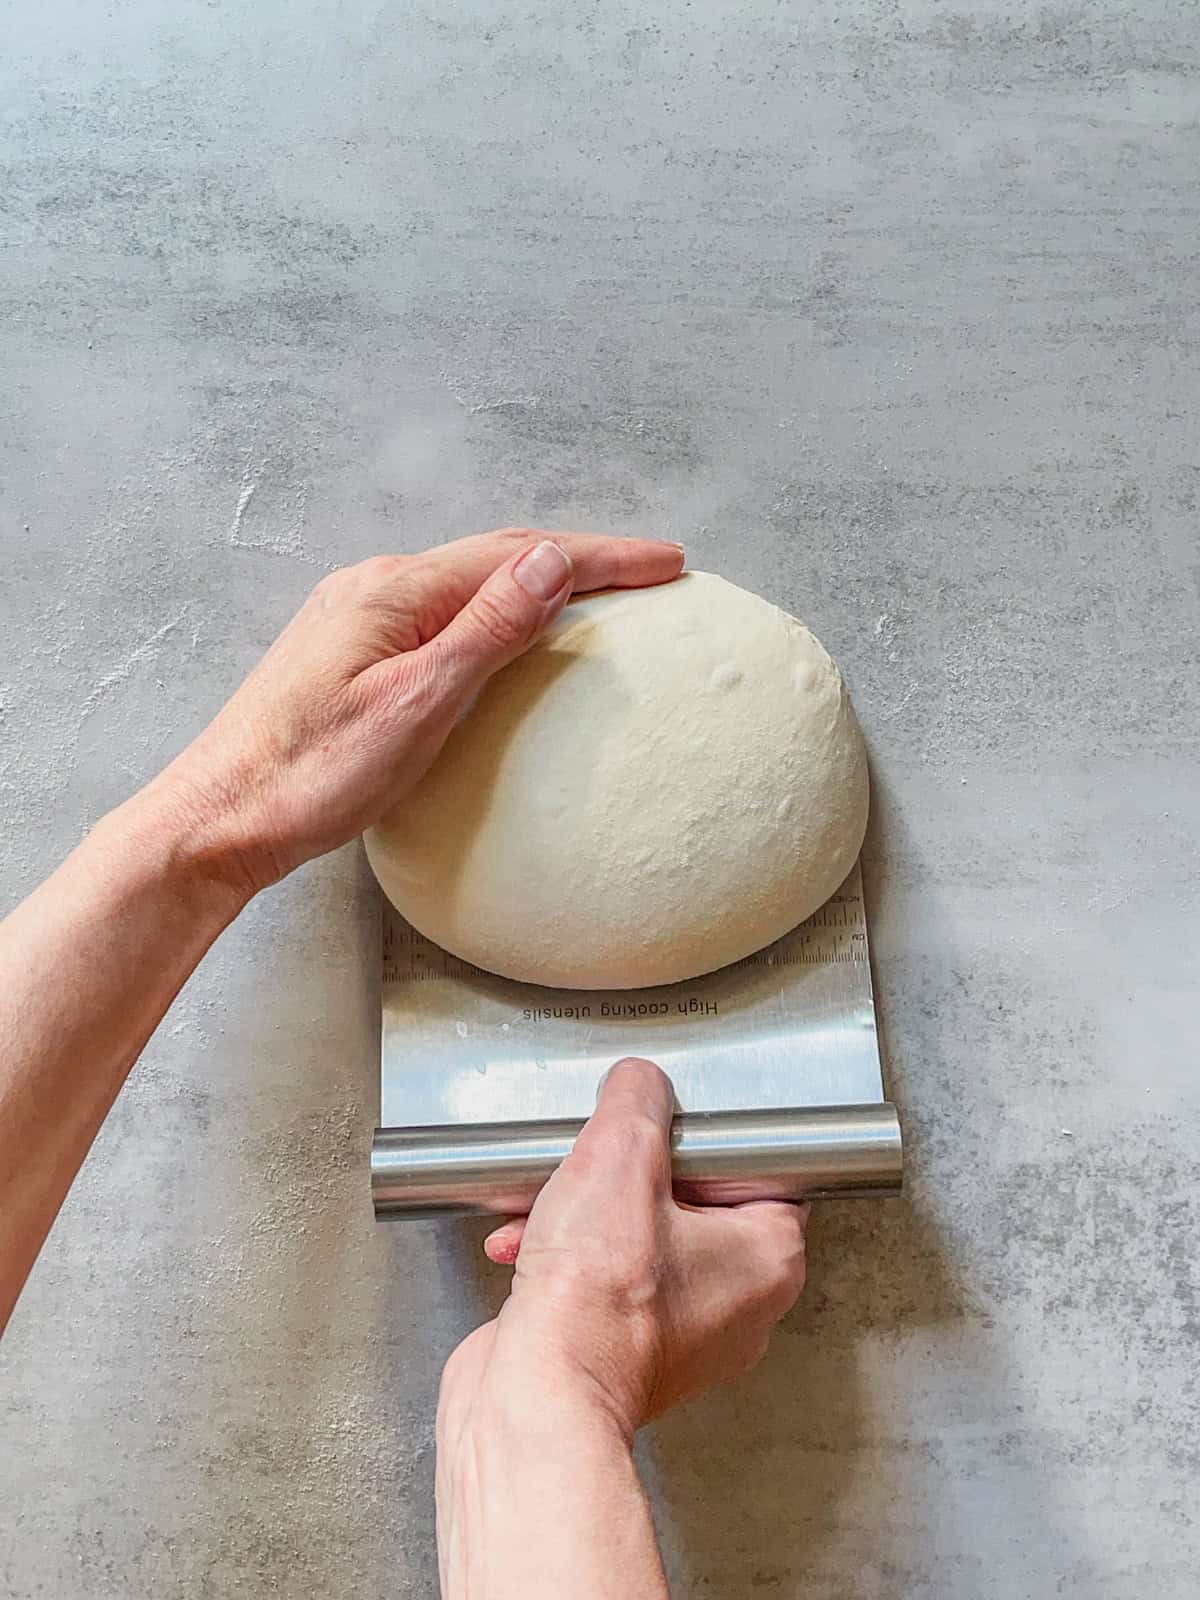
Step 1 - Pull: With a bench scraper, pull the dough slightly away from yourself to create tension on the surface.
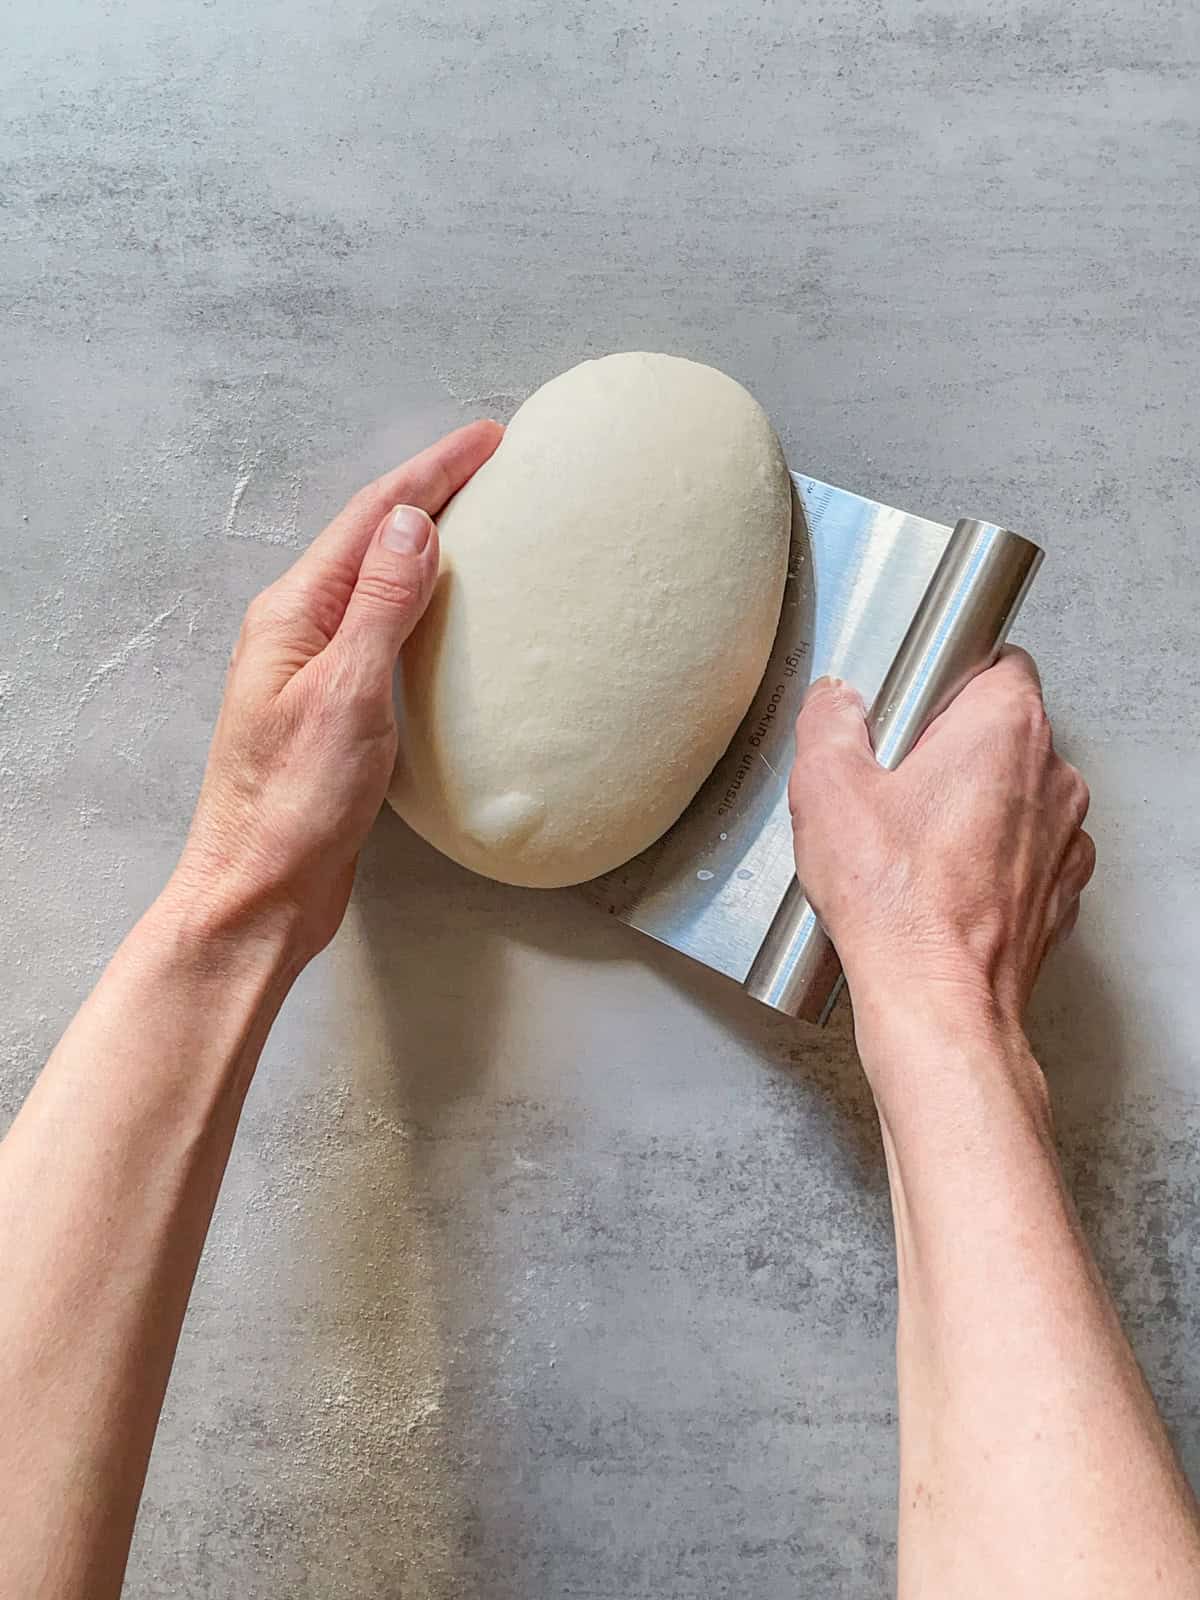
Step 2 - Turn: Rotate the dough a quarter turn.
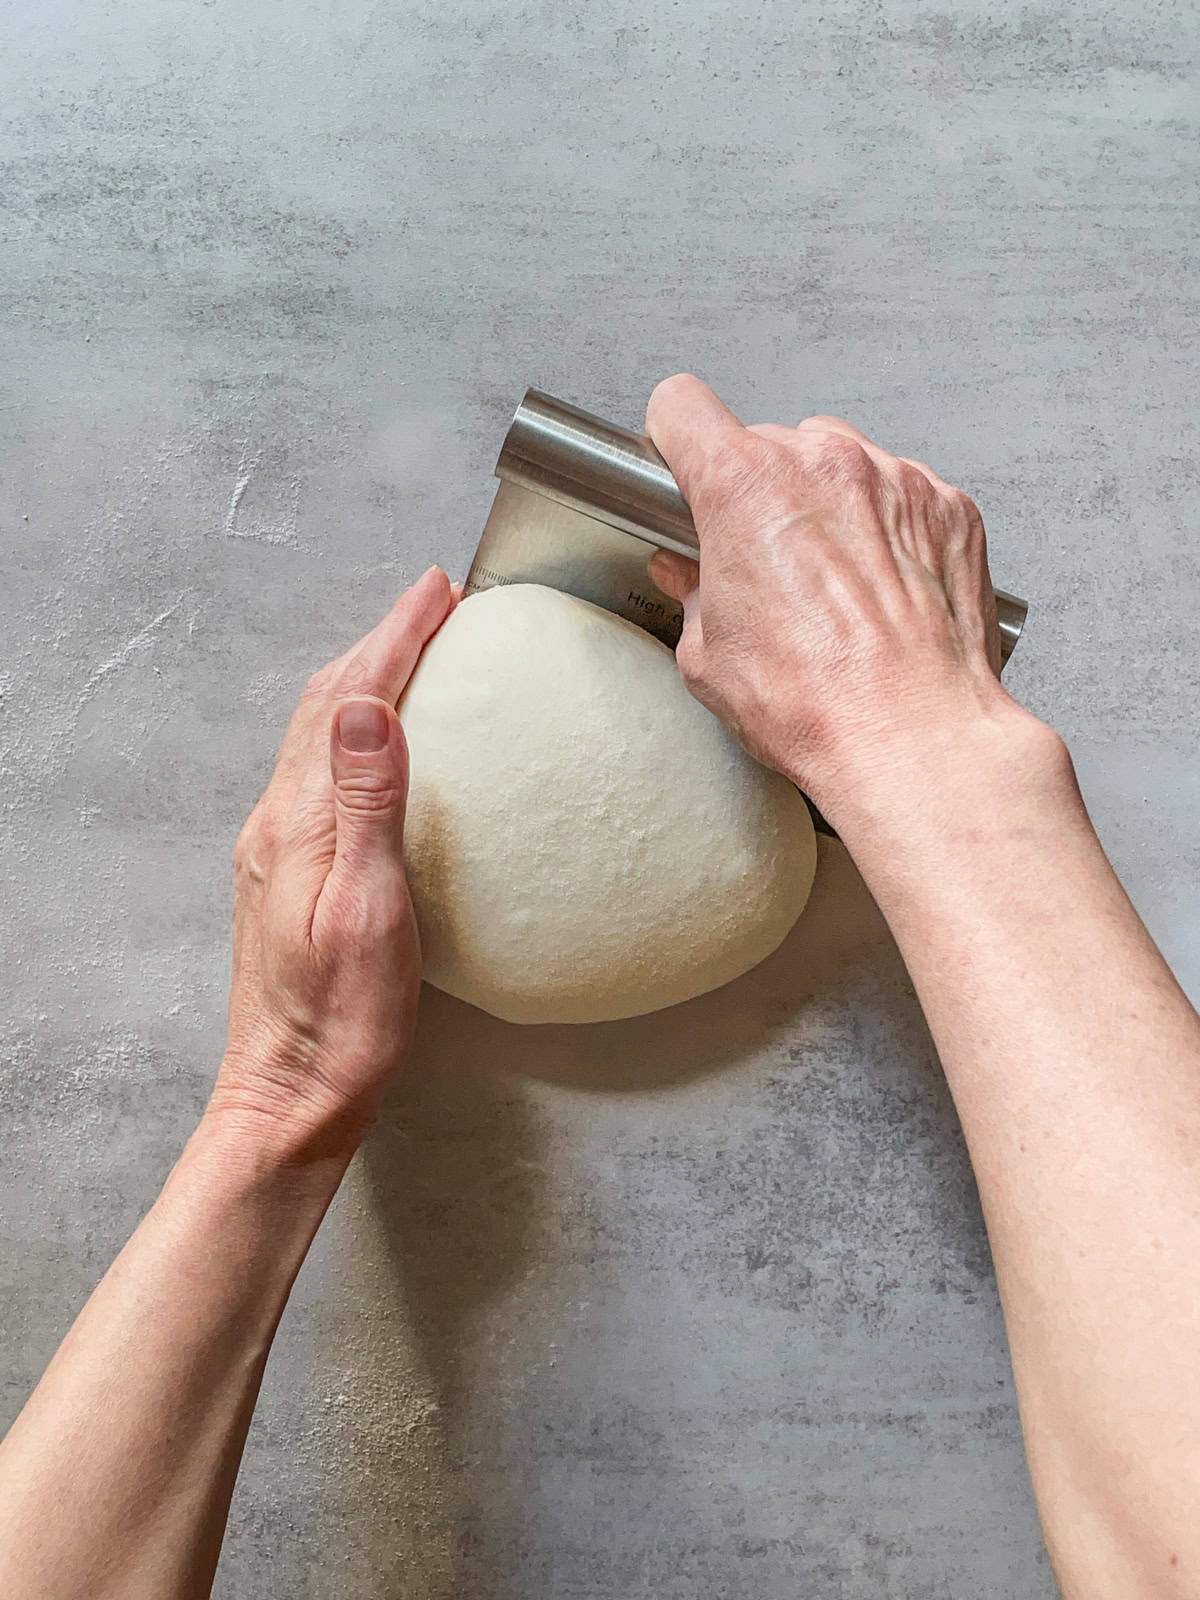
Step 3 - Push: With a bench scraper, gently push the dough back toward you, tucking the edges underneath.
Step 4 - Rest: Let the dough rest.
3. Get the dough ready for bench rest
Once you have preshaped the dough into rounds, let it rest on the counter for 20 to 30 minutes. This resting period is called the bench rest. It allows the gluten to relax, making the final shaping easier.
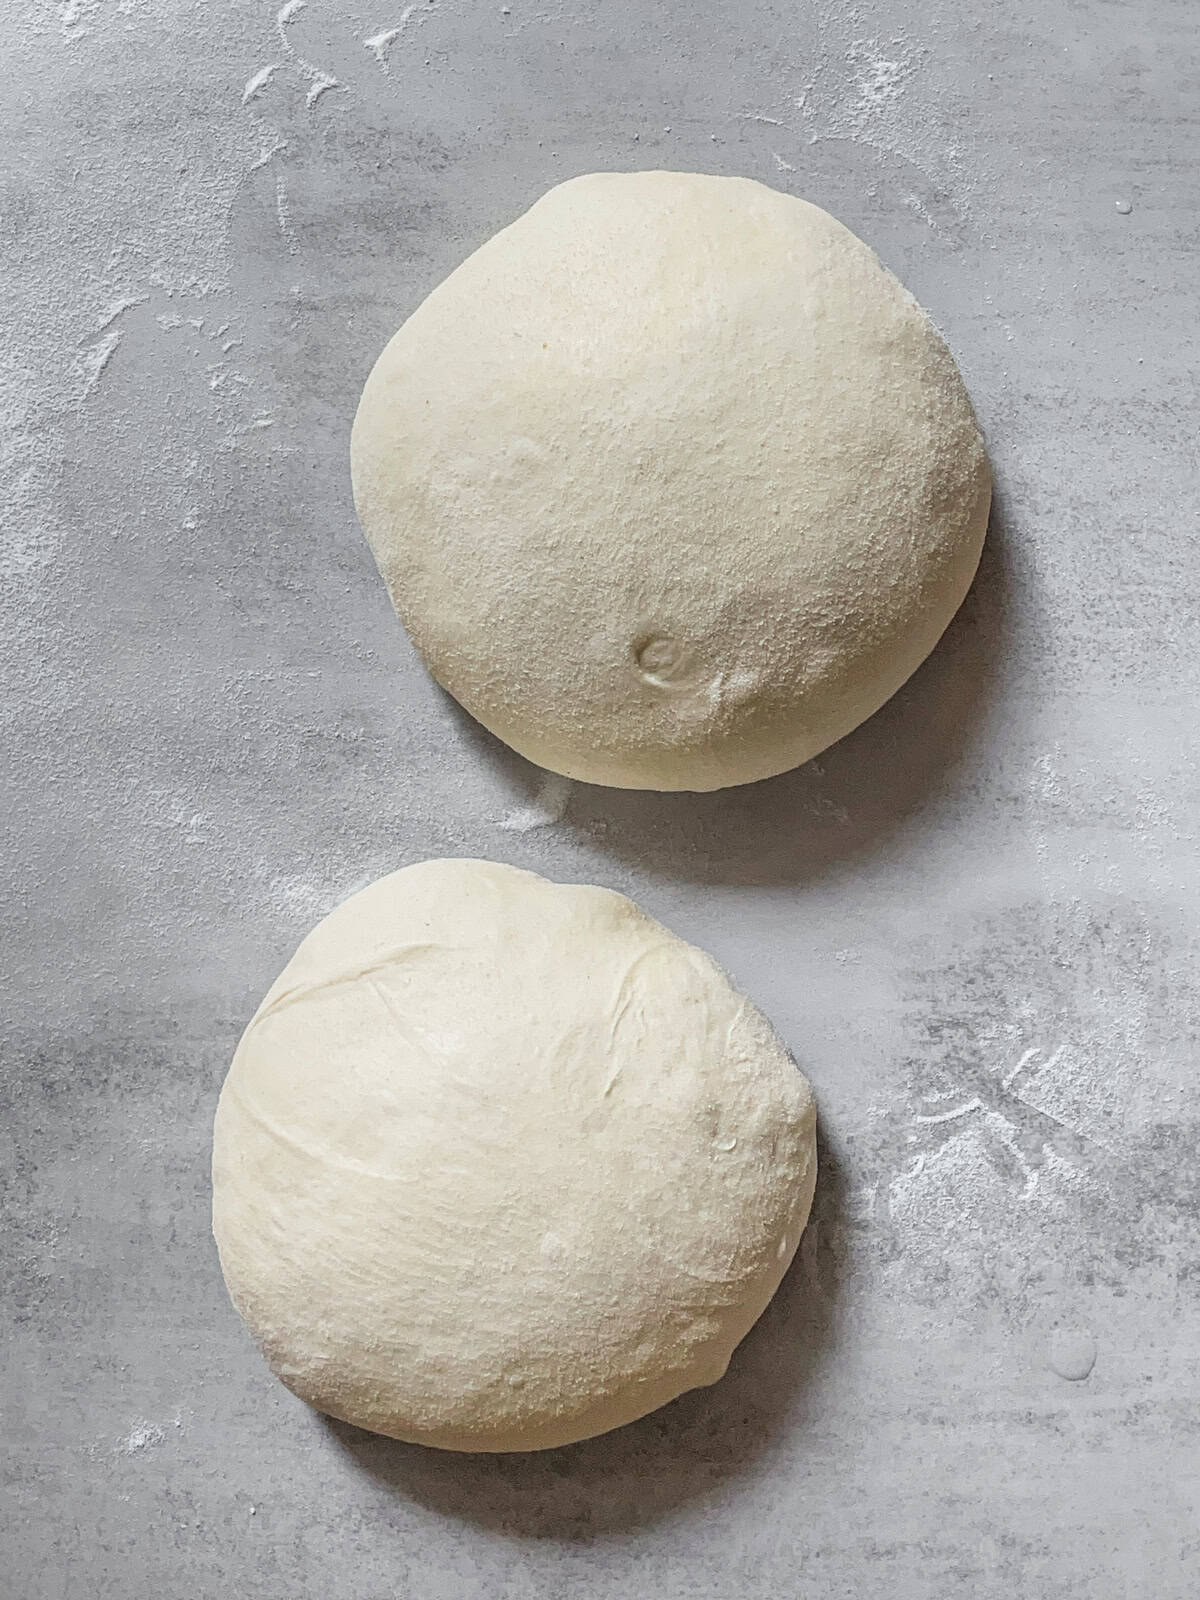
Is preshaping bread dough necessary?
Preshaping is not strictly necessary for one loaf of sourdough, but it can be helpful. If you are a beginner, practice preshaping to get a feel for the dough. You might skip this step as you gain experience and your dough develops enough strength.
Preshaping is important for multiple loaves. It helps create surface tension in the divided dough, making the final shaping easier.
Expert tips
- Handle the dough gently to preserve its gluten structure and fermentation gases. Use light but firm movements to prevent the dough from deflating.
- Pay attention to the sourdough hydration level. A higher hydration means the dough will be stickier, so you may need to move quickly and confidently.
- Use a bench scraper to make clean cuts, lift, and guide the dough without tearing it.
- Avoid overusing flour during preshaping. Use just enough so the dough can slide on the counter while still creating tension.
FAQ
Sticky dough is often caused by high hydration, insufficient gluten development, or over-fermentation. Dough with too much water is harder to handle, especially for beginners.
Yes, some bakers use water during preshaping. I sometimes lightly spray my bench scraper and the scale's weighing plate when dividing and weighing the dough. I prefer white rice flour on the work surface and avoid adding anything to my hands to reduce stickiness.
Let's talk sourdough
How many loaves do you usually bake at once? And when you make two, do you divide the dough by weight or just eyeball it?
Ready to keep learning?
After preshaping, your dough needs a short rest. Learn about bench rest, why it is necessary, and if you can skip it.