
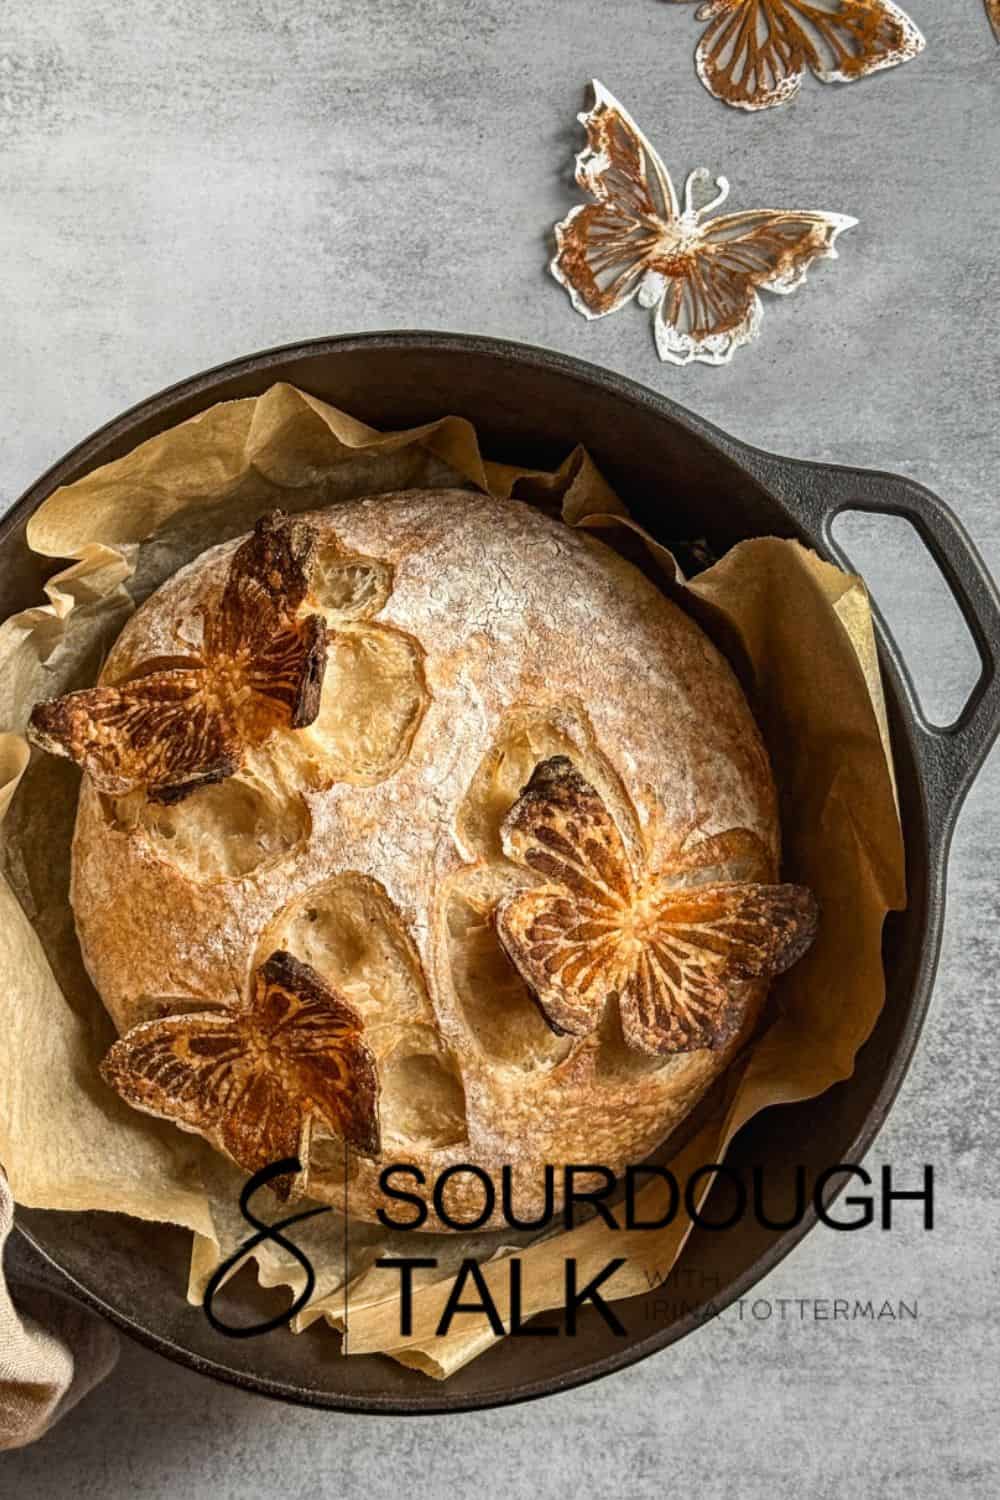
Sourdough 3D scoring is one of the most creative ways to express yourself in bread-making. By making precise cuts on the surface of the bread, you can create stunning patterns that turn your bread into art, combining taste with aesthetics.
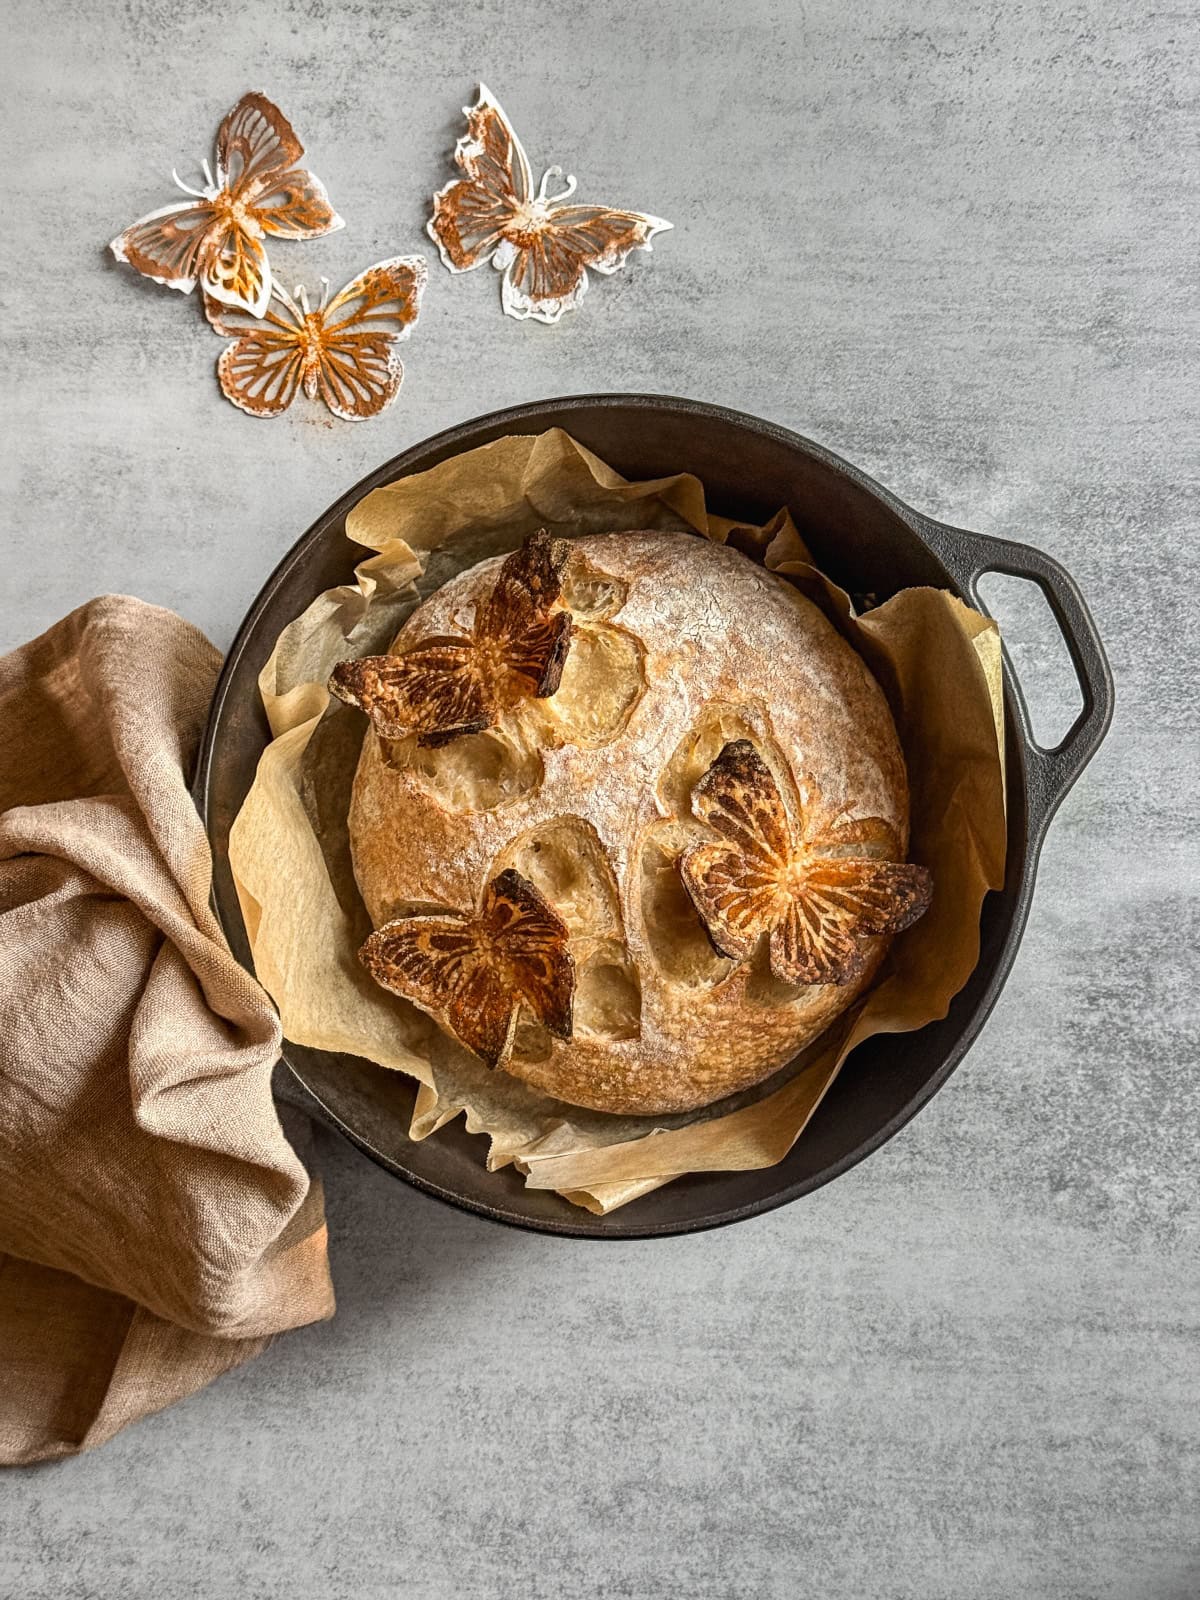
What is sourdough 3D scoring?
Sourdough 3D scoring is a technique for making artistic cuts on the surface of sourdough bread, creating intricate, raised patterns on the crust.
This method combines the traditional sourdough scoring with a technique called double scoring.
Essential tools
To get started, you will need a few tools:
- A lame (this UFO bread lame is perfect) or scoring blade to make precise cuts
- A pastry brush to remove excess flour
- A spray bottle for misting the dough, if needed
- A flour duster, flour sifter, or fine sieve to sprinkle flour on your bread
- Kitchen twine, thread, and small scissors for design outlines
- Parchment paper
- Edible food powders or dyes for adding color
- Edible markers or a paintbrush
Step-by-step guide to 3D scoring
Now, let's walk through the steps for creating 3D designs on your bread.
- Make the design: Use a stencil or draw the design on the proofed sourdough loaf with a wooden skewer. Keep the lines light, but make sure they are clear enough to follow when scoring later.
- Score the outline: Using a scoring tool (razor blade or lame), gently score along the outline of your design. This creates clean edges and starts forming the pattern as the bread bakes.
- Enhance the design during baking: When the loaf is about 6-7 minutes into baking, carefully remove it from the oven. With your scoring blade, make deep, nearly parallel cuts that run along the surface of the dough in selected areas of the design to create a stronger 3D effect. The cuts should follow the contour of the dough, almost like "filleting" the design, so they add depth and dimension without cutting straight down into it.
- Support for the 3D effect: To give your design some extra lift, shape a small piece of parchment paper into a ball. Place the ball under the parts of the design you want to raise, such as a flower's petals or a butterfly's wings. This will help the raised parts stand out during baking.
- Finish baking: Return your loaf to the oven and continue baking as usual. The parchment paper balls will help keep the raised parts of your design in place. Use tin foil to cover the lift cuts to help prevent burning due to the thin layers. Once the bread is fully baked, carefully remove the foil.
How to create 3D butterfly scoring on sourdough
Here is how to create a butterfly-inspired 3D design using scrapbooking lace paper butterflies as stencils.
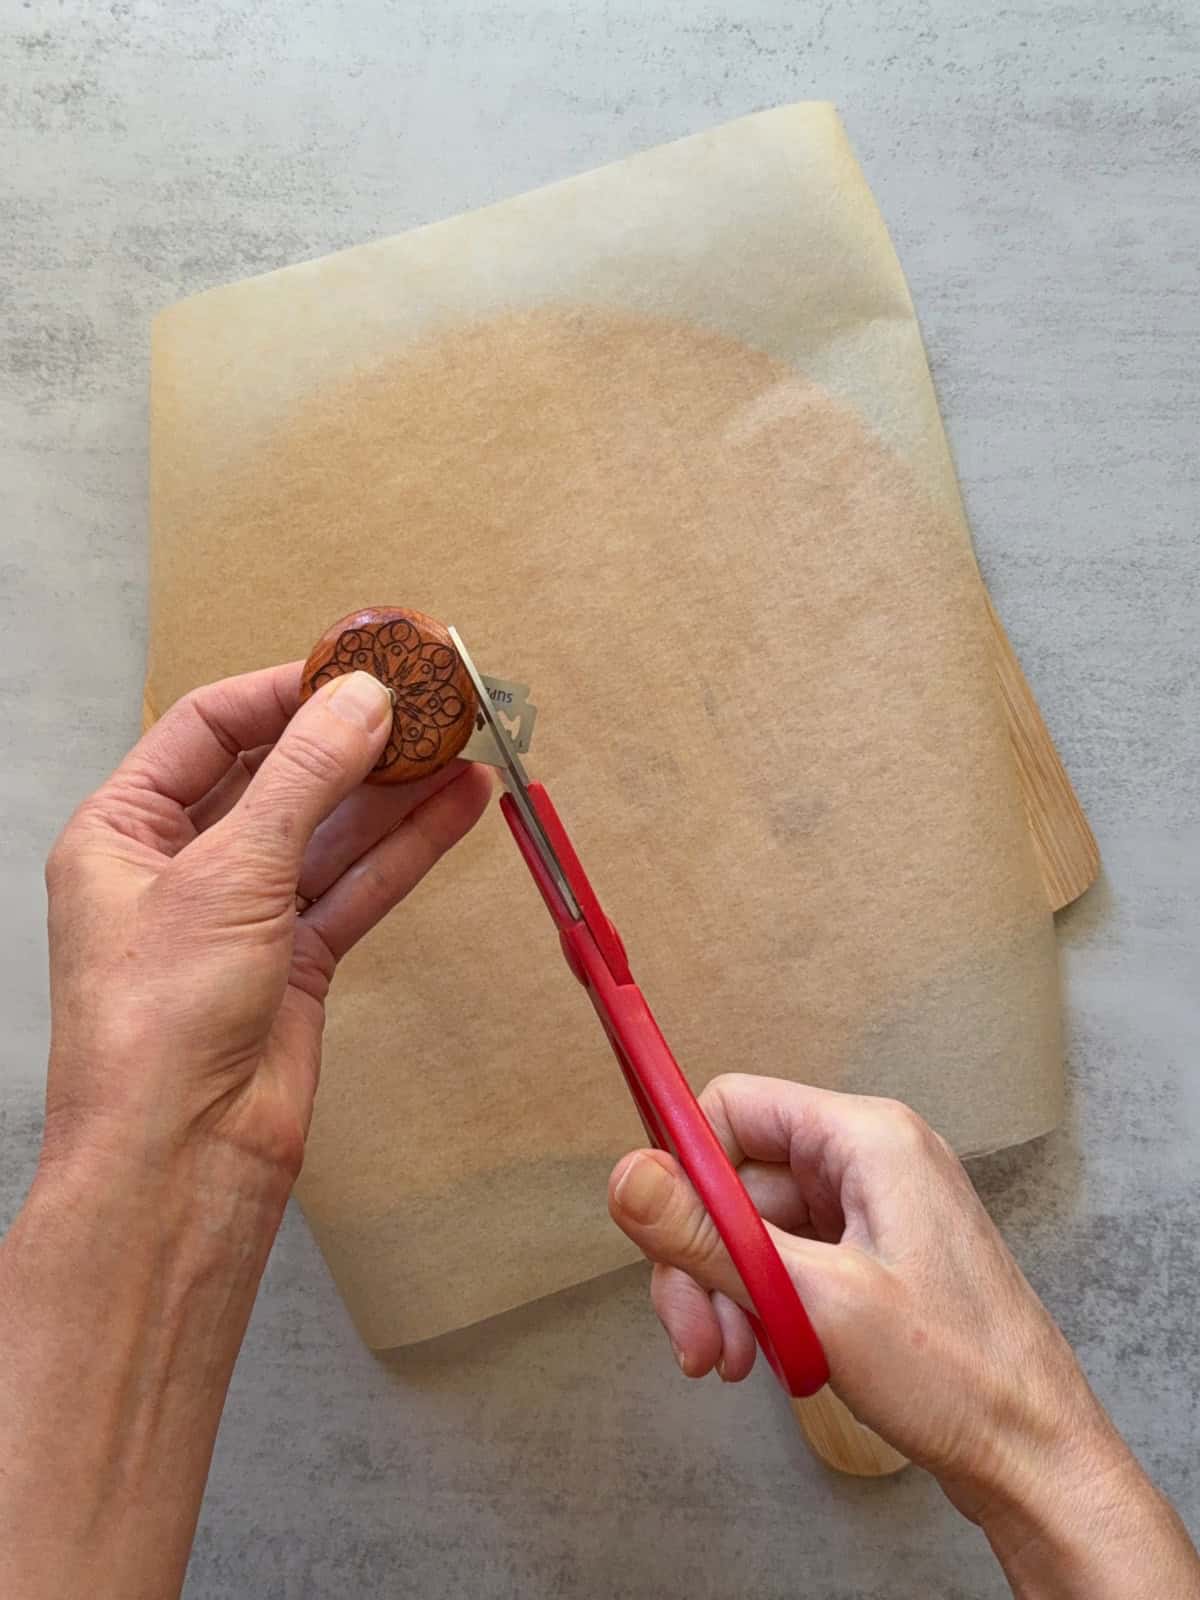
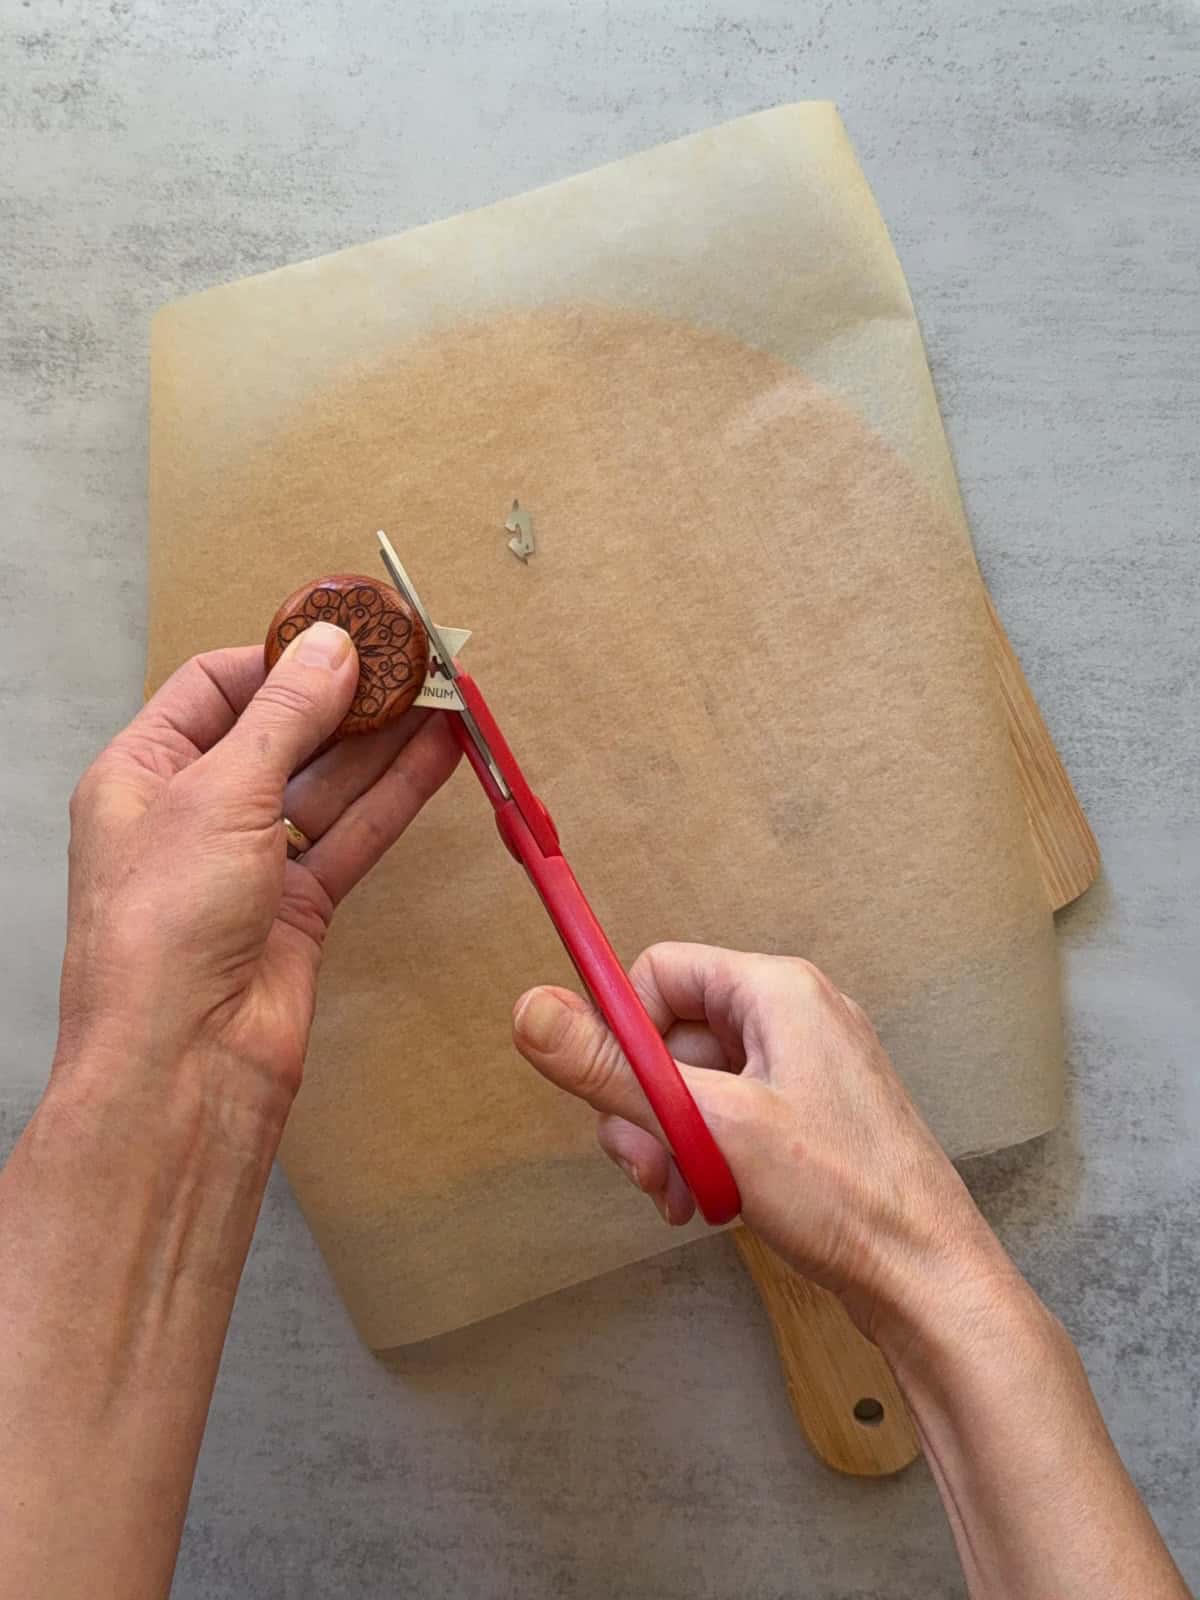
Using scissors, cut one side of the razor blade fitted into the UFO bread lame.
Then cut the other side of the razor blade in the same way.
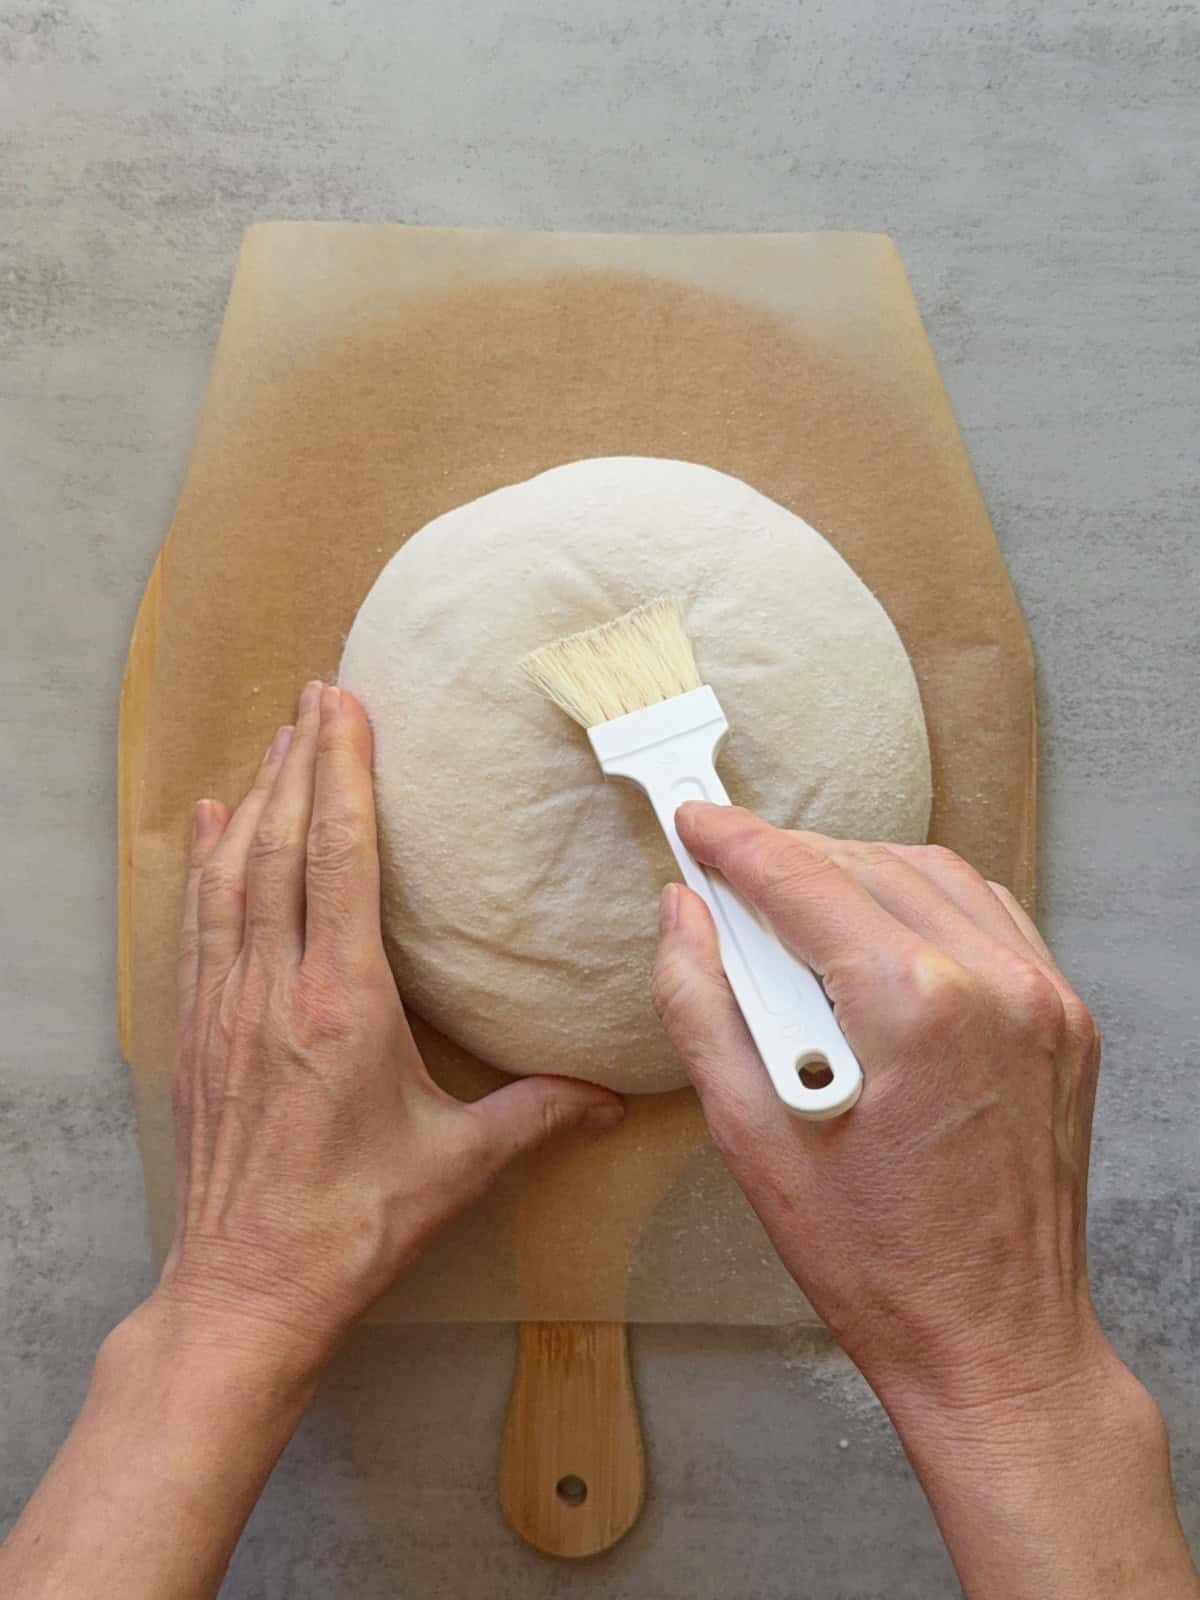
Remove the flour from the surface of the proofed sourdough, using a pastry brush.
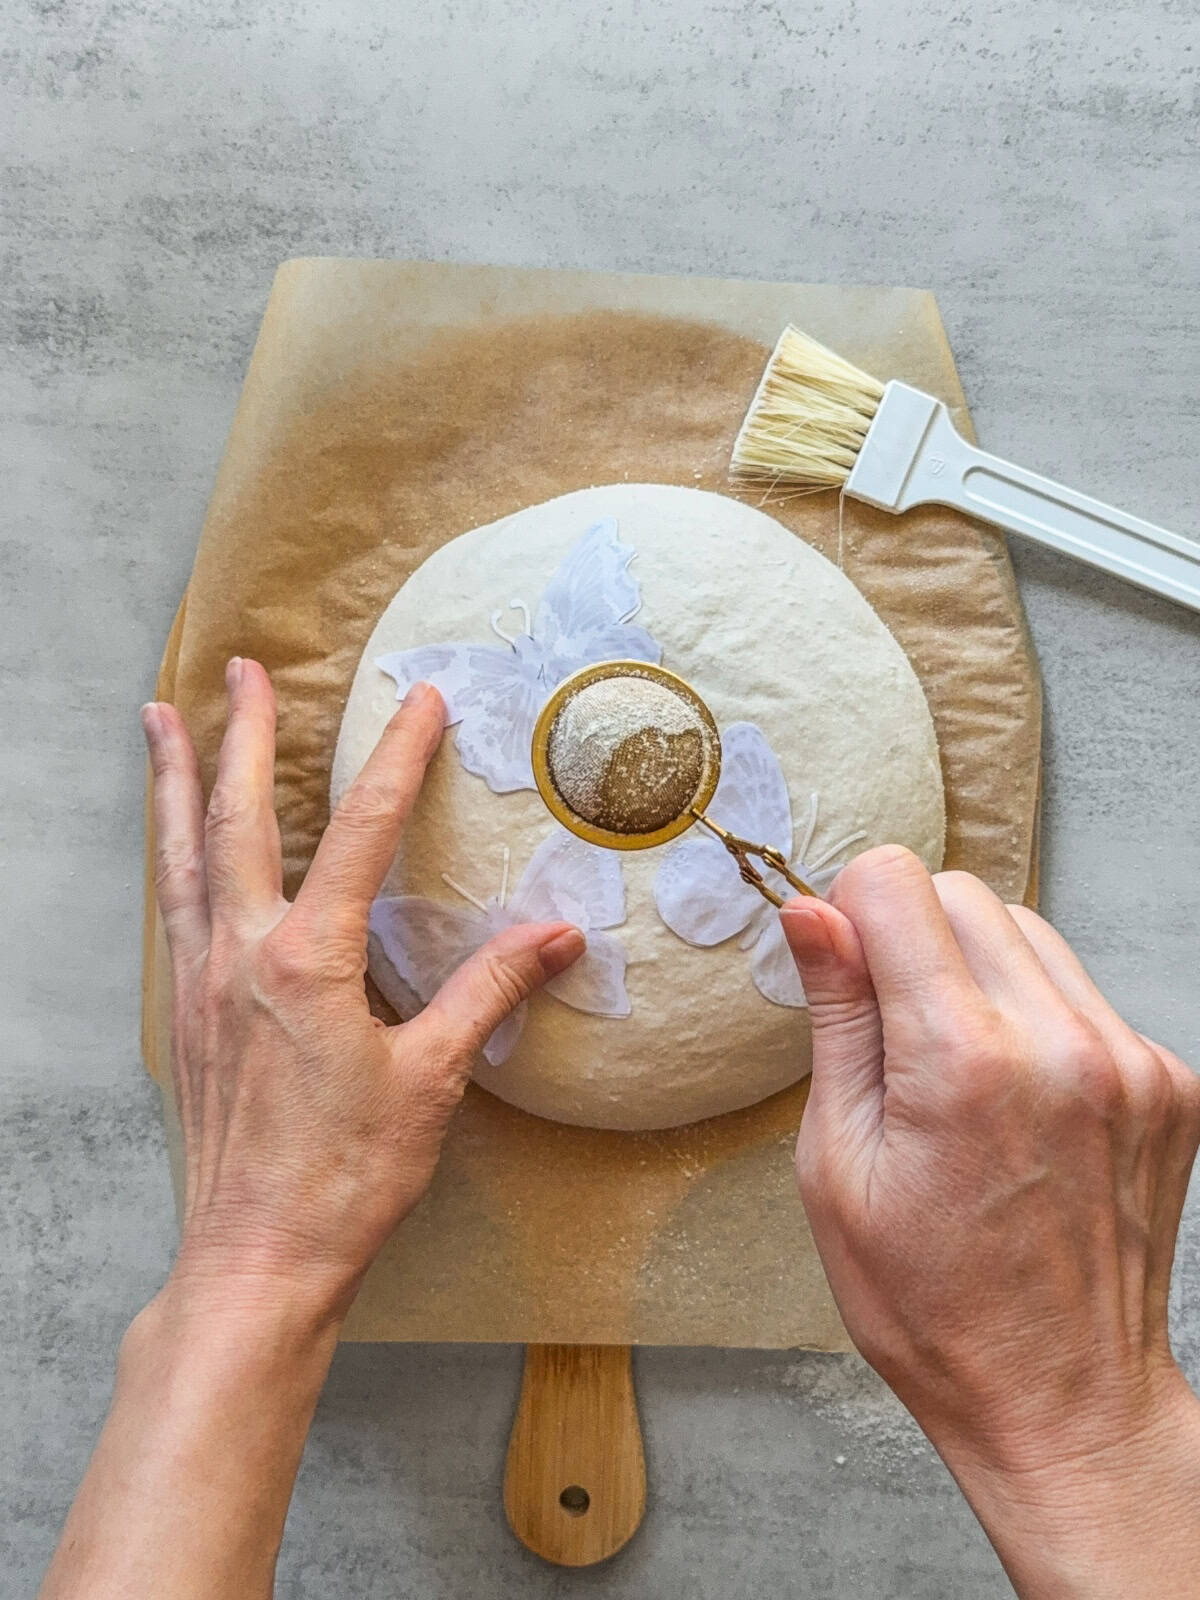
Using a spray bottle, lightly mist the surface of the dough with water. Place the butterfly stencils on top, aligning them with matching butterfly cutouts made from plain paper (prepared in advance). Once positioned, dust flour evenly over the design.
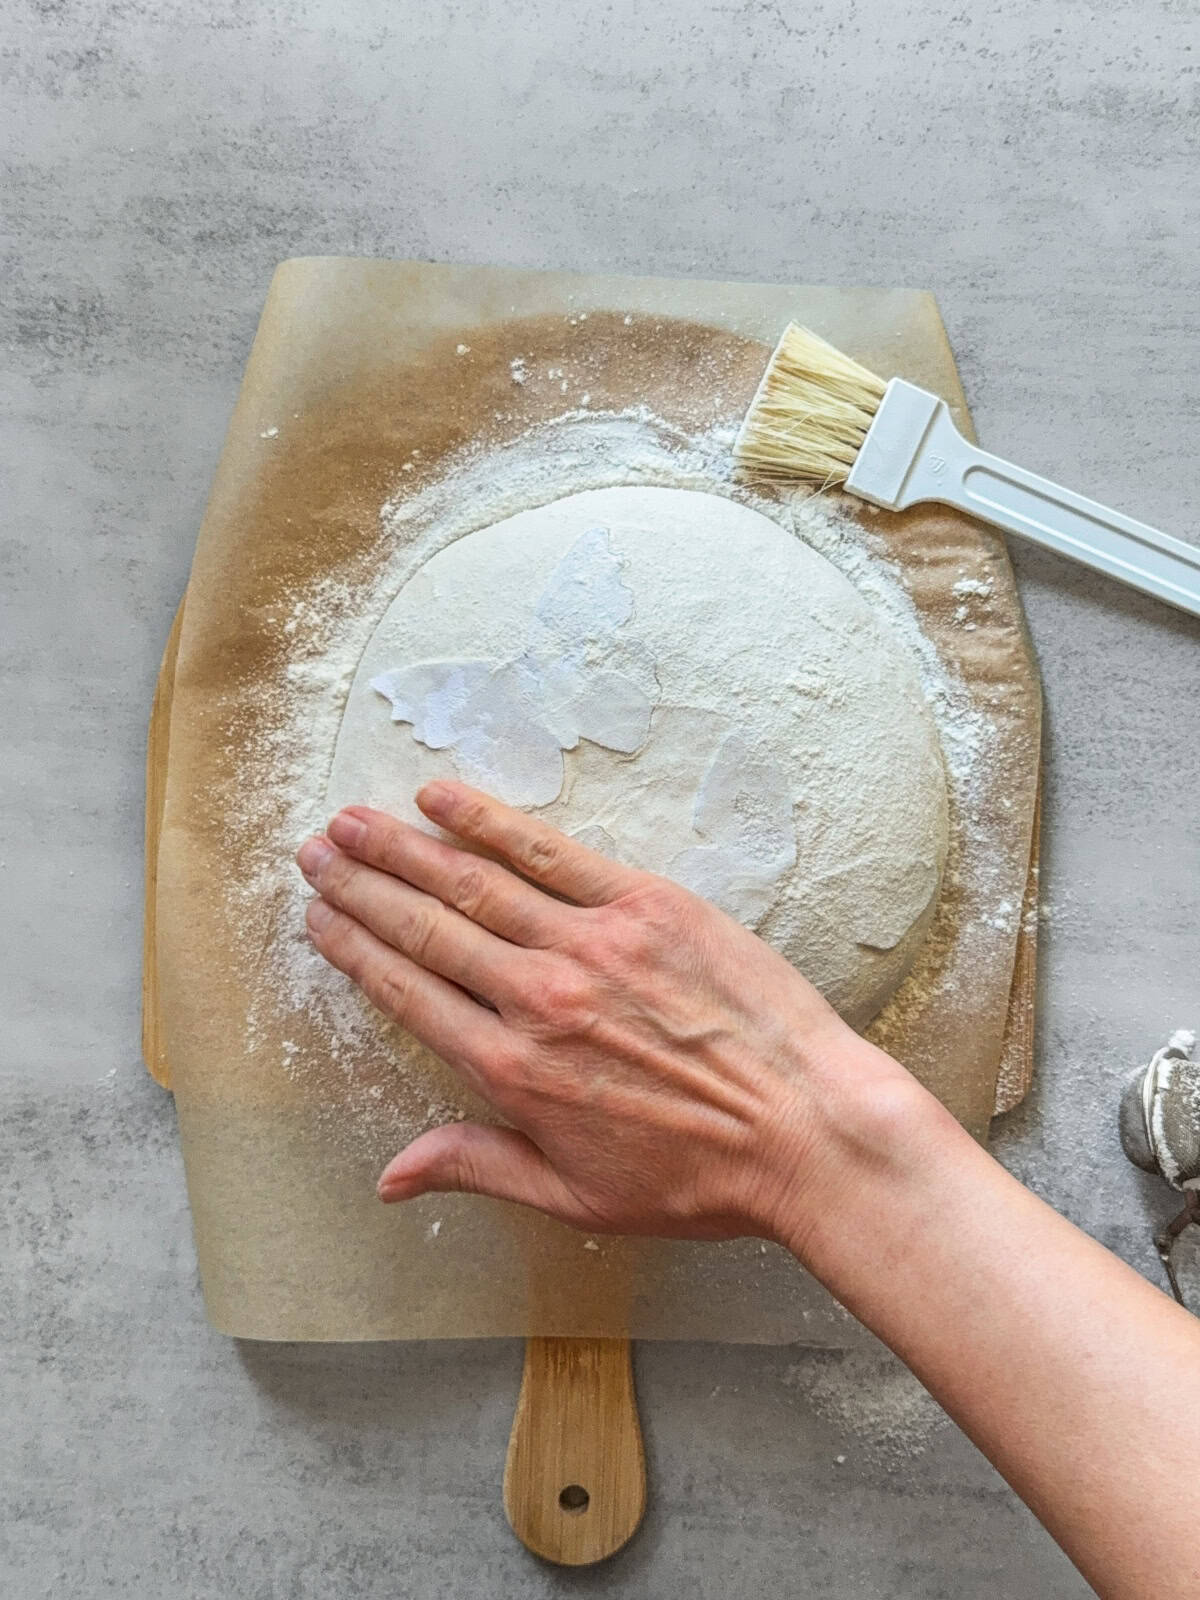
Using your hand, gently spread the flour evenly over the surface of the dough.
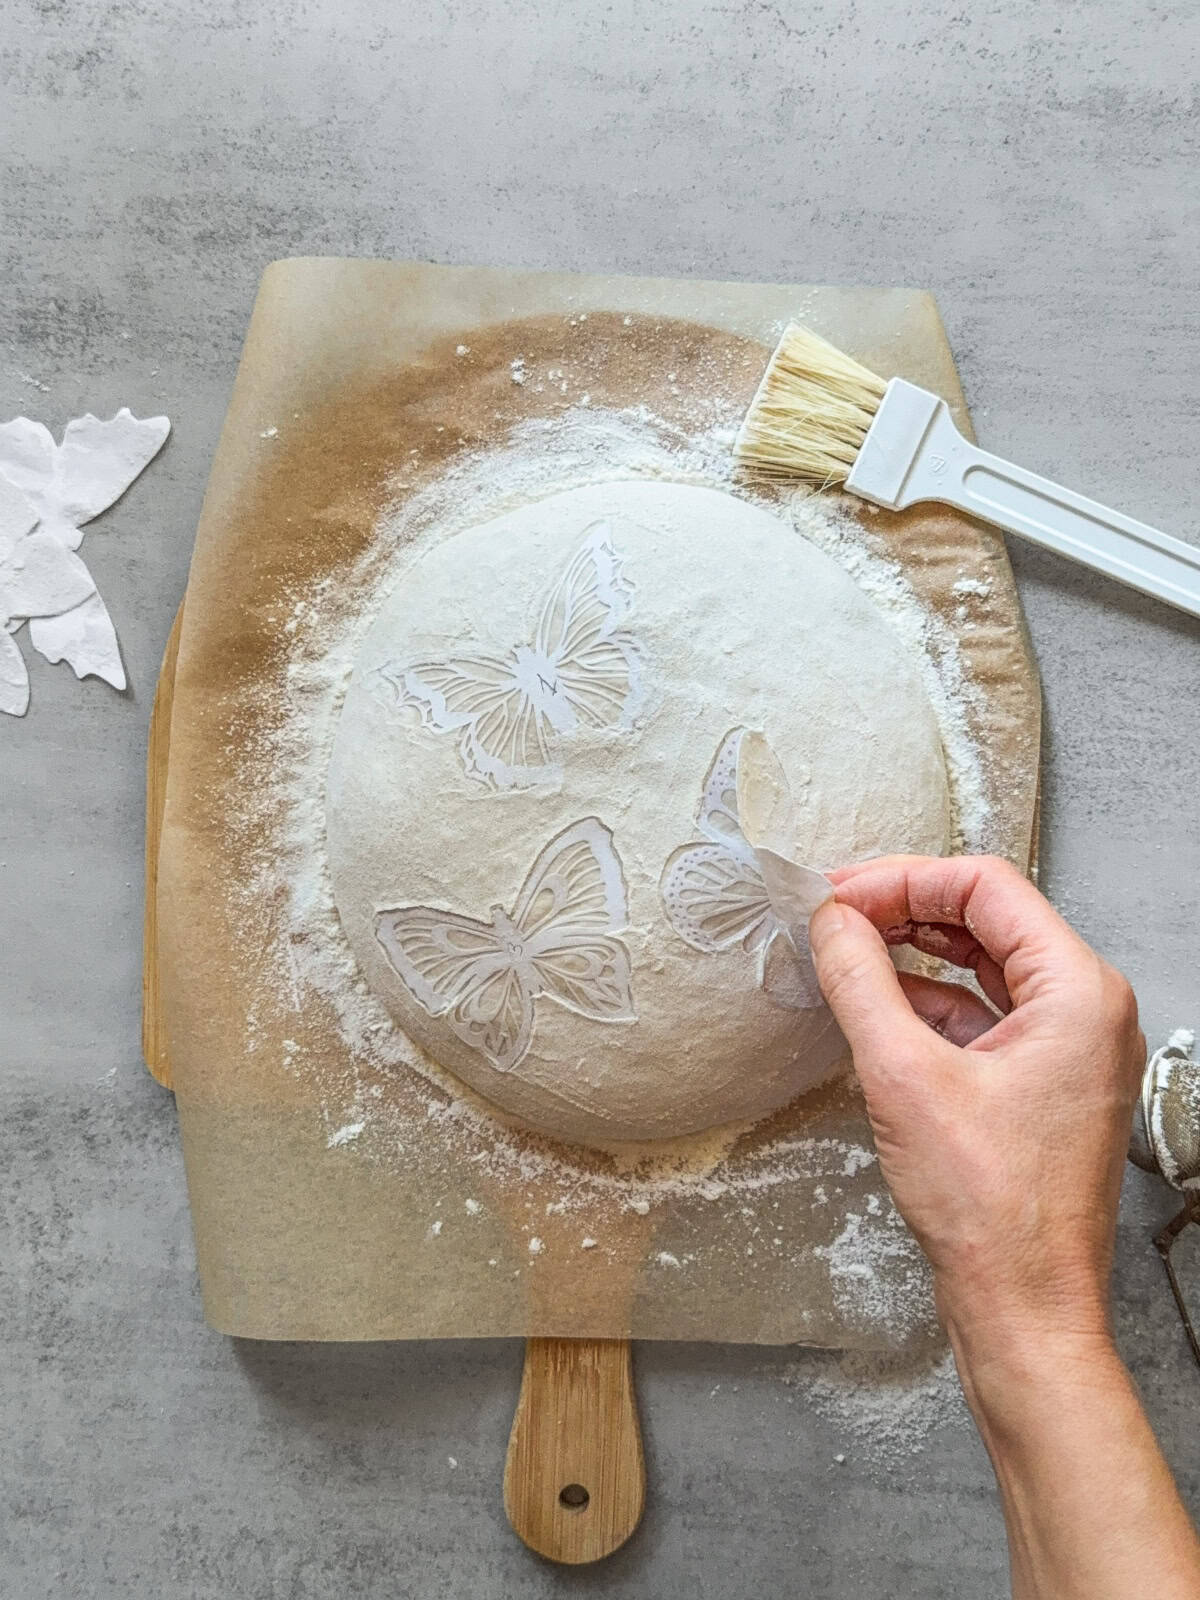
Carefully remove the butterfly cutouts made from plain paper, keeping the stencils in place on the dough.
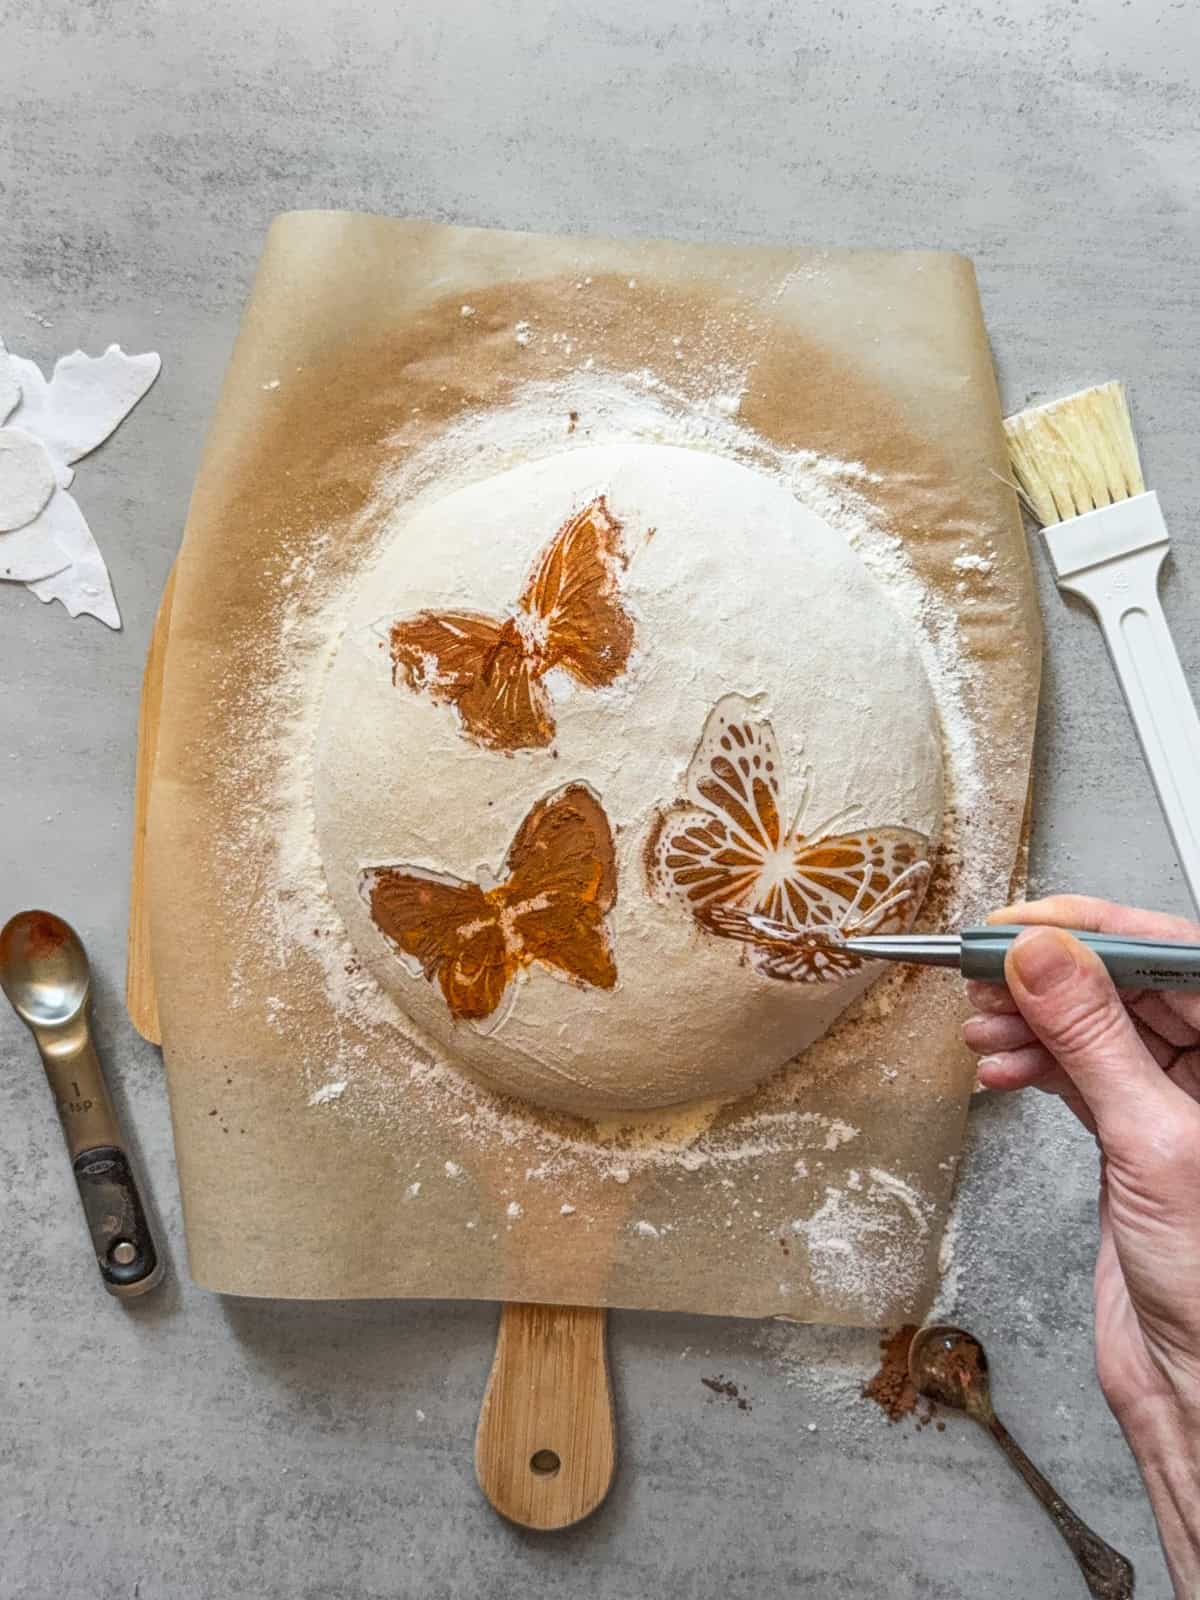
Apply food powders or natural colorants, such as sweet paprika, turmeric, and cocoa powder, over the stencils. Then carefully remove the stencils (I'm omitting the outline scoring in this example). Bake the loaf with steam for 5-6 minutes using either a Dutch oven or the open-bake method.
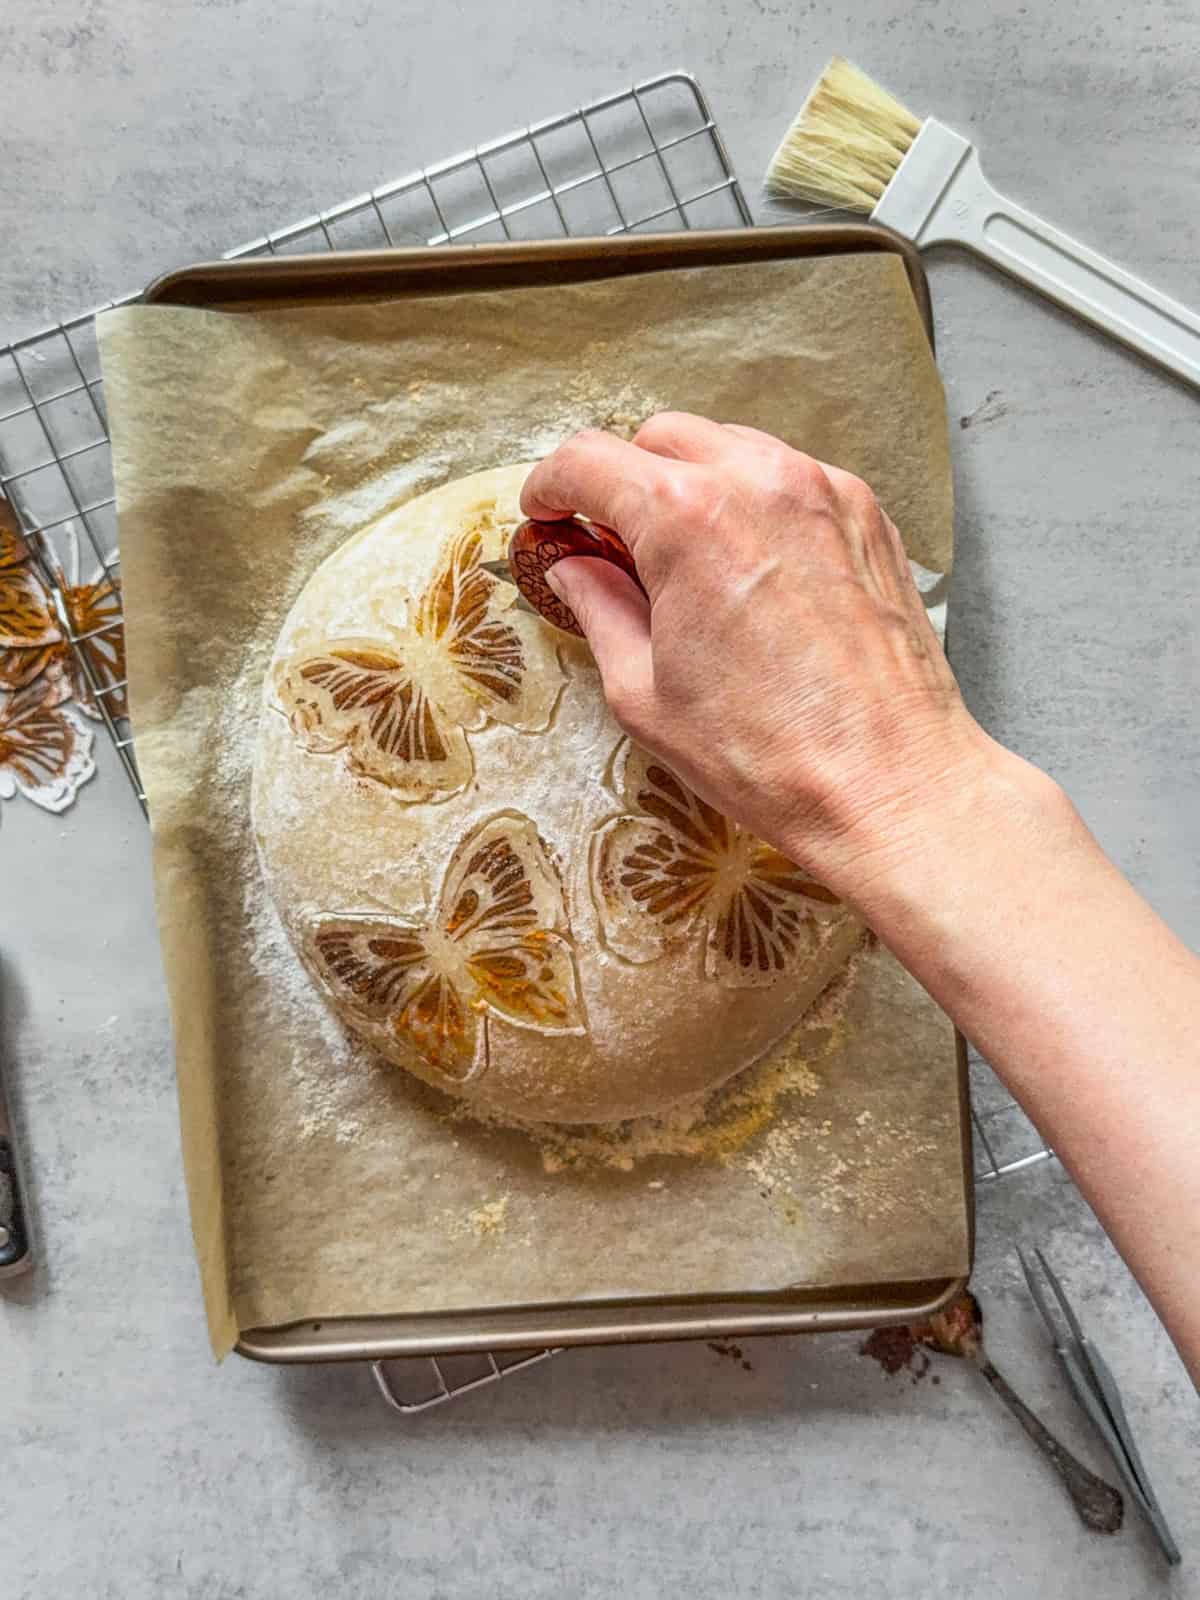
When the loaf has been baking for about 5-6 minutes, carefully remove it from the oven. Using your scoring blade, make deep, nearly parallel cuts along the surface of the dough, following the shape of the butterflies.
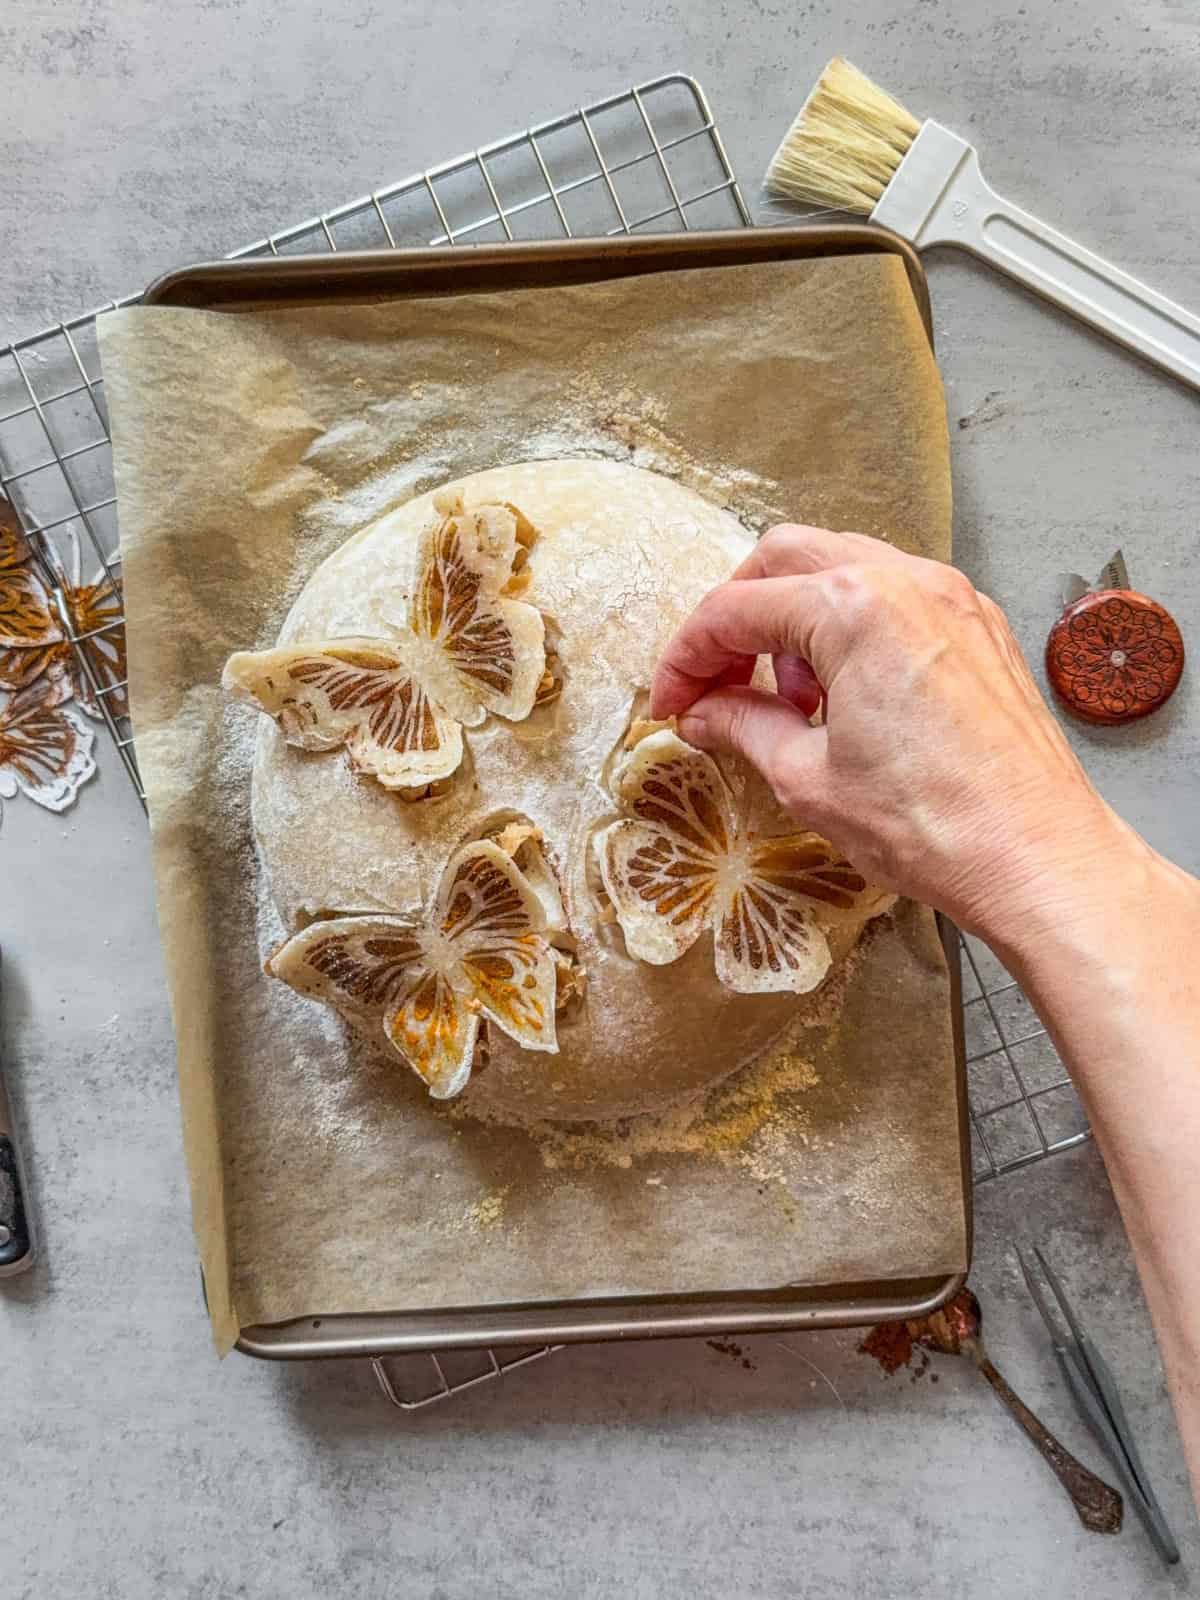
Place small balls of parchment paper under the butterfly wings to gently lift and support them, creating a raised, 3D effect.
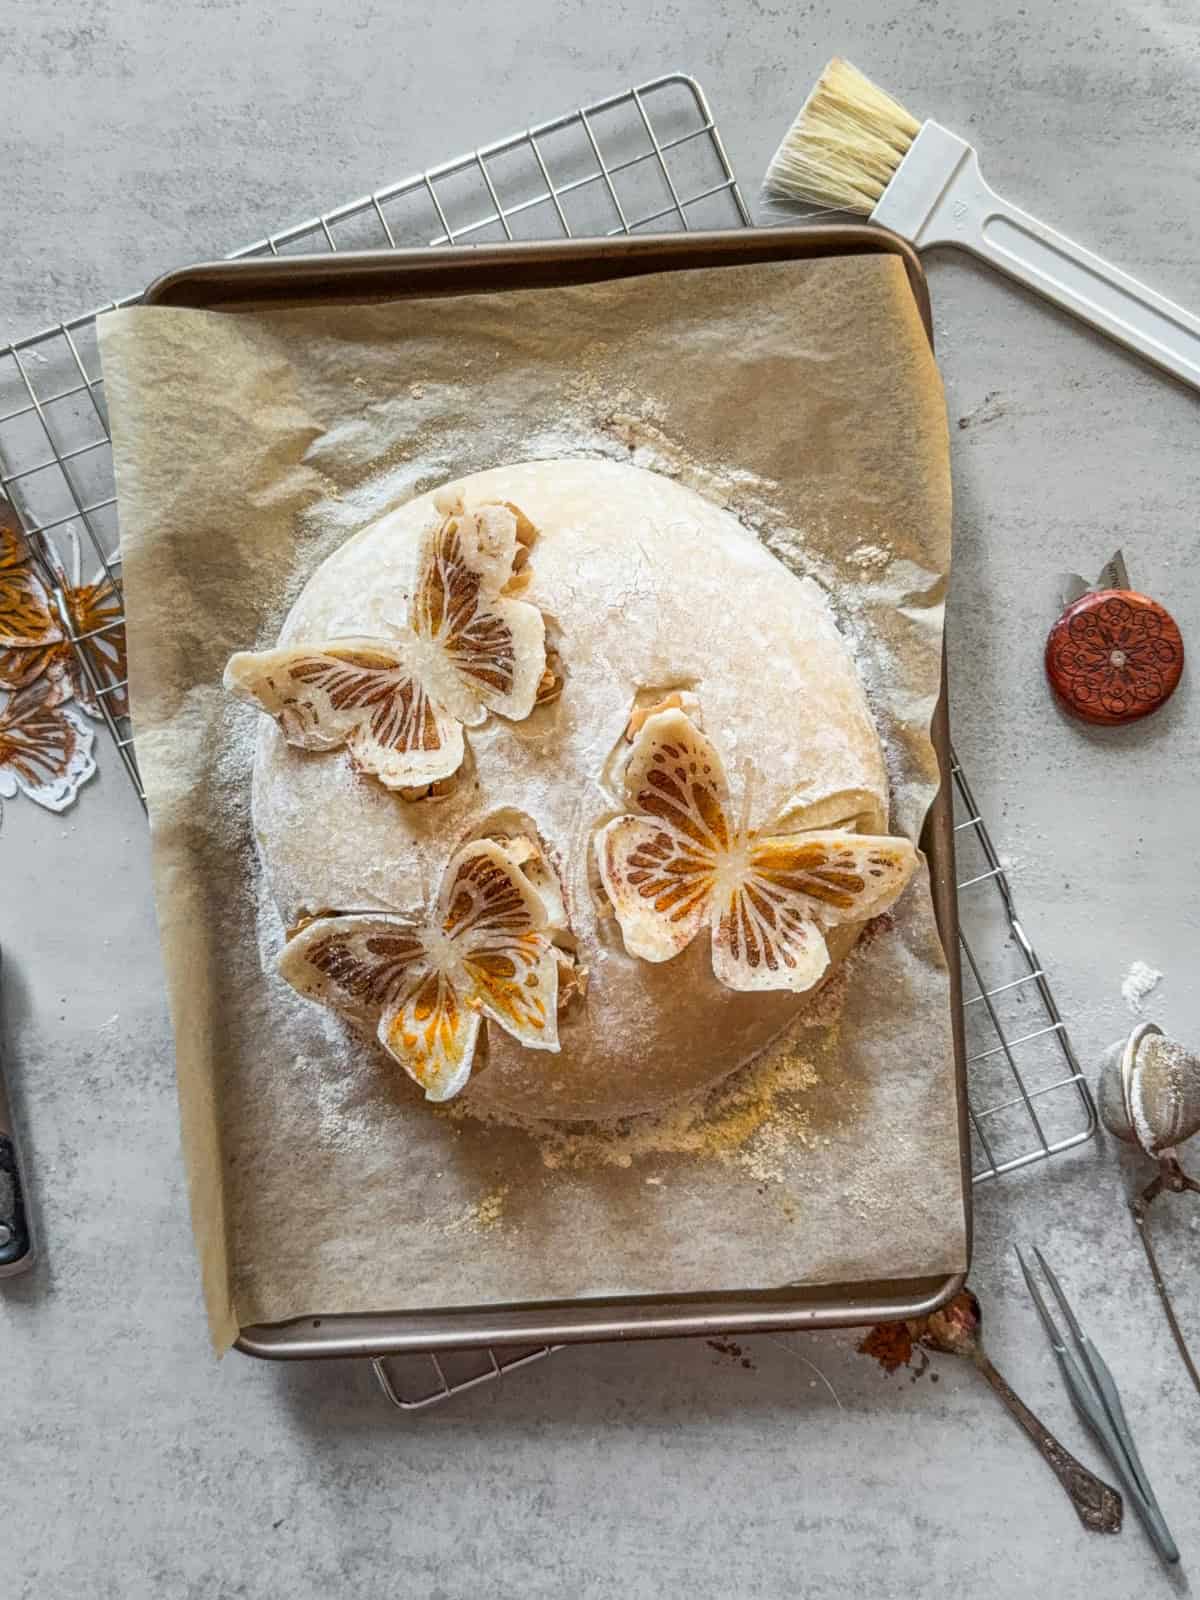
Then place the dough in the oven to finish baking: 14-15 minutes with steam, then about 20 minutes without.
Expert technique videos
For those looking for extra inspiration, there are some great 3D sourdough designs on Instagram. You can see how bakers create 3D pumpkins, maple leaves, flowers, butterflies, and more.
- 3D sourdough pumpkin by @onyeastwefeast and @sourdough_love_art
- 3D maple leaf sourdough by @the.sourdough.mama
- 3D sourdough flower by @cananinmutfagindan and @the.sourdough.mama
- 3D sourdough butterfly by @the.sourdough.mama
- 3D sourdough leaves by @sourdough_love_art
Is 3D sourdough scoring right for you?
3D sourdough scoring is an advanced technique best suited for experienced bakers. Because the scoring is done 5-6 minutes into baking, it requires quickly opening the oven, working the dough surface, and placing parchment supports to lift certain areas for a 3D effect.
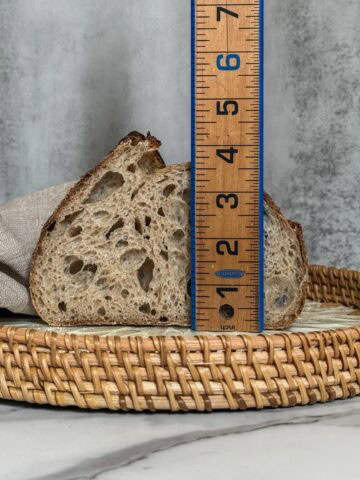
During this process, the loaf loses heat and steam, which are essential for oven spring and proper crust development. As a result, the bread may not rise as fully as it would in a traditional bake.
For this reason, bakers should either be comfortable sacrificing some oven spring in exchange for artistic detail or work very efficiently to minimize heat loss while creating the design.
Before attempting this technique, it's important to feel confident with the full sourdough process, from maintaining your starter to shaping and baking your dough.
If you are new to sourdough, learn sourdough basics, bake your first sourdough loaf, work on your skills, and experiment with simple scoring patterns. Work your way up to more complex patterns as your skills improve.
Once you're ready to explore creative scoring, draw inspiration from nature, geometric patterns, and traditional motifs to develop your own unique bread designs.
Let's talk sourdough
Have you ever tried 3D scoring, or would you give it a go in your next bake?