
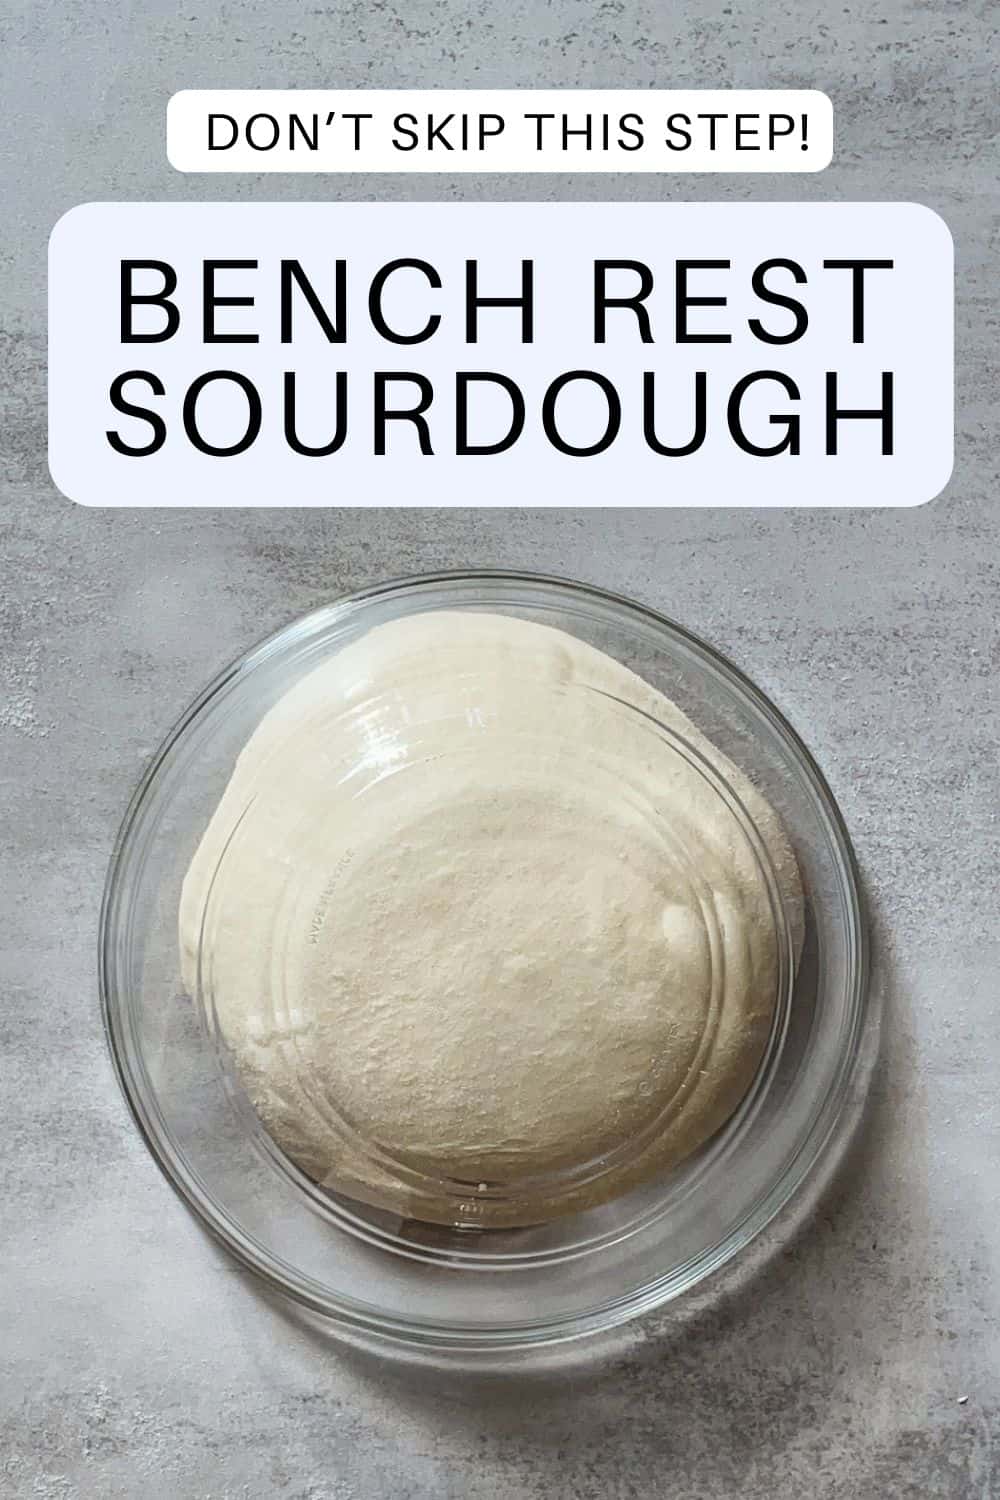
Quick Summary: A bench rest is a short 15- to 30-minute pause after pre-shaping your sourdough and before final shaping. It lets the gluten relax, making the dough easier to shape into an even, tight loaf. You can skip it when making just one or two loaves, but for high-hydration dough or a batch of loaves, it makes shaping much easier, so it is usually worth the wait.
What is the bench rest?
The bench rest occurs after you preshape your sourdough but before the final shaping. This short rest period allows the gluten network to relax, making the dough more flexible and easier to shape into its final form. It is a small step, but it makes a big difference in the quality of homemade bread.
How long should the bench rest last?
A bench rest usually lasts 15 to 30 minutes at room temperature, but can be as short as 10 to 15 minutes in a warm kitchen.
You can let your dough sit uncovered, lightly covered with a tea towel or food-safe plastic wrap, or placed under a large mixing bowl.
Depending on your recipe, the time you have, and the conditions in your kitchen, the bench rest could be as short as 10-15 minutes.
What happens during the bench rest?
The bench rest is not just waiting time. It is when the gluten strands, which tighten during preshaping, begin to relax.
This relaxation is essential for two reasons: it makes the dough easier to shape and form, and helps establish its final texture and structure.
After preshaping, the dough has two sides: the sticky seam side and the smooth, less sticky top side, which will eventually become the top of your loaf.
Rest the dough seam side down. The sticky seam sits against the work surface while the smooth top faces up and dries slightly. This keeps the top intact and makes the final shaping cleaner and easier.
Avoid using lots of flour during preshaping. You want the seam side to stay sticky, which will help close the seam during the final shaping.
How do you know when the bench rest is done?
Like most steps in sourdough, the bench rest is finished when the dough says so, not when the clock hits a certain time. You are waiting for the dough to relax from the tight, taut round you preshaped into something softer and more workable.
Here is what a finished bench rest looks like:
- The dough has relaxed and spread slightly. The tight ball loosens and settles outward a little, its surface goes from taut to soft.
- It still holds some shape. It should be a relaxed mound retaining its rounded edges where it touches the surface, not a flat pancake. If it has spread out completely and lost all structure, the dough was likely under-strengthened during bulk fermentation, or it rested too long.
- It feels soft and extensible. When you go to do your final shaping, the dough stretches easily instead of fighting back and springing into a ball.
If the dough still feels tight and springs back when you try to shape it, let it rest for a few more minutes before trying again. If it has become very slack and spreads out into a flat puddle, the gluten likely wasn't developed enough earlier in the process.
That is something to improve during mixing and bulk fermentation rather than during the bench rest itself. You can, however, try a second pre-shape to gently rebuild some surface tension before moving on to the final shape.
The right moment is somewhere in between: relaxed enough to shape smoothly, but still holding its structure.
Can you skip the bench rest?
You can skip it for one or two loaves, but it is worth doing for high-hydration dough or multiple loaves.
Skipping it saves time, but it can cost you some quality. The bench rest matters most for high-hydration dough, which is harder to handle straight after mixing. If you skip it, try this next time: let the dough rest 15 to 30 minutes and see the difference, or bake two loaves side by side, one rested, and one not, and compare.
If you are making multiple sourdough loaves, don't skip it. Cover the dough mounds with a clean tea towel or food-safe plastic wrap and let them rest.
Be careful not to overferment, though. The dough keeps proofing during the bench rest and cold proofing, so plan the timing accordingly.
FAQ
Should sourdough rest seam side up or down during bench rest? Seam side down. Resting the sticky seam against the work surface keeps the smooth top intact and lets it dry slightly, which makes final shaping cleaner and easier.
Do you cover the dough during the bench rest? You can leave it uncovered for a short rest, or cover it lightly with a tea towel, food-safe plastic, or an upturned bowl. Cover it if your kitchen is dry or the rest runs long, so the surface doesn't form a skin.
Can you bench rest sourdough too long? Yes. The dough keeps fermenting during the bench rest, so an overly long rest can push it toward overproofing, especially in a warm kitchen. Factor the bench rest into your overall fermentation timing.
What if the dough spreads out and won't hold its shape? That usually means it rested too long or needs more strength. Shorten the bench rest and do a second pre-shape to rebuild tension. If instead the dough fights back and springs out of shape, give it a little more rest.
Is a bench rest the same as proofing? No. The bench rest is a brief gluten-relaxing pause between pre-shaping and final shaping. The final proof is the longer rise after shaping, before baking. Different steps, different jobs.
Let's talk sourdough
How long do you usually bench rest your sourdough? Have you found a time that works best for you? Share your experience in the comments.
Ready to keep learning?
Now your dough is rested and ready. Discover sourdough shaping techniques that create beautiful, uniform loaves ready for proofing.
Want each step explained as you go? Join the free email series.


Laura says
Hi! Thanks for the explanation. Did not know that 2-3 pre shaped (including one bench rest) were needed. Usually do one bench rest (25-45 min) seam side up. Then shape and place in basket and into the fridge for 24°. Am I understanding this right?
Irina Totterman says
Hello Laura, Thanks so much for your comment! I think there may have been a small mix-up—I only mention one pre-shape followed by one bench rest, just like you're doing. I don’t refer to 2–3 pre-shaping steps in the post. And yes, during the bench rest, the dough should rest but seam side down—that’s the sticky side—so the top surface stays smooth and slightly dries out. This makes final shaping easier and more effective.
Amity says
“If the dough spreads and the edges slope, shorten the bench rest and do the second preshaping before moving to the final shaping. If the dough resists shaping, allow more time for the bench rest.”
The way you talk about “the second preshaping” is a bit confusing here. Sounds like maybe you mean we can do “a” second preshaping if needed, IF the dough is not holding its shape well. Is that what you meant?
Irina Totterman says
Hello Amity, yes, that’s what I meant. I’ve revised the sentence to make it clearer.