

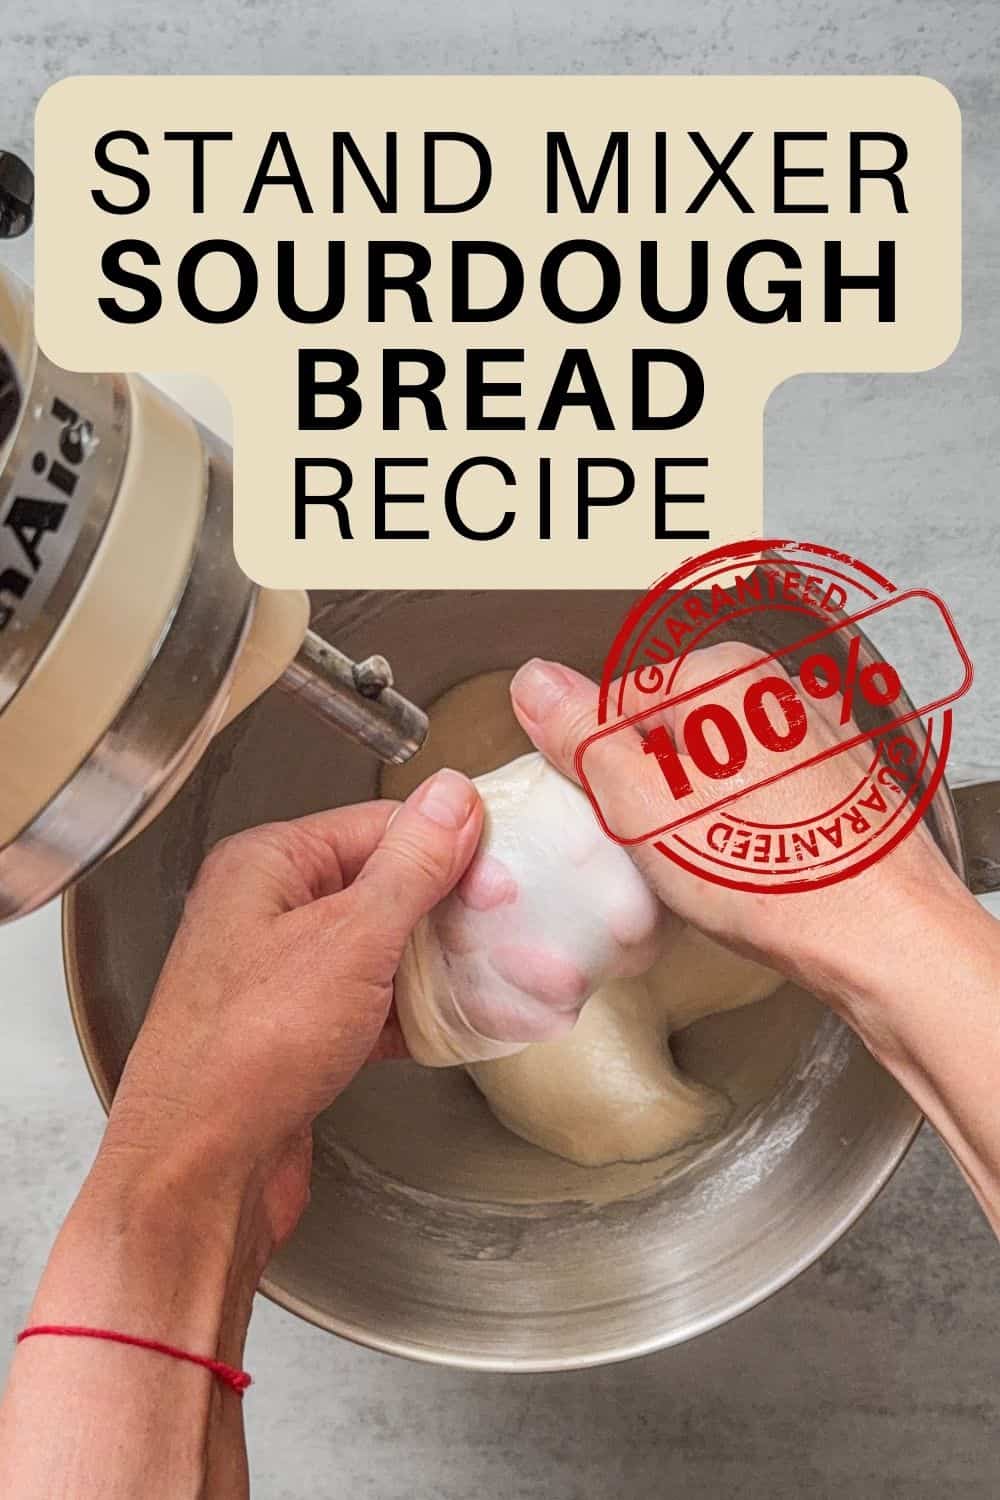
Sooner or later, every sourdough baker asks the same question: Can you make sourdough in a stand mixer?
If you own a stand mixer like a KitchenAid, the answer is simple. Yes, you can make sourdough bread with it.
Mixing bread dough by hand often feels physically demanding. A stand mixer makes the mixing stage easier and more consistent. It combines ingredients evenly and begins developing gluten in the dough.
However, it is important to understand that sourdough bread is not just about kneading. The most important part of sourdough baking is bulk fermentation, which happens after the dough is mixed.
Using a stand mixer simply replaces the early hand-mixing stage. The rest of the process (bulk fermentation, shaping, proofing, and baking) remains exactly the same.
Why use a stand mixer for sourdough
While no-knead sourdough bread exists, most bakers eventually want to bake loaves with strong oven spring and a more open crumb.
A stand mixer makes mixing easier, especially if you bake often or prefer not to knead dough by hand. The dough hook repeatedly stretches and folds the dough as it rotates, helping gluten develop faster than manual mixing.
A mixer also makes the process more consistent. The machine runs at a steady speed and distributes ingredients evenly throughout the dough.
Some bakers prefer the convenience of a mixer, while others enjoy mixing by hand and feeling the dough develop. Both methods work well and produce excellent sourdough bread.
Can you mix sourdough in a KitchenAid?
Yes, you can mix sourdough in a KitchenAid stand mixer using a dough hook attachment. However, the standard C-shaped hook that comes with most mixers is not the best tool for bread dough.
Some time ago, I discovered a spiral dough hook designed for 4.5- to 5-quart KitchenAid mixers that mixes the dough as it rotates. This movement is similar to the way commercial spiral mixers develop dough in professional bakeries.
When using a KitchenAid for sourdough, the key is to keep the mixing speed low and batch sizes moderate. Sourdough dough does not require aggressive kneading, and high speeds overheat the dough, overwork the gluten structure, and risk breaking the machine.
What speed to use for sourdough in a KitchenAid mixer
Using the correct speed is important when mixing sourdough dough in a stand mixer.
For most sourdough doughs, Speed 1 or Speed 2 is recommended. Higher speeds should generally be avoided.
Mixing too fast can warm the dough quickly and place unnecessary stress on the mixer motor. Low speeds allow the dough hook to gently stretch and strengthen the dough without damaging its structure.
KitchenAid mixers use numbered speed settings that roughly correspond to different rotation speeds.
Approximate head rotation speeds:
| Speed | Approx. RPM |
| Speed 2 | ~95 RPM |
| Speed 4 | ~135 RPM |
| Speed 6 | ~180 RPM |
| Speed 8 | ~225 RPM |
| Speed 10 | ~280 RPM |
For sourdough bread dough, the safest is to stay within the lower range of Speed 1-2.
How long to knead sourdough in a stand mixer
Mixing time depends on how you plan to use the mixer. Some bakers use a stand mixer only to combine the bread ingredients, while others develop most of the gluten in the mixer upfront.
If the goal is simply to combine the ingredients, place all the ingredients in the mixer bowl and mix with the dough hook or paddle attachment on Speed 1 for 1-2 minutes. This creates a shaggy dough that will continue developing during bulk fermentation.
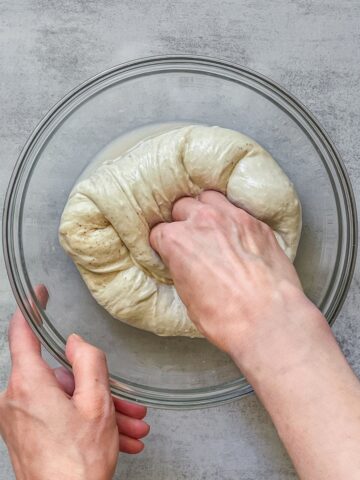
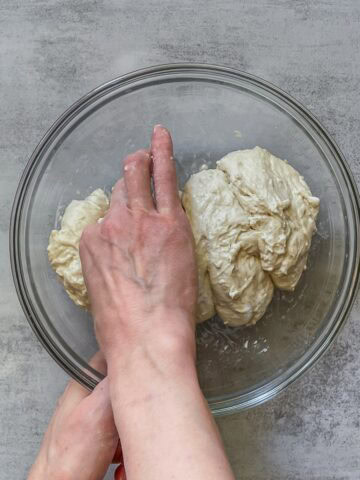
Remove the dough from the bowl of a stand mixer, transfer it to a separate bowl, and continue with stretch and folds and coil folds as usual.
If you use autolyse (or fermentolyse), the mixing stage remains the same and lasts 1 to 2 minutes. If you want the mixer to develop more gluten strength, a typical timeline will look different.
How to mix sourdough in a stand mixer step-by-step
I'm using a KitchenAid Artisan Series 5 Quart Tilt Head Stand Mixer (KSM150PS) with a spiral dough hook.
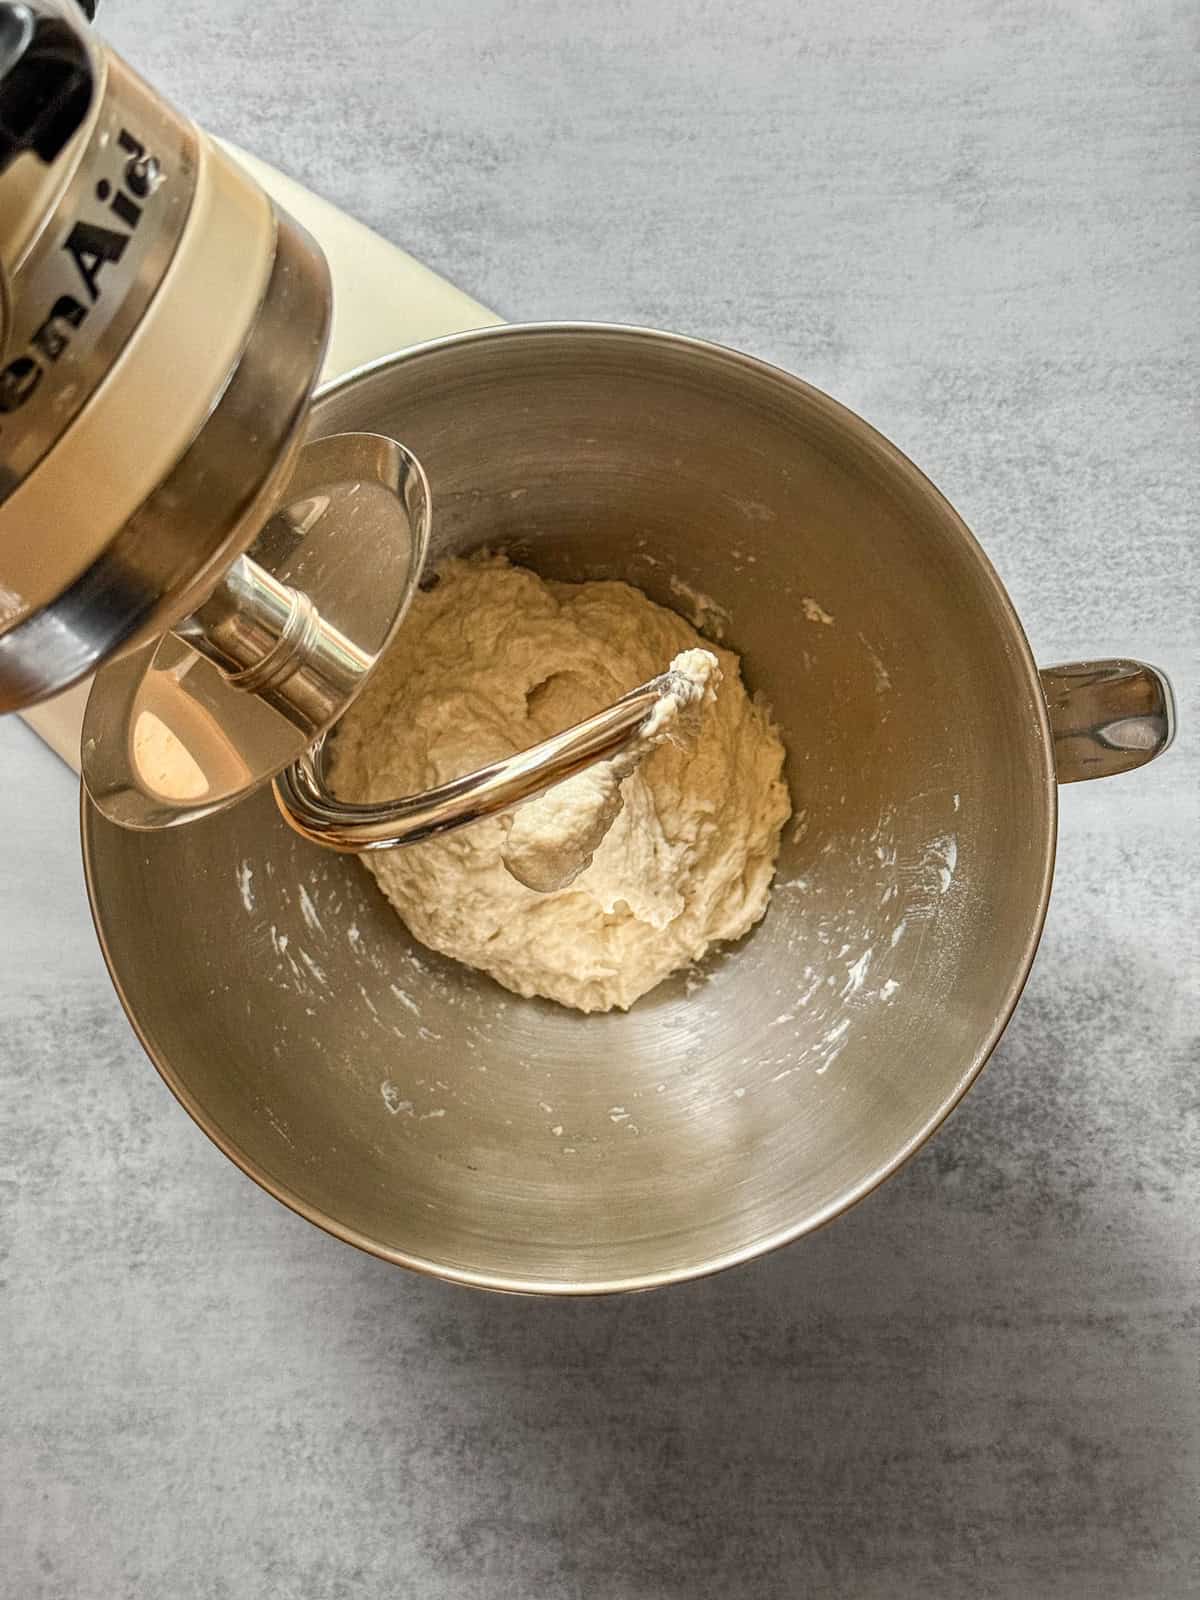
- Mix flour with water: Add the cold water and flour to the bowl of the stand mixer. Attach the spiral dough hook and mix on Speed 1 for 1-2 minutes, until the ingredients are combined and no dry flour remains. At this stage, the dough will look rough and shaggy, which is completely normal.
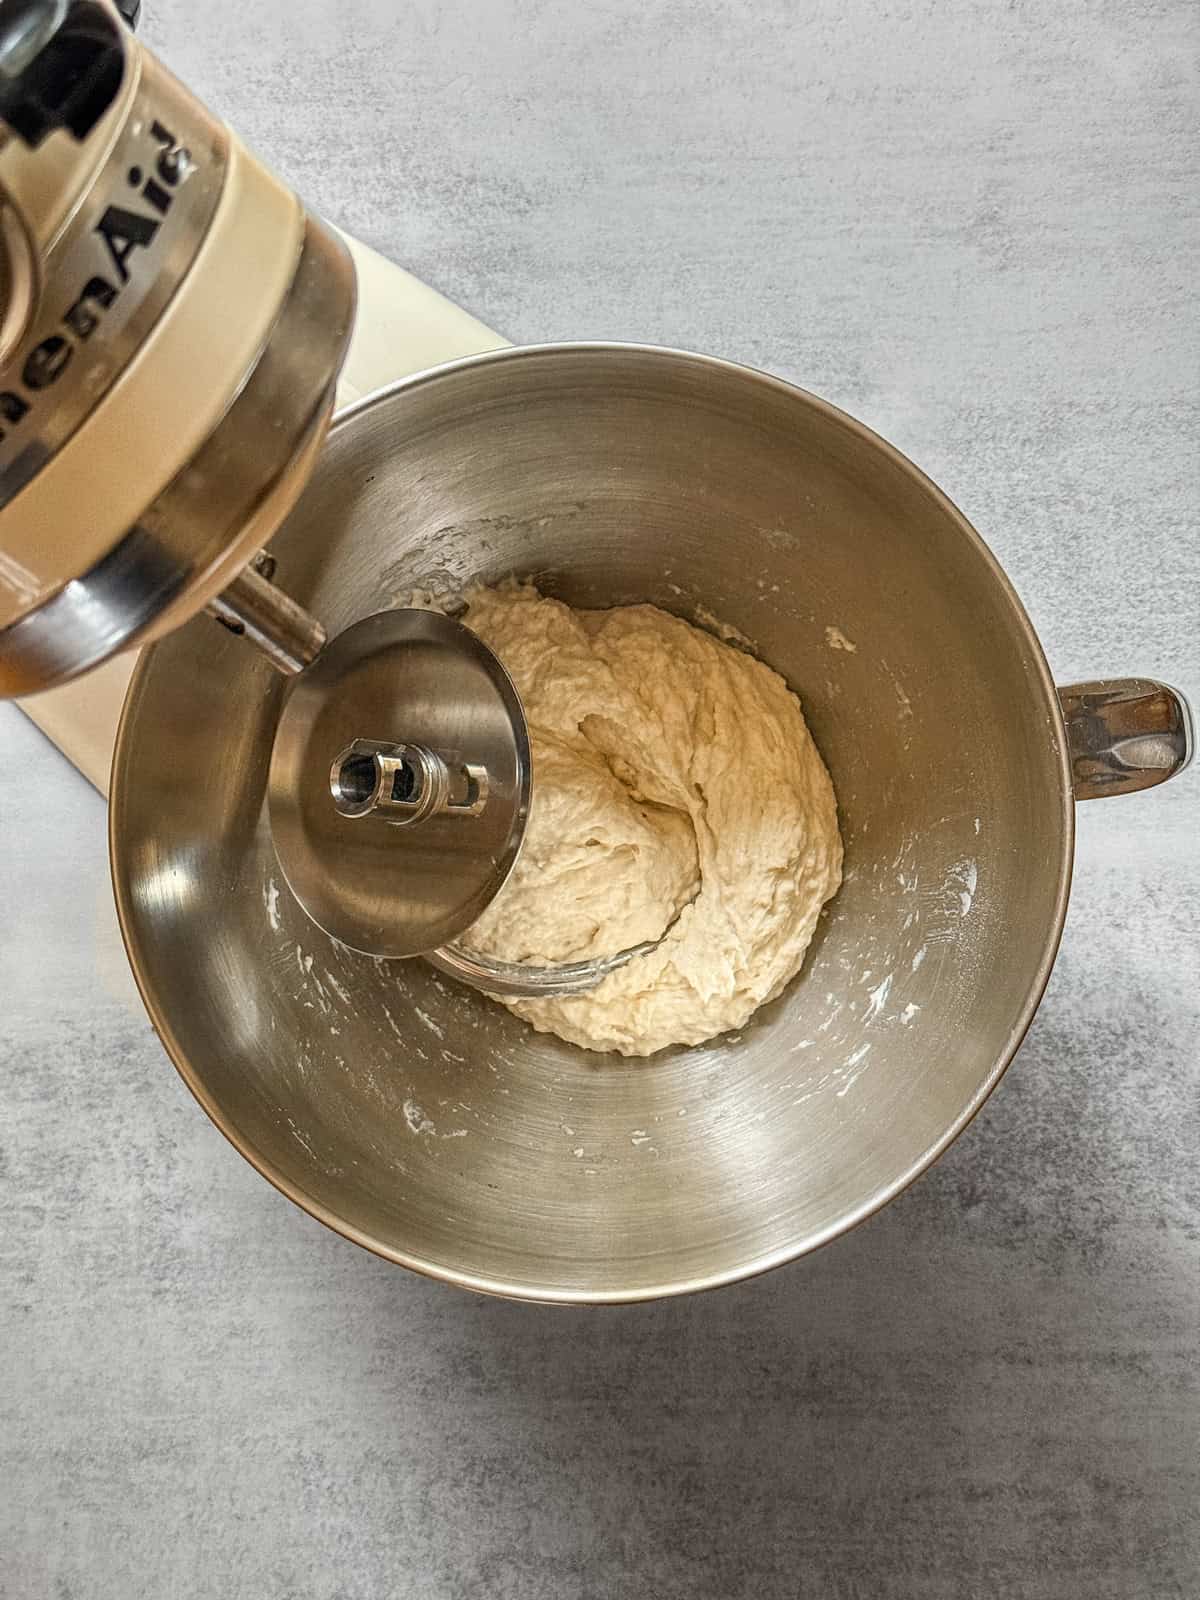
- Autolyse: Remove the dough hook and leave it in the bowl with the dough. Cover the bowl with plastic wrap and let the dough rest for 30-40 minutes. During this time, the flour absorbs water, and gluten begins to form naturally. This step makes the dough smoother and easier to strengthen later.
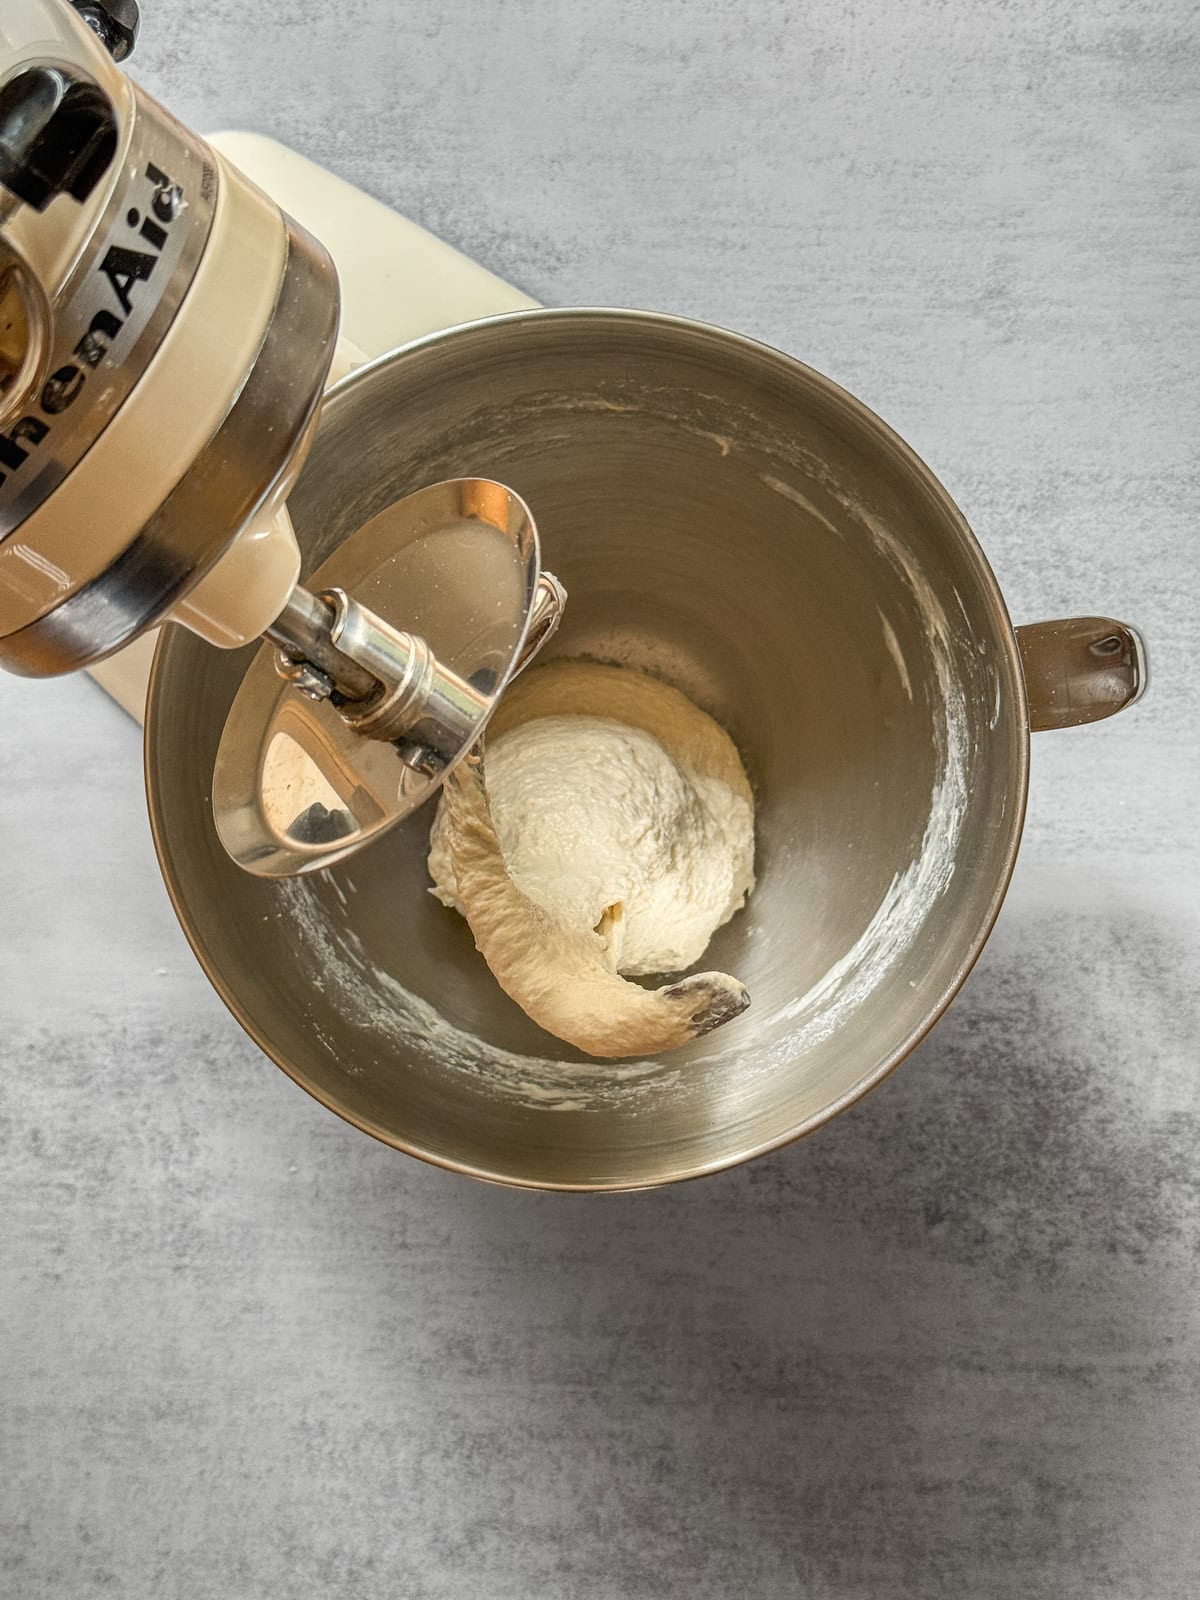
- Add levain: After the rest period, add levain (active starter at peak) to the dough. Turn the mixer back on to Speed 2 and mix for 3-4 minutes, until well incorporated.
- Fermentolyse: Remove the dough hook and leave it in the bowl with the dough. Cover the bowl with plastic and let the dough rest for 30 minutes.
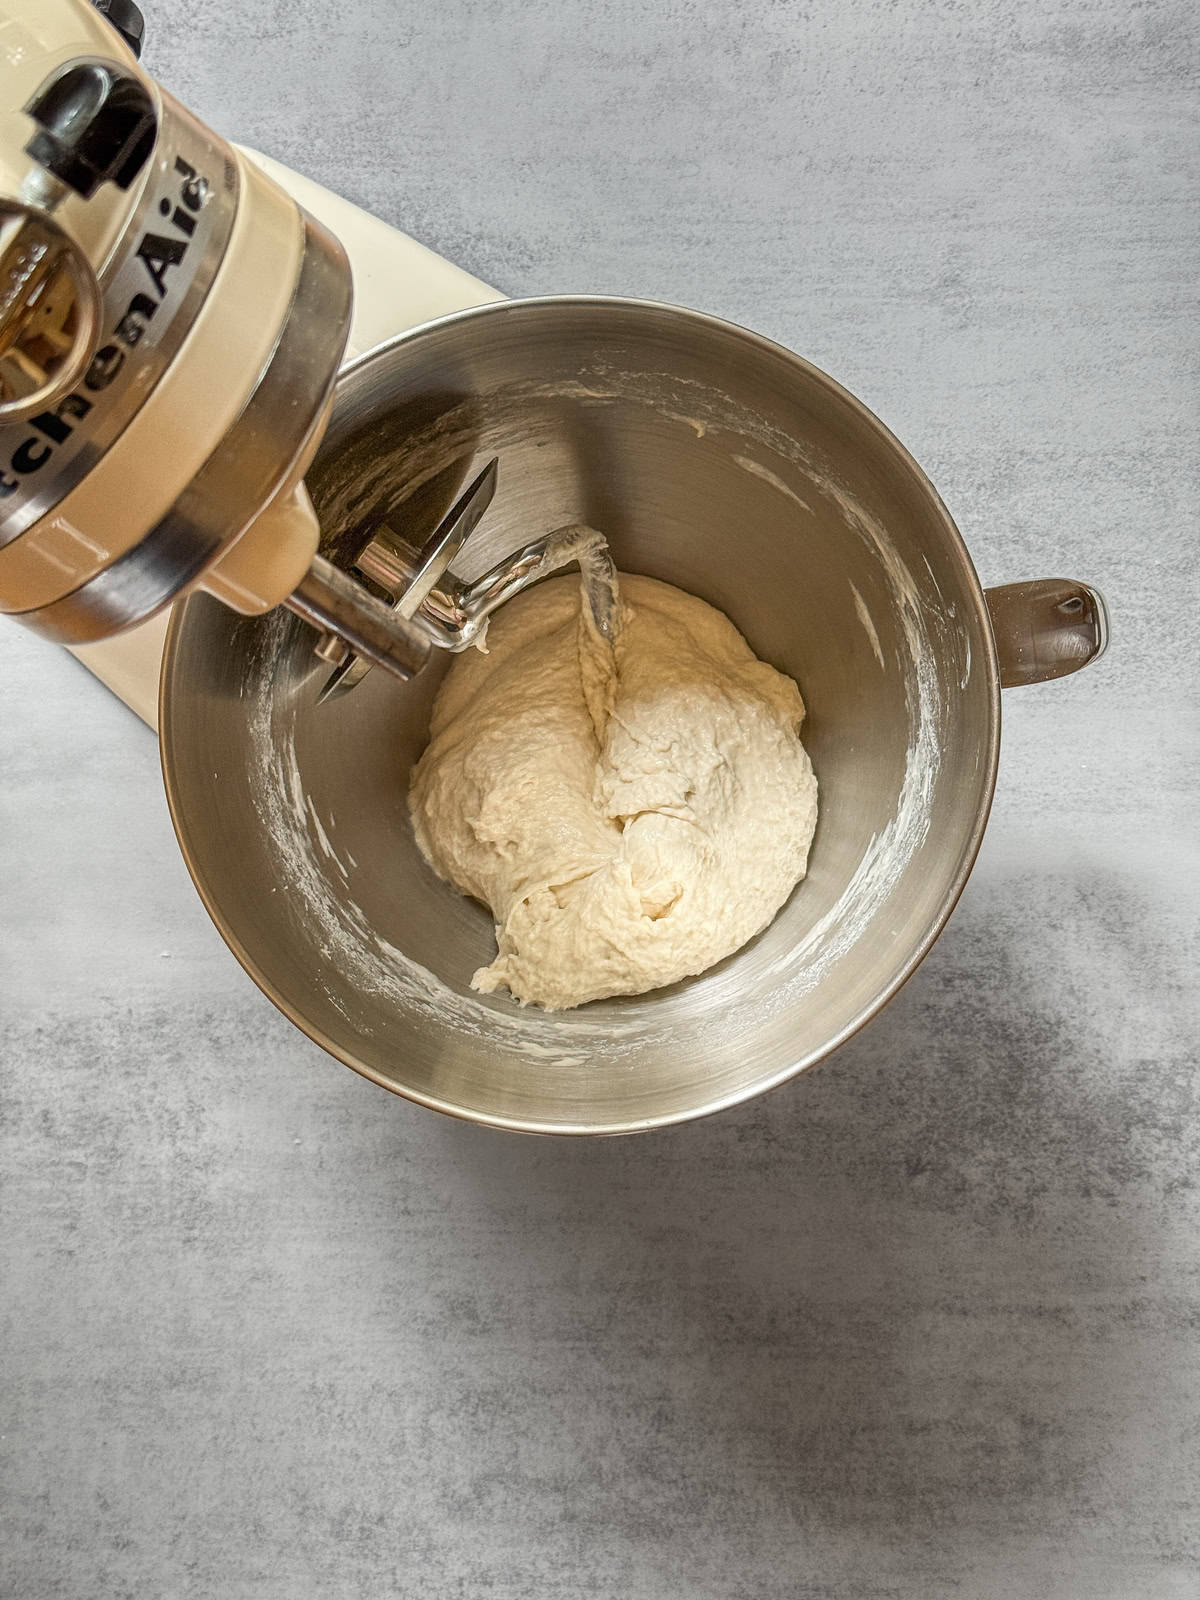
- Add salt: Sprinkle salt, then mix the dough on Speed 3 for 5-6 minutes. The salt strengthens the gluten network, helping the dough tighten and become more elastic. You will notice the dough becoming smoother and pulling away from the sides of the bowl.
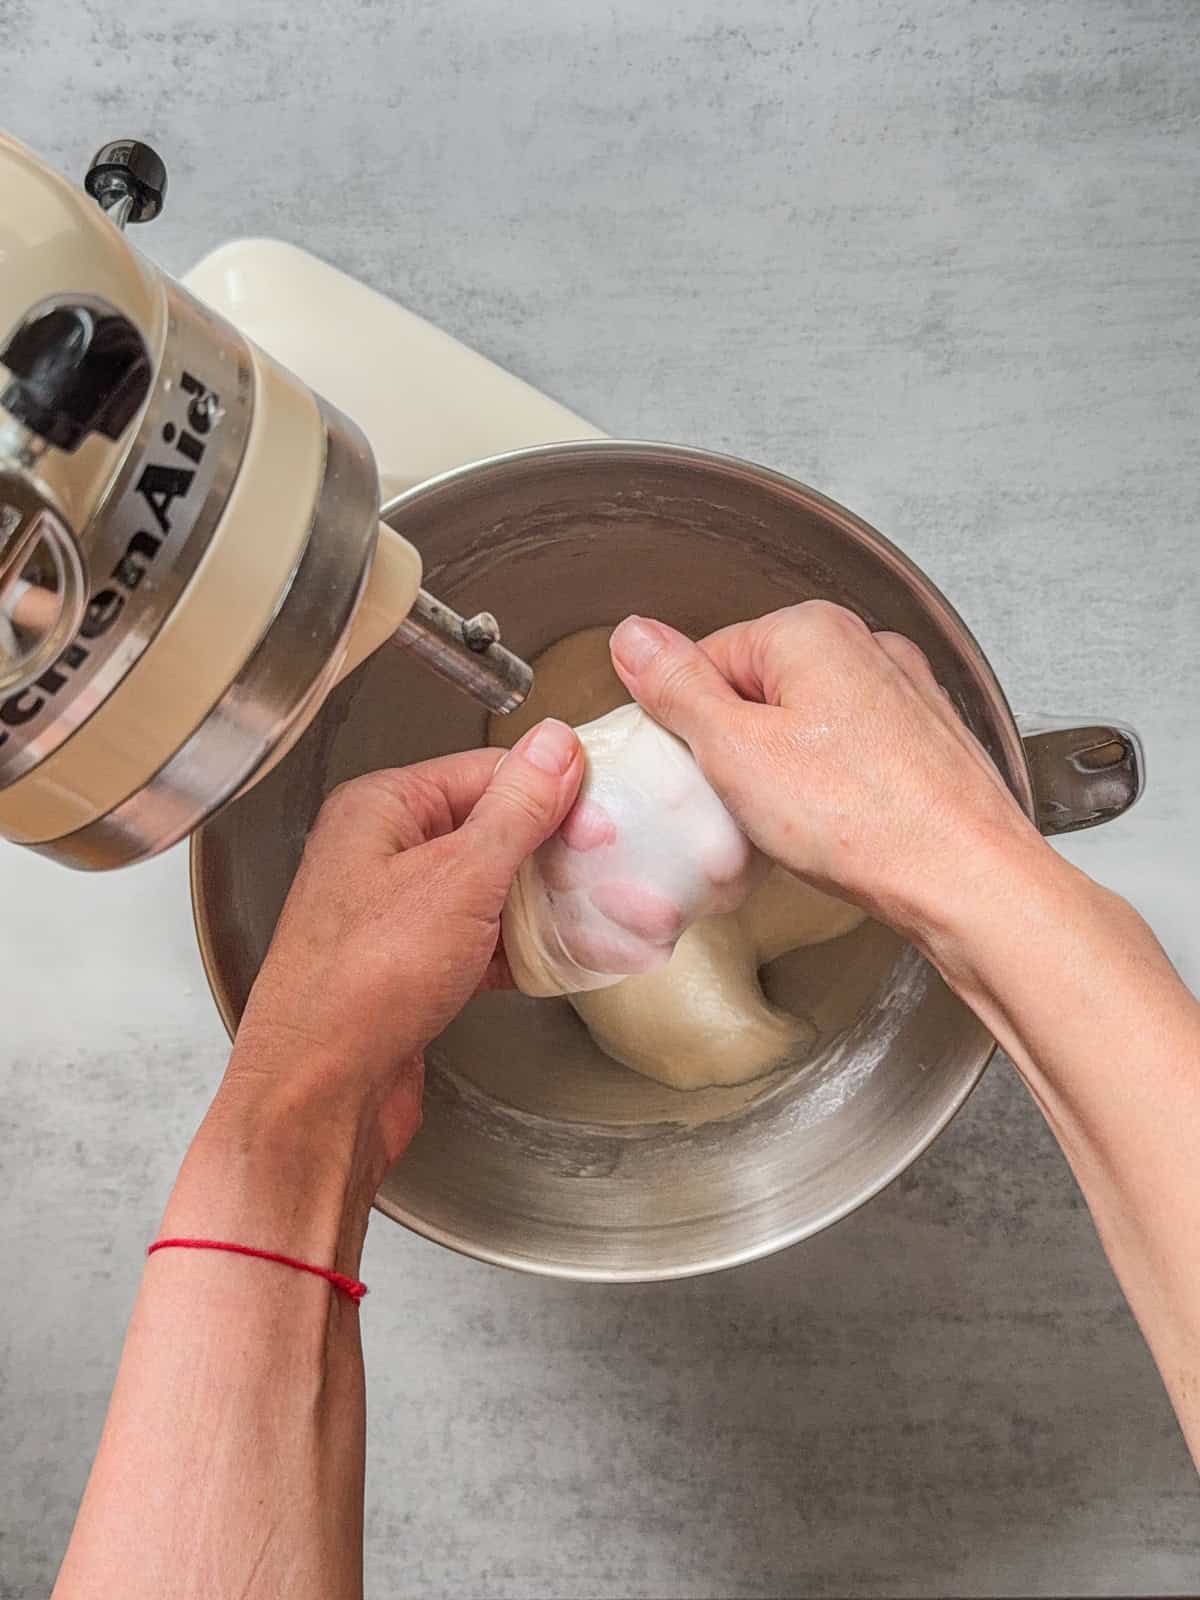
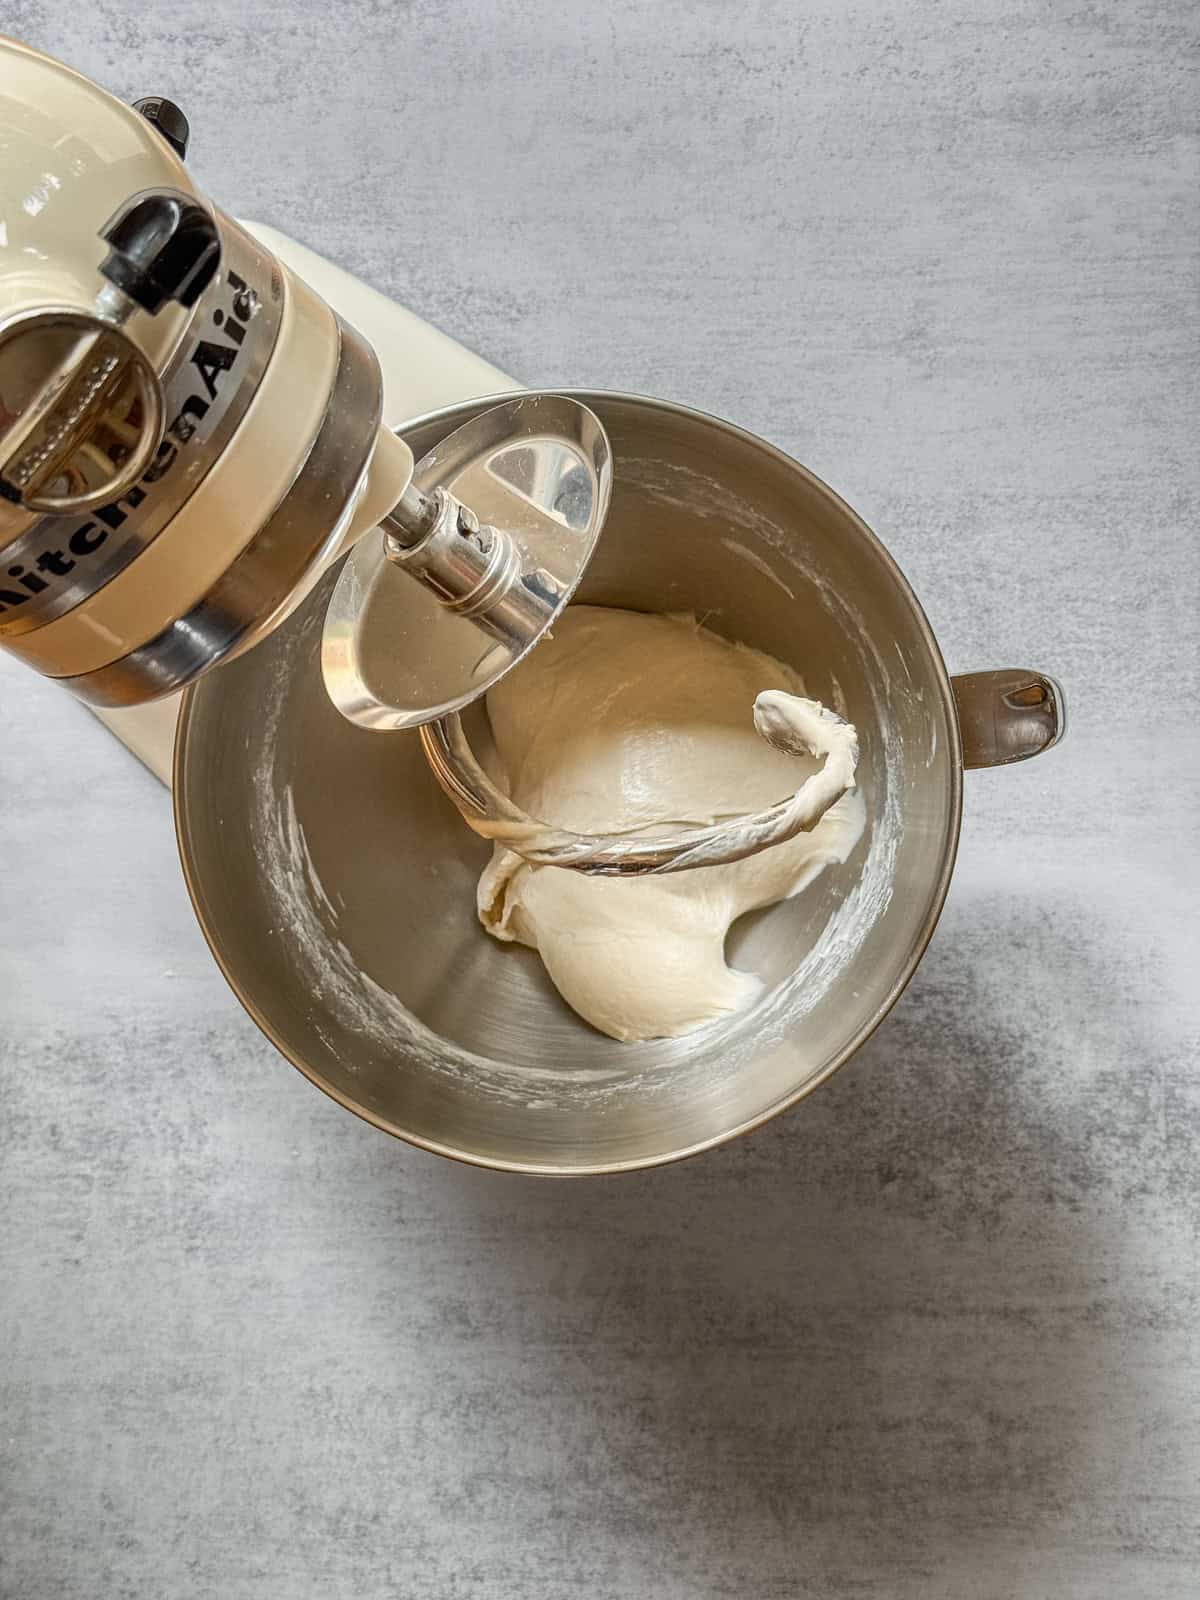
- Check gluten development: Perform a windowpane test to assess gluten development in the dough. Once the dough reaches about 90% of a full windowpane, stop mixing. (The picture shows a full 100% windowpane.) If you continue mixing past this point, be careful: the gluten network can begin to break down.
Note: When gluten breaks, the dough loses strength and structure. Instead of becoming smoother and stronger, it will start to look very sticky, slack, and shiny.
The dough will no longer hold together around the hook, turning into a loose, soupy mass that spreads in the bowl rather than stretching. At this stage, the gluten structure is damaged, and the dough cannot be recovered.
Remember that gluten development and structure building will continue by performing stretch and folds and coil folds during bulk fermentation.
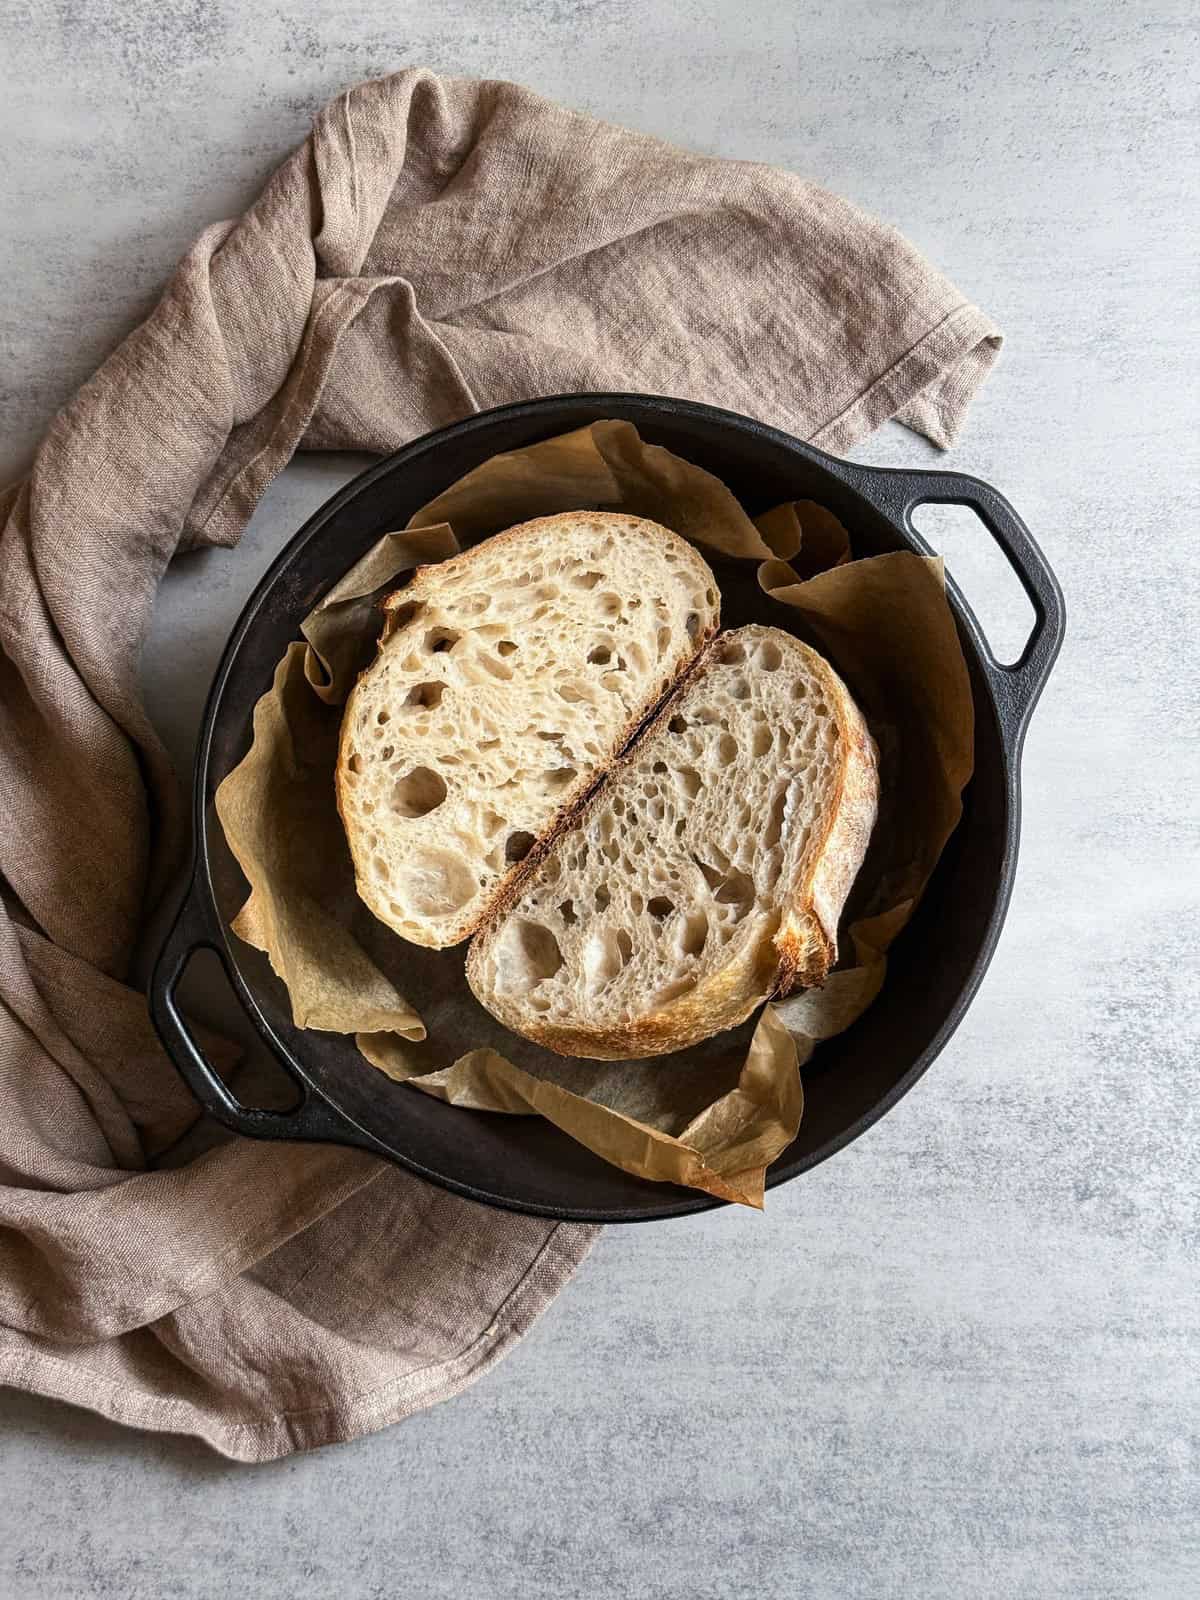
7. Finish bulk fermentation and bake
After bulk fermentation, proceed with preshaping, bench rest, shaping, scoring, and baking as usual.
If you are new to sourdough, check out my Beginner's Sourdough Bread recipe. If you are familiar with the aliquot jar method, try my Master Sourdough Bread recipe for a more advanced approach.
Signs your sourdough dough is properly mixed
- The dough starts pulling away from the bowl: At the beginning, the dough sticks heavily to the bowl. As gluten develops, the dough begins to gather around the hook, making it easier to clean the sides of the bowl.
- The dough surface becomes smoother: Underdeveloped dough usually looks rough and shaggy. As mixing continues, the surface becomes more elastic and smooth.
- The dough holds together better: When gluten begins to form, the dough stretches rather than tearing immediately when pulled.
- The dough feels more elastic: A properly mixed dough feels springy rather than sticky and loose. However, sticky dough is normal in high-hydration sourdough, so stickiness alone is not a reliable indicator.
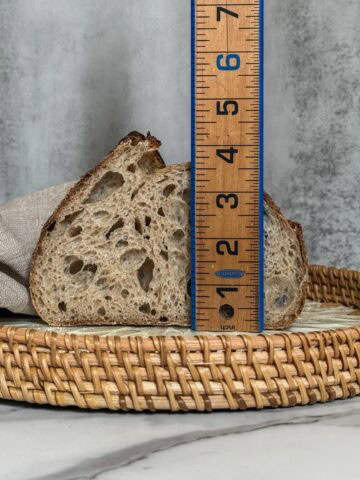
- Windowpane test: Stretch a small piece of dough until it becomes thin enough to let light pass through. If it forms a thin membrane without tearing, the gluten network is well developed. For sourdough mixed in a KitchenAid, aim for medium-to strong gluten development, where the dough stretches thin with slight tearing (about 90-95% of a full windowpane).
KitchenAid mixer capacity
Before mixing sourdough in a stand mixer, you should understand the capacity limits of home KitchenAid mixers. Exceeding these limits can strain the motor, overheat the dough, and prevent proper gluten development.
For most KitchenAid Artisan 4.8-liter (5-quart) or Professional 5-quart mixers, a practical maximum dough weight is around 900 to 1,000 grams. This includes flour, water, starter, and salt.
In practical terms, this means a flour amount of roughly 450-500 grams at 75-80% hydration. My sweet spot for making sourdough in a KitchenAid is with 300-350 g of flour.
Working with heavier doughs that use more than 500 grams of flour, especially at high hydration, puts the mixer under much greater strain and increases the risk of breaking.
How dough hydration affects KitchenAid performance
Sourdough hydration affects how easily a stand mixer can develop gluten. Dough with lower hydration, around 70-75%, is stiffer and easier for a mixer to knead. Gluten tends to develop faster in this type of dough.
Higher-hydration dough, especially above 80%, becomes softer and more elastic. While this type of dough can produce a more open crumb, it is also harder for a stand mixer to strengthen effectively, particularly when the batch size is large.
Practical batch sizes for a KitchenAid mixer
After lots of experimenting, I can say that small to medium batches work best in most KitchenAid mixers.
Dough made with about 300-400 grams of flour at 75-80% hydration is easy to mix and typically develops gluten quickly.
Dough with 400 to 500 grams of flour is still well within the ideal range for most home bakers. When the flour weight exceeds 500 grams, the motor load increases, risking a break.
At that point, I recommend dividing the dough into smaller batches or relying more on stretch-and-fold techniques during bulk fermentation.
Here are realistic ranges for achieving strong gluten development in a typical KitchenAid mixer.
| Flour | Hydration | Notes |
| 300–400 g | 75–80% | Easy mixing; windowpane develops quickly |
| 400–500 g | 75–80% | Ideal range for most home bakers |
| Over 500 g | 70–75% | Possible but stiff; better to mix in batches or rely on stretch-and-folds |
Tips for mixing larger batches
When working close to your mixer's capacity limits, try to make a few small adjustments to make mixing easier.
- Slightly reduce the dough hydration to create a firmer dough that develops gluten more quickly.
- Allow the flour and water to rest longer before mixing to help the dough hydrate (a process called autolyse) and reduce the kneading needed.
- Start the mixer at low speed and gradually increase it to help the dough develop more smoothly.
- Add the salt later in the process to strengthen the gluten network and prevent early overmixing.
- For larger batches, finish gluten development with stretch and folds and coil folds during bulk fermentation, or consider larger-capacity spiral mixers (see my guide to choosing the right dough mixer).
Why mixer-mixed sourdough ferments differently
Bulk fermentation sometimes progresses differently depending on whether the dough was mixed by hand or by machine.
Even when using identical sourdough bread ingredients, the same hydration, and the same room temperature, dough mixed in a stand mixer often ferments slightly faster.
One reason is dough temperature. Mechanical mixing introduces friction, which warms the dough. A mixer can raise the dough temperature by 2 to 6 degrees Fahrenheit. Because fermentation speed depends strongly on dough temperature, even a small increase can shorten bulk fermentation.
Another factor is gluten development. A mixer quickly and consistently organizes gluten strands, allowing the dough to trap carbon dioxide earlier during fermentation. As a result, the dough appears to rise faster.
Mixers also incorporate more oxygen into the dough during mixing. Oxygen strengthens gluten bonds and supports early yeast activity. Hand mixing usually introduces less oxygen, resulting in a slightly slower initial fermentation.
Because of these factors, mixer-mixed dough often ferments about 10-25% faster than hand-mixed dough under the same conditions. Hand-mixed dough may ferment more slowly but can sometimes develop a deeper flavor due to longer enzymatic activity.
Common mistakes when mixing sourdough in a KitchenAid
Beginners sometimes run into problems when using a stand mixer for sourdough. Fortunately, most of these issues are easy to avoid.
One of the most common mistakes is mixing too fast. High speeds can damage the gluten structure and warm the dough too quickly.
Another common mistake is overkneading. Because sourdough continues strengthening during fermentation, long kneading times are unnecessary and may break gluten.
Overheating the dough is another possible issue during mixing. Friction from the mixer increases the dough temperature, so it is important to monitor the final dough temperature (FDT) around 75-80°F (24-27°C).
Use a water temperature calculator to determine the correct water temperature needed to achieve the desired dough temperature (DDT). Consider using cold water when mixing the dough (you can even chill the water in the refrigerator overnight to help control the dough temperature).
Finally, some beginners assume that strong mixing can eliminate the need for dough folding. While it is possible if you are short on time, in reality, a couple of coil folds is still recommended.
FAQ
Yes. You can mix the flour and water briefly in the stand mixer, then let the dough rest for 20-60 minutes before adding the starter and salt. This rest period helps hydrate the flour and improves gluten development.
This can happen when the dough becomes stronger during mixing. Stop the mixer and scrape the dough down if needed. Lower mixing speeds usually reduce this issue.
At the beginning of mixing, the sourdough often sticks to the bowl heavily. As gluten develops, the dough gradually becomes smoother and begins to pull away from the sides of the bowl.
No. The flavor of sourdough mainly depends on fermentation time, starter activity, and the ingredients used. The mixing method does not affect the flavor.
Stand mixer notes for this recipe
Stand mixer models vary in motor strength and capacity. For sourdough dough, most manufacturers recommend mixing at Speed 1-2 to avoid straining the motor.
The recipe below was tested using 300 g of flour, and I briefly used Speed 3 in my mixer. Always follow your stand mixer manufacturer's recommendations for kneading bread dough, and adjust the batch size or speed as needed.
Keep in mind that changing ingredient amounts, hydration, or batch size can affect how the dough mixes in a stand mixer. Because of these variables, I cannot guarantee the same mixing results if the recipe is modified.
PrintRecipe
Stand Mixer Sourdough Bread Recipe

This artisan-quality stand mixer sourdough bread is made in a KitchenAid stand mixer, featuring a soft, airy crumb and golden crust. Perfect for beginners and seasoned bakers alike.
- Prep Time: 22 hours
- Cook Time: 40 minutes
- Total Time: 22 hours, 40 minutes
- Yield: 1 loaf 1x
- Category: Sourdough Recipes
- Method: Baking
- Cuisine: American
Ingredients
For the levain (an active starter):
- 22 g sourdough starter
- 22 g bread flour
- 22 g water
For the bread dough:
- 300 g bread flour (I use King Arthur organic bread flour)
- 225 g cold water (75% hydration)
- 60 g levain (active starter at peak)
- 6 g fine sea salt (I use Redmond ancient fine sea salt)
10 g white rice flour (for dusting)
Instructions
- Make a levain (an active starter): Feed the "mother" starter in the morning at a 1:1:1 ratio (22g starter, 22g flour, and 22g water), and wait 4-6 hours for it to peak.
- Autolyse: In the bowl of a stand mixer, combine cold water and flour, then mix for 1-2 minutes on Speed 1 until a shaggy dough forms. Cover the bowl with a clean tea towel or a plastic cap and let it rest at room temperature for 30 minutes.
- Add levain: Add the active starter at peak and mix the dough on Speed 2 for 3-4 minutes. Cover the bowl with a clean tea towel or a plastic cap and let it rest at room temperature for 30 minutes. Bulk fermentation begins once the starter is added.
- Add salt: Sprinkle the salt over the dough and mix for 5-6 minutes on Speed 3, until the dough starts to pull from the sides of the bowl. Check the gluten development using the windowpane test. Transfer the dough to a fermentation container, cover it with a clean tea towel or a plastic cap, and let it rest at room temperature for 30 minutes.
- Continue bulk fermentation: Perform two sets of coil folds, with a 30-minute rest between sets. After the final set of coil folds, let the dough continue bulk fermentation and monitor its rise closely. Bulk fermentation is done when the dough shows bubbles on the surface and along the sides, the edges appear slightly domed, and the dough gently wobbles when you shake the bowl.
- Preshape and shape: Lightly flour your work surface, preshape the dough into a round, and let it rest for 10-15 minutes. Perform the final shaping into a battard, then place it in a prepared 8-inch oval banneton.
- Proof: Cover the banneton with a clean towel, disposable plastic cap, or place it inside a reusable plastic bag. Refrigerate overnight (8-14 hours).
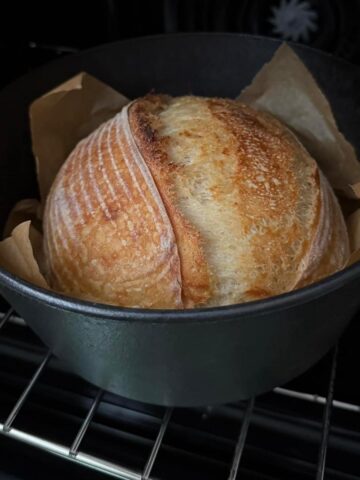
- Bake: Preheat the oven to 500°F (260°C) with a Dutch oven inside for 30 minutes. Transfer the dough onto parchment paper, score the top, and place it inside the Dutch oven. Decrease the oven temperature to 450°F (232 °C), then bake, covered, for 20 minutes; uncover and bake for another 17-20 minutes, until golden and crisp. Remove the bread from the Dutch oven and let it cool on a wire rack for at least 2 hours before slicing.
Notes
- Mixer note: Mixer models vary. For sourdough dough, most manufacturers recommend Speed 1-2. This recipe was tested with 300 g flour and brief mixing at Speed 3. Always follow your mixer manufacturer's guidelines.
- Use the dough hook: Use the dough hook, not the paddle attachment, when mixing sourdough dough.
- Avoid high speeds: Do not start the mixer at a high speed. Begin mixing on a low speed to protect both the dough structure and the mixer motor.
- Use cold water: Mix the dough with cold water. You can even chill the water in the refrigerator overnight before mixing.
- Watch the mixer while it runs: Keep an eye on it. Some mixers can "walk" on the counter during kneading, especially with heavier doughs. If this happens, hold the mixer or move it back on the counter to keep it stable.
- Control dough temperature: Keep the dough temperature around 75-80°F (24-27°C) while mixing. Use an infrared thermometer to check the dough temperature occasionally without stopping the mixer. If the dough temperature rises above 80°F (27°C), cover the mixer bowl and refrigerate the dough for about 15 minutes to cool it down. Then continue mixing.
- Check gluten development: At the end of mixing, check the dough strength using the windowpane test.
- Plan the folds: If the dough has reached about 90% of a windowpane, perform 2-3 sets of coil folds during bulk fermentation. If the dough is less developed, start with 1 set of stretch and folds, then finish with 2 sets of coil folds.
- Handle hot equipment safely: Always use oven mitts or silicone gloves when handling hot pans or Dutch ovens.
- Check for doneness: Your bread is fully baked when the internal temperature reaches 205-210°F (96-99°C). I usually aim for 207°F (97°C) or higher. Use a digital probe thermometer to check.
- Store the bread properly: Store sourdough bread at room temperature for 3-5 days. Freeze for up to 3 months. Thaw at room temperature. Freeze individual slices for up to 1-2 weeks, a whole loaf for 1-2 months.
- Want to create a custom formula for your loaf? Try my sourdough calculator.
- Need help getting started? Check out my beginner's sourdough bread guide to learn sourdough basics first.
- Note: Nutritional information does not include the white rice flour used for dusting.
Nutrition
- Calories: 1201
- Sugar: 0.9g
- Sodium: 2340mg
- Fat: 3.2g
- Saturated Fat: 0.5g
- Carbohydrates: 251.8g
- Fiber: 8.9g
- Protein: 34.1g
- Cholesterol: 0mg
Michele says
Wow! This is so informative! Really appreciate this great article!
Irina Totterman says
So glad you found it helpful! Happy mixing your sourdough in your stand mixer!
Dennise says
What is the windowpane method?
Irina Totterman says
Hi Dennise, Here is what windowpane test means: https://sourdoughtalk.com/what-is-windowpane-test/
Lynda Brill says
This is the best sourdough I have ever made. I used your Calculator to do a 600 g 122 starter 90% Bob’s Red Mill artisan and 10% dark rye at 70% hydration. It was fantastic.
Irina Totterman says
Hello Lynda, Thank you so much! I'm thrilled to hear it turned out so well. That flour combination sounds delicious. Happy baking!