

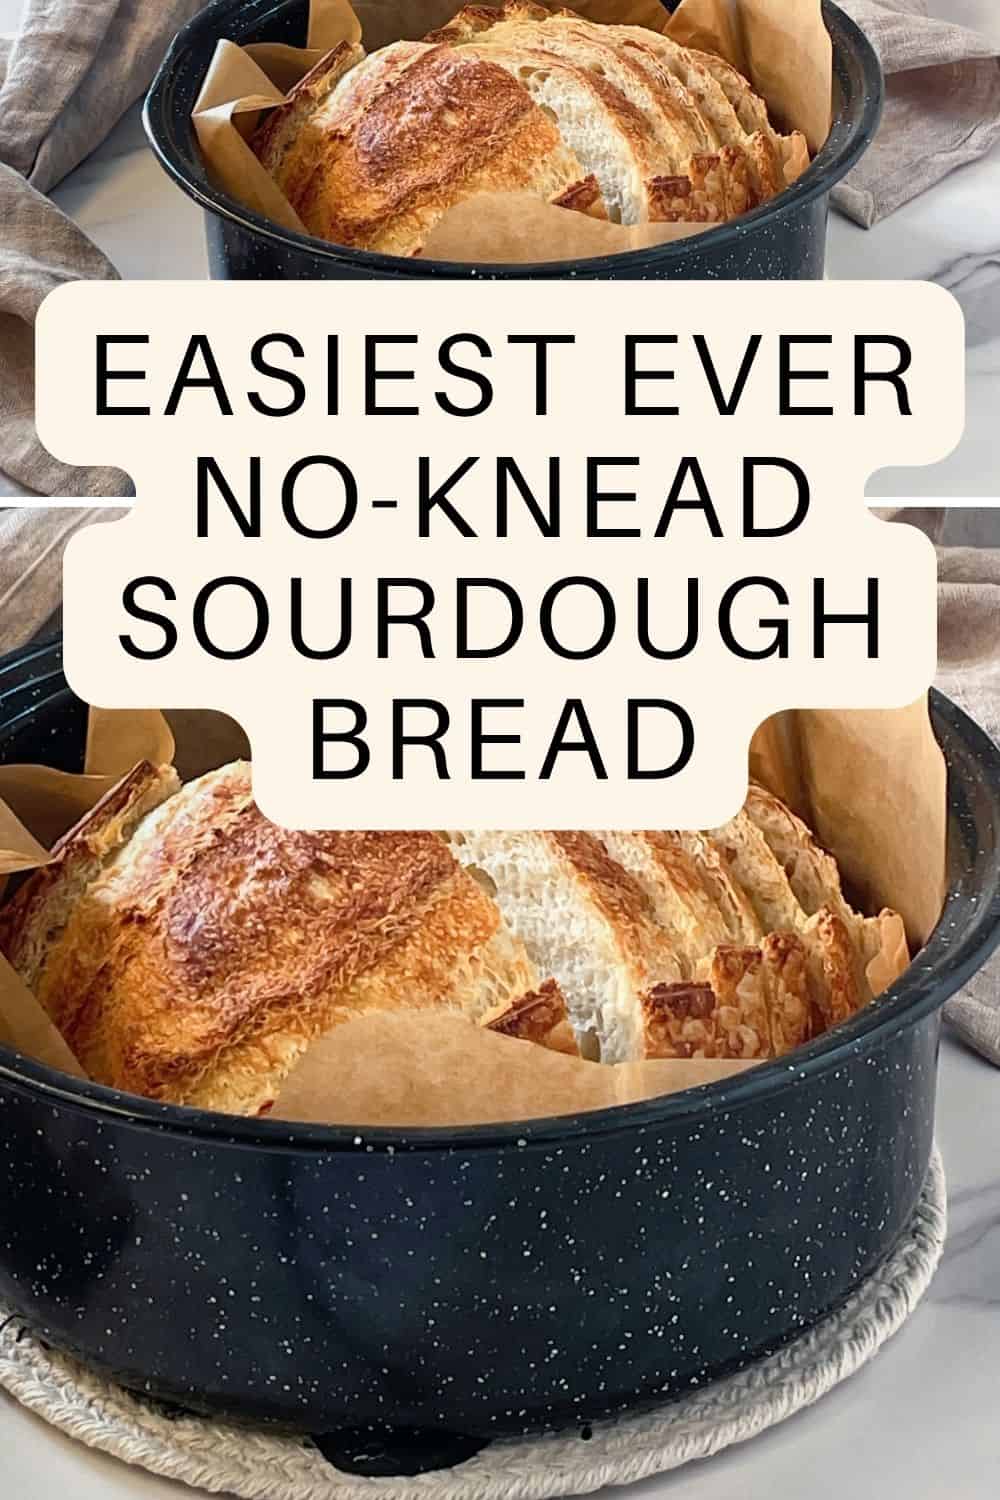
Here is my truly no-knead sourdough bread recipe, perfect for everyday baking and busy parents. While you can find many variations of no-knead bread on the Internet, I have developed a recipe with almost no "hands-on dough" time.
Yes, you can see that some bakers still perform autolyze or fermentolyse, or mix the dough for at least 3-4 minutes to develop gluten (yes, I totally get this itch!). I, however, simply mix the dough to combine and do a few folds during bulk fermentation.
If you are new to sourdough, start with my Beginner's Sourdough Guide. To learn how to make your own starter, follow my Beginner Sourdough Starter recipe. Then, before trying this recipe, practice the basic techniques with my Beginner's Sourdough Bread recipe.
What is no-knead sourdough bread?
No-knead sourdough bread is a style of sourdough that skips traditional hand kneading. Instead, the dough develops strength through bulk fermentation and gentle folding.
However, while bulk fermentation strengthens the dough, it cannot fully replace the early gluten development that comes from thorough bread dough mixing.
Why knead sourdough (and why you don't have to)
Kneading is used much more often in yeasted bread than in sourdough. In yeast vs sourdough starter baking, commercial yeast relies on quick, upfront gluten development through mixing and kneading.
Yeasted doughs rise fast and need strength right away, so that early gluten development helps the bread hold its shape during much shorter fermentation times.
Sourdough works differently. Because it ferments slowly over many hours, gluten has plenty of time to develop naturally through hydration, time, and gentle movements (aka folding) rather than intense kneading. This slower process is one of the reasons sourdough has such a wonderful texture and depth of flavor.
That is where no-knead sourdough makes sense. Instead of kneading by hand or with a mixer, mix the ingredients, let the dough rest, and perform a few gentle folds during bulk fermentation. These small movements gradually strengthen the gluten, without effort.
Who this recipe is for (and who it isn't)
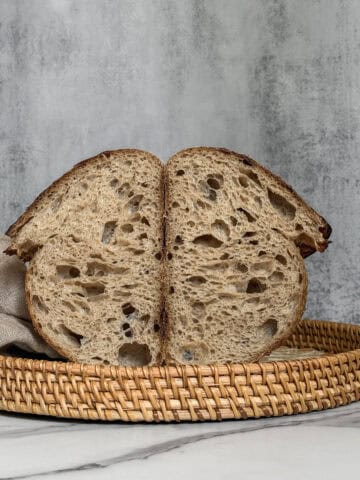
This no-knead sourdough recipe is created for simplicity. It produces a good, reliable loaf with minimal effort, but it isn't the right choice if your goal is a highly open crumb, maximum oven spring, or precise gluten development.
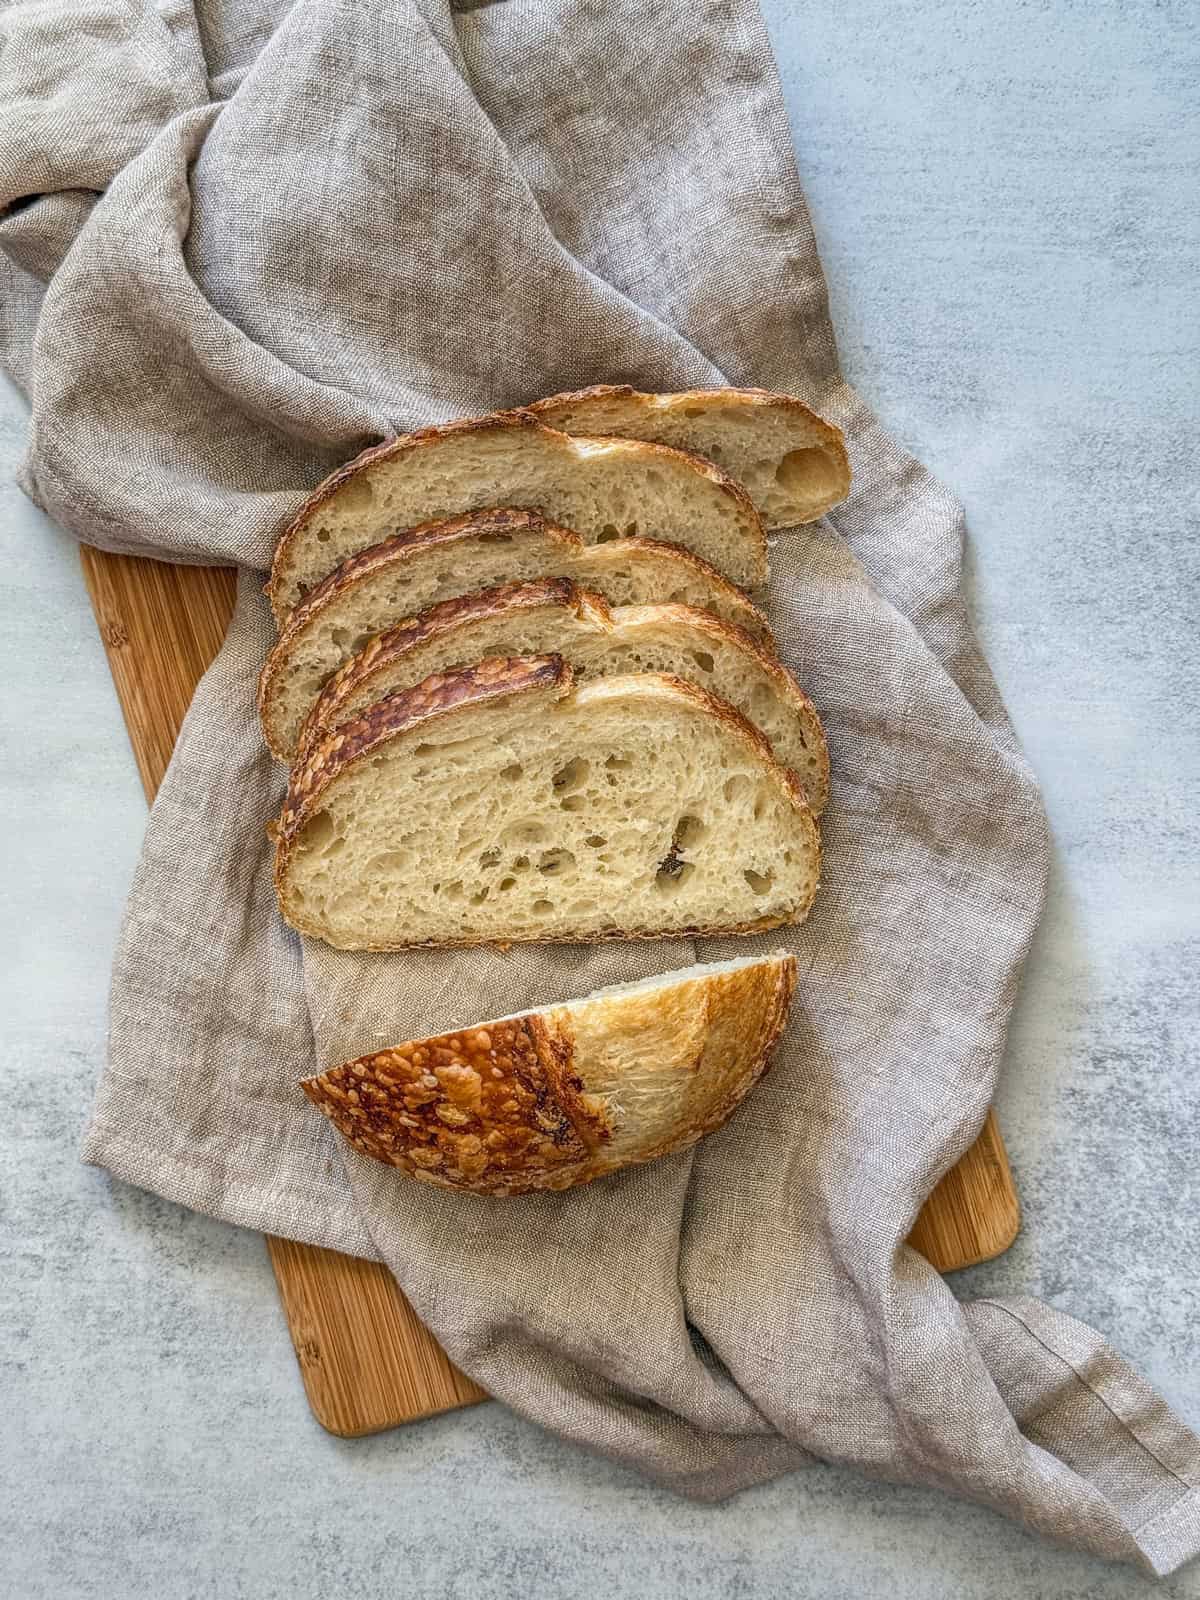
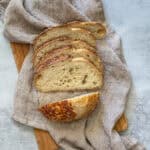
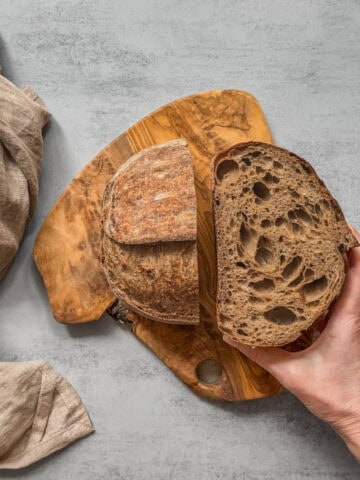
In this recipe, the dough is intentionally under-mixed. The ingredients are combined just enough to bring the dough together, but not sufficient to develop the gluten. This bread has a tighter, more even crumb, and is perfect for sandwiches and everyday use.
If you enjoy experimenting with developing dough strength, tension, and shaping techniques, a traditionally mixed sourdough will give you more control over the final structure.
Ingredients
- Flour: Use unbleached bread flour with a protein content of 12% or higher to properly develop dough strength. As a beginner, opt for 100% bread flour rather than flour blends. I use King Arthur bread flour, which has a protein content of 12.7% (see my guide to sourdough bread ingredients).
- Water: Use unchlorinated tap, filtered, or spring water.
- Sourdough Starter: Use a 100% hydration sourdough starter at peak.
- Salt: Use fine sea salt, like Redmond Ancient Fine Sea Salt. Avoid iodized table salt.
- White Rice Flour: Use it to dust the work surface and banneton.
Bread formula for no-knead sourdough bread
| Ingredient | Baker's Percentage | Weight |
|---|---|---|
| Bread flour | 100% | 500g |
| Water | 75% | 375g |
| Levain/Active starter, 100% hydration | 20% | 100g |
| Salt | 2% | 10g |
- Total dough weight is 985g. If you need to adjust the bread formula for your own loaf, see my guide to baker's percentages and use my sourdough calculator.
- My kitchen temperature is 73°F (23°C) and the humidity is 40%.
- Bulk fermentation: 7 hours 30 minutes to 8 hours 30 minutes with a 75-80% increase in dough size.
- Proofing time: 14 hours cold-proof in the fridge.
- Bake in a conventional oven at 450°F (232°C) with the lid on for 20 minutes; without the lid, 17-20 minutes.
Tools & Equipment
For all the tools and equipment I use, check out my Essential Sourdough Tools & Equipment guide. It covers everything you need to bake sourdough bread successfully.
How to make no-knead sourdough bread
1. Make levain (an active starter)
To make levain, mix 35g of sourdough starter, 35g of bread flour, and 35g of water in a clean empty jar, cover it loosely, and let it rise in a warm place.
The levain should at least double in size and reach its peak within 4-6 hours (see my post on identifying sourdough starter peak). You may also want to read about the difference between levain and sourdough starter.
2. Mix the dough
Combine water with levain (active starter at peak), using your hands or a Danish dough whisk. Then add flour and salt, and mix just until combined.
Cover the bowl with a damp kitchen towel or plastic wrap and let the dough rest for 30 minutes (see my guide to sourdough autolyse). Once you add levain (active sourdough starter), bulk fermentation starts.
3. Bulk fermentation
With wet hands, perform two sets of stretch and folds and two sets of coil folds with 30-minute intervals between sets. Cover the bowl with the dough during resting periods.
After the last set of coil folds, allow the dough to continue bulk fermentation, monitoring its rise closely to avoid under- or overfermentation. The warmer your kitchen, the faster the bulk fermentation. Cooler temperatures slow it down.
Note: I usually aim for about a 75-80% rise at 73°F (24°C), though with King Arthur bread flour and upfront gluten development by using bread dough mixing techniques, I can sometimes push it to 90%.
Bulk fermentation is complete when the surface and sides of the dough (if using a glass bowl) are bubbly, the edges are slightly domed, and the dough wobbles gently when you shake the bowl.
4. Preshape and shape the dough
Lightly flour your work surface, preshape the dough into a round, and let it rest for 15 minutes. You can omit preshaping when making a single loaf.
Perform the final shaping into a battard (or a boule), then place it in a prepared 12-inch banneton with the seam-side up. For step-by-step help, see my guide to shaping bread dough.
5. Proof the dough
Cover the banneton with a clean towel, disposable plastic cap, or place it inside a reusable plastic bag. Cold-proof the dough in the fridge overnight (8-14 hours).
6. Bake your bread
The next day, preheat the oven to 500°F (260°C) with a Dutch oven inside for 25-30 minutes.
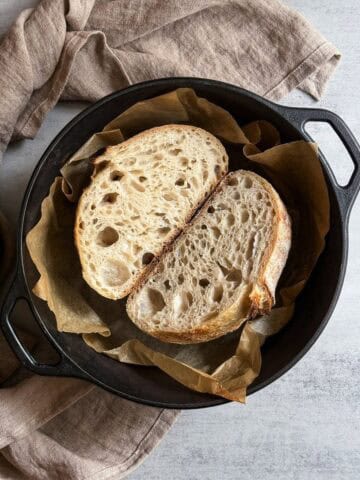
Transfer the dough onto parchment paper, score it, and place it inside the Dutch oven. Decrease the oven temperature to 450°F (232 °C), then bake, covered, for 20 minutes; uncover and bake for another 17-20 minutes, until golden and crisp.
Remove the bread from the Dutch oven and let it cool on a cooling rack for at least 2 hours before slicing. Read about how to cut sourdough bread and how to store sourdough bread in separate blog posts.
Expert tips
- Bake your bread in a loaf pan, as it is the most forgiving sourdough baking method if your bulk fermentation isn't perfect.
- Always use oven mitts while handling hot equipment.
- Use a digital probe thermometer to check the internal temperature of the baked bread. It should reach 205-210°F (96-99°C). I usually aim for 207°F (97°C) or higher.
- Advanced notes: Track bulk fermentation with the aliquot jar method. Check the dough temperature after each set of folds and every 30-40 minutes, ideally. End bulk fermentation once the dough reaches the target percentage rise.
Sample baking schedule
| Day 1 | |
| 8:00 AM | Make levain |
| 12:00 PM | Mix the dough, rest for 30 minutes |
| 12:30 PM | Stretch & folds #1, rest for 30 minutes |
| 1:00 PM | Stretch & folds #2, rest for 30 minutes |
| 1:30 PM | Coil folds #1, rest for 30 minutes |
| 2:00 PM | Coil folds #2 |
| 7:30 PM | Preshape and shape |
| 8:00 PM | Cold proof |
| Day 2 | |
| 8:00 AM | Baking |
Recipe
No-Knead Sourdough Bread
No-knead sourdough bread is an easy, almost hands-off method that relies on long fermentation instead of traditional kneading. Mix the ingredients, let time do the work, and enjoy a rustic loaf with a crisp crust, open crumb, and deep sourdough flavor.
- Prep Time: 20 hours, 30 minutes
- Cook Time: 40 minutes
- Total Time: 21 hours, 10 minutes
- Yield: 1 loaf 1x
- Method: Baking
- Cuisine: American
Ingredients
For the levain (an active starter):
- 35 g sourdough starter
- 35 g bread flour
- 35 g water
For the bread dough:
- 500 g bread flour (I use King Arthur organic bread flour)
- 375 g water (75% hydration)
- 100 g levain (active starter at peak)
- 10 g fine sea salt (I use Redmond ancient fine sea salt)
10 g white rice flour (for dusting)
Instructions
- Make a levain (an active starter): Feed your starter in the morning at a 1:1:1 ratio (35 g starter, 35 g flour, and 35 g water), and wait 4-6 hours for it to peak.
- Mix the dough: Combine water with levain (active starter at peak), then add flour and salt. Mix just combine. Cover the bowl with a damp kitchen towel or plastic wrap and let the dough rest for 30 minutes. Once you add levain (active sourdough starter), bulk fermentation starts.
- Bulk fermentation: With wet hands, perform two sets of stretch and folds and two sets of coil folds with 30-minute intervals between sets. Cover the bowl with the dough during resting periods. After the last set of coil folds, allow the dough to continue bulk fermentation until the dough reaches a slightly domed top, has large bubbles on the surface and smaller bubbles on the sides of the container, pulls easily from the sides, and jiggles when shaken.
- Preshape and shape: Lightly flour your work surface, preshape the dough into a round, and let it rest for 15 minutes. You can omit preshaping when making a single loaf. Perform the final shaping into a battard (or a boule), then place it in a prepared 12-inch oval banneton, seam-side up.
- Proof: Cover the dough with a towel or plastic bag and refrigerate at 39°F (4°C) overnight, or for at least 8-10 hours.
- Score: Remove the dough from the fridge. Flip it out of the banneton onto a piece of parchment paper. Using a sharp bread lame, score the dough.
- Bake: Preheat the oven to 500°F (260°C) with the Dutch oven inside for 25-30 minutes. Carefully transfer the dough onto parchment paper, score it, and place it into the hot Dutch oven. Reduce the oven temperature to 450°F (232°C) and bake, covered, for 20 minutes. Remove the lid and continue baking for another 17-20 minutes, until the crust is golden and crisp.
- Cool the bread: Using the oven mitts, remove the baking vessel from the oven. Carefully remove the bread and let it cool on a wire rack for at least 2 hours before slicing.
Notes
- Use the double loaf pan method, as it is the most forgiving sourdough baking method if your bulk fermentation isn't perfect.
- Safety tip: Always use oven mitts or silicone gloves when handling a hot pan.
- Check for doneness: Use a digital probe thermometer to check the internal temperature of the bread. It should reach 205-210°F (96-99°C). I usually aim for 207°F (97°C) or higher.
- Storage and freezing: Store sourdough bread at room temperature for 3-5 days. Freeze for up to 3 months. Thaw at room temperature. Freeze individual slices for up to 1-2 weeks, a whole loaf for 1-2 months.
- Want to create a custom formula for your loaf? Try my sourdough calculator.
- Need help getting started? Check out my beginner's sourdough bread guide to learn sourdough basics first.
- Note: Nutritional information doesn't include the white rice flour used for dusting.
Nutrition
- Calories: 2002
- Sugar: 1.5g
- Sodium: 3900mg
- Fat: 5.4g
- Saturated Fat: 0.9g
- Carbohydrates: 419.7g
- Fiber: 14.9g
- Protein: 56.8g
- Cholesterol: 0mg

Comments
No Comments