
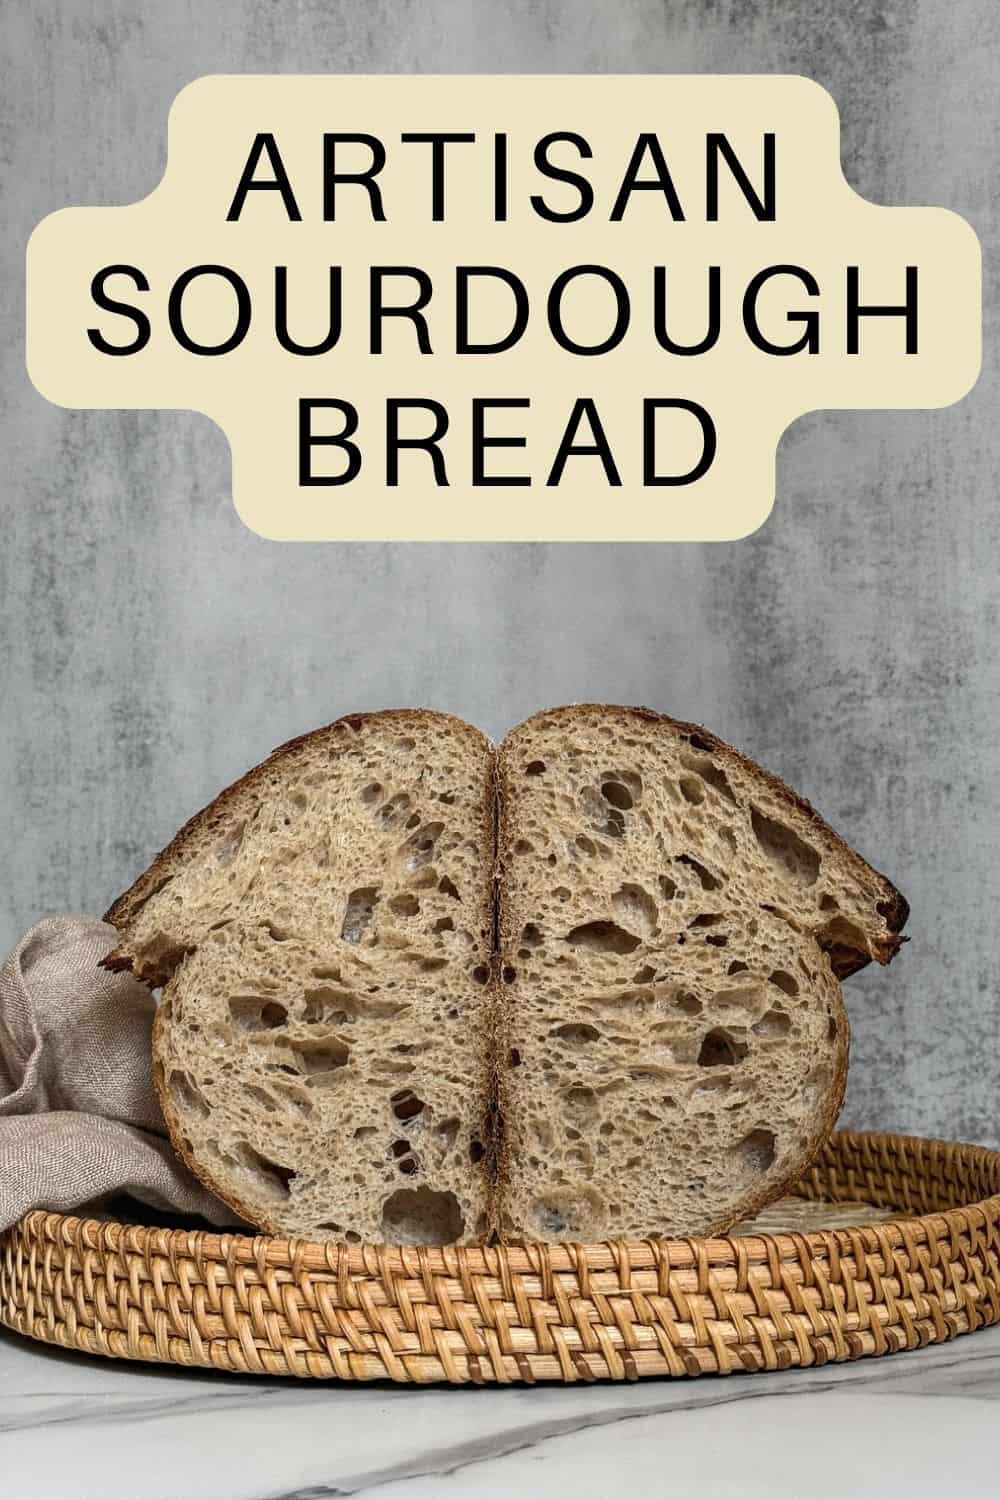
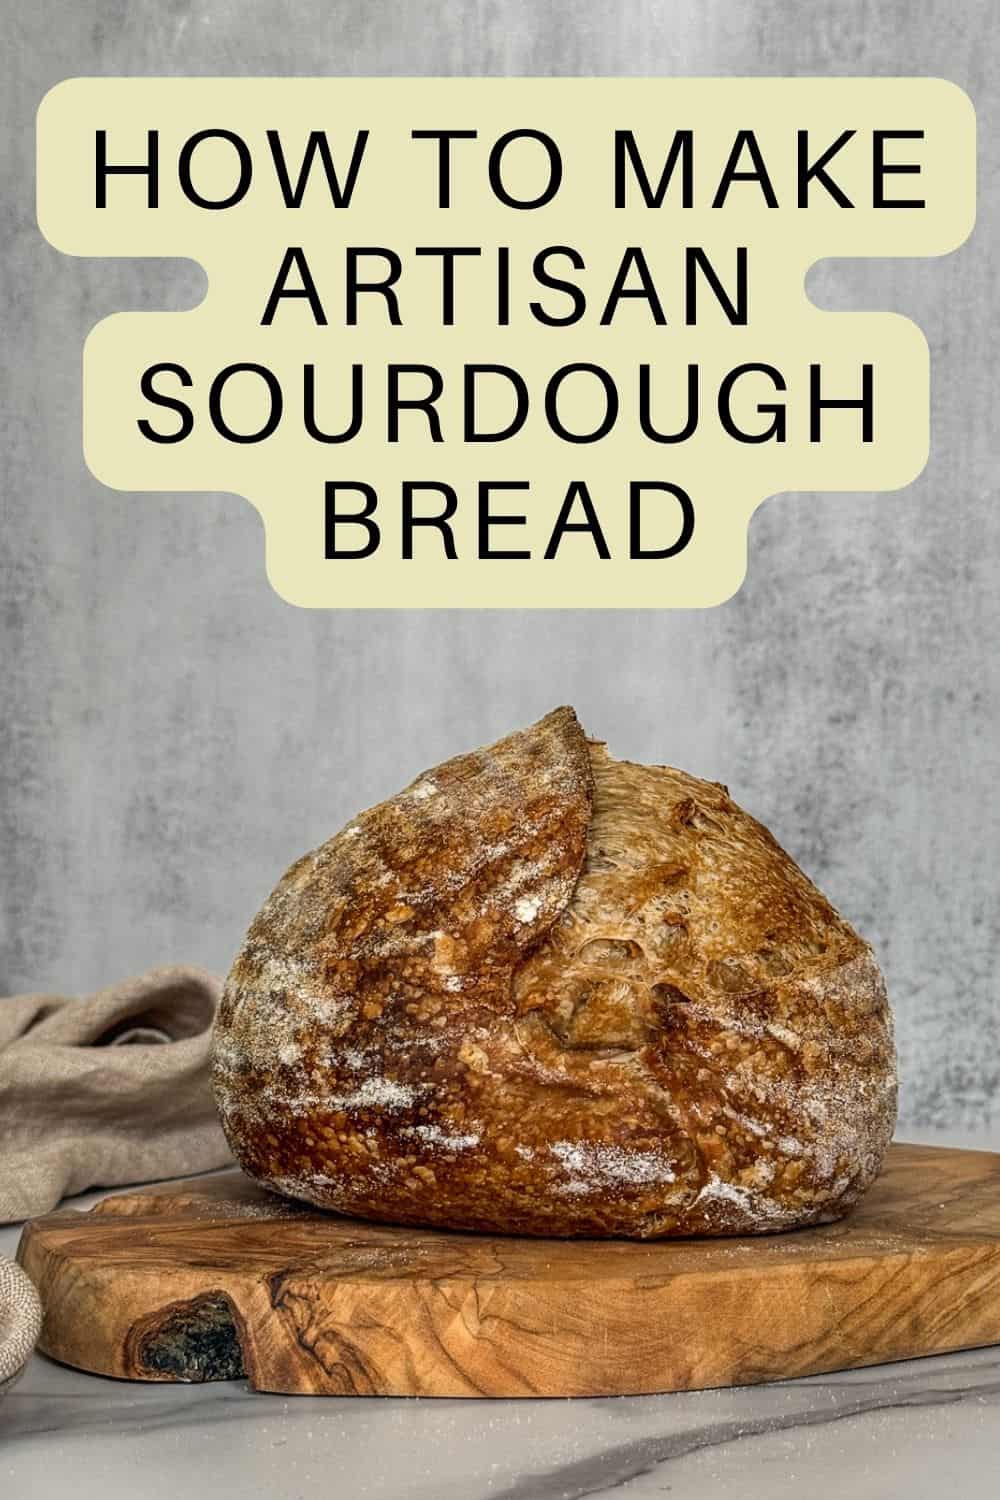
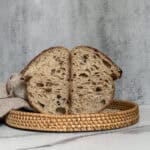
Artisan sourdough bread has that perfect combination of a crispy crust, airy crumb, and rich, tangy flavor. Baking it at home may seem intimidating, but with the right approach, you can create bakery-quality loaves.
This guide will walk you through everything from understanding artisan sourdough to mixing, fermenting, shaping, and baking your own bread.
Note: My artisan sourdough bread recipe combines three types of flour and uses 80% hydration, which makes the dough quite sticky. This is a little tricky for beginners, especially when it comes to handling the dough and keeping track of bulk fermentation.
If you are new to sourdough baking, begin with my Beginner's Sourdough Guide. Then learn how to create your own starter with my Beginner Sourdough Starter recipe. Before making this loaf, I recommend practicing the core techniques with my Beginner's Sourdough Bread recipe.
What is artisan sourdough bread?
Artisan sourdough bread is made using traditional methods, without commercial yeast, relying instead on a natural sourdough starter. It features a crunchy, golden-brown crust, an airy open crumb, and has a complex flavor that develops during a long fermentation process.
Unlike mass-produced bread, artisan loaves are carefully fermented and baked to bring out maximum flavor and texture. Each loaf is unique, reflecting your starter, ingredients, and even the environment of your kitchen.
Artisan bread is often mixed by hand, not with a mixer. Hand-mixing lets you feel the dough's hydration and texture. This helps build gluten naturally and achieve the perfect consistency for a well-structured, airy loaf.
Ingredients
- Flour: I'm using a mix of bread flour, rye flour, and whole wheat flour. You can adjust the proportions or swap with all-purpose flour if needed.
- Water: Use filtered or dechlorinated, high-quality water. Adjust as needed based on flour absorption and your skill level.
- Levain (sourdough starter at peak): Use 100% hydration active, bubbly starter. Make sure it is at its peak (see my guide on sourdough starter peak).
- Salt: Use fine sea salt. Avoid iodized table salt.
- Honey: Adds a touch of sweetness.
Final bread formula
| Ingredient | Baker's Percentage | Weight |
|---|---|---|
| Bread flour | 70% | 315g |
| Rye flour | 15% | 68g |
| Whole wheat flour | 15% | 68g |
| Water | 80% | 360g |
| Levain/Active starter, 100% hydration | 20% | 90g |
| Salt | 2% | 9g |
| Honey | 3.3% | 15g |
- Total dough weight is 925g. If you need to adjust the bread formula for your own loaf, use baker's percentages or my sourdough calculator.
- My kitchen temperature is 73°F (23°C) and the humidity is 40%.
- Bulk fermentation: 6 hours 15 minutes with a 35-40% increase in dough size.
- Proofing time: 14 hours cold-proof in the fridge
- Bake in a conventional oven at 450°F (232°C) with the lid on for 20 minutes; without the lid, 15-17 minutes.
Tools & Equipment
For all the tools and equipment I use, check out my Essential Sourdough Tools & Equipment guide. It covers everything you need to bake sourdough bread successfully.
How to make artisan sourdough bread
1. Autolyse
In a large mixing bowl, combine the bread flour, rye flour, and whole wheat flour. Add water and gently mix until no dry flour remains. Cover the bowl and let the dough rest for 30 minutes (see my blog post on sourdough autolyse). This process hydrates the flour, begins gluten formation, and improves flavor.
2. Add levain and salt
Add your levain (active sourdough starter) to the dough. Mix it, folding the dough over itself until the starter is fully incorporated. Once you add levain (active sourdough starter), bulk fermentation starts.
Sprinkle salt evenly over the dough, and mix using one of the bread dough mixing techniques. Add honey and knead briefly to integrate. Cover the bowl and let the dough rise at room temperature (ideally 70-75°F) for 30 minutes.
4. Continue bulk fermentation
With wet hands, perform two sets of stretch and folds followed by two sets of coil folds, with a 30-minute rest between each set. After the last set of coil folds, cover the dough and let it continue bulk fermentation and monitor its rise closely.
Note: I allowed the dough to rise about 35% at 73°F (23°C). Your target rise will vary depending on your kitchen temperature. Warmer conditions will speed up bulk fermentation, while cooler environments will slow it down.
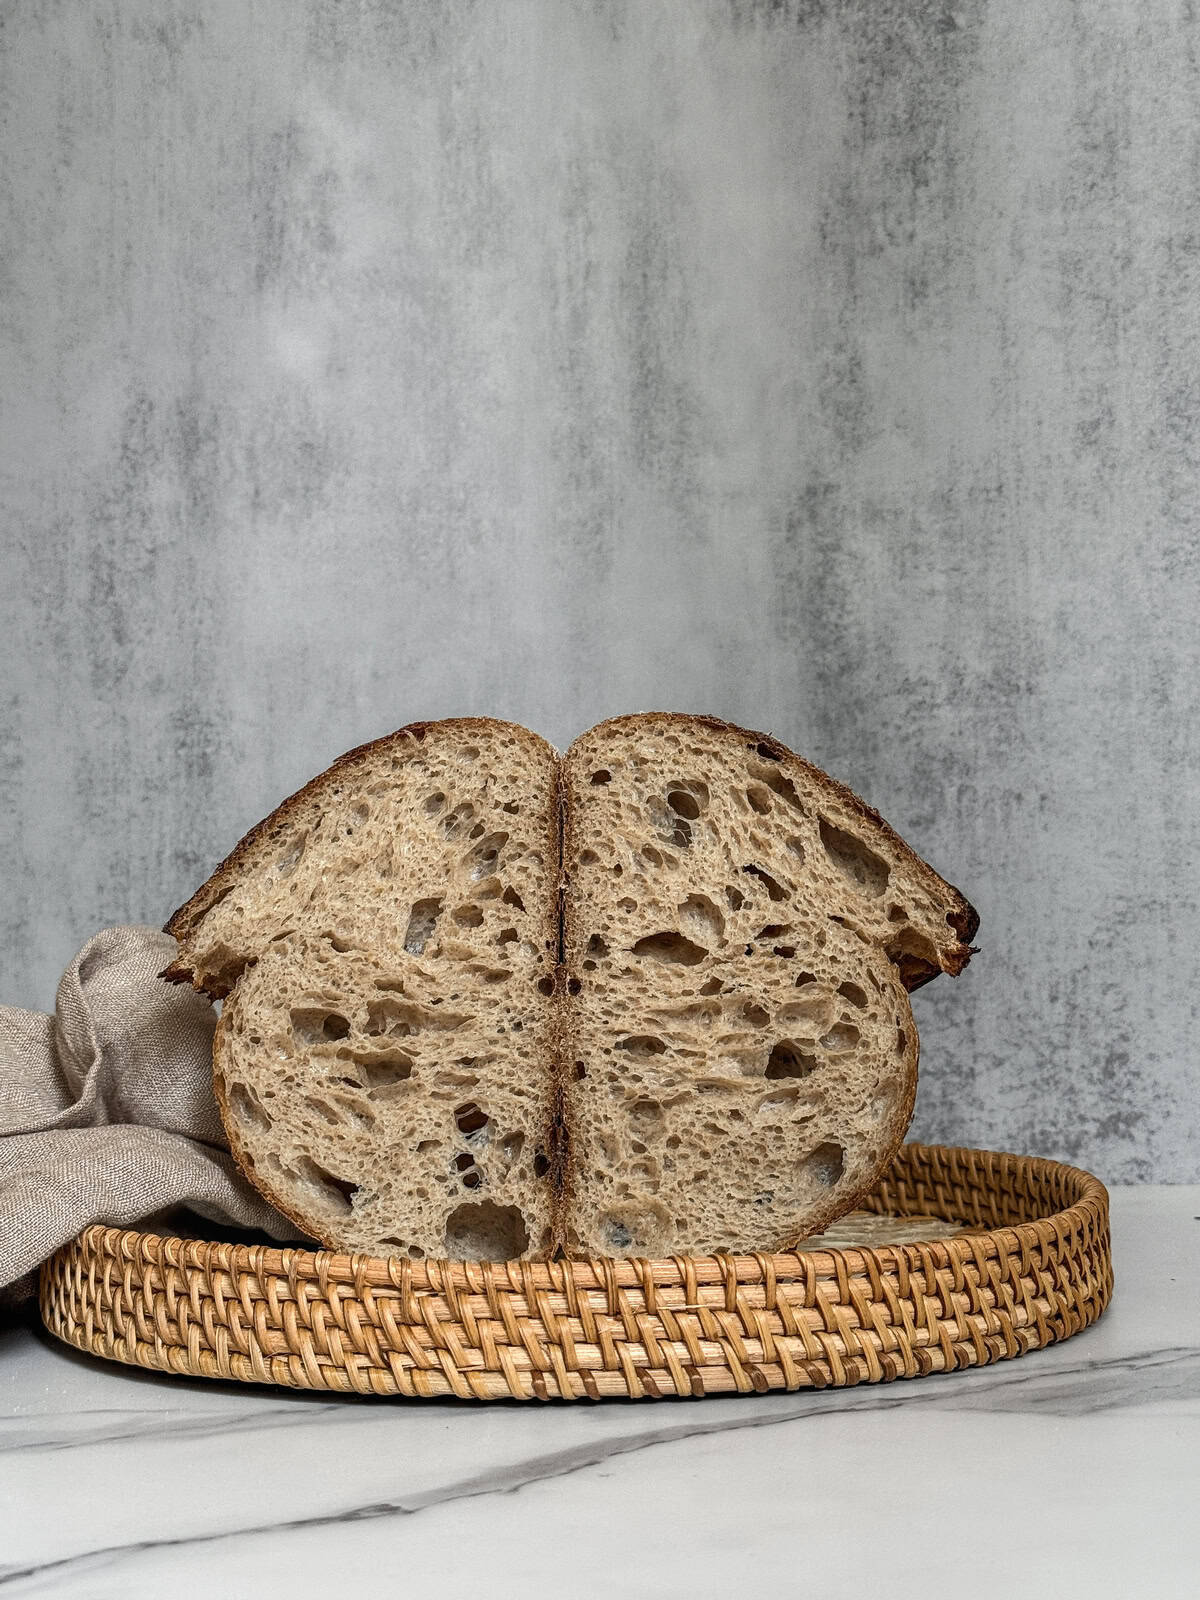
At the end of bulk fermentation, the dough should be airy, slightly domed, and with bubbles forming.
5. Preshape and shape
Turn the dough onto a lightly floured surface. Shape it into a tight batard (or boule). Place the shaped dough into a well-floured 12-inch proofing basket (see my guide to shaping bread dough).
6. Proof
Cover the banneton with a clean towel or a disposable plastic cap, or place it in a reusable plastic bag. Refrigerate overnight for a complex flavor.
7. Bake the loaf
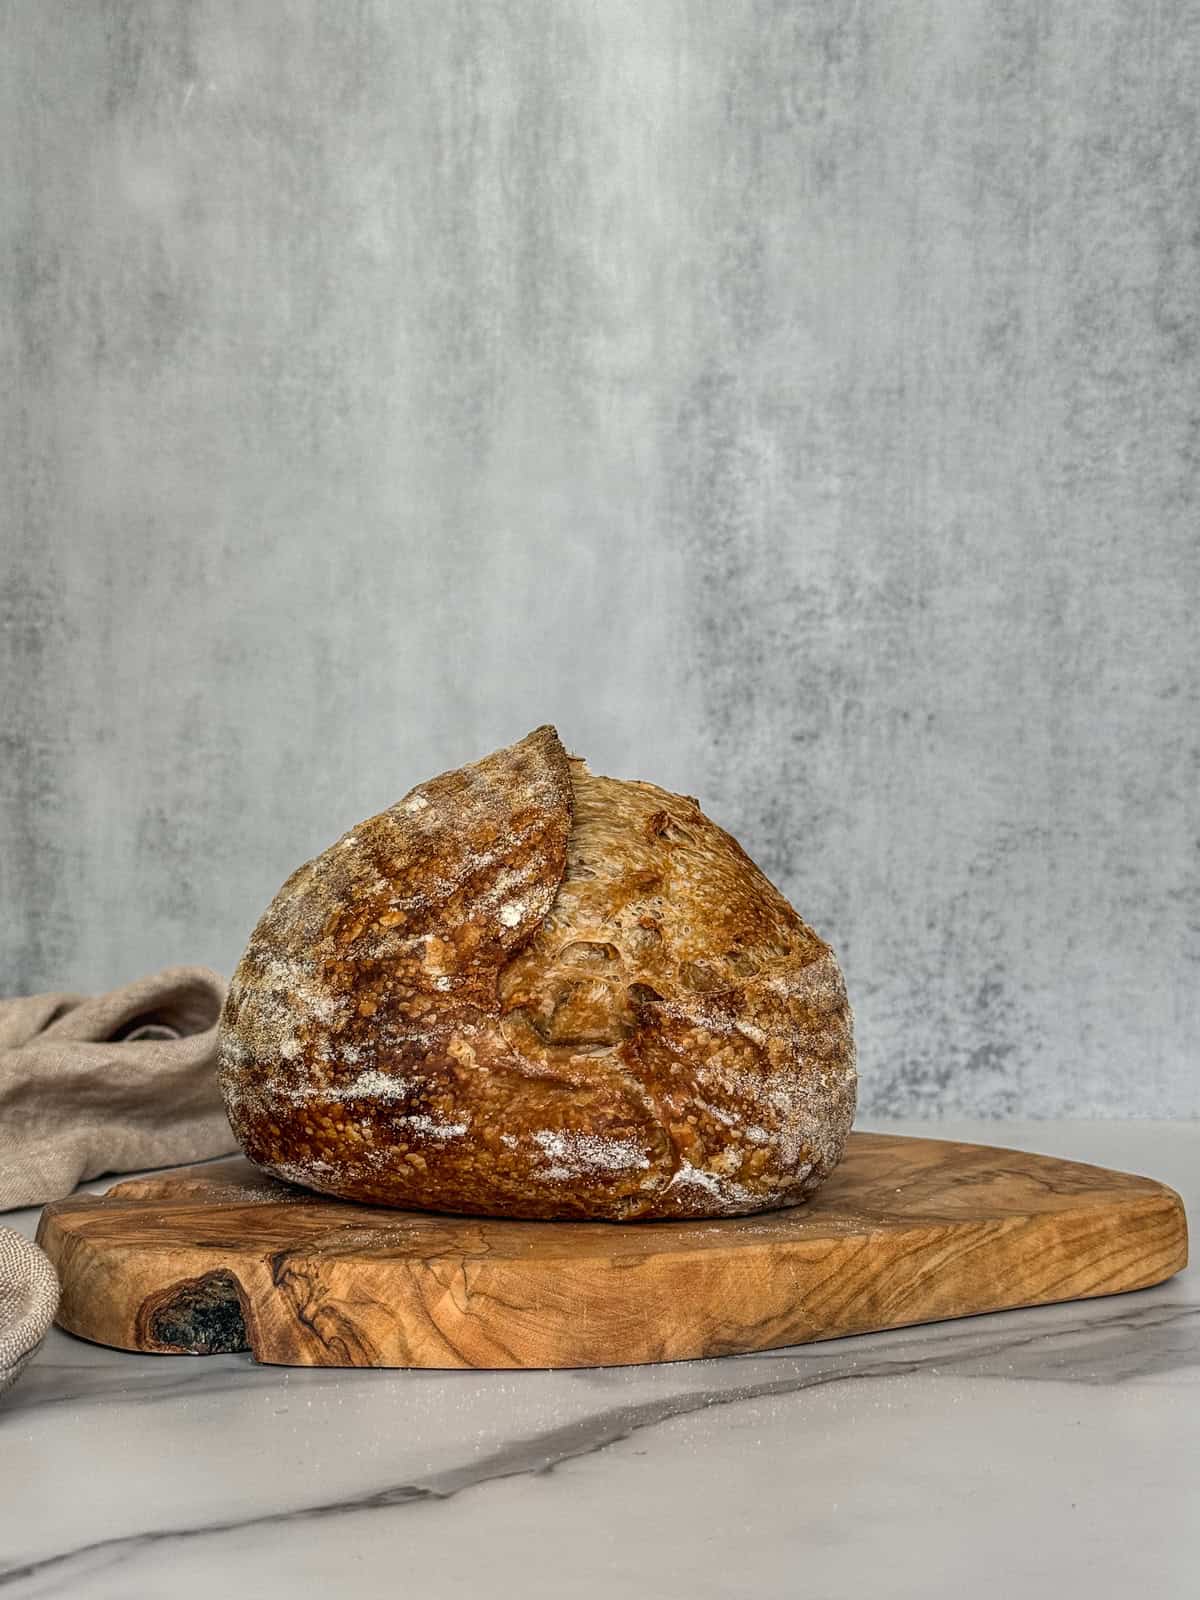
Preheat the oven to 500°F (260°C) with a Dutch oven inside for 30 minutes. Gently transfer your proofed dough onto parchment paper. Score the top of the dough with a sharp blade to control expansion.
Transfer the scored dough into the hot Dutch oven, and cover. Reduce the oven temperature to 450°F (232°C) and bake covered for 20 minutes. 20 minutes covered, then 15-17 minutes uncovered until deep golden brown.
If you want to bake using the open-bake method, read my blog post on baking sourdough without a Dutch oven.
Remove the bread from the Dutch oven and cool on a wire rack for at least 2 hours before slicing.
Bulk fermentation expectations
Using a blend of 70% bread flour, 15% rye flour, and 15% whole wheat flour changes how your dough behaves compared to a 100% bread flour dough.
Whole wheat and rye flours contain more enzymes (amylase) and nutrients, which feed the yeast and bacteria more actively. This results in a faster bulk fermentation than with white flour dough.
At the same time, both flours contain bran, which can cut through gluten strands, slightly weakening the dough structure.
Rye flour, in particular, has lower levels of gluten-forming proteins and higher levels of pentosans, which absorb water and make the dough feel stickier and more gel-like. This makes the dough appear less structured during bulk, even when fermentation is progressing well.
The addition of 3.3% honey provides simple sugars that are immediately available to yeast. This gives fermentation a slight boost early on, especially in the first stages of bulk.
However, at this percentage, honey does not significantly affect bulk fermentation. It simply supports microbial activity and adds subtle softness to the dough.
So, compared to a 100% bread-flour dough, bulk fermentation will proceed faster and show less dramatic dough rise, even when the dough is properly fermented. The dough can overferment more easily if not monitored closely.
Because of this, don't rely only on the dough's percentage rise. Look for signs like a slightly domed surface, small bubbles throughout, and a lighter, aerated feel.
Expert tips for artisan-quality bread
- Adjust dough hydration: This recipe is 80% hydration, which makes the dough quite sticky. If you are new to sourdough, reduce the water slightly to make it easier to handle.
- Watch bulk fermentation: Don't rely only on dough rise. Look for a slightly domed surface, small bubbles throughout, and a lighter, airy feel.
- Safety tip: Always use oven mitts or silicone gloves when handling hot pans or a Dutch oven.
- Check for doneness: Your bread is fully baked when the internal temperature reaches 205-210°F (96-99°C). I usually aim for 207°F (97°C) or higher. Use a digital probe thermometer for accuracy.
- Try the open-bake method: If you don't have a Dutch oven, you can still bake sourdough. Read my blog post on baking sourdough without a Dutch oven.
- Advanced notes: Track bulk fermentation using an aliquot jar method, checking the dough temperature after each fold and every 30-40 minutes. End fermentation once the dough reaches the target percentage rise.
More sourdough bread recipes to try
- Traditional Sourdough Bread
- Extra Sour Sourdough bread
- Whole Wheat Sourdough Bread (coming soon)
Recipe
Artisan Sourdough Bread Recipe
This artisan sourdough bread is a rustic, flavorful loaf made with a mix of bread, rye, and whole wheat flours. It is crafted using natural fermentation and gentle hand-mixing techniques.
- Prep Time: 21 hours
- Cook Time: 40 minutes
- Total Time: 21 hours, 40 minutes
- Yield: 1 loaf 1x
- Category: Sourdough Recipes
- Method: Baking
- Cuisine: American
Ingredients
For the levain (an active starter):
- 35 g sourdough starter
- 35 g bread flour
- 35 g water
For the bread dough:
- 315 g bread flour (I use King Arthur organic bread flour)
- 68 g rye flour (I use Bob's Red Mill organic dark rye flour)
- 68 g whole wheat flour (I use King Arthur whole wheat flour)
- 360 g water (80% hydration)
- 90 g levain (active starter at peak)
- 9 g fine sea salt (I use Redmond ancient fine sea salt)
- 15 g honey (I use Trader Joe's Mostly Mesquite Honey)
Instructions
- Autolyse: In a large mixing bowl, combine the bread flour, rye flour, and whole wheat flour. Add water and gently mix until no dry flour remains. Cover the bowl and let the dough rest for 30 minutes.
- Add levain and salt: Add your levain (active sourdough starter) to the dough. Mix gently, folding the dough over itself until the starter is fully incorporated. Sprinkle salt evenly over the dough, and mix using one of the bread dough mixing techniques. Add honey and knead briefly to integrate. Once you add levain (active sourdough starter), bulk fermentation starts. Cover the bowl and let the dough rise at room temperature (ideally 70-75°F) for 30 minutes.
- Continue bulk fermentation: With wet hands, perform two sets of stretch and folds followed by two sets of coil folds, with a 30-minute rest between each set. After the last set of coil folds, cover the dough and let it continue bulk fermentation and monitor its rise closely. At the end of bulk fermentation, the dough should be airy, slightly domed, and have bubbles forming.
- Preshape and shape: Turn the dough onto a lightly floured surface. Shape it into a tight boule (or batard) by folding edges toward the center. Place the shaped dough into a well-floured 12-inch oval banneton.
- Proof: Cover the banneton with a clean towel or a disposable plastic cap, or place it in a reusable plastic bag. Refrigerate overnight for a complex flavor.
- Bake the loaf: Preheat the oven to 500°F (260°C) with a Dutch oven inside for 30 minutes. Gently transfer your proofed dough onto parchment paper. Score the top of the dough with a sharp blade to control expansion. Transfer the scored dough into the hot Dutch oven, and cover. Reduce the oven temperature to 450°F (232°C) and bake covered for 20 minutes. 20 minutes covered, then 15-17 minutes uncovered until deep golden brown. Remove the bread from the Dutch oven and cool on a wire rack for at least 2 hours before slicing.
Notes
- Adjust dough hydration: This recipe is 80% hydration, which makes the dough quite sticky. If you are new to sourdough, reduce the water slightly to make it easier to handle.
- Watch bulk fermentation: Don't rely only on dough rise. Look for a slightly domed surface, small bubbles throughout, and a lighter, airy feel.
- Safety tip: Always use oven mitts or silicone gloves when handling hot pans or a Dutch oven.
- Check for doneness: Your bread is fully baked when the internal temperature reaches 205-210°F (96-99°C). I usually aim for 207°F (97°C) or higher. Use a digital probe thermometer for accuracy.
- Try the open-bake method: If you don't have a Dutch oven, you can still bake sourdough. Read my blog post on baking sourdough without a Dutch oven.
- Want to create a custom formula for your loaf? Try my sourdough calculator.
- Need help getting started? Check out my beginner's sourdough bread guide to learn sourdough basics first.
- Note: Nutritional information does not include the white rice flour used for dusting.
Nutrition
- Calories: 1803
- Sugar: 15g
- Sodium: 3509mg
- Fat: 6.4g
- Saturated Fat: 0.8g
- Carbohydrates: 381.2g
- Fiber: 33.4g
- Protein: 55g
- Cholesterol: 0mg


Tony says
Exceptionally easy recipe to follow, and boy, did it taste good. Didn’t last very long, though; it got eaten the same day, within hours of me slicing it.
Irina Totterman says
Thank you for making the recipe, Tony!