
Have you ever wondered about the difference between two popular gluten-strengthening techniques: sourdough coil fold vs stretch and fold?
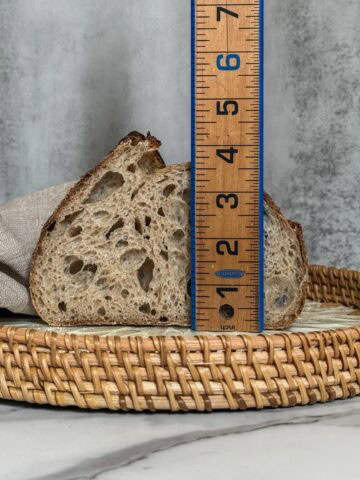
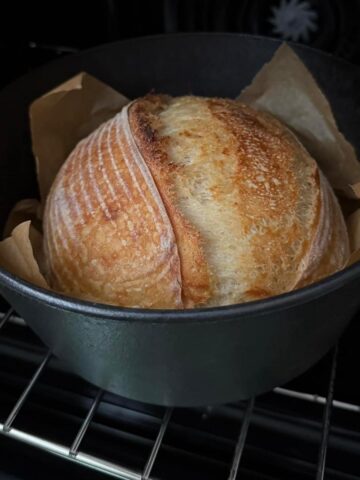
Folding the dough during bulk fermentation organizes the gluten network, creating layers in the dough and improving its strength. These layers trap carbon dioxide, resulting in that airy, perfect sourdough bread loaf many home bakers dream of pulling out of the oven.
In this guide, you will learn what stretch and folds and coil folds are, how they differ, and when to use each technique. If you are unfamiliar with some of the terms, be sure to check out the sourdough glossary for quick explanations.
If you are new to sourdough, start with my Beginner's Sourdough Guide to learn the basics.
What are stretch and folds?
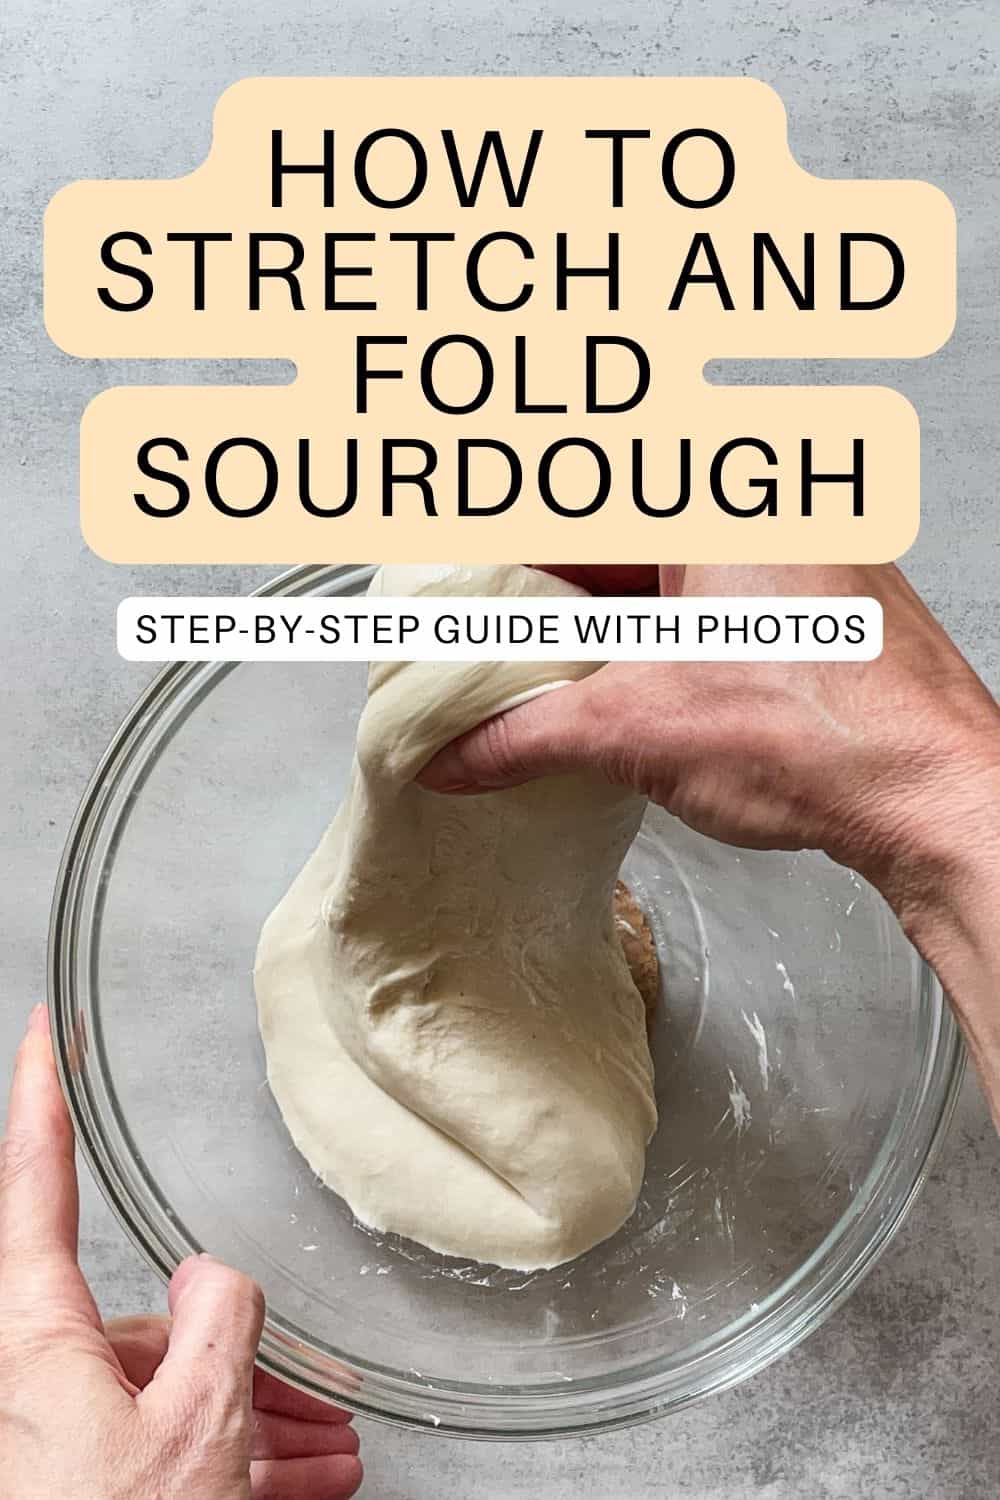
Stretch and folds, made popular by Chad Robertson in Tartine Bread, are one of the most common dough-handling techniques. They involve stretching the dough and folding it over itself in four directions: North, South, East, and West.
What are coil folds?
Coil folds, first shown in a Full Proof Baking video, are a gentler way to strengthen dough. Instead of stretching, you lift the dough and fold it under itself, which helps create layers while keeping air pockets intact.
Coil folds vs stretch and folds
Both coil folds and stretch and folds help strengthen the dough and develop its structure, but they work in slightly different ways.
- Stretch and folds are a stronger technique, where pulling and folding the dough creates four new layers with each set.
- Coil folds are more delicate, focusing on lifting and folding rather than stretching, which results in eight new layers each time.
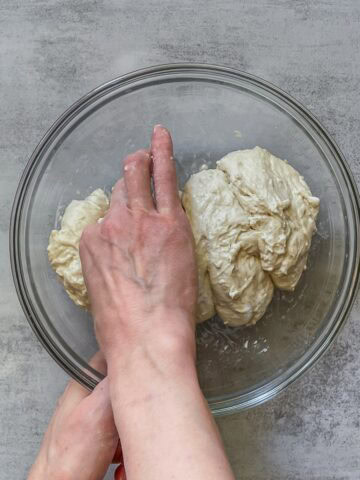
How to stretch and fold sourdough
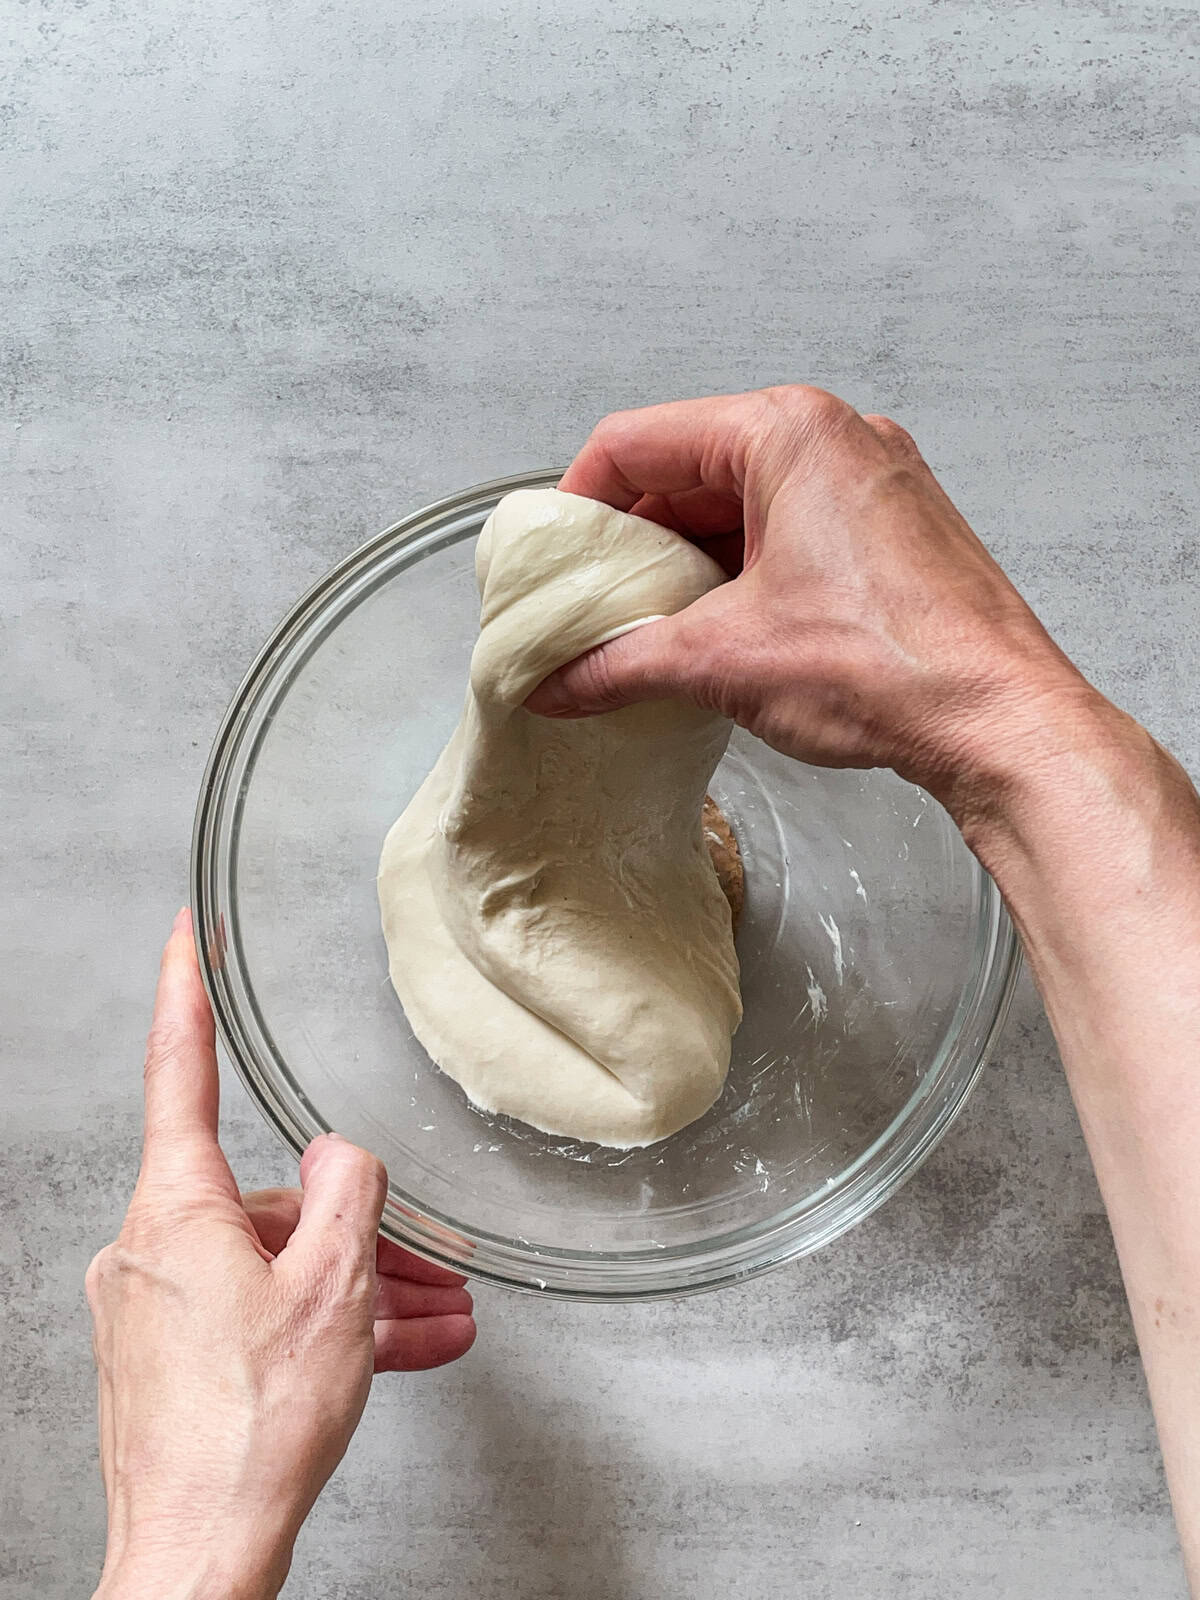
To perform stretch and folds, first wet your hands to prevent the dough from sticking.

- Grab one side of the dough and pull it upward until you feel slight resistance.

- Fold the stretched dough over to the opposite side, like from the North to the South.
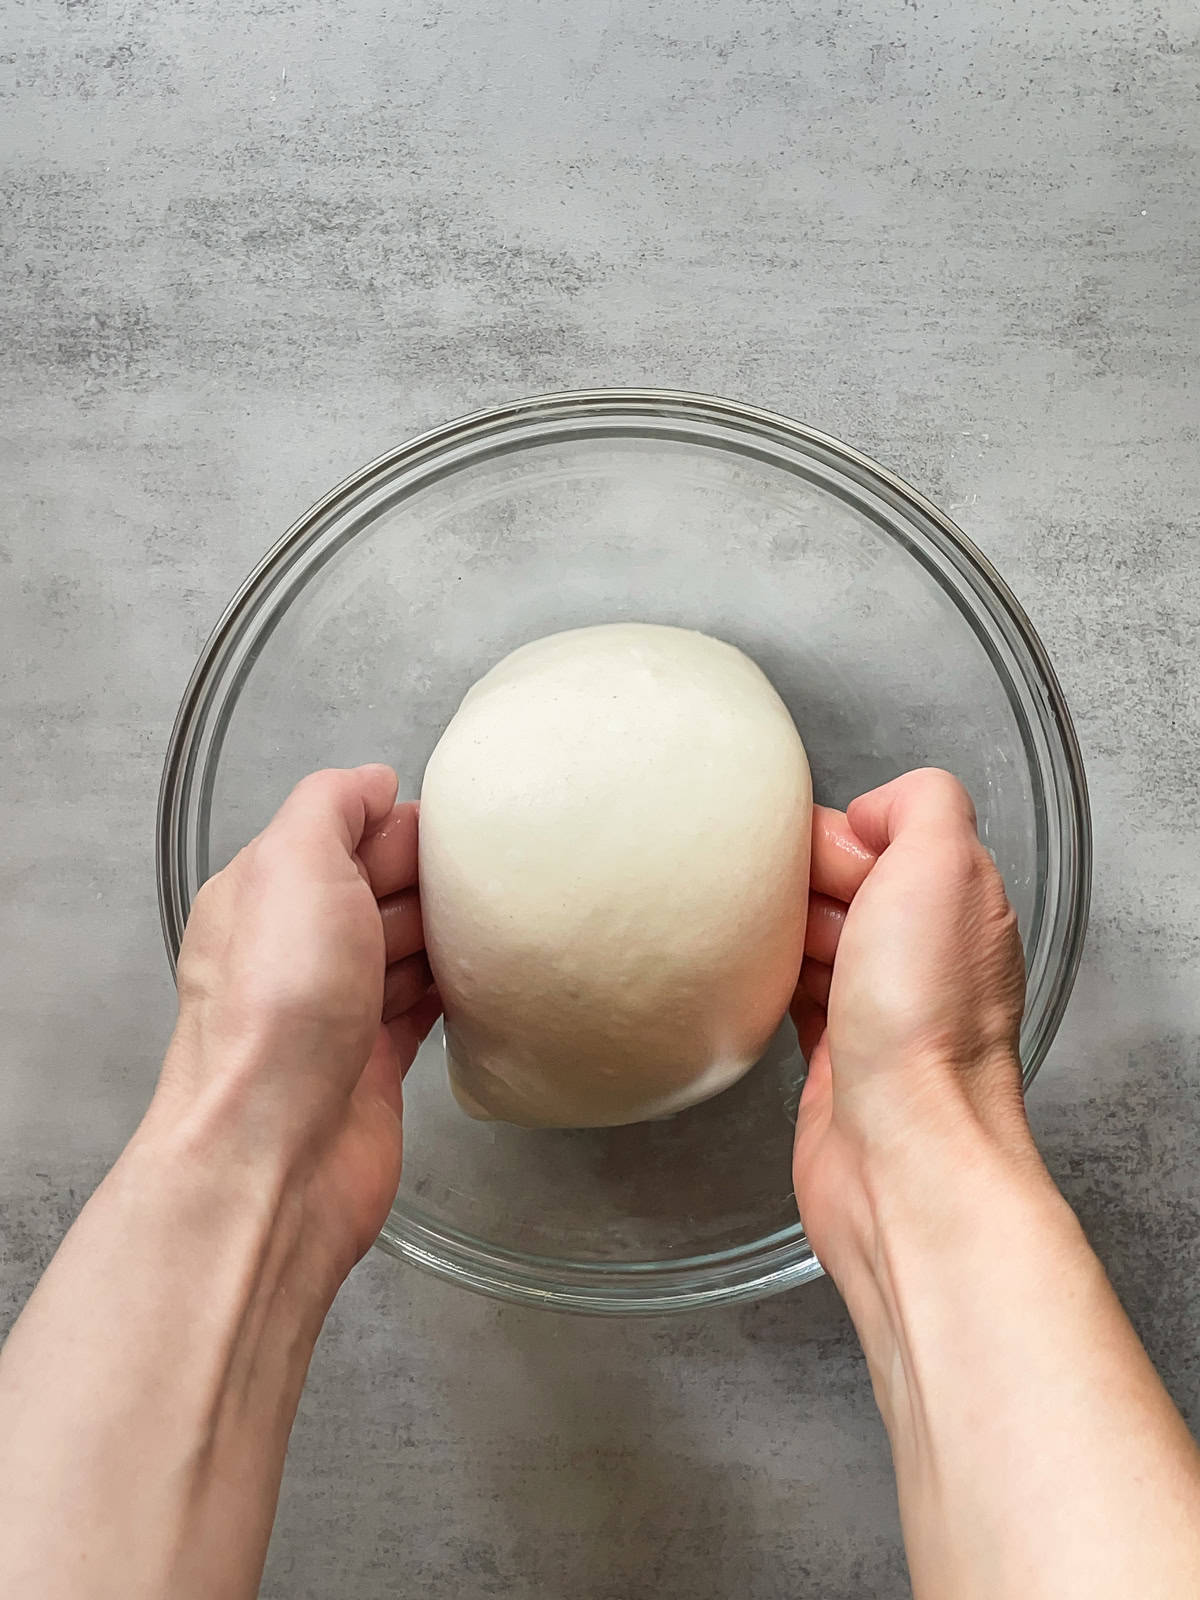
Next, turn the bowl 90 degrees and stretch and fold the next side. Repeat this on the remaining two sides, stretching and folding each side once per round. A full round means folding the dough or turning the bowl four times in one session.
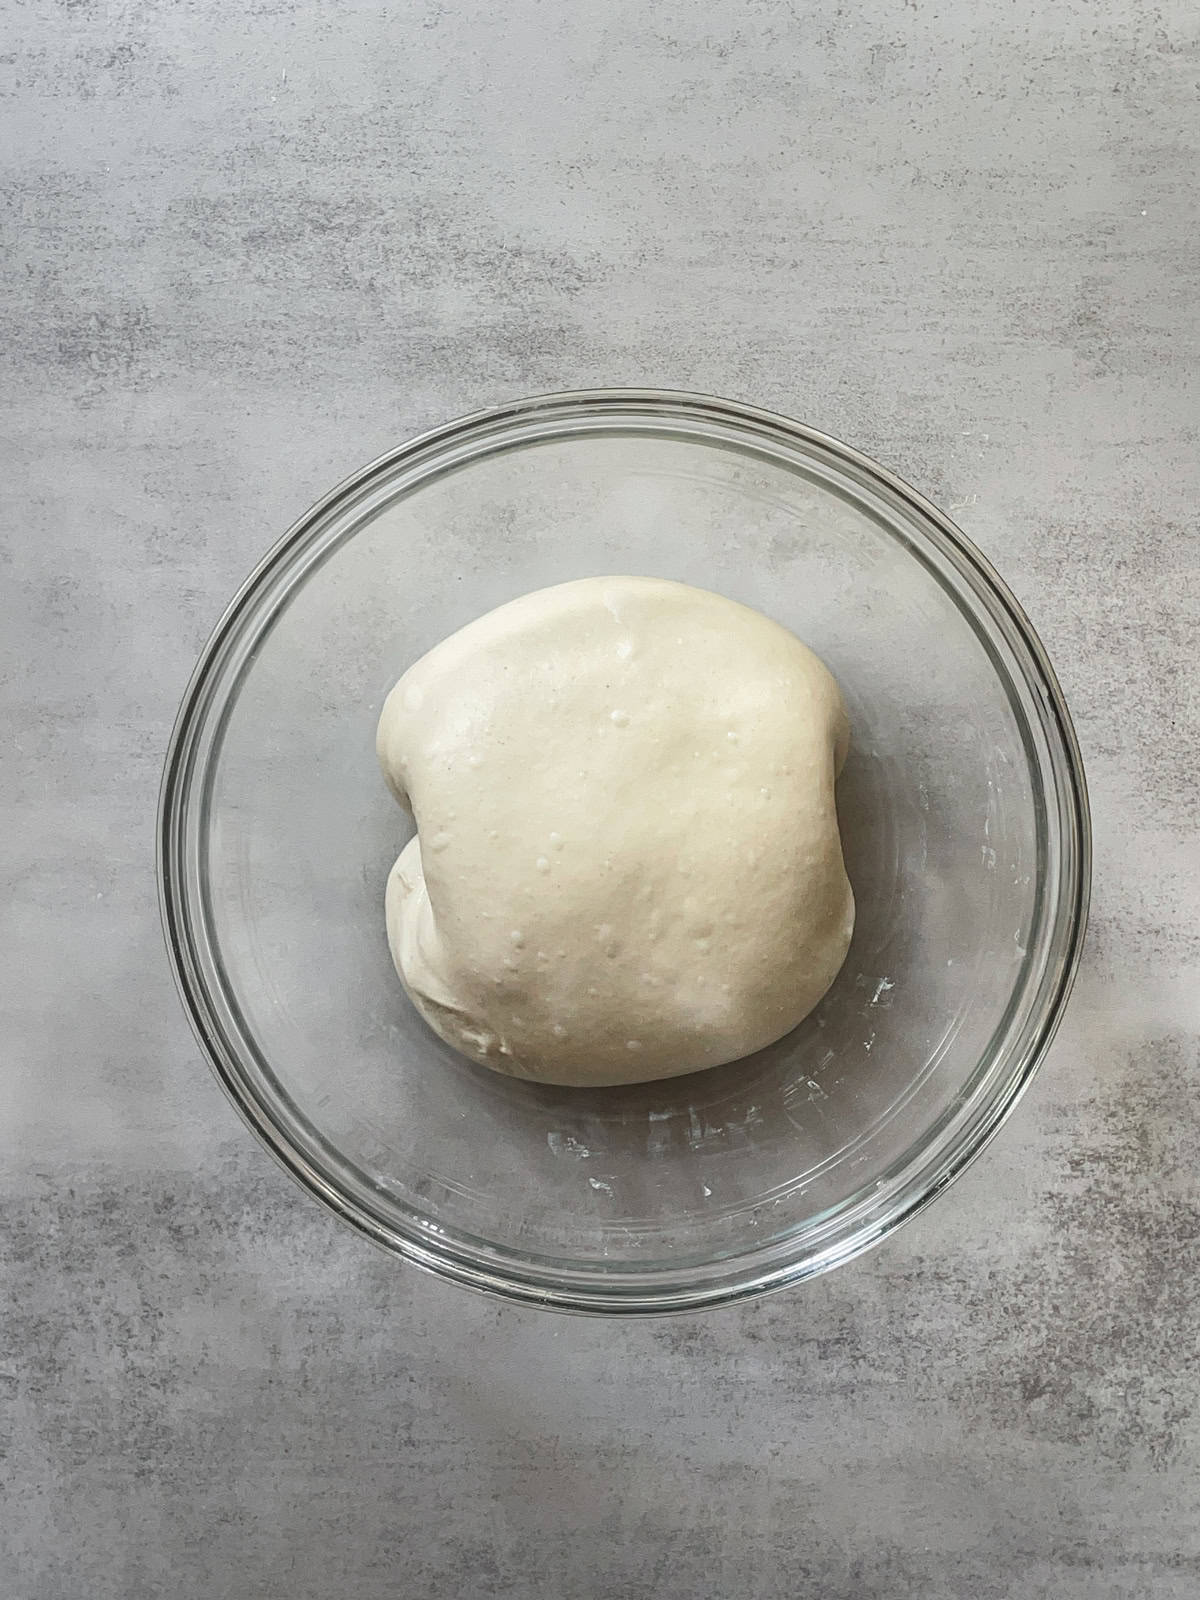
The dough feels tighter with each stretch and fold and might tear. Once it feels tight, let it rest for 30 minutes to relax before the next round, if at all.
Now, check out how @frecklesourdough does stretch and folds. Also, @elleciously shows a slightly different method, where the dough is stretched and folded around the bowl instead of just in four directions.
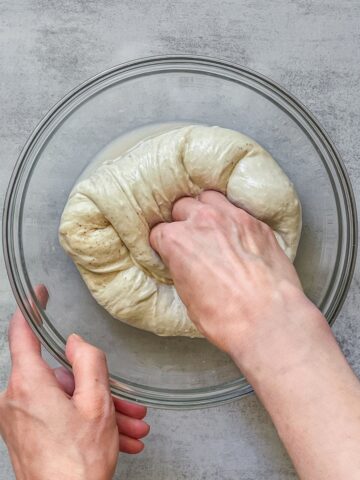
How to perform coil folds
To coil fold sourdough, lightly wet your hands to prevent the dough from sticking.
- Slide your hands under the center of the dough and gently lift it upward. As you lift, let both ends of the dough fold underneath themselves.
- Set the dough back down, making sure the folds stay in place.
Next, turn the bowl 180 degrees and repeat the process on the other side. Then, turn the bowl 90 degrees and repeat the process. Finally, turn the bowl another 180 degrees and repeat the fold on the last side.
Allow the dough to rest for 30 minutes before performing the next coil fold, if at all.
Now, watch the video on how to perform coil folds by @elleciously.
How many stretch and folds and coil folds should you do?
There is no fixed number of folds. It all depends on the dough's strength after mixing. If your dough is hand-mixed without special techniques like slap and fold or the Rubaud method, start with four to five sets of folds.
- For four sets, do two rounds of stretch and folds, followed by two rounds of coil folds.
- For five sets, do three rounds of stretch and folds, followed by two rounds of coil folds.
If you are a beginner working with lower-hydration dough (68-70% water), start with four sets: two stretch and folds and two coil folds.
As you gain experience, you will learn to focus more on gluten development during mixing, using techniques like slap and fold or the Rubaud method. You will finally know when to add more folds to strengthen the dough or when to stop.
If the dough is already well-developed, either from thorough hand mixing or from using a spiral mixer, you can skip the stretch and folds altogether. Start with a couple of coil folds instead. Before each fold, check the dough in the bowl: if it feels slack and relaxed, it is time for another fold.
But once the dough feels strong, has enough structure, and holds its shape, stop folding. In most cases, you will perform 3 to 5 sets of coil folds.
Still, if you are starting out, keep it simple: begin with two sets of stretch and folds, followed by two sets of coil folds.
How long should you wait between folds?
Most recipes suggest waiting 30 minutes between folds. As a beginner, follow that 30-minute rule.
But as you get better at baking sourdough, you will learn to read the dough and develop a baker's intuition. It is important to allow the dough to fully relax between folds so it doesn't stretch or tear.
After light mixing, when the dough is slack and weak, you might start stretching and folding it after just 15 minutes instead of 30. The softer the dough, the quicker it relaxes, so that you can fold it sooner.
As the dough strengthens, it takes longer to relax between folds, so you may need to wait up to 40-60 minutes before the next fold.
Top tips for folding dough
- Use the right container: A wide, shallow bowl makes folding easier and lets you see when to fold next. When using the aliquot method, you can fold in the same bowl; no need to switch.
- Start strong, end gently: The first folds should be firm to build strength. As bulk fermentation progresses, make your folds more delicate.
- Match the folding method to your dough hydration: For low-hydration dough, use stretch and folds or a mix of both techniques. For high-hydration dough, stick to coil folds.
- Not using special mixing techniques: If you are hand mixing without Rubaud or the slap and fold method, aim for four sets of folds (2 stretch and two coil).
- Using an autolyse step: Even with a strong start, your dough still needs 3-4 sets of folds. Try 1-2 stretch and folds, followed by two coil folds.
- Mixed with Rubaud or slap-and-fold: These techniques build strength early, so you can usually finish with just 2-3 sets of gentle coil folds.
- Using a dough mixer: If you use a mixer and your dough passes the windowpane test, you likely only need 2-3 sets of coil folds during the bulk fermentation stage.
- Don't overdo it: Most folds should occur during the first half of bulk fermentation, specifically within the first 2-3 hours after adding the starter. After that, let the dough rest untouched.
Can you skip the dough folding?
You can skip the dough-folding step during bulk fermentation and still produce a decent loaf. And this Unloaf Sourdough Bread recipe is a great example.
However, to achieve a great oven spring and open crumb, this requires more intensive gluten development during mixing, such as hand mixing for 10-15 minutes, and dough folding.
Once again, you can make good sourdough bread without folding, but as Thanh Tuyen says, "There is a distinctive difference between a decent loaf and a superior loaf of bread. It all depends on your goal."
Let's talk sourdough
How many sets of folds do you usually do during bulk fermentation? Do you stick to a routine or adjust based on the dough? Share your process in the comments.
Ready to keep learning?
Once your dough is folded and strengthened, it is time to let it rise. Follow my bulk fermentation guide to understand timing, temperature, and signs your dough is developing perfectly.
Al D Abbott says
Well thought out explanations of procedures and what the effects are on the completed result from using a few diffrering techniques and /or ingredients.
RudyH says
Excellent presentation, and very helpful. Thank you!
Irina Totterman says
You're very welcome.