
Overproofed sourdough is less common than underproofed dough, especially for beginners. However, even experienced bakers can sometimes overproof their dough during cold proofing, for example, if the fridge malfunctions.
In this post, I will cover what overproofed sourdough means, how to recognize it before and after baking, and most importantly, how to fix it.
What does overproofed sourdough mean?
Overproofing happens when the dough ferments too long, letting the yeast exhaust its food supply. The gluten structure weakens, and the dough loses its ability to hold gas, leading to a collapsed, dense, or misshapen loaf. Overproofing can happen during bulk fermentation and/or final proof.
How to tell if your sourdough is overproofed before baking
1. Extremely airy or slack dough
The dough feels very loose and overly soft, almost collapsing. It loses tension and spreads out rather than holding its shape during preshaping and shaping.
2. Excessive rise
If the dough has doubled in volume and looks like it is about to collapse, it is a sign that it is overproofed. Slight overproofing may be subtle, but extreme cases are obvious.
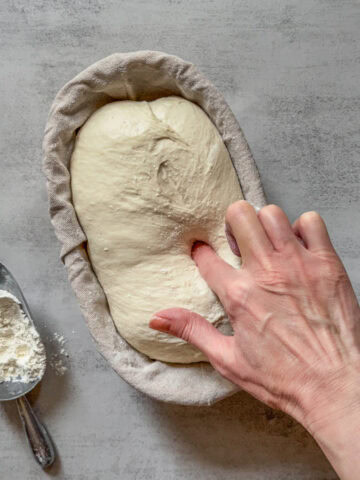
3. Finger poke test
When gently poked, the indentation stays or slowly collapses. A properly proofed dough springs back slowly, while overproofed dough often doesn't recover its shape at all.
4. Visible bubbles and weak surface
Overproofed dough may have very large surface bubbles, thin spots, or a wet, sticky feel. It appears fragile in certain areas and tears easily during shaping due to its weakened gluten structure.
How to tell if your sourdough is overproofed after baking
1. Flat, collapsed loaf
The most obvious sign of severe overproofing is a flat loaf that has fallen during baking, often spreading sideways rather than upward. However, a slightly overproofed loaf may still hold its shape, with slightly slumped shoulders.
2. Open or uneven crumb
Severely overproofed bread has small, irregular holes and usually shows separation between the crust and crumb. Slightly overproofed bread, on the other hand, features a consistent distribution of small to medium holes, maintaining good structure and crust integrity.
3. Pale or brown crust
The crust usually appears pale or shows multiple shades of brown, ranging from light golden to deep, rich brown.
4. Minimal or small ear
Severely overproofed bread often lacks a sourdough ear and shows minimal oven spring. Slightly overproofed loaves may still form a small ear.
5. Sour flavor or alcoholic taste
Overproofed dough may develop a stronger, tangier, or slightly alcoholic flavor because the yeast has exhausted its sugars, producing more acids.
Real-life examples of overproofed sourdough
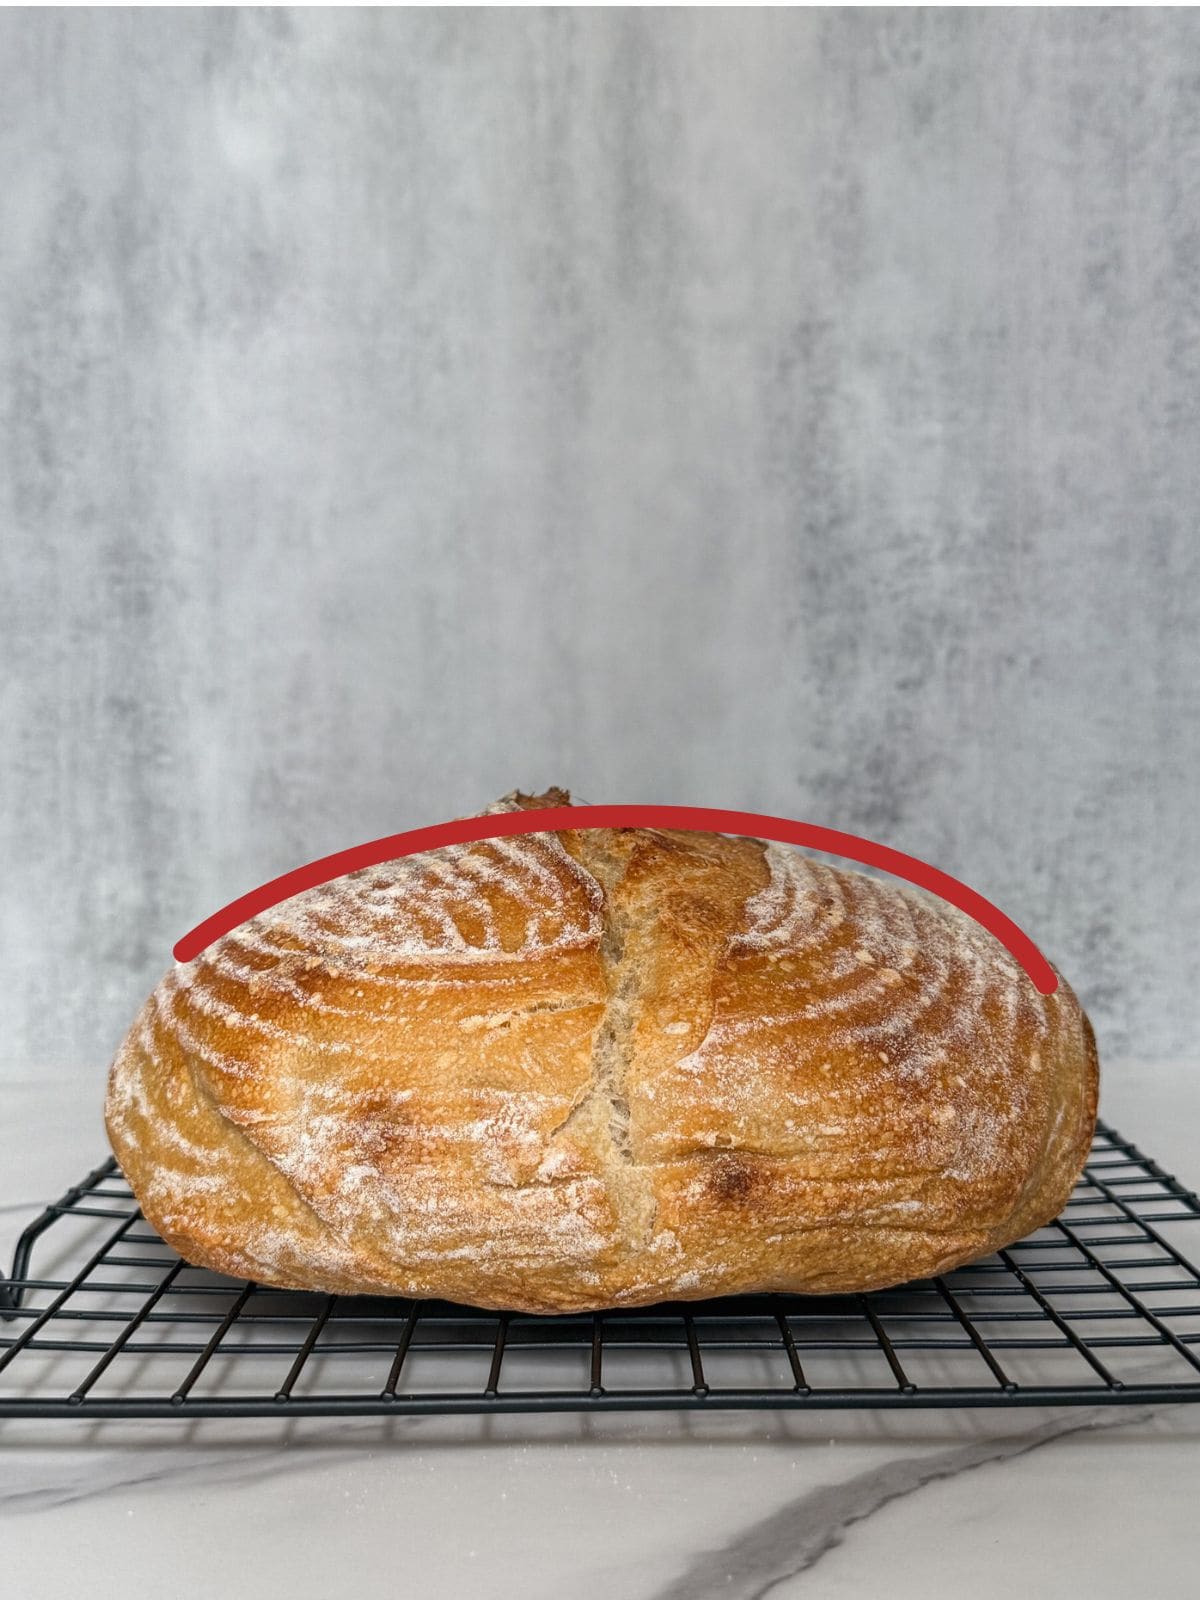
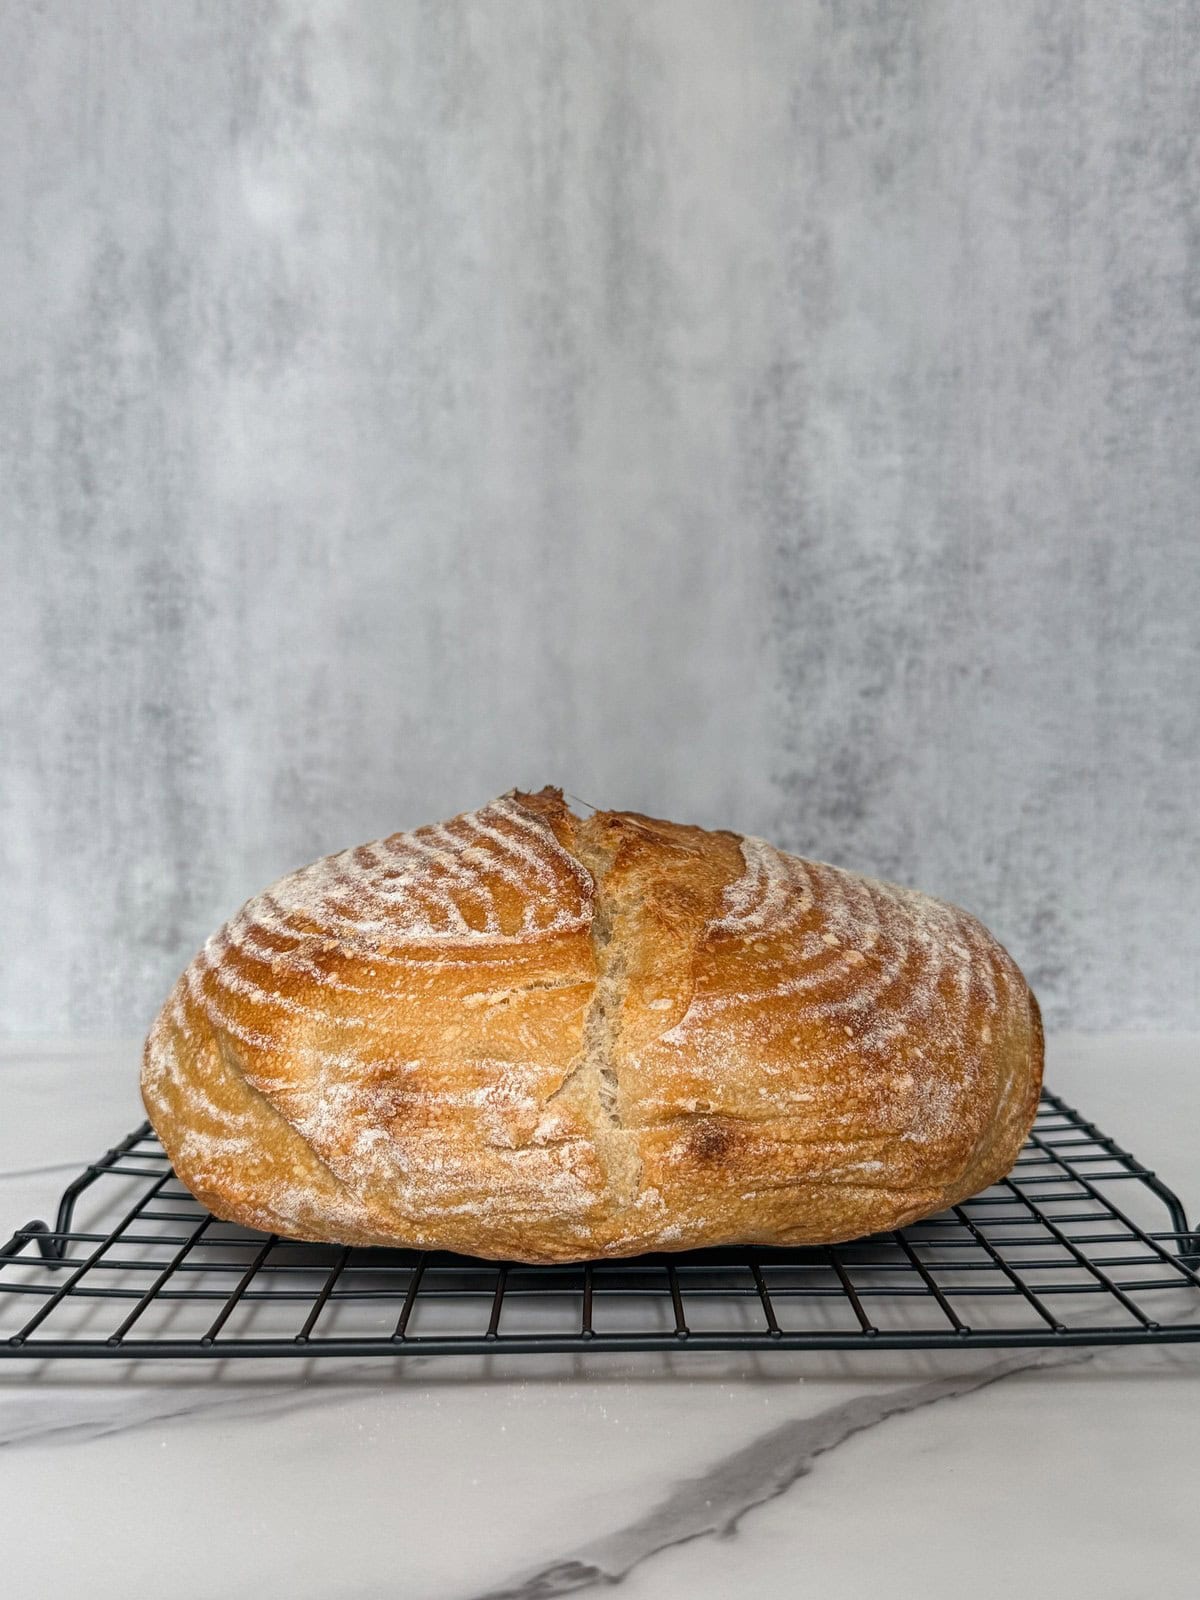
Example #1: Slightly overproofed
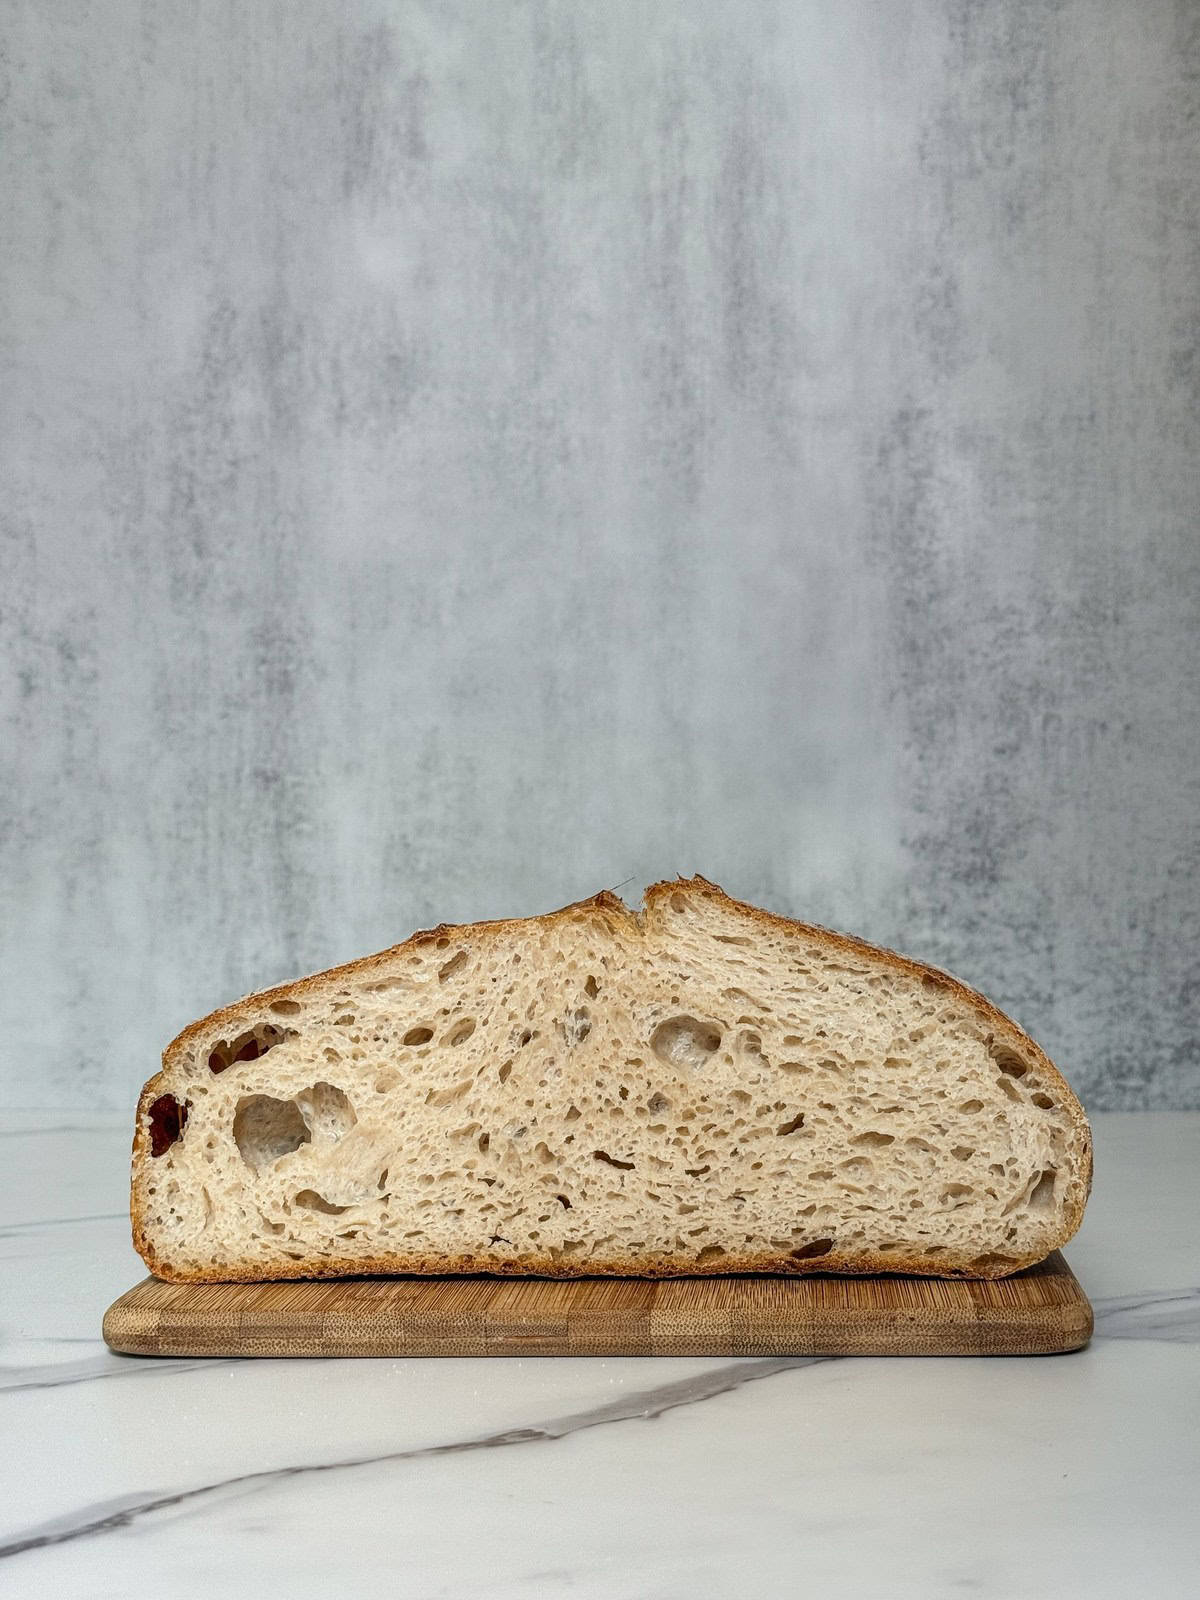
Just slightly overproofed sourdough loaf: brown crust, tall loaf with good oven spring, but unclear loss of ear.
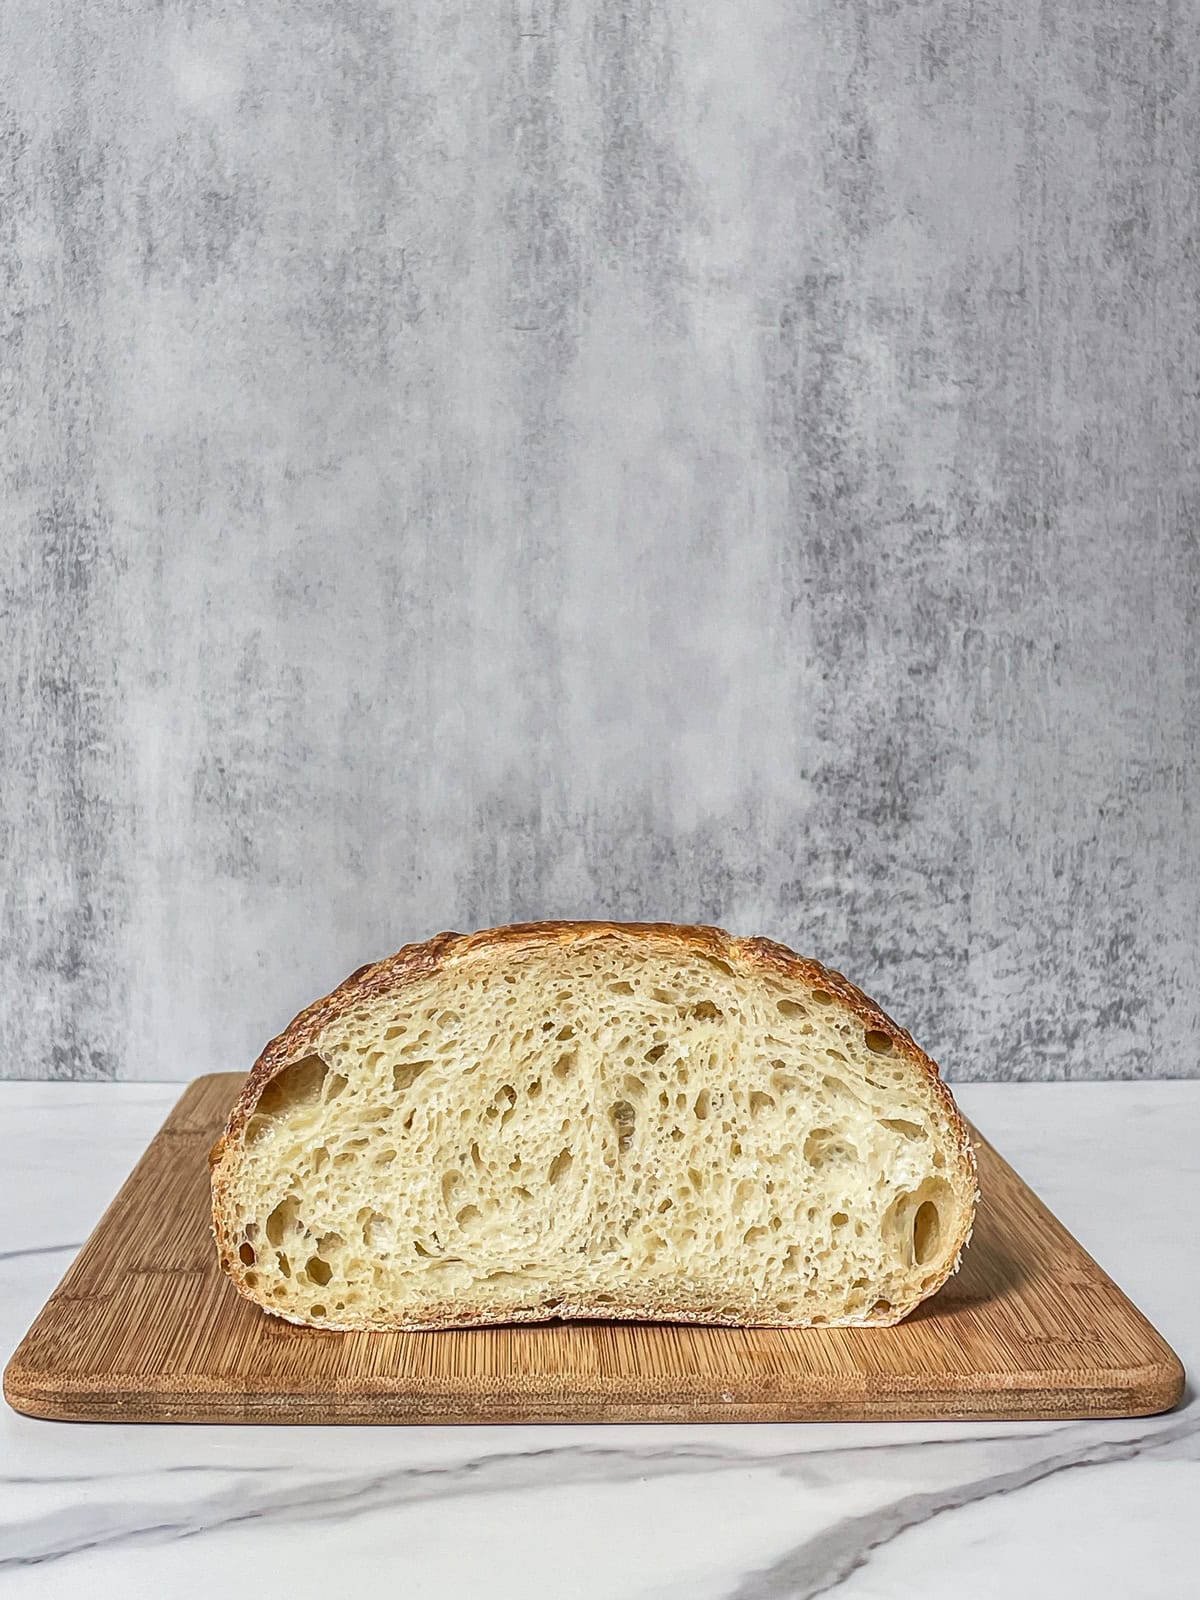
Just slightly overproofed sourdough crumb (almost perfect): even small holes throughout, with a few small separations between the crust and crumb.
Example #2: Severely overproofed
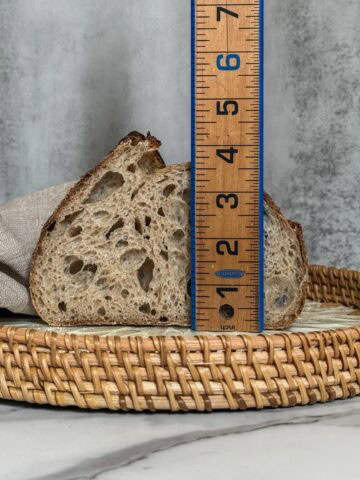
Severely overproofed sourdough loaf: flat, collapsed, and spreading sideways.
Severely overproofed sourdough crumb: irregular holes with multiple separations between the crust and crumb.
How to fix overproofed sourdough
Even if your dough is overproofed, you can often salvage it.
1. Reshape carefully
Gently degas the dough and reshape it to restore some tension. Avoid aggressive handling, which can tear gluten strands further.
2. Shorten the final proof
For dough prone to overproofing, reduce the final proofing time if proofing on the counter. If you notice signs of overproofing after cold retard, consider turning it into focaccia or baking it in a loaf pan.
3. Bake immediately
If you notice signs of overproofing during final shaping, bake immediately. A slightly overproofed loaf can still bake into edible bread, though with a more open, irregular crumb.
4. Adjust future fermentation
Take note of room temperature, starter activity, and dough behavior. Try to reduce bulk fermentation time, lower ambient temperature, or use less starter to prevent overproofing in future bakes.
5. Learn to read your dough
Visual and tactile cues, such as dough texture, surface bubbles, and the poke test with countertop proofing, are your best guides to avoid overproofing next time. Keep a baking log to track adjustments.
How to save overproofed dough
Even if your dough is overproofed, it is often possible to rescue it with the right techniques:
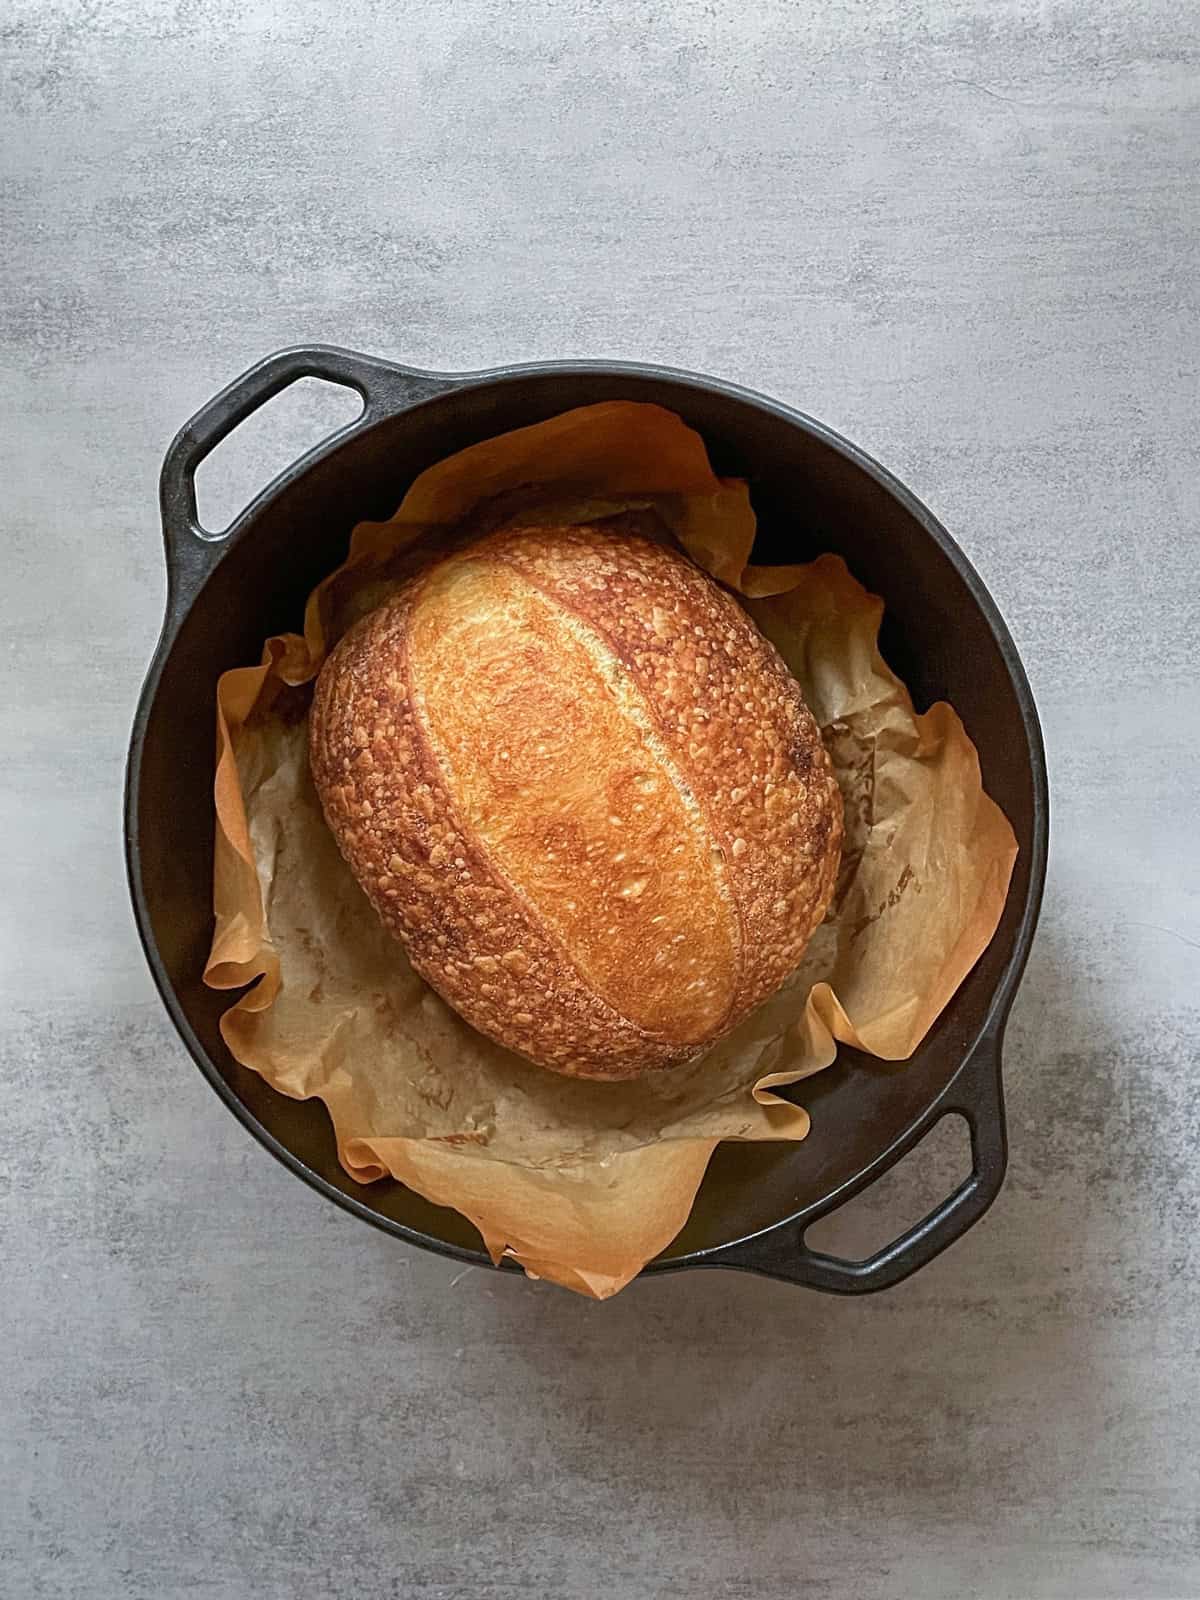
1. Bake in a Dutch oven
After shaping, chill the dough in the freezer while you preheat your oven, or in the fridge if there is no freezer space. Avoid an extended cold retard, which can exhaust the remaining yeast. The dough will continue to proof while the oven heats and won't stop until its internal temperature reaches around 39°F (4°C).
Use the 6-minute score method: bake the dough in a Dutch oven with the lid on for the first 6 minutes without scoring, allowing it to expand. Then score it and bake it for another 14 minutes with the lid on. Finally, uncover and bake for 15-20 minutes until golden.
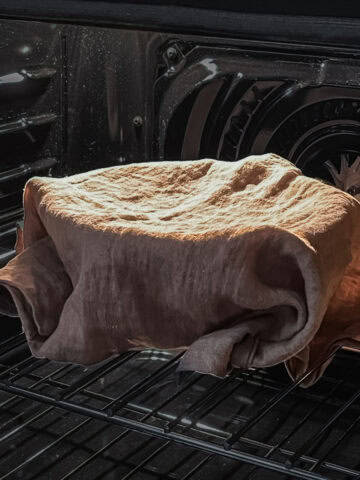
Bake in a loaf pan
Shape the dough into a loaf pan to support its structure and prevent collapse. Follow the same chilling and baking steps as above (see my guide to baking sourdough in a loaf pan). Score the loaf with scissors, as demonstrated by @beesham_the_baker.
3. Turn it into focaccia (optional)
If the dough is very overproofed, spread it into a greased focaccia pan and gently stretch it to fill the pan. Brush with olive oil, add toppings if you like, and bake at your usual sourdough temperature until golden and cooked through. The wider surface area helps the dough expand without collapsing, resulting in a light, airy flatbread.
Can you eat overproofed bread?
Yes, overproofed bread is safe to eat. It actually has a more pleasant, airy texture than underproofed bread, though the flavor can be tangier or slightly alcoholic depending on fermentation.
Overproofed vs underproofed: the key difference
Underproofed sourdough hasn't fermented enough, so it feels tight, dense, and struggles to rise. It often produces a loaf with weak oven spring and a compact crumb.
Overproofed bread dough, on the other hand, has fermented too long. It becomes slack and sticky, then collapses during baking, resulting in a flat loaf with large, irregular holes.
Both under- and overproofing affect the oven spring and crumb, but in opposite ways. To understand what your sourdough crumb says about fermentation, check out my upcoming blog post: How to Read a Sourdough Crumb.
A beginner's secret: leaning toward overproofing
Here is my suggestion: as a beginner, it is often better to extend your bulk fermentation slightly toward overproofing. Underproofed loaves are a more common challenge for new bakers and are usually harder to fix than dough that is just a bit overproofed.
And here is another secret: if your goal is an open crumb, leaning slightly toward overproofing is the right direction. That light, airy, open texture often sits right at the edge of overproofing.
Let's talk sourdough
Have you dealt with overproofed loaves? Share your experience or questions in the comments below. I'd love to help you troubleshoot.
Ready to keep learning?
Once you understand proofing mistakes, bring it all together by creating your own sourdough baking schedule to plan each step clearly. For every other symptom, from dense crumb to burnt bottoms, check my sourdough bread troubleshooting library.

Yoko says
Thank you very much for your very clear instructions! Well, I found it a bit too late, after I over-proofed in bulk fermentation, but I will do better next time. Thank you!
Irina Totterman says
You're welcome, Yoko!