

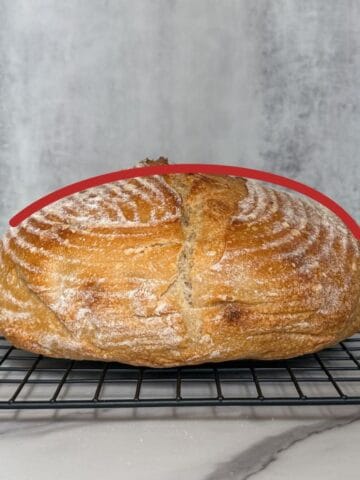
If you have ever wondered how to proof bread dough in a cold kitchen, it is a common challenge for many bakers. Wild yeast and beneficial bacteria thrive in warm environments, and when temperatures drop, fermentation slows. This leads to underproofed sourdough and plenty of frustration.
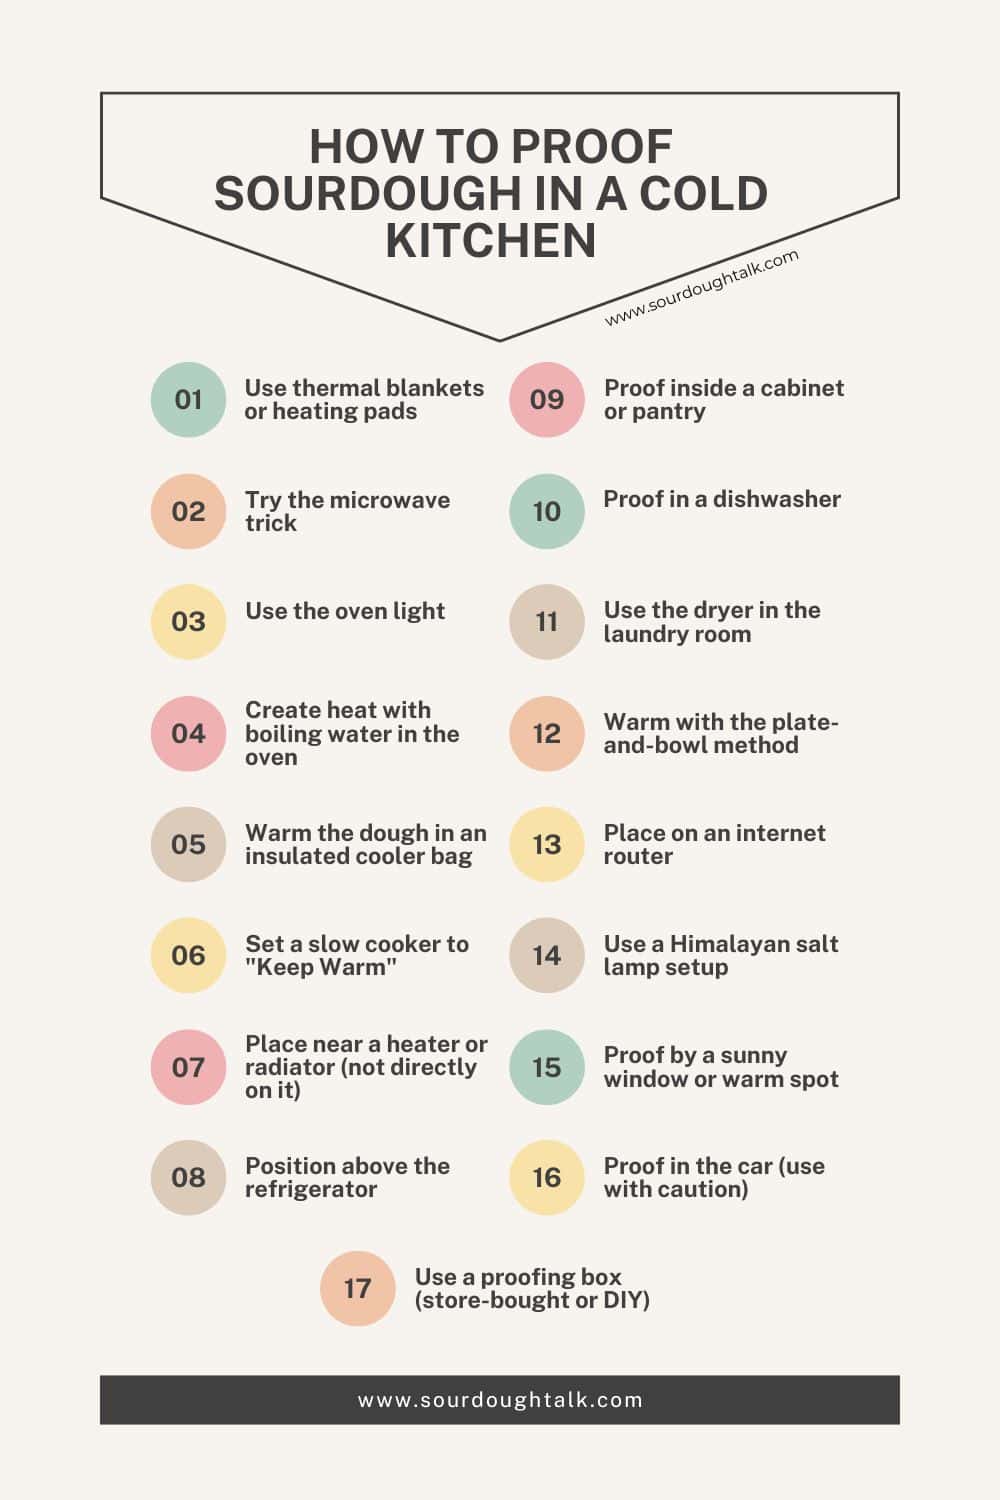
But let me show you how, with a little creativity, you can create a cozy, yeast-friendly environment almost anywhere. Below are more than a dozen reliable, baker-tested methods for proofing sourdough, even in the coldest kitchens.
If you want to keep your sourdough starter warm while fermenting, you can also use several simple techniques to maintain a steady, gentle temperature.
1. Use thermal blankets or heating pads
One way is to use thermal blankets or heating pads. These are great tools for a cold kitchen. You can wrap your dough bowl in a thermal blanket or place it on a heating pad set to low. This will help warm the dough and activate the yeast.
2. Try the microwave trick
Another method is to use the microwave as a proofing chamber. First, boil a cup of water in the microwave to fill the space with warmth and humidity. After heating the water, carefully remove it and place your dough inside the microwave.
Be sure to keep the microwave turned off during the proofing. To remind yourself and family members, place a sticky note on the microwave door that says, "Dough inside; do not turn on."
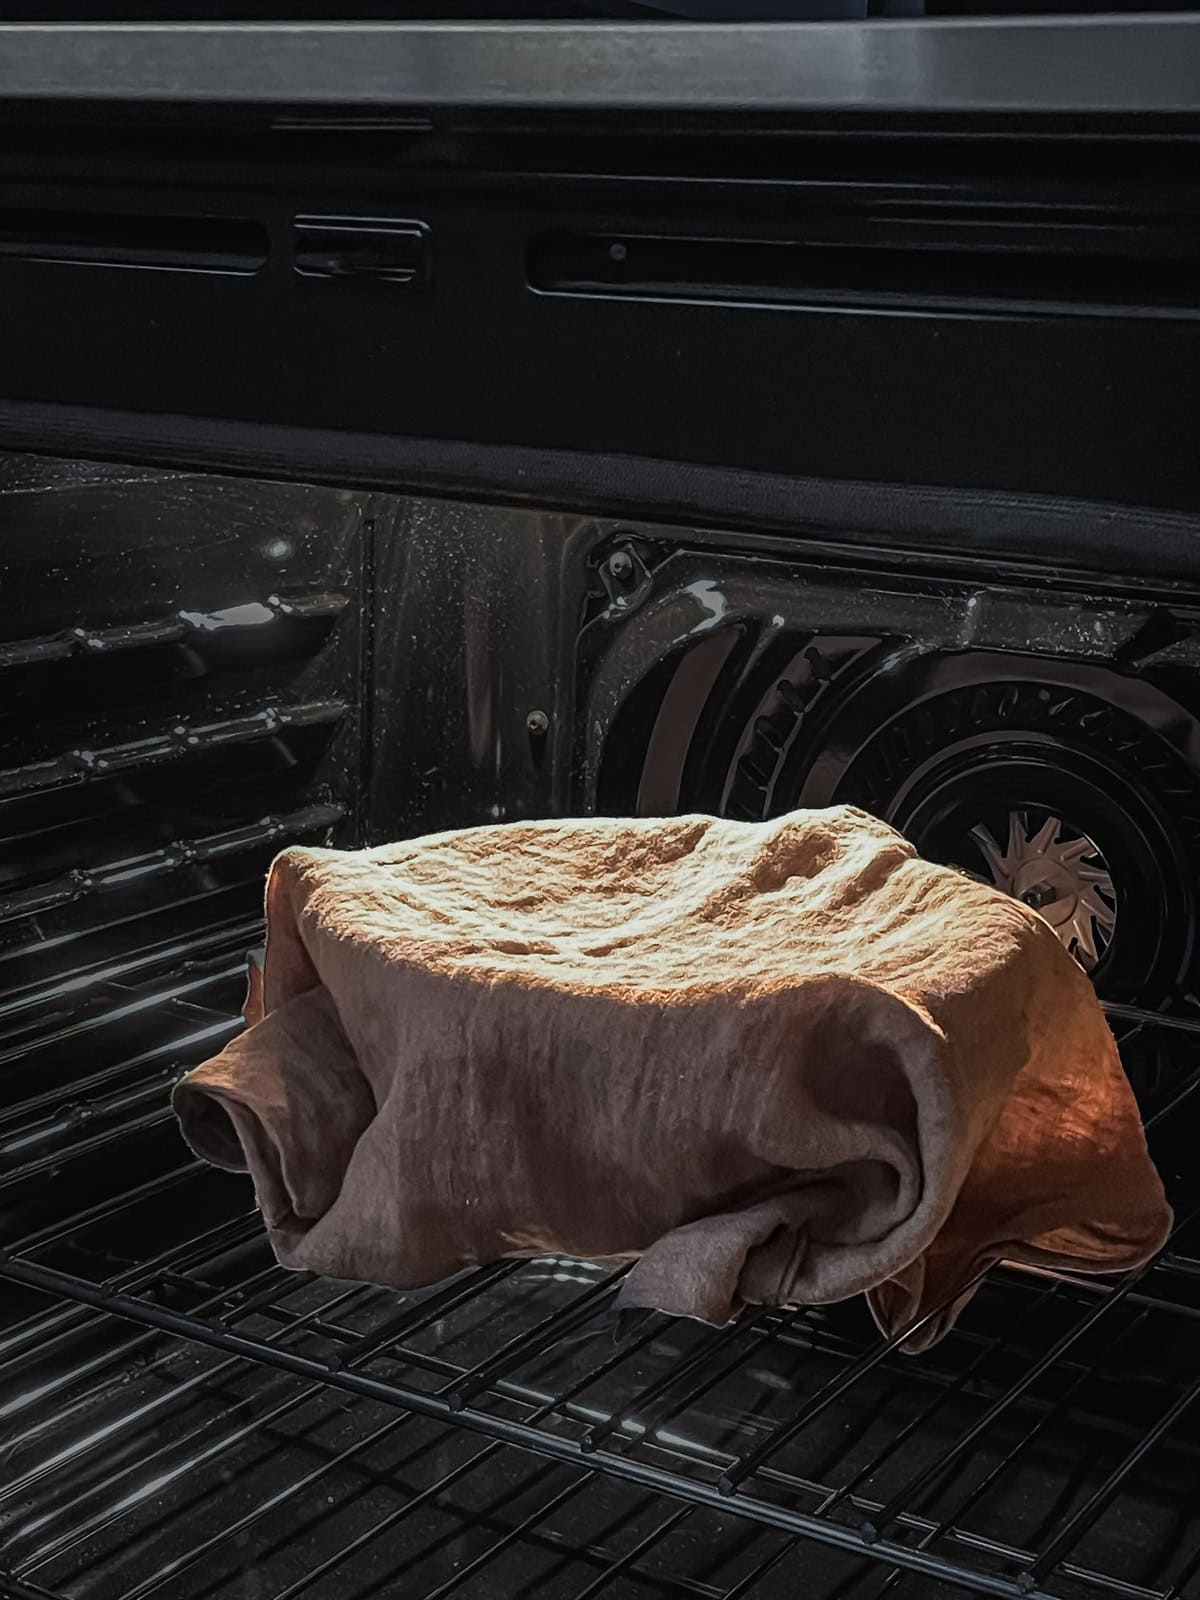
3. Use the oven light
You can also use the oven to keep the dough warm while it rises. Turn on the oven light, which creates gentle warmth, and place your dough inside. To keep it below 90°F (32°C), use an oven thermometer to check the temperature.
Just as with the microwave method, it is a good idea to put a sticky note on the oven door that reads, "Dough inside; do not turn on."
4. Create heat with boiling water in the oven
Place a heatproof glass measuring cup or bowl of boiling water in the oven alongside your dough. Replace the water every few hours to maintain warmth and humidity. This method works especially well for bulk fermentation.
5. Warm the dough in an insulated cooler bag
If you are on the go or just need a compact solution, an insulated cooler bag can create the perfect pocket of warmth for proofing dough.
Toss a warm rice pack or hot water bottle inside to help warm the dough, and zip it up to keep the heat inside. You can also use a seedling heat mat with a temperature controller, placed inside a cooler.
6. Set a slow cooker to "Keep Warm"
Set the slow cooker to the "Keep Warm" setting and place your dough inside with the lid on. This provides gentle, consistent heat, perfect for slowly fermenting dough without worrying about overheating. Just be sure to monitor the temperature to ensure it stays below 90°F (32°C).
7. Place near a heater or radiator (not directly on it)
Place your dough about 3-4 feet away from a radiator, space heater, or wood pellet stove, where it can benefit from gentle ambient warmth without being exposed to direct heat.
To prevent one side of the dough from warming faster than the others, rotate the bowl every 20-30 minutes. Make sure you are home to monitor the dough, as temperatures near heat sources can fluctuate.
8. Position above the refrigerator
The top of the refrigerator often releases steady, low-level heat, making it a surprisingly effective spot for proofing dough. Wrap the bowl in a towel to help trap warmth and protect the dough from drafts.
9. Proof inside a cabinet or pantry
Enclosed spaces like cabinets or pantries naturally retain heat better than open countertops. Place your dough inside and add a bowl of warm water to gently raise the temperature and humidity. Close the door to create a stable, draft-free environment that supports consistent bulk fermentation.
10. Proof in a dishwasher
Place your dough in a clean, empty dishwasher with a bowl of hot water on the bottom rack and the dough on the top rack. Close the door to trap warmth and humidity.
You can also take advantage of residual heat by placing the dough in the dishwasher immediately after the hot wash cycle finishes. Just be sure the dishwasher is off and won't be started while the dough is inside.
11. Use the dryer in the laundry room
Set your dough on top of the dryer while clothes are drying. The gentle, steady warmth created during a drying cycle is ideal for fermentation. Make sure the bowl is stable and won't vibrate or slide during operation, and check the dough periodically to avoid overheating.
12. Warm with the plate-and-bowl method
Fill a heatproof bowl with boiling water and place a plate on top to act as a buffer. Set your dough bowl on the plate, allowing the steam and gentle heat below to warm the dough without direct contact. This method provides consistent warmth, which is helpful during bulk fermentation.
13. Place on an internet router
Some bakers successfully proof dough on top of an internet router or modem, which often emits low, consistent heat. Wrap the dough bowl in a towel to help trap warmth and shield it from drafts. Use an infrared thermometer to check the surface temperature first, making sure it is warm, not hot.
14. Use a Himalayan salt lamp setup
Place your dough near a Himalayan salt lamp on a stable, heat-resistant surface, and loosely drape a towel over the bowl to trap gentle warmth. Make sure the towel does not touch the lamp or bulb directly to prevent any fire risk. Always check on the dough periodically and avoid leaving it unattended overnight.
15. Proof by a sunny window or warm spot
During daylight hours, a sunny window provides just enough warmth to help fermentation. Wrap the dough bowl in a towel to retain heat and protect it from cool drafts. Keep an eye on the dough, as temperatures can fluctuate depending on cloud cover and time of day.
16. Proof in the car (use with caution)
This method might sound unusual, but if the weather is warm outside, consider putting your dough in the car (with the windows cracked slightly for ventilation). The car can act as a greenhouse, trapping warmth inside. Just be sure to check the temperature so it does not get too hot.
17. Use a proofing box (store-bought or DIY)
If you want a more reliable solution, consider using a proofing box. A device like the Brod & Taylor folding proofer maintains a steady temperature, helping the dough rise consistently.
If you don't have one, you can create your own DIY proofing box using a cooler and a bowl of hot water. The box provides a controlled environment, which is especially helpful when using the same recipe and starter.
Let's talk sourdough
Have you found a creative or unexpected place to proof your dough during winter? Share your experience in the comments.


Comments
No Comments