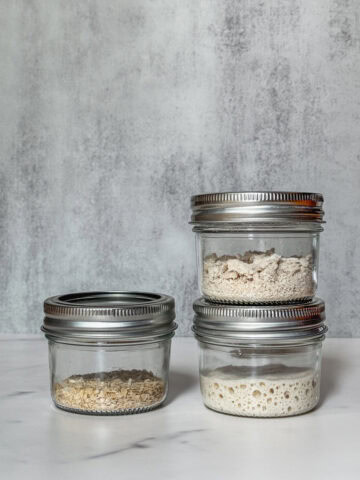


Learn how to tell if your sourdough starter is ready for baking by recognizing when it reaches its peak activity. While signs like doubling in size, visible bubbles, and a pleasant yeasty aroma are important indicators, there are several other key signals to look for before baking.
At a Glance
- Best for: Complete beginners who aren't sure whether their sourdough starter is mature enough to bake with.
- What you'll learn: The key signs of a ready starter, including rise, bubbles, aroma, and consistency, and how to avoid relying on just one test.
- Skill level: Beginner
- Time commitment: About 5-10 minutes of observation, plus 7-14 days for a new starter to mature.
- Key techniques: Monitoring starter growth, identifying peak activity, using visual and smell cues, and tracking feeding patterns.
- Optional steps: Mark your starter's rise with a rubber band, keep a feeding journal, and compare readiness signs over several feedings.
- Main takeaway: A sourdough starter is ready to bake with when it consistently rises well after feedings and shows multiple signs of healthy fermentation.
- Next step: Once your starter is reliably active, try a Beginner's Sourdough Bread Recipe to put it to work in your first loaf.
Jump to:
- At a Glance
- Why is it important to know?
- How to tell if your sourdough starter is ready (7 signs)
- 1. It is mature enough (10-14 days old)
- 2. It consistently doubles within 4-6 Hours
- 3. You see bubbles of different sizes
- 4. It has a pleasant, yeasty aroma
- 5. The top is slightly flattened and wrinkled
- 6. The texture is honeycomb-like inside
- 7. It (sometimes) passes the float test
- Let's talk sourdough
- Ready to keep learning?
- Comments
Why is it important to know?
If you are starting your sourdough journey, you feel excited to mix your dough and bake your first loaf (see my Beginner's Sourdough Bread recipe).
Whether you have a rehydrated sourdough starter or made a sourdough starter from scratch, waiting for your starter to become active can feel like forever.
I remember feeding mine daily, watching for signs it was ready. But the question remained: Was it truly ready to bake with?
How to tell if your sourdough starter is ready (7 signs)
Here are 7 key signs your starter is ready:
- It is mature enough: Your starter is at least 10-14 days old, giving the yeast and bacteria time to stabilize.
- It reliably doubles in size: After a 1:2:2 feeding (starter:flour:water), it consistently doubles within 4-6 hours at 76-80°F (24-27°C) for three consecutive days.
- Visible bubbles throughout: You see bubbles of various sizes on the surface and along the sides of the jar.
- Pleasant aroma: It smells yeasty, mildly tangy, or like fresh bread, not harsh, sour, or unpleasant.
- Wrinkled, slightly flattened top: At peak, the surface becomes gently flat, with noticeable wrinkles, a sign it has risen and is just beginning to fall.
- Honeycomb interior: When you peek inside, the texture looks airy and web-like, similar to a honeycomb.
- Float test (optional): A small spoonful may float in water, though this test is helpful but not always reliable.
1. It is mature enough (10-14 days old)
A mature sourdough starter is like a well-trained athlete. It typically takes 3-4 months for the wild yeast and bacteria to grow strong and balanced. As the starter matures, it becomes more trained at this process, resulting in consistently perfect loaves of bread.
Can you bake bread before the starter fully matures? Absolutely. A new starter should ideally be aged for at least 10-14 days, while an activated starter (derived from a dehydrated starter) can be ready in as little as 3-5 days.
However, not all the starters are ready for baking by the 10-14 days, and activated starters may also vary in readiness within the 3-10-day timeframe. Age isn't the only sign of readiness.
2. It consistently doubles within 4-6 Hours
When your starter doubles (or even triples) in size after feeding, it is a sign that the yeast and bacteria are thriving, producing the carbon dioxide needed to leaven your bread.
The rule of thumb is this: if your starter consistently doubles in volume within 4-6 hours at 76-80°F (24-27°C) with a 1:2:2 feeding ratio for three consecutive days, it is ready for baking.
How to track your sourdough starter's rise
You should track the sourdough starter's rise after feeding to determine when it is truly ready for baking.
Start by putting a rubber band around the jar at the starter's starting level. You can also use a washable marker. This is your baseline.
Then place a second rubber band at about double that height. This helps you clearly see how much your starter grows over time.
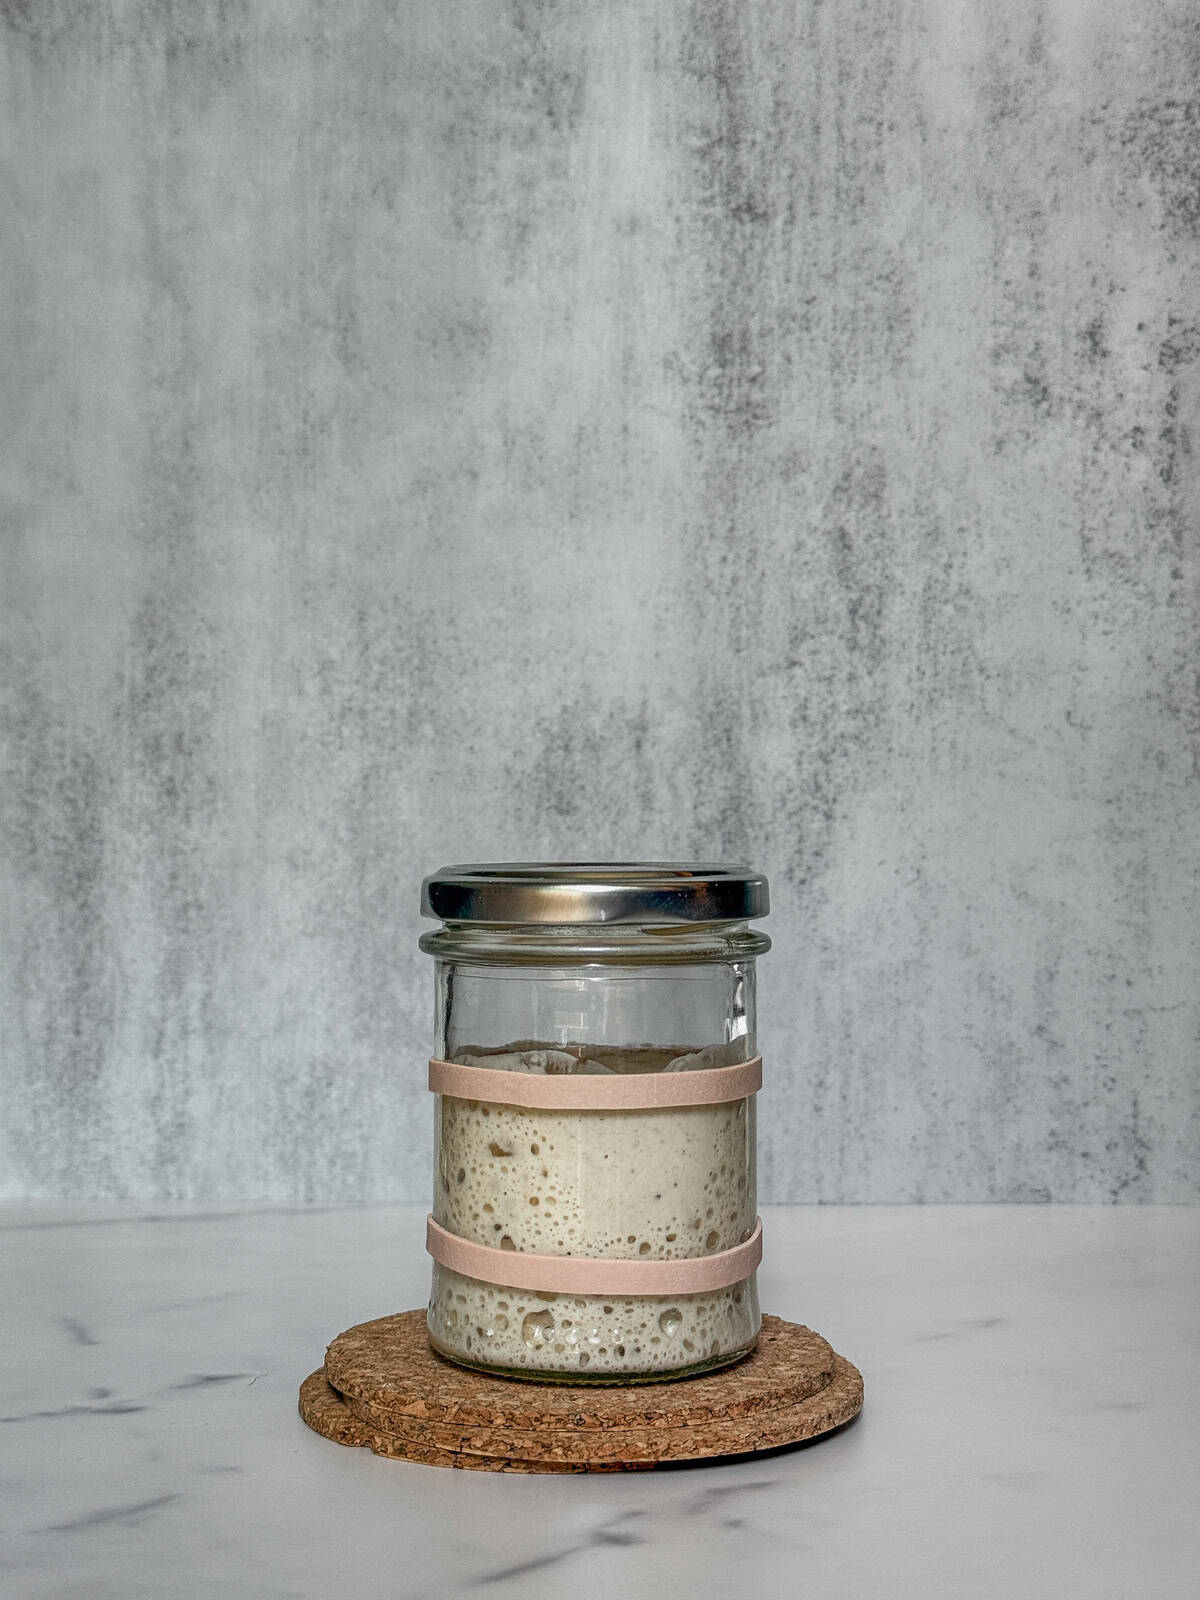
After feeding, watch the starter as it begins to rise. Once the starter has doubled, watch it carefully. If it continues to rise above the top band, adjust the band to follow it.
When it domes, it is still actively growing. Don't mistake this dome for sourdough starter peak. At this point, the yeast is busy producing gas and expanding the starter, but it has not yet reached its highest activity.
The true peak comes a bit later. When your starter stops rising and the top flattens with small wrinkles, it has reached its peak. This is the best time to use it for baking.
3. You see bubbles of different sizes
Look closely at your jar. You should see bubbles on the surface and sides, created by carbon dioxide during fermentation.
The number of bubbles indicates how active the starter is: the more, the better. As the starter approaches its peak, you will likely notice many bubbles in various sizes (small and large), indicating its readiness.
This bubble activity will increase until it peaks, after which it will decline.
4. It has a pleasant, yeasty aroma
A ready sourdough starter should smell pleasant and inviting, with a mild yeasty, bready, or lightly tangy aroma. This indicates a healthy balance of wild yeast and beneficial bacteria.
Depending on your flour and environment, the scent may remind you of fresh bread dough, yogurt, or ripe fruit. If the starter smells strongly acidic, like nail polish remover, you are probably dealing with a weak, acidic sourdough starter.
5. The top is slightly flattened and wrinkled
When the starter peaks, its top will look slightly flattened. Remember that doubling the starter and the domed shape on top aren't signs of its true peak.
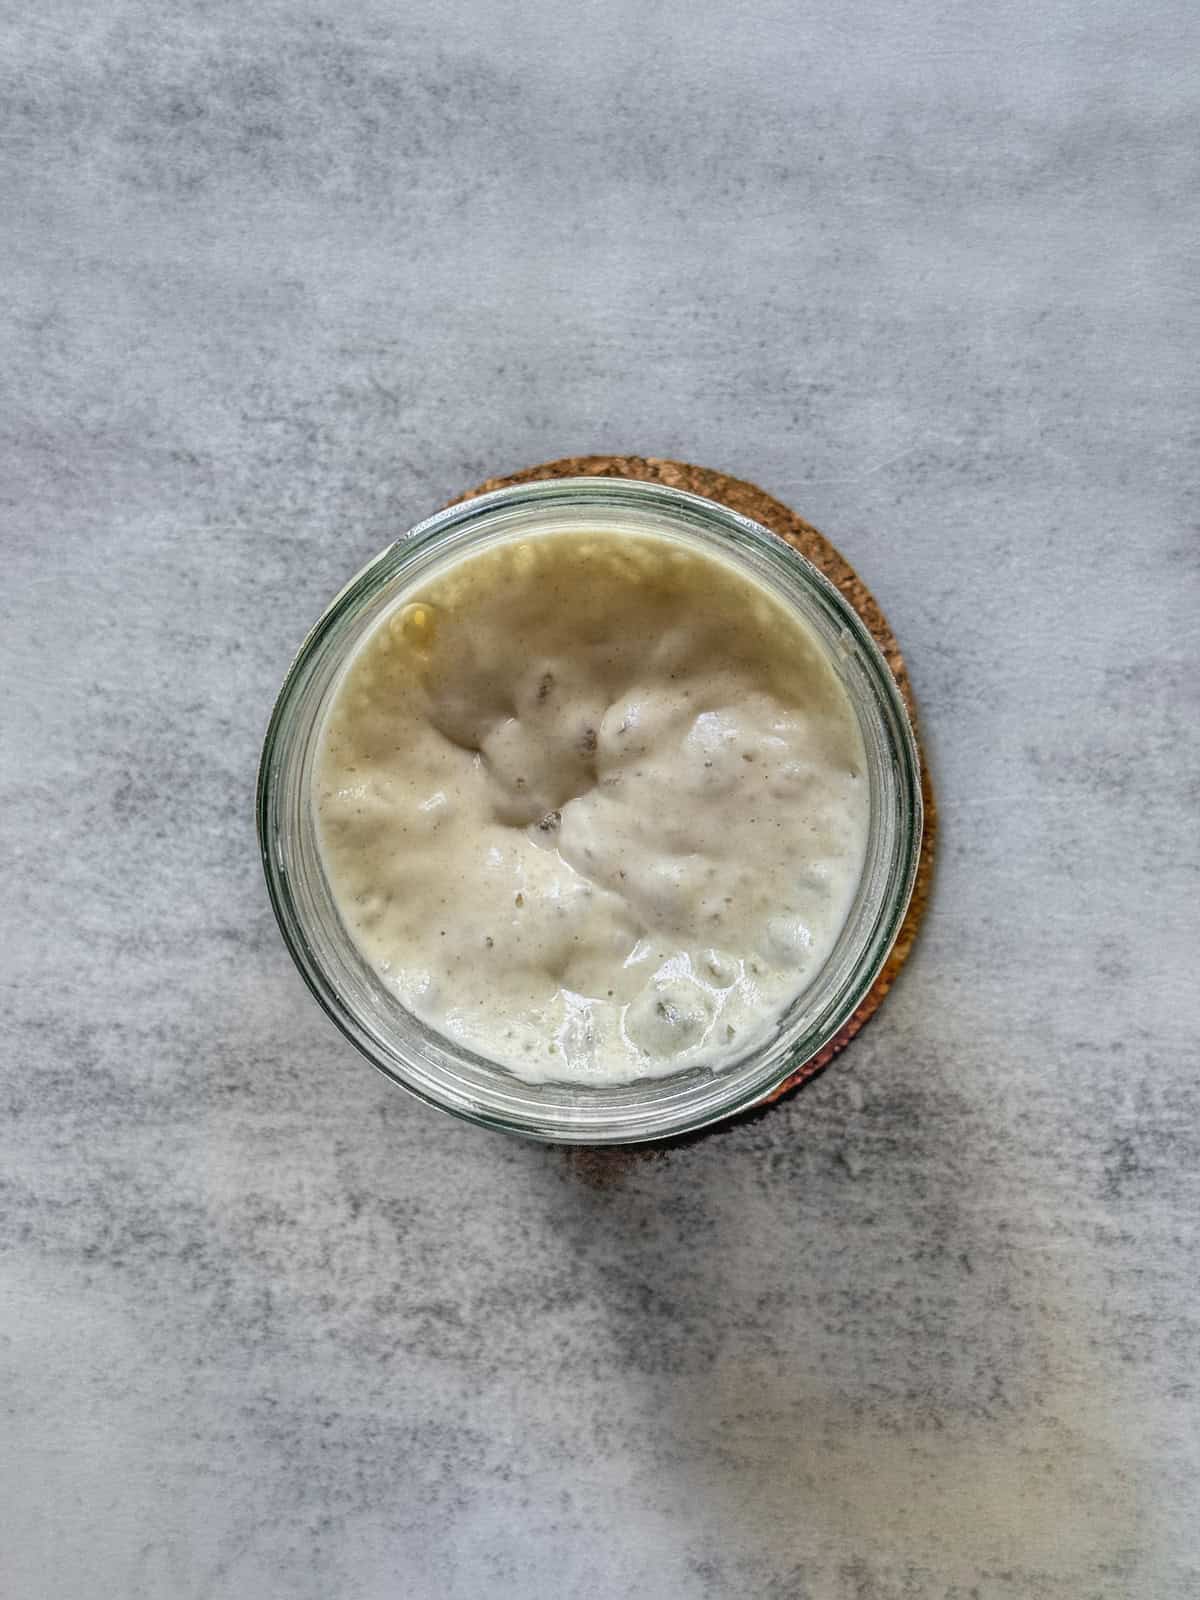
At its peak, the starter has risen to its highest level and "just" started to fall. It appears slightly flattened with noticeable wrinkles on the surface. This indicates that the yeast and bacteria are fermenting, producing carbon dioxide gas that forms bubbles and helps level out the starter.
The peak phase of a 100% wheat starter is usually quite short. It usually lasts 30-60 minutes at room temperature (around 73-75°F or 23-24°C). This is the ideal time to mix the dough, resulting in optimal rise.
After this window, the starter will begin to overferment. It will collapse further, lose its strength, and produce tangier sourdough bread if used.
6. The texture is honeycomb-like inside
Scoop some starter from the jar. A ready starter will display a network of bubbles that resembles a honeycomb. This texture indicates a strong, active fermentation process.

7. It (sometimes) passes the float test
The float test is a topic of much debate. While some argue it is unreliable, others firmly believe in its significance.
The float test is when you drop a small piece of starter into the water to see if it floats. If it does, it is ready. If it sinks, it is not.
However, the float test is not always reliable. Starters with whole-grain flour might sink even if they are ready. It is better to rely on signs like volume doubling, bubbles, and a slightly flattened top.

Let's talk sourdough
How do you know when your sourdough starter is ready? Do you use the doubling method, the float test, or another trick? Share your experience in the comments below.
Ready to keep learning?
One of the easiest ways to tell whether your starter is ready is to observe its peak. Learn all about the sourdough starter peak and how to spot it.