
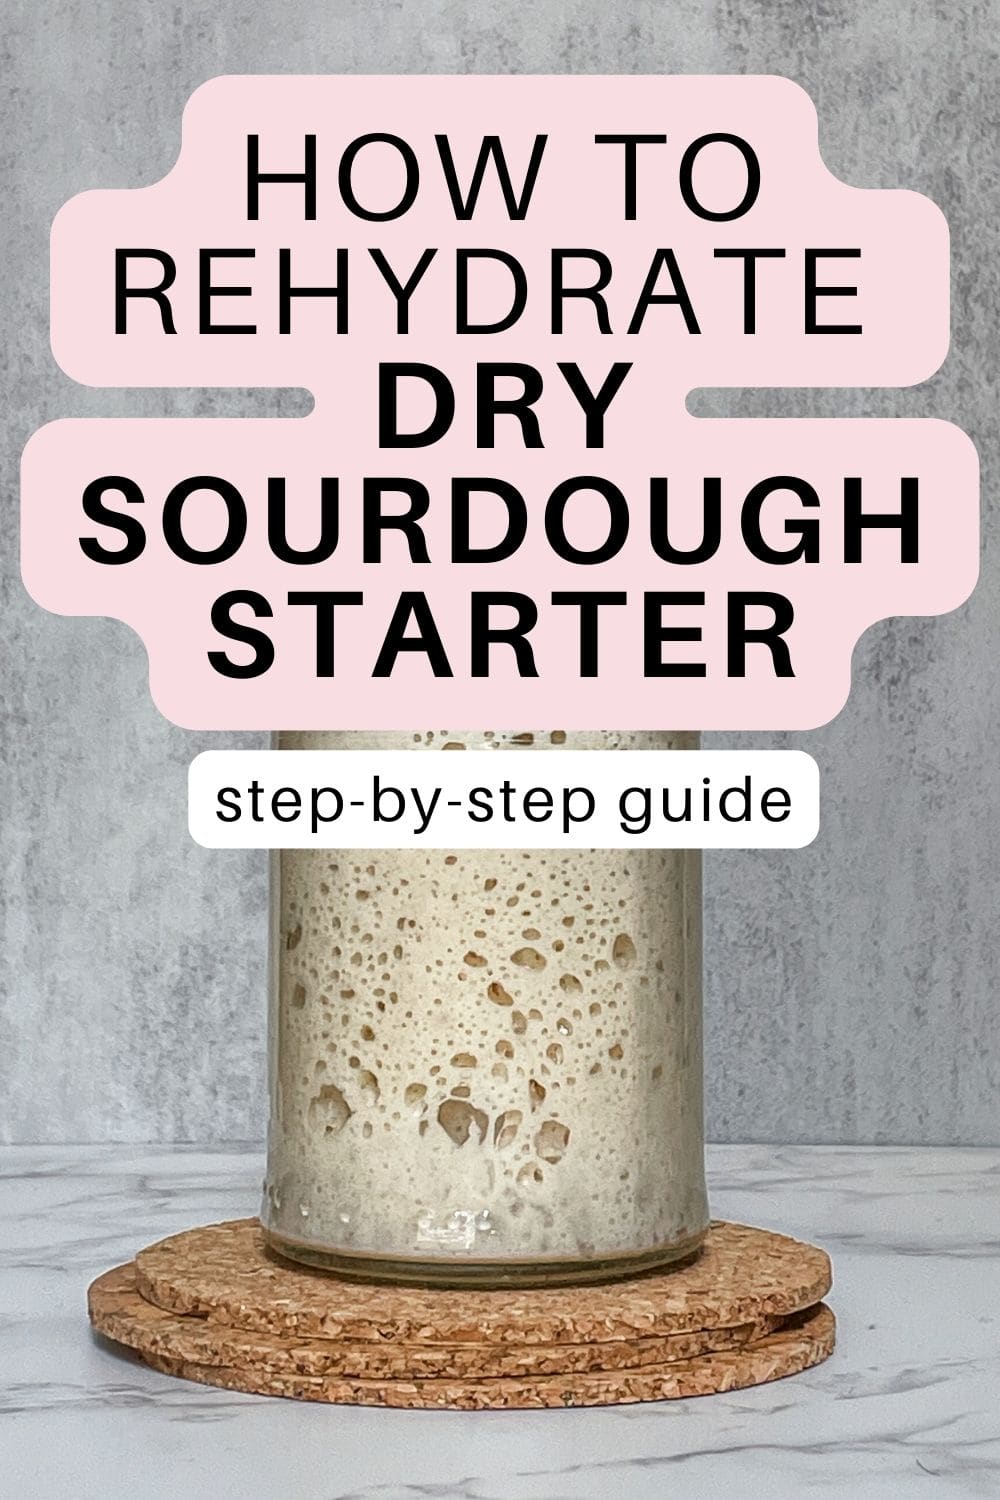
If you have a dried sourdough starter, the first thing you will need to do is learn how to rehydrate sourdough starter before baking. Whether you dried it yourself, bought it, or got it as a gift, the first step is to revive it.
A rehydrated sourdough starter allows you to bake sourdough bread in as little as a week. It takes less than a week to get it strong and ready, much quicker than making a starter from scratch.
Here is my step-by-step guide to reviving a dry sourdough starter, with photos.
Ingredients
- Dried sourdough starter: Flakes or powder (one 10 g packet if you are using my robust starter, which is available to buy on Etsy).
- Water: Use non-chlorinated tap, filtered, or spring water. If your tap water has chlorine, let it sit in a glass container for 24 hours before using it. Avoid distilled or alkalized water.
- Flour: Use unbleached bread flour with 12-14% protein ideally, such as King Arthur Unbleached Organic Bread Flour, for activation. You can switch to other flours later.
Essential tools
- Kitchen scale: Helps you measure the right amounts of starter, water, and flour. I use this pocket gram scale to manage my starter.
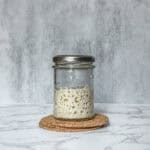
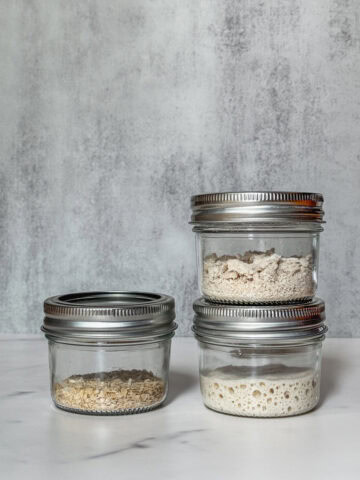
- Pint-sized jar: A glass jar with a loose lid lets you track your starter's progress.
- Marker or rubber band: A washable glass marker or a rubber band to mark the starter's level and monitor its growth.
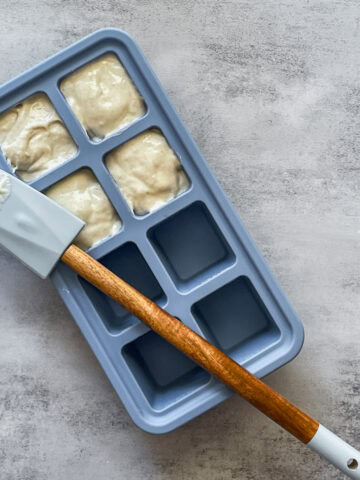
- Spatula: A small rubber or wooden spatula is perfect for mixing. I like using this jar spatula myself.
- Thermometer (desirable) for checking water temperature.
- Brod & Taylor Sourdough Home (optional) for maintaining a consistent temperature. If using, set it to 75°F (24°C).
How to activate dried sourdough starter
There are different ways to activate a dried starter, including using equal parts starter, water, and flour (a 1:1:1 ratio). I use a slightly different approach that gives the starter an extra boost for stronger fermentation.
Day One (Morning)
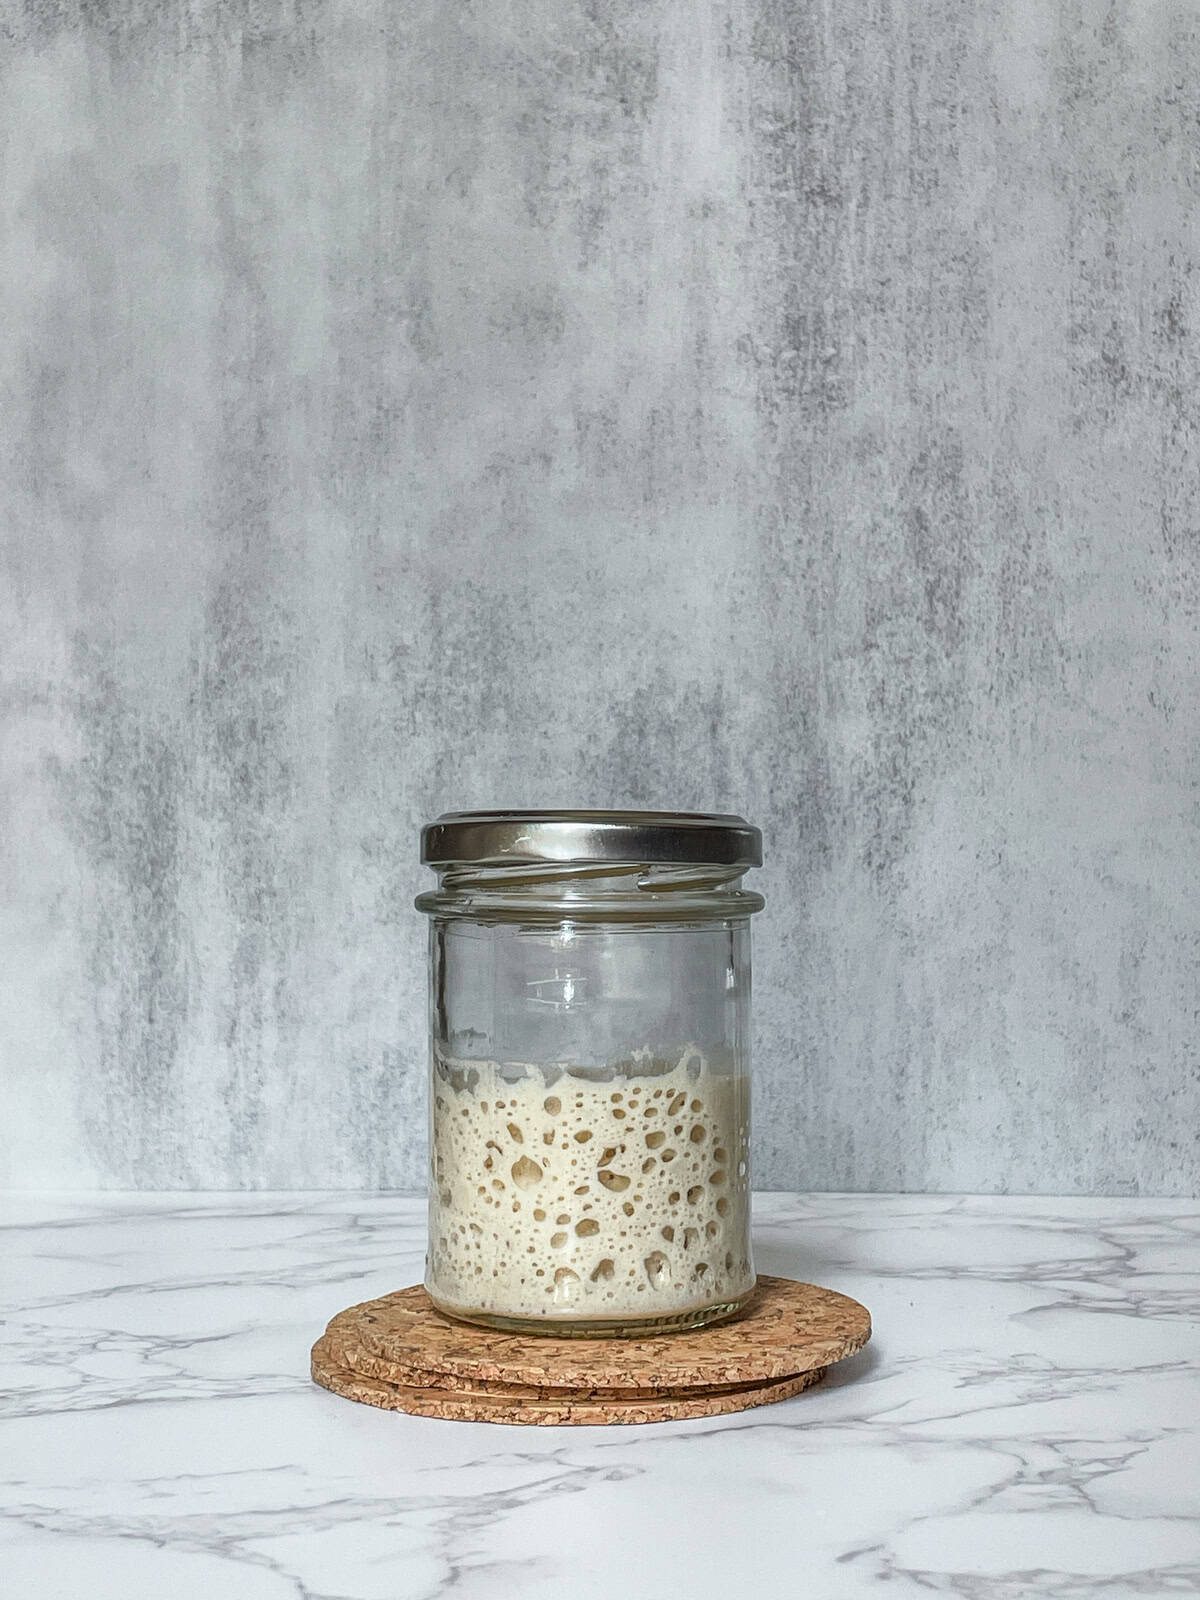
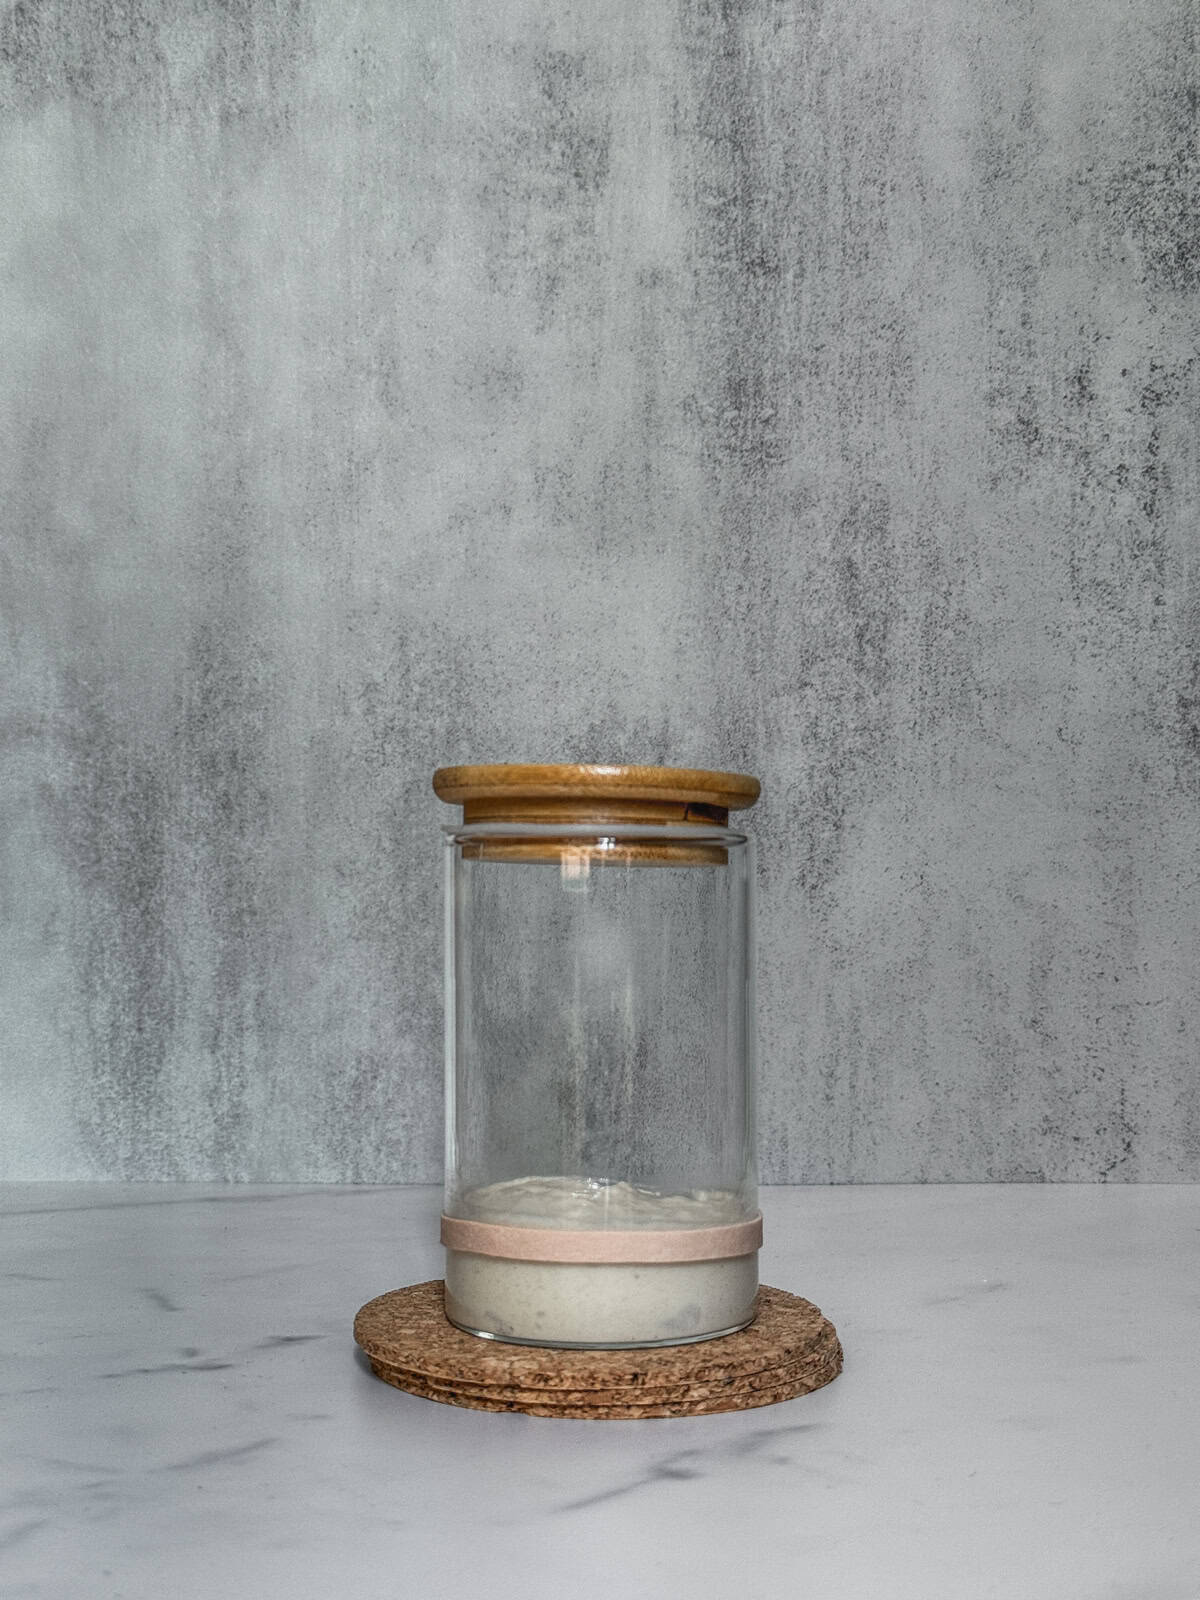
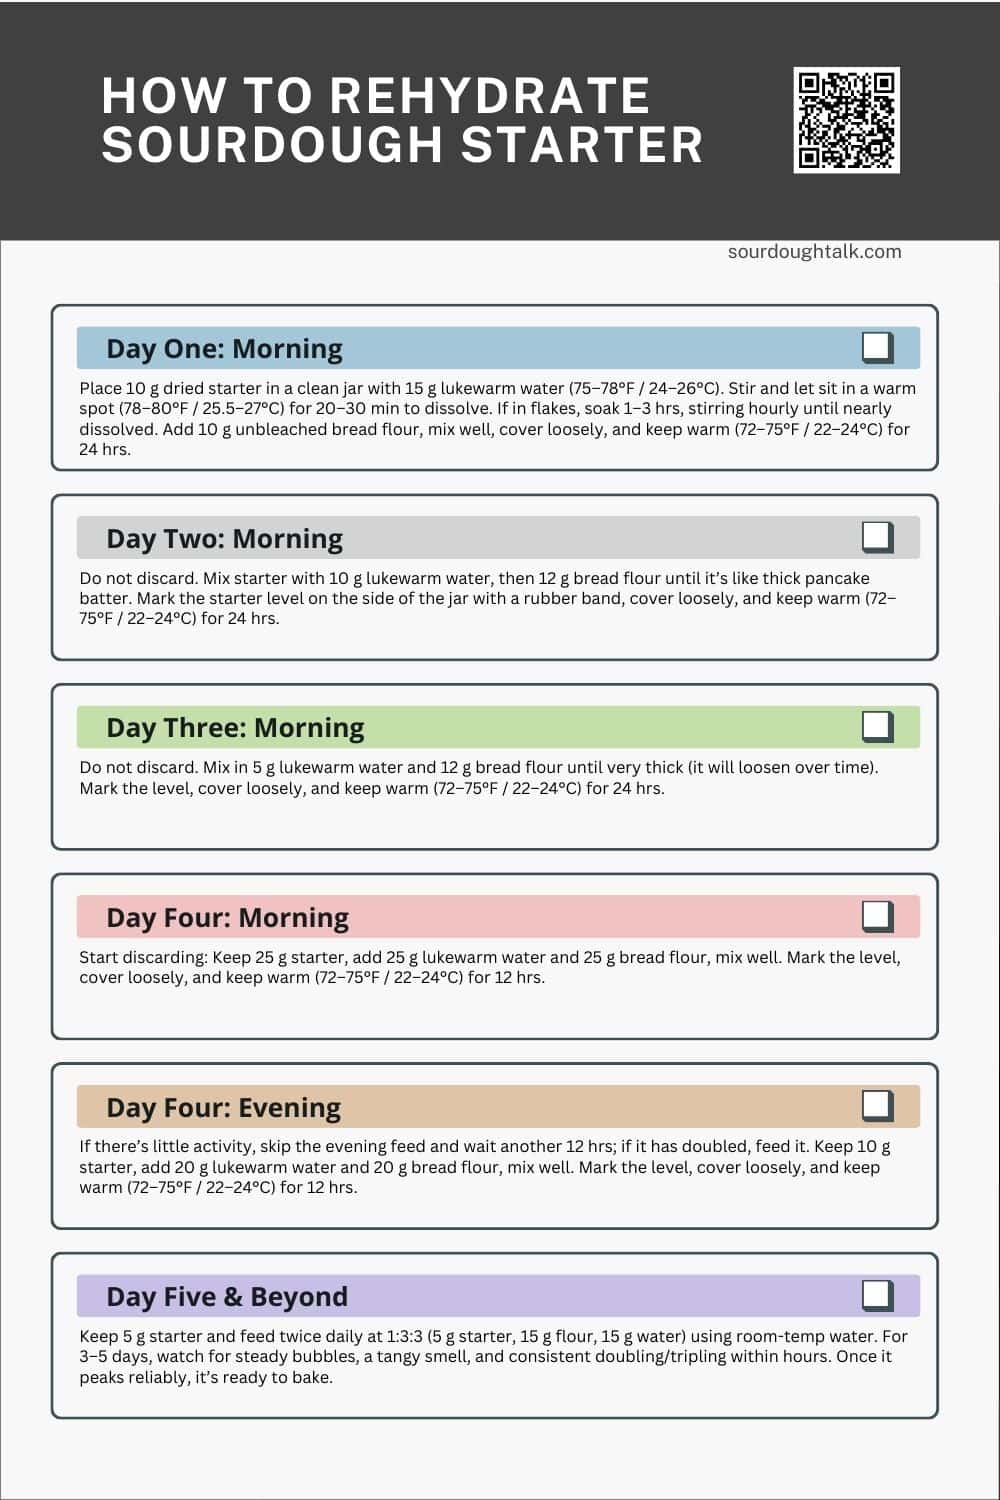
Place 10 grams of dried sourdough starter in a clean jar. Add 15 grams of lukewarm water at 75-78°F (24-26°C) and stir until well combined. Let the mixture sit in a warm spot (around 78-80°F or 25.5-27°C) for 20 to 30 minutes, allowing the starter powder to dissolve.
If your starter is in flakes, let it soak for 1 to 3 hours. Stir and check each hour until the flakes are almost completely dissolved.
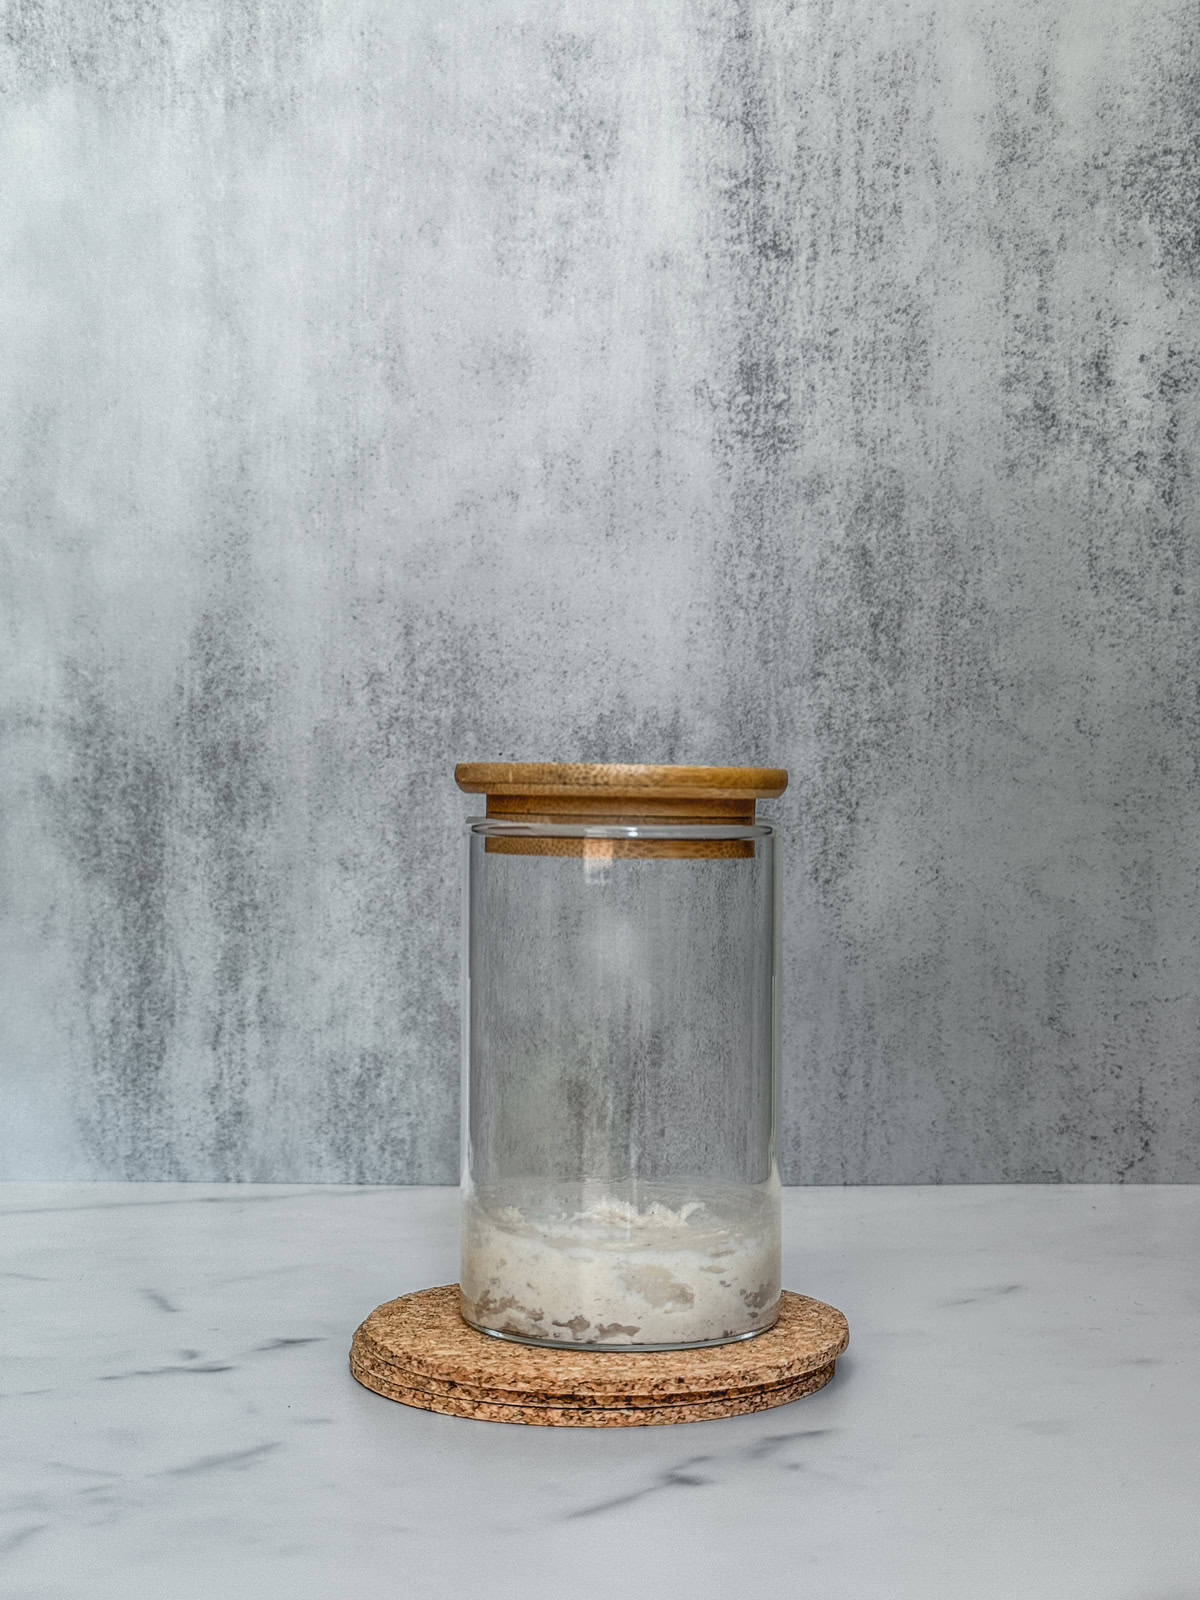
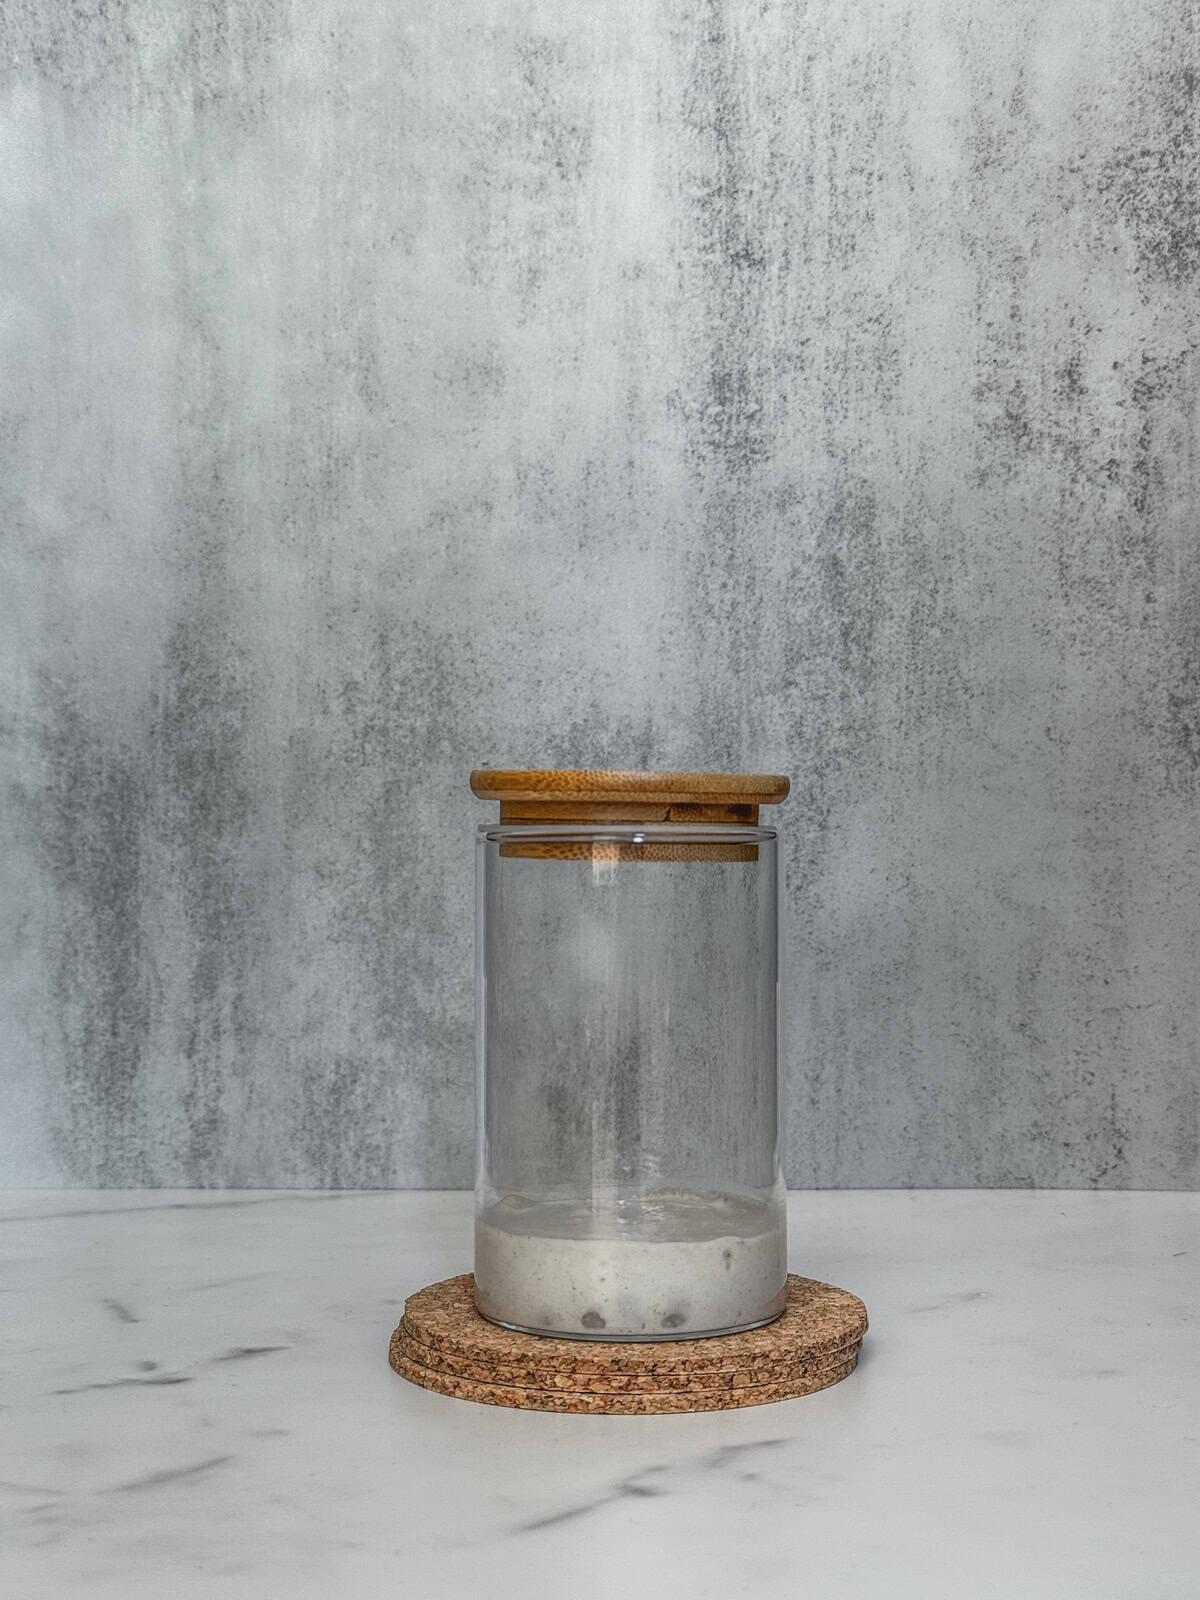
Day 1 (morning) after mixing the dried starter with water - front view.
Day 1 (morning) after mixing the dried starter with water - overhead view.
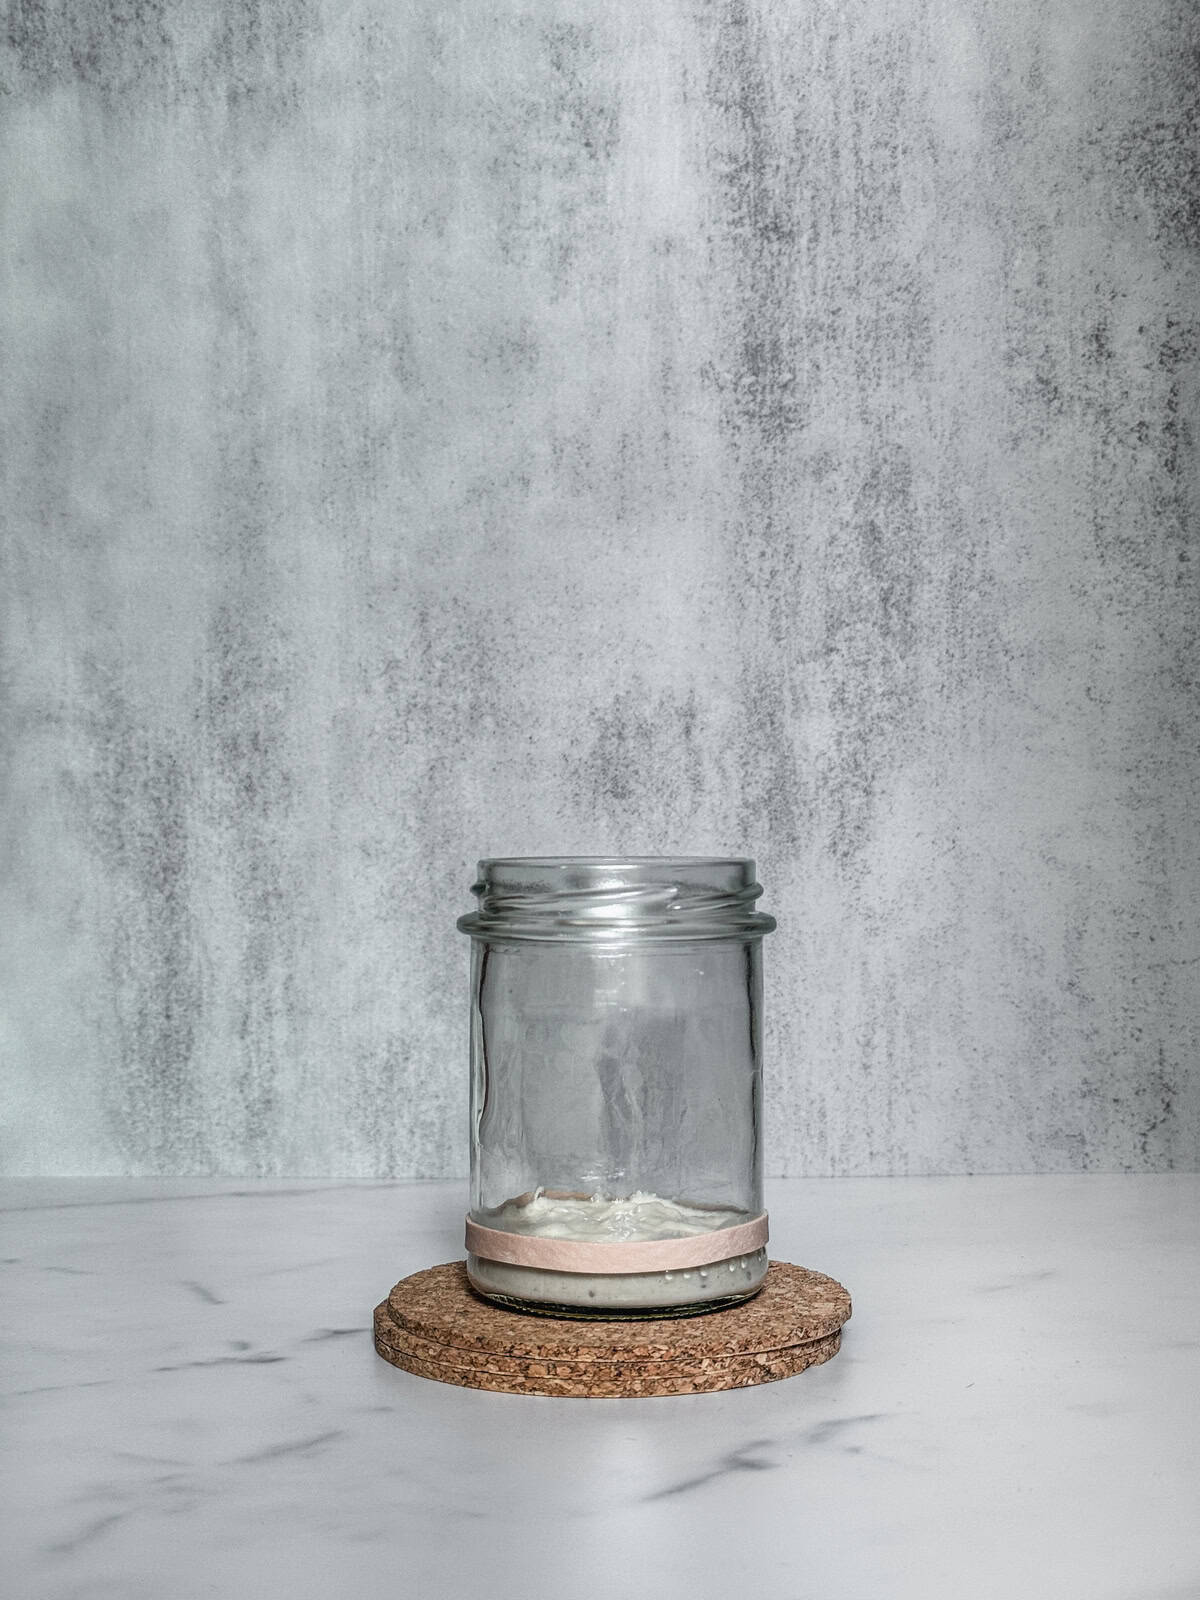
Once dissolved, add 10 grams of unbleached bread flour and mix with a rubber or wooden spatula until well combined. Cover the jar loosely and leave it in a warm, draft-free place (72-75°F or 22-24°C) for 24 hours.
Day 1 (morning) after adding bread flour - front view.
Day 1 (morning) after adding bread flour - overhead view.
Day Two (Morning)
Day 2 morning update: You won't notice much activity today, but be patient and continue to activate the starter.

Day 2 (morning) starter update - front view.
Day 2 (morning) starter update - overhead view.
Do not discard the starter yet. Just mix it and add 10 grams of lukewarm water, stir, and mix in 12 grams of bread flour. The mixture should feel like thick pancake batter.
Mark the starter level on the side of the jar with a rubber band or a washable glass marker to track its growth. Cover with a loose lid and leave it in a warm, draft-free place (72-75°F or 22-24°C) for 24 hours.

Day 2 (morning) after mixing - front view.

Day 2 (morning) after mixing - overhead view.
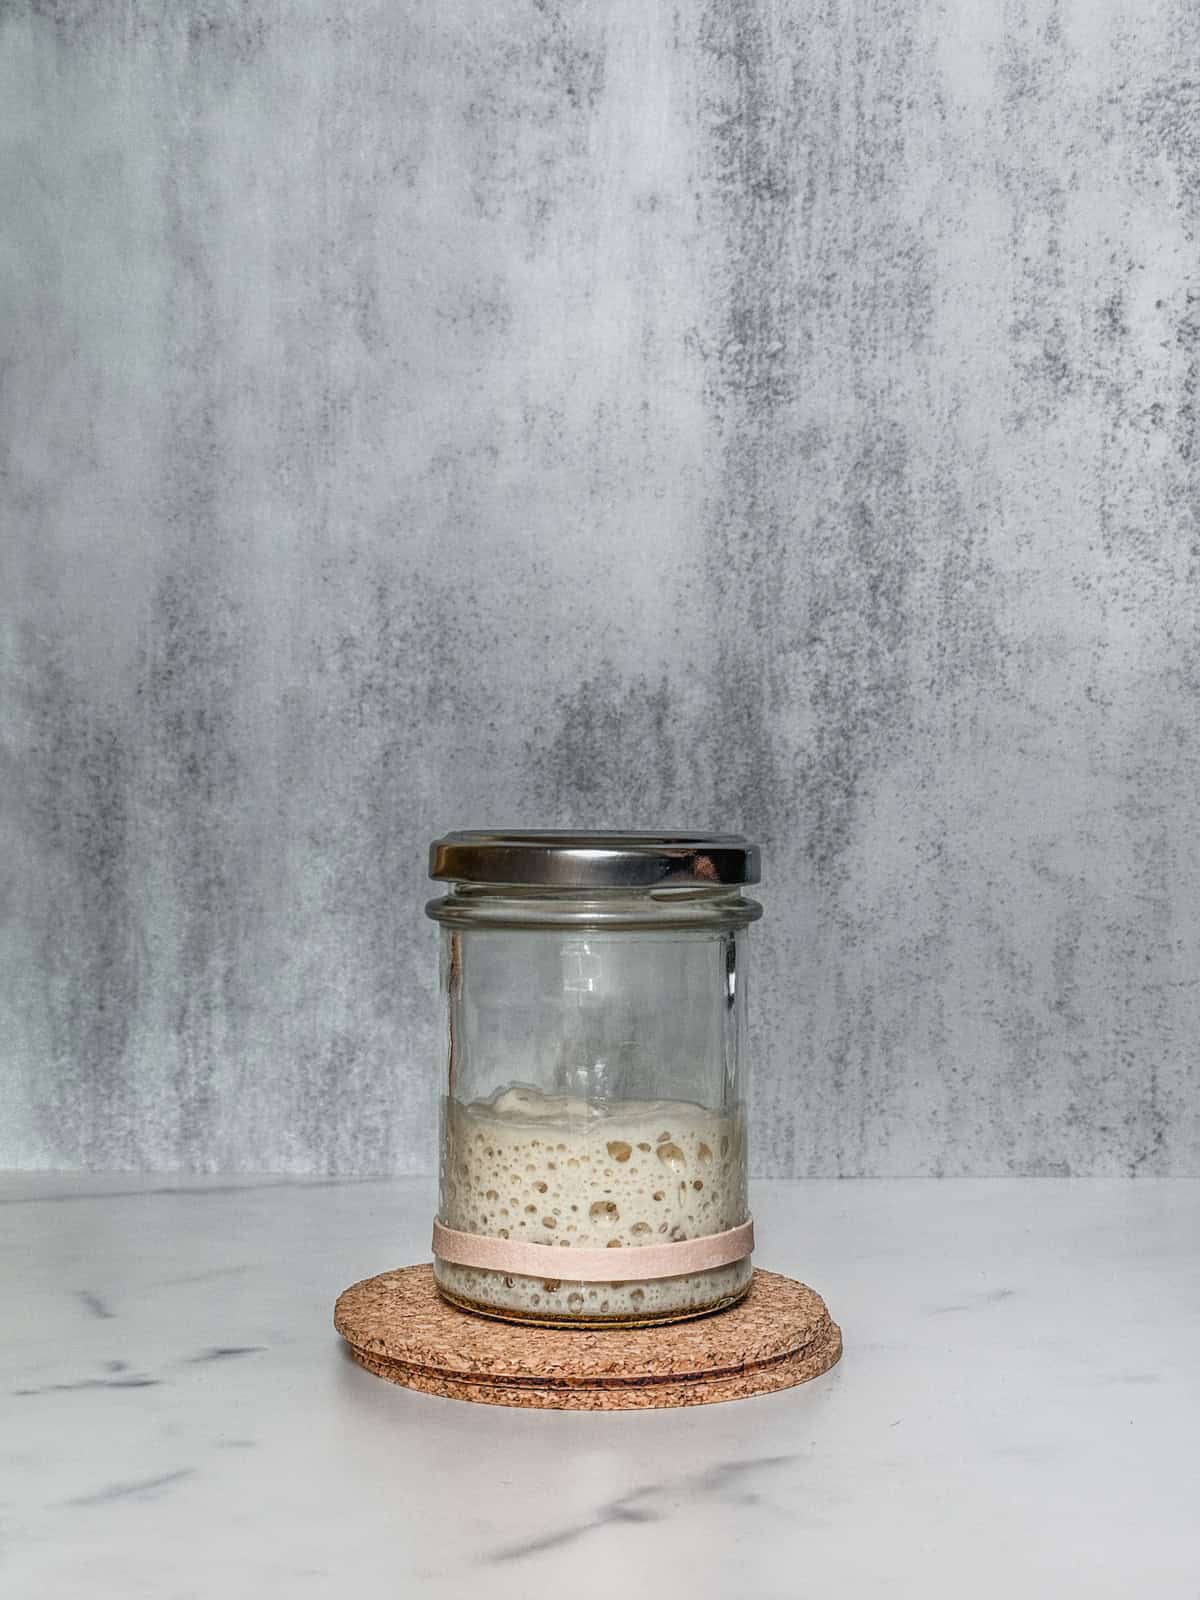
Day Three (Morning)
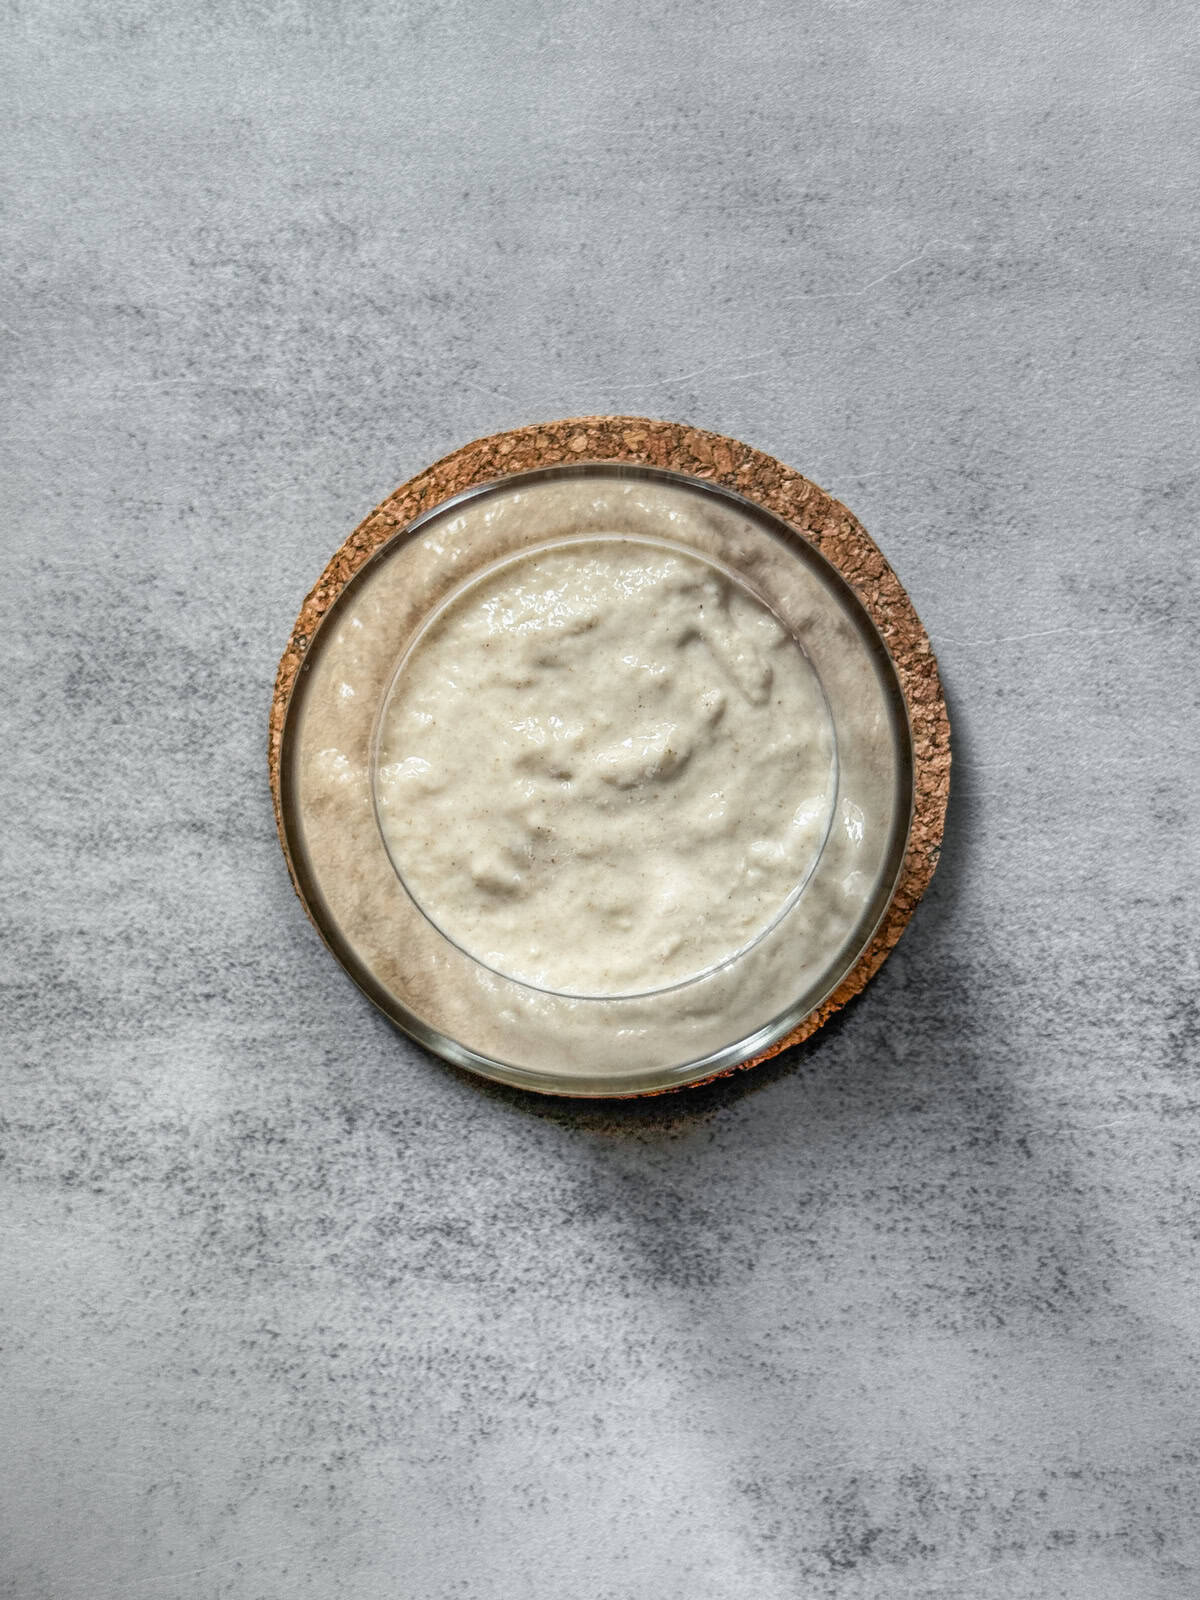
Day 3 morning update: You should see some bubbles on the side of the jar. Keep feeding your starter.
Day 3 (morning) starter update - front view.

Day 3 (morning) starter update - overhead view.
Do not discard the starter yet. Just mix it and add 5 grams of lukewarm water, stir, and mix in 12 grams of bread flour. The mixture should feel like a very thick pancake batter, but it will loosen over time.
Mark the starter level on the side of the jar with a rubber band or a washable glass marker to track its growth. Cover with a loose lid and leave it in a warm, draft-free place (72-75°F or 22-24°C) for 24 hours.

Day 3 (morning) after mixing - front view.
Day 3 (morning) after mixing - overhead view.
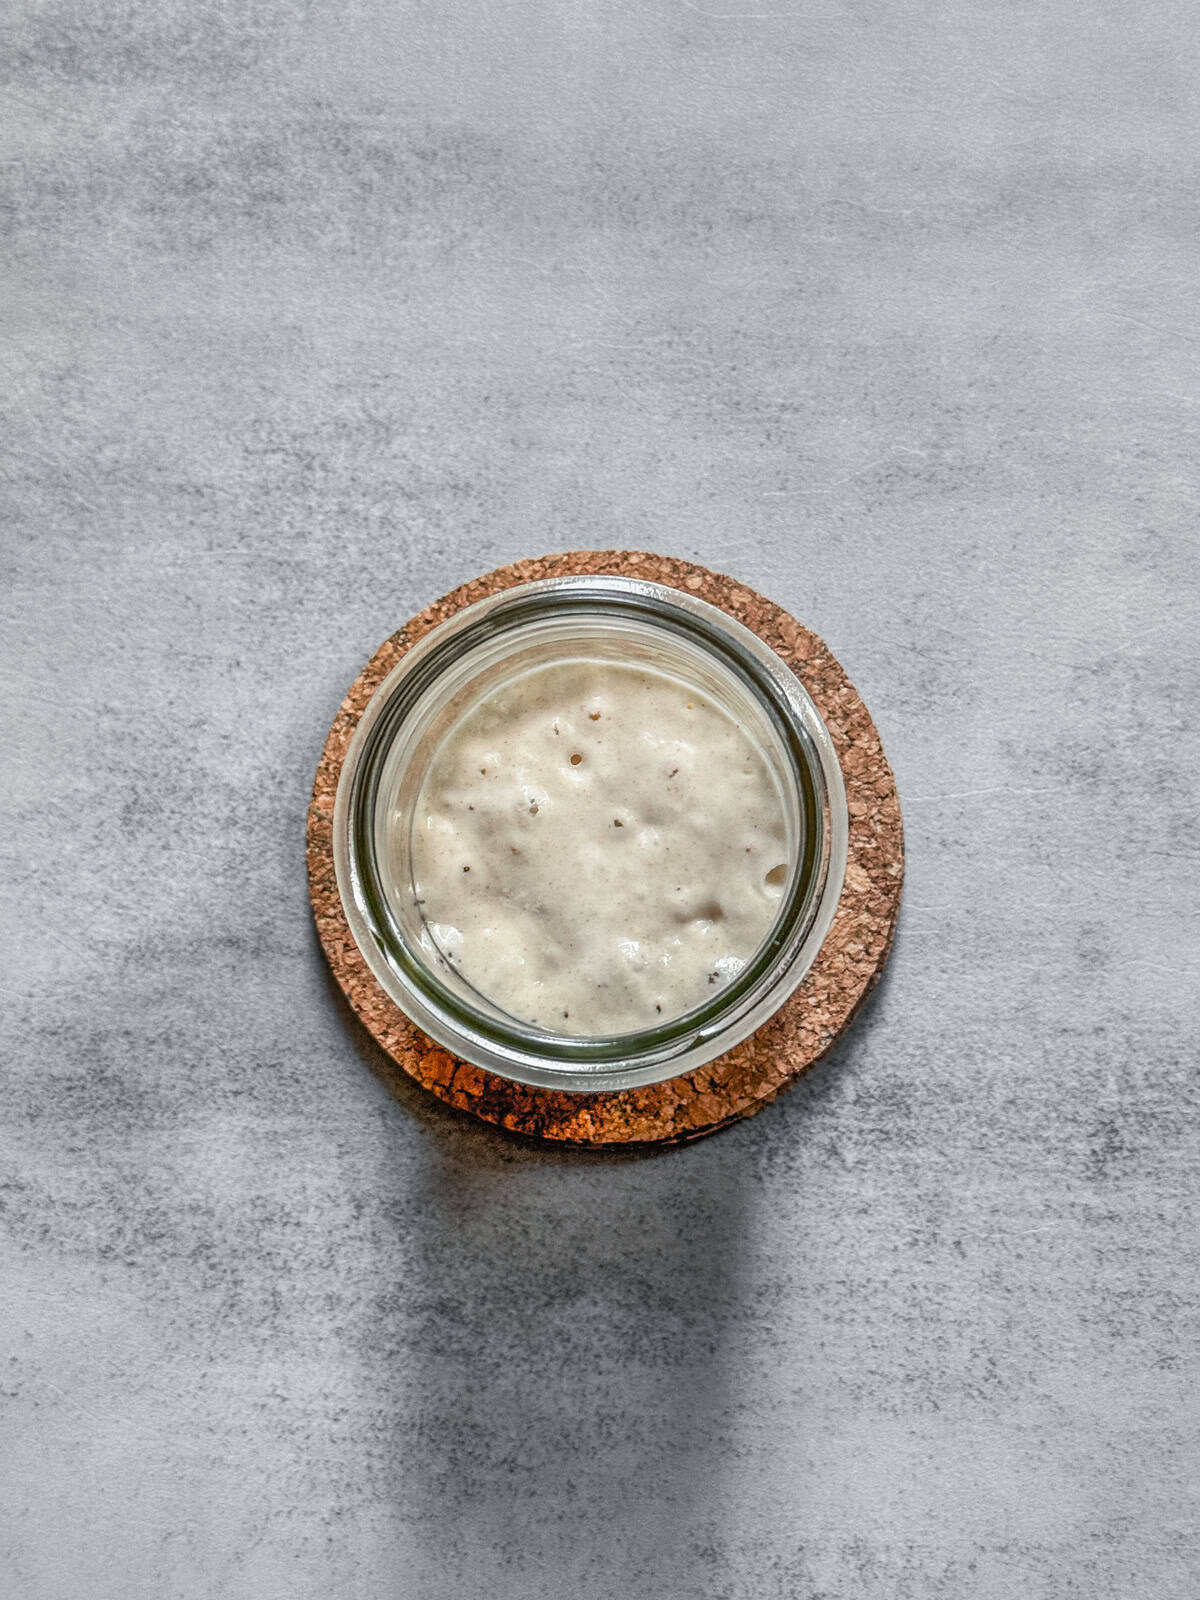
Day Four (Morning)
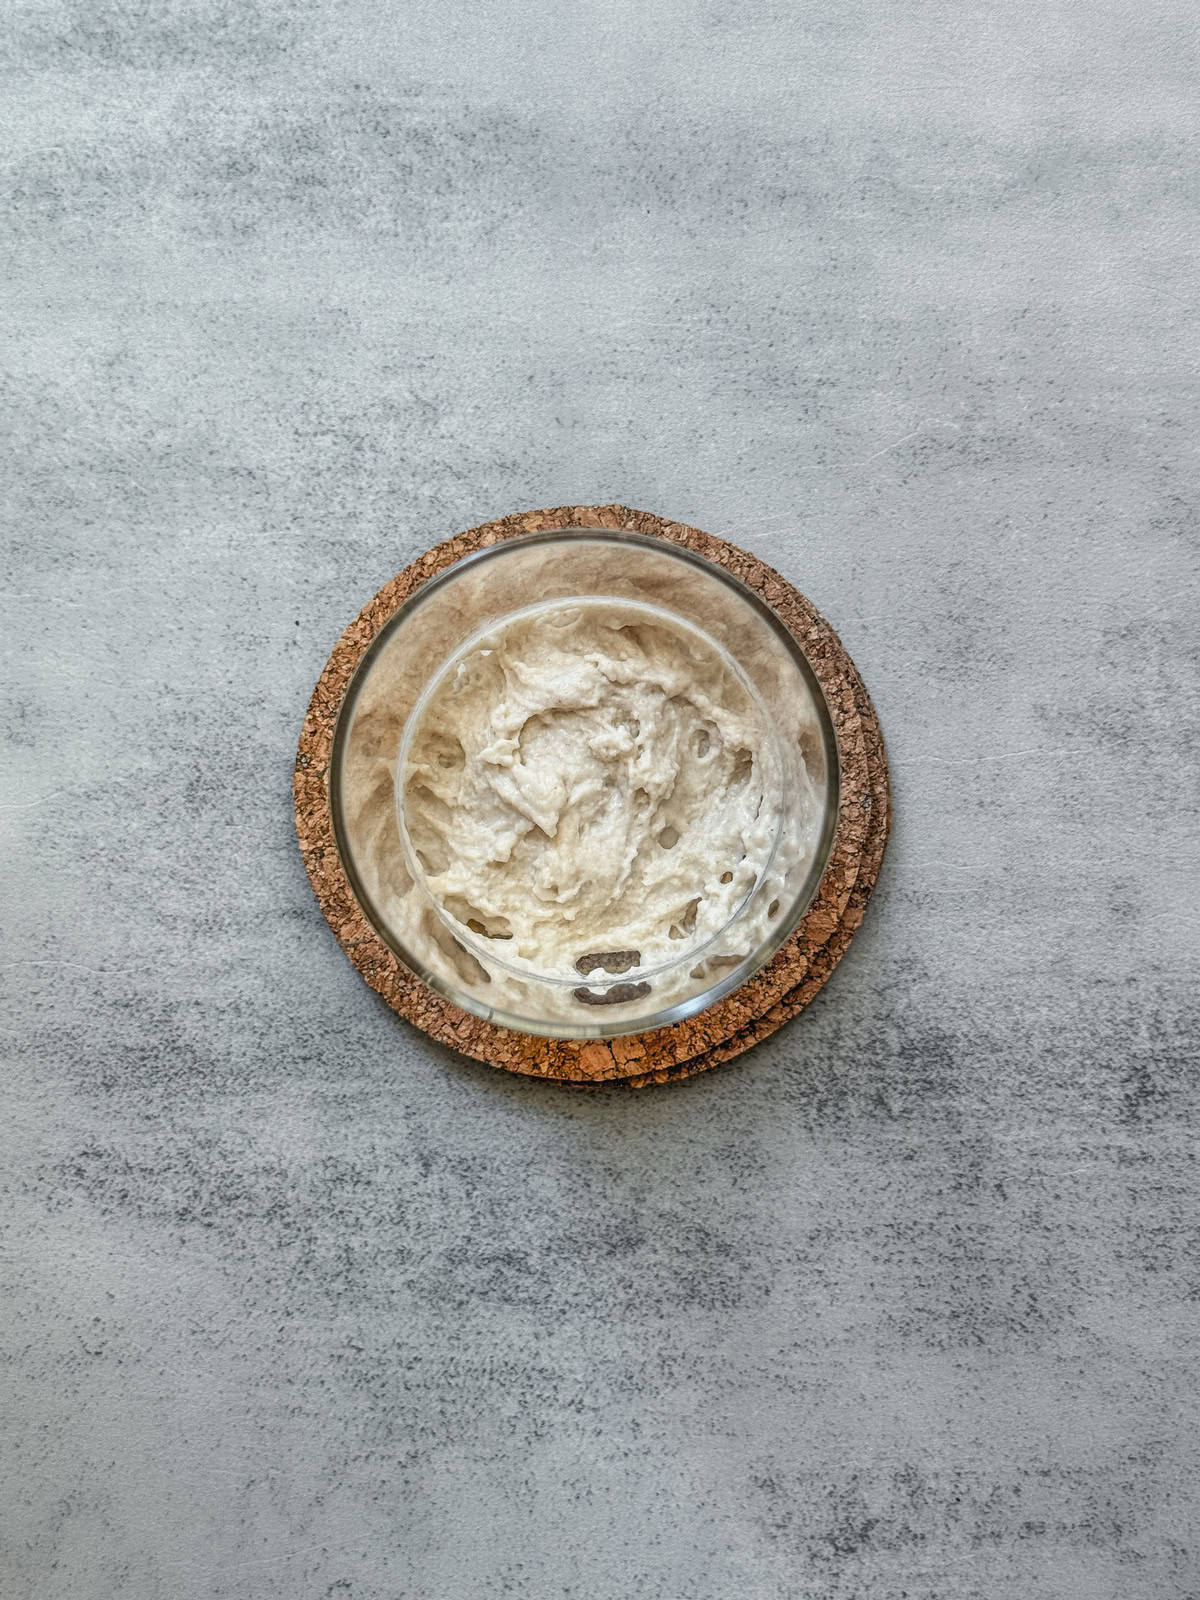
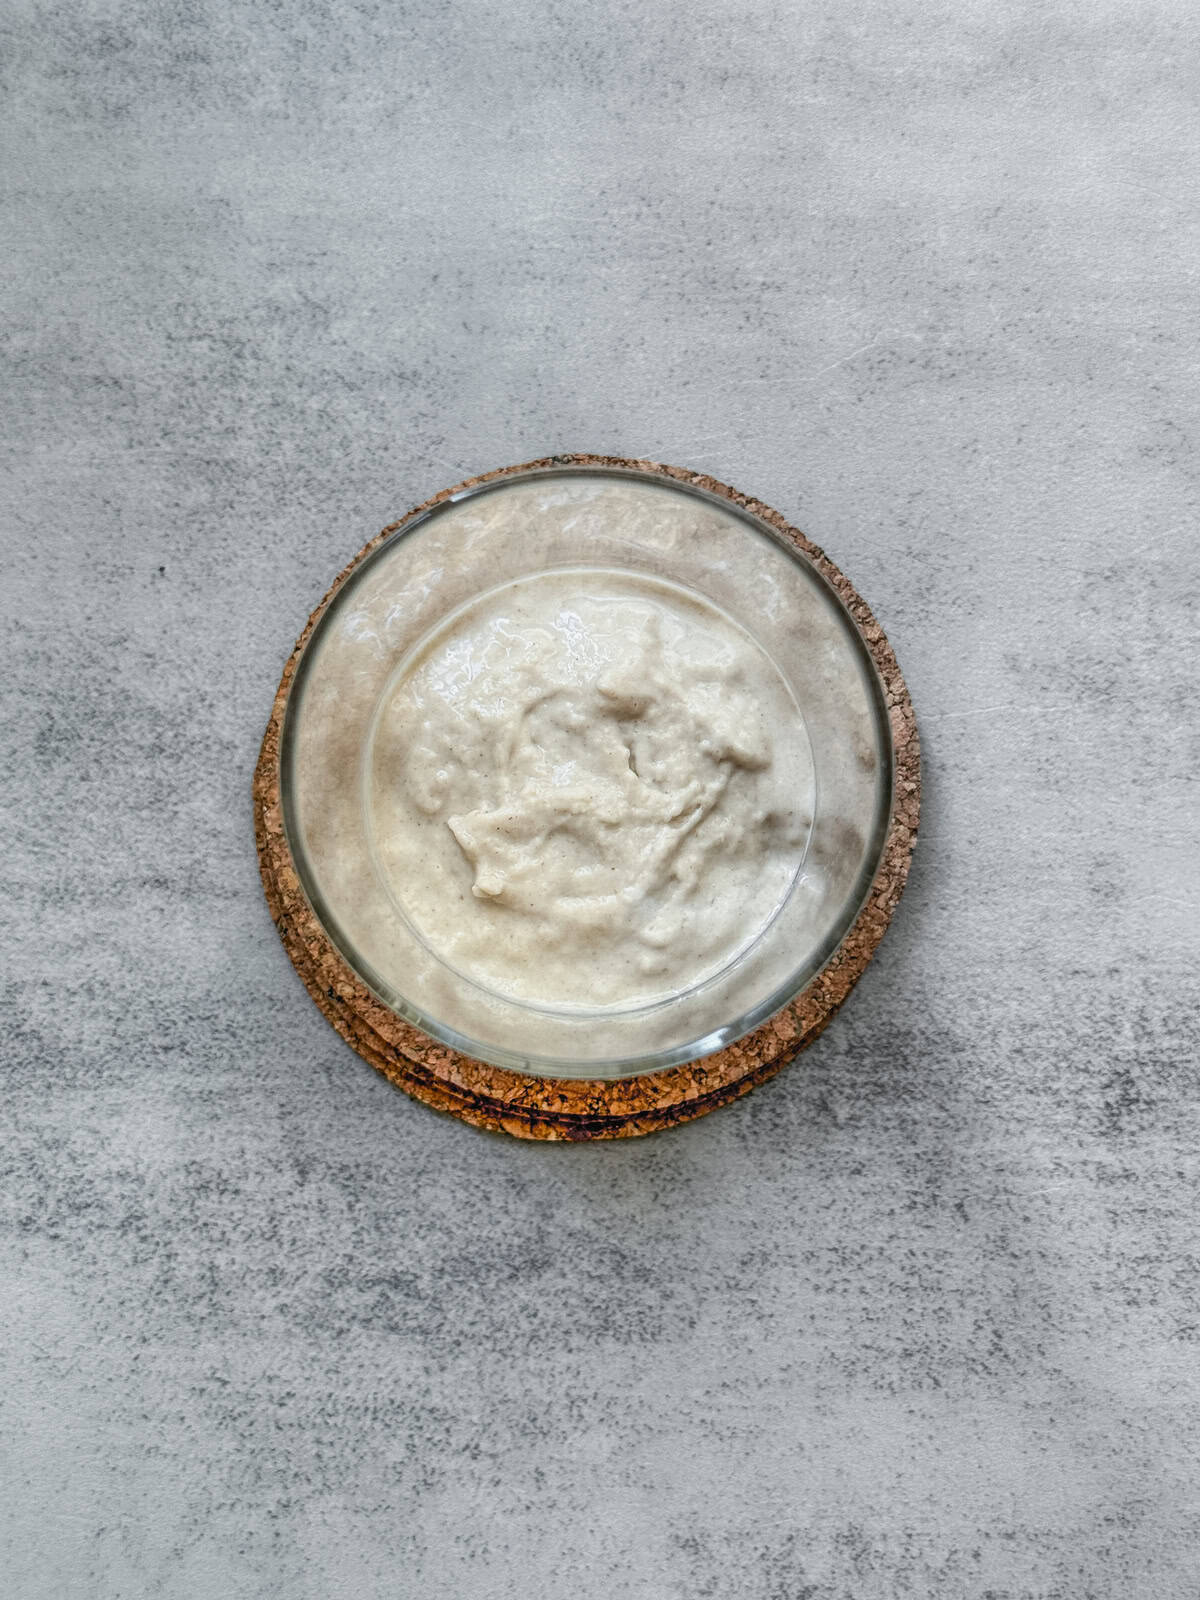
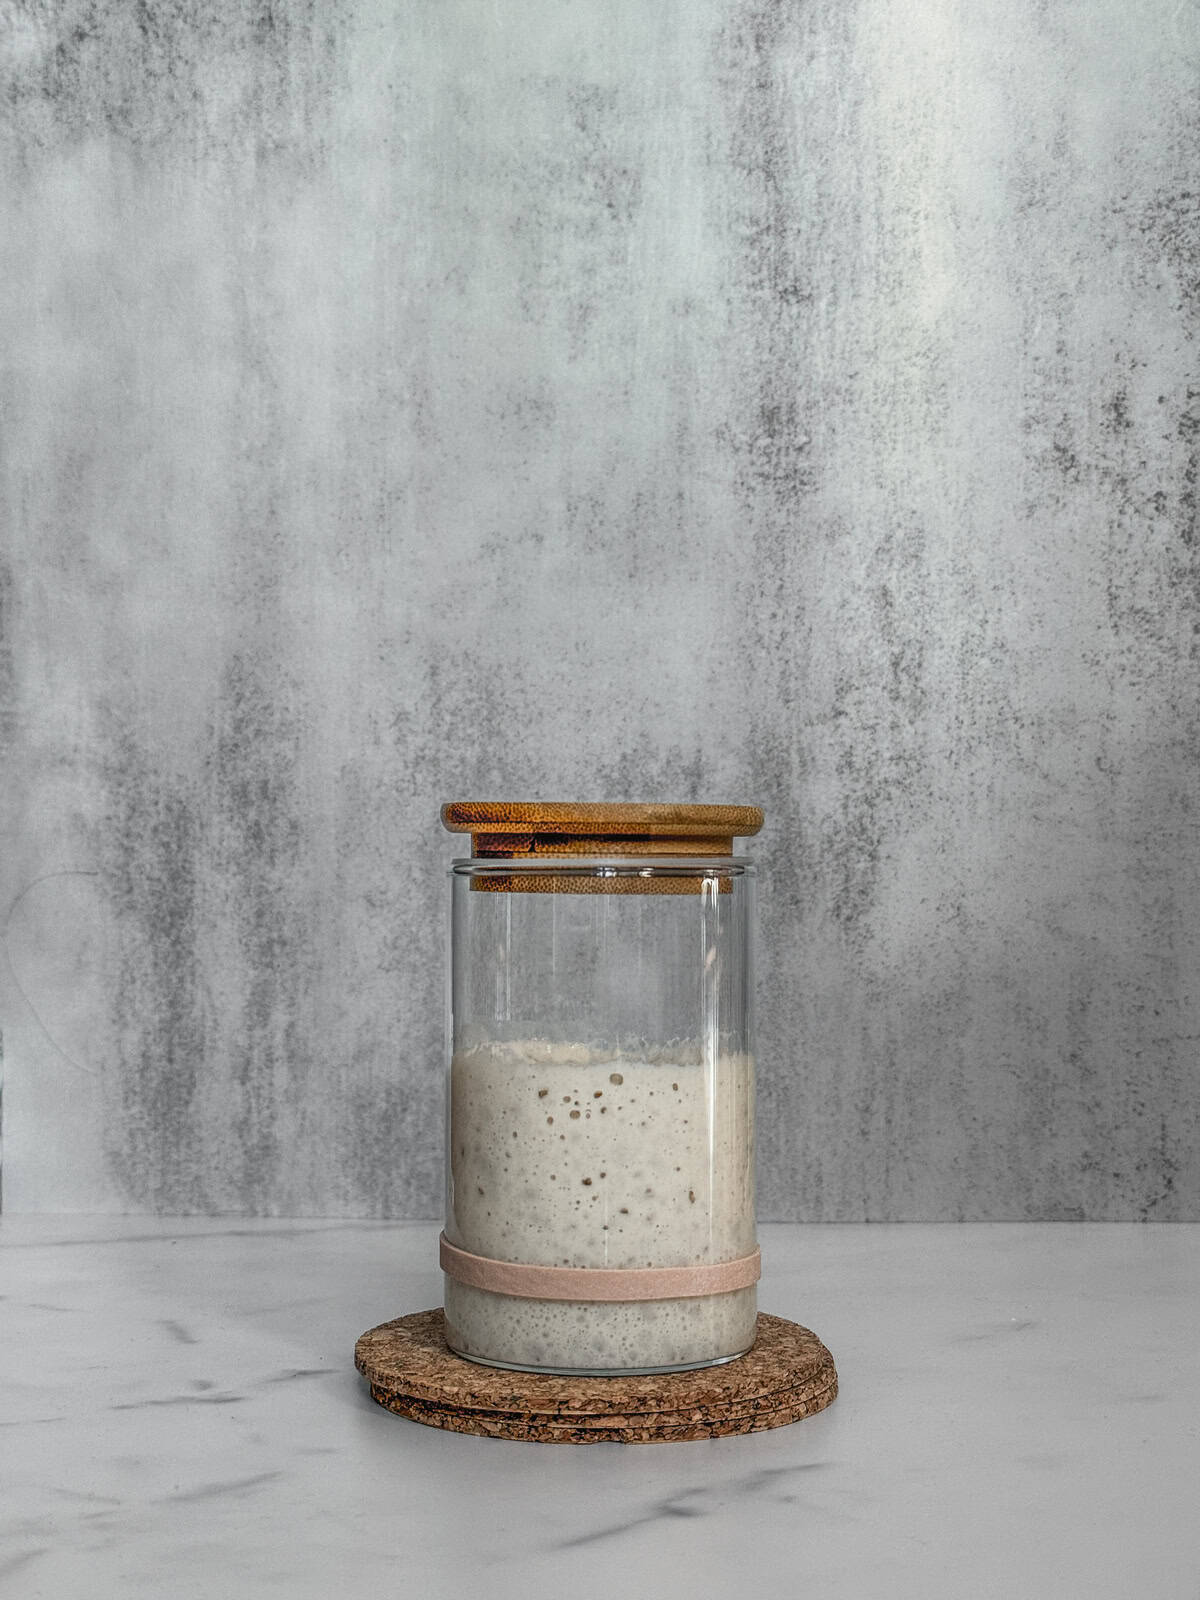
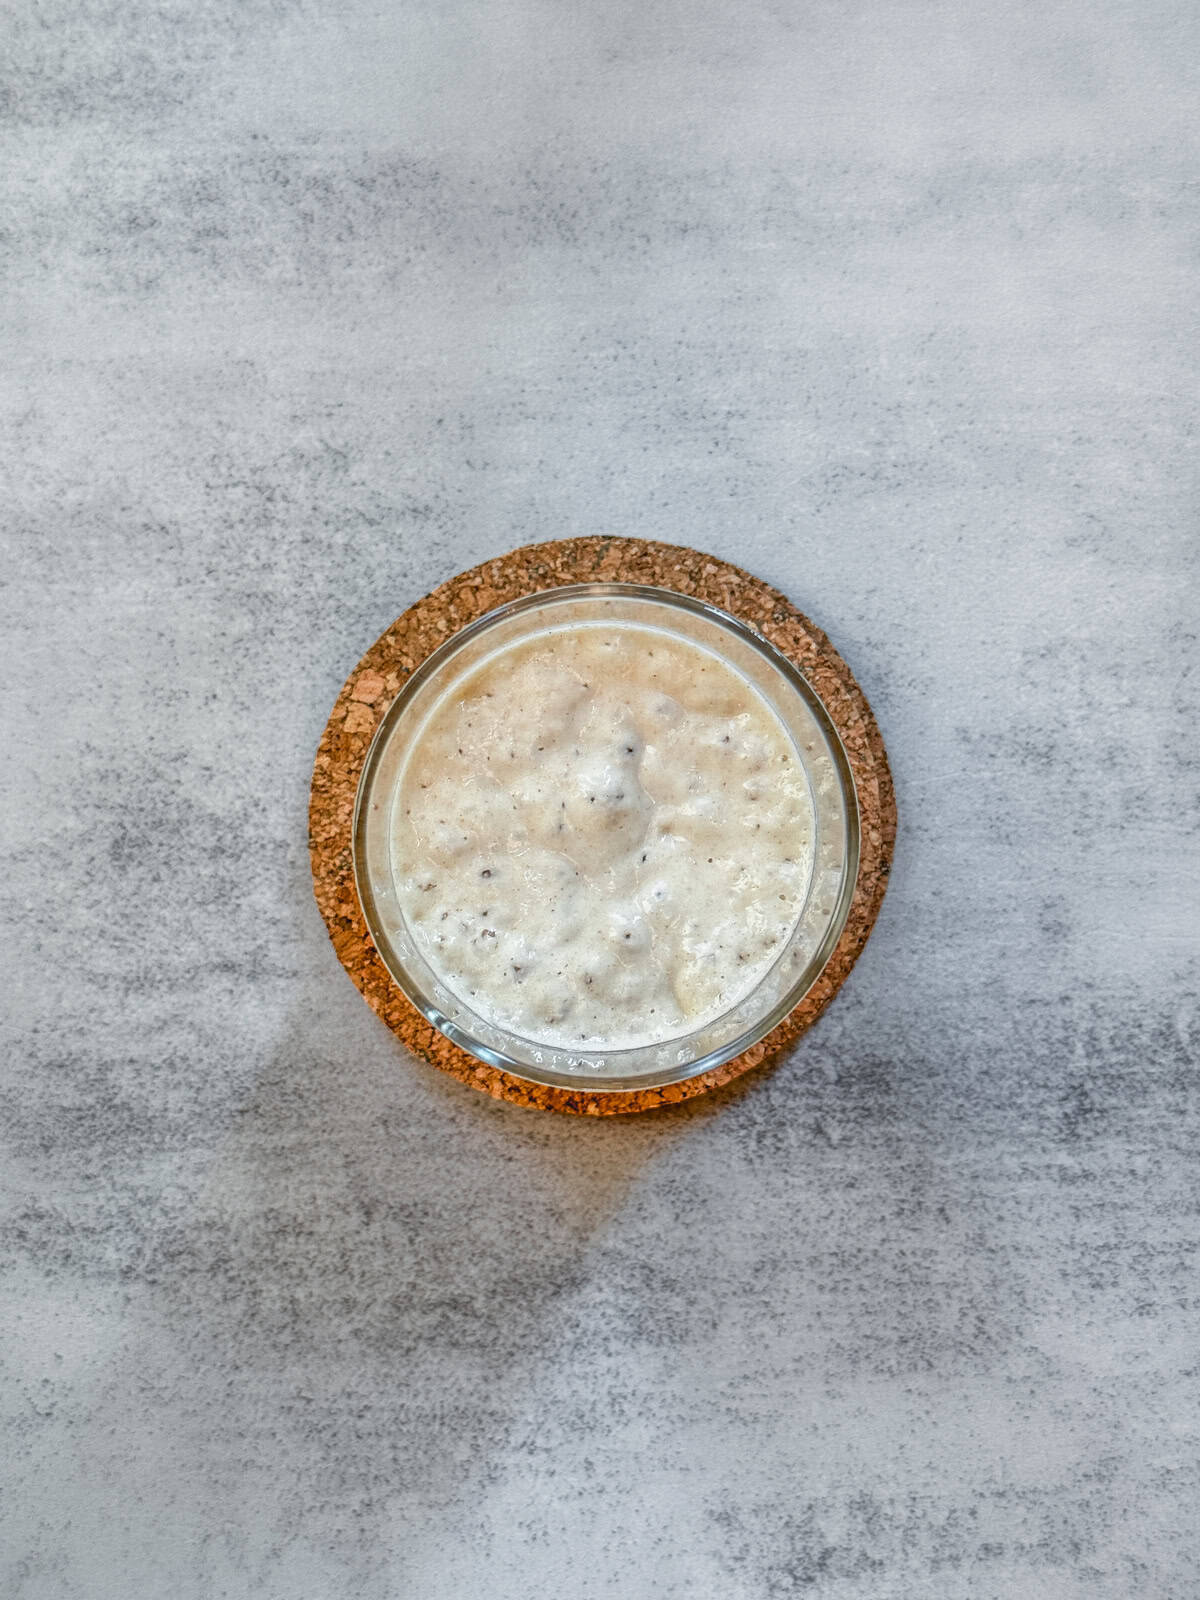
Day 4 morning update: You should notice substantial growth, with the starter likely doubling in size.
Day 4 (morning) starter update - front view.

Day 4 (morning) starter update - overhead view.
Now, you will start discarding. Mix your starter, then remove all but 25 grams (transfer it to a clean jar if you prefer). Add 25 grams of lukewarm water, stir, then add 25 grams of bread flour. Mix well with a jar spatula.
Mark the starter level on the side of the jar with a rubber band or a washable glass marker to track its growth. Cover with a loose lid and leave it in a warm, draft-free place (72-75°F or 22-24°C) for 12 hours.
Day 4 (morning) after mixing - front view.
Day 4 (morning) after mixing - overhead view.
Day Four (Evening)
Day 4 evening update: The starter should be active with lots of bubbles along the sides of the jar.
If there is little activity, skip this evening's feeding and keep it in a warm, draft-free place (72-75°F or 22-24°C) for another 12 hours.
Day 4 (evening) starter update - front view.
Day 4 (evening) starter update - overhead view.
If the starter has doubled in size, feed it. Mix it and remove all but 10 grams (transfer it to a clean jar if you prefer). Add 20 grams of lukewarm water, stir, then add 20 grams of bread flour. Mix well with a jar spatula.
Mark the starter level on the side of the jar with a rubber band or a washable glass marker to track its growth. Cover with a loose lid and leave it in a warm, draft-free place (72-75°F or 22-24°C) for 12 hours.

Day 4 (evening) after mixing - front view.

Day 4 (evening) after mixing - overhead view.
Day Five and Beyond
Day 5 morning update: By now, your starter should have doubled in size.
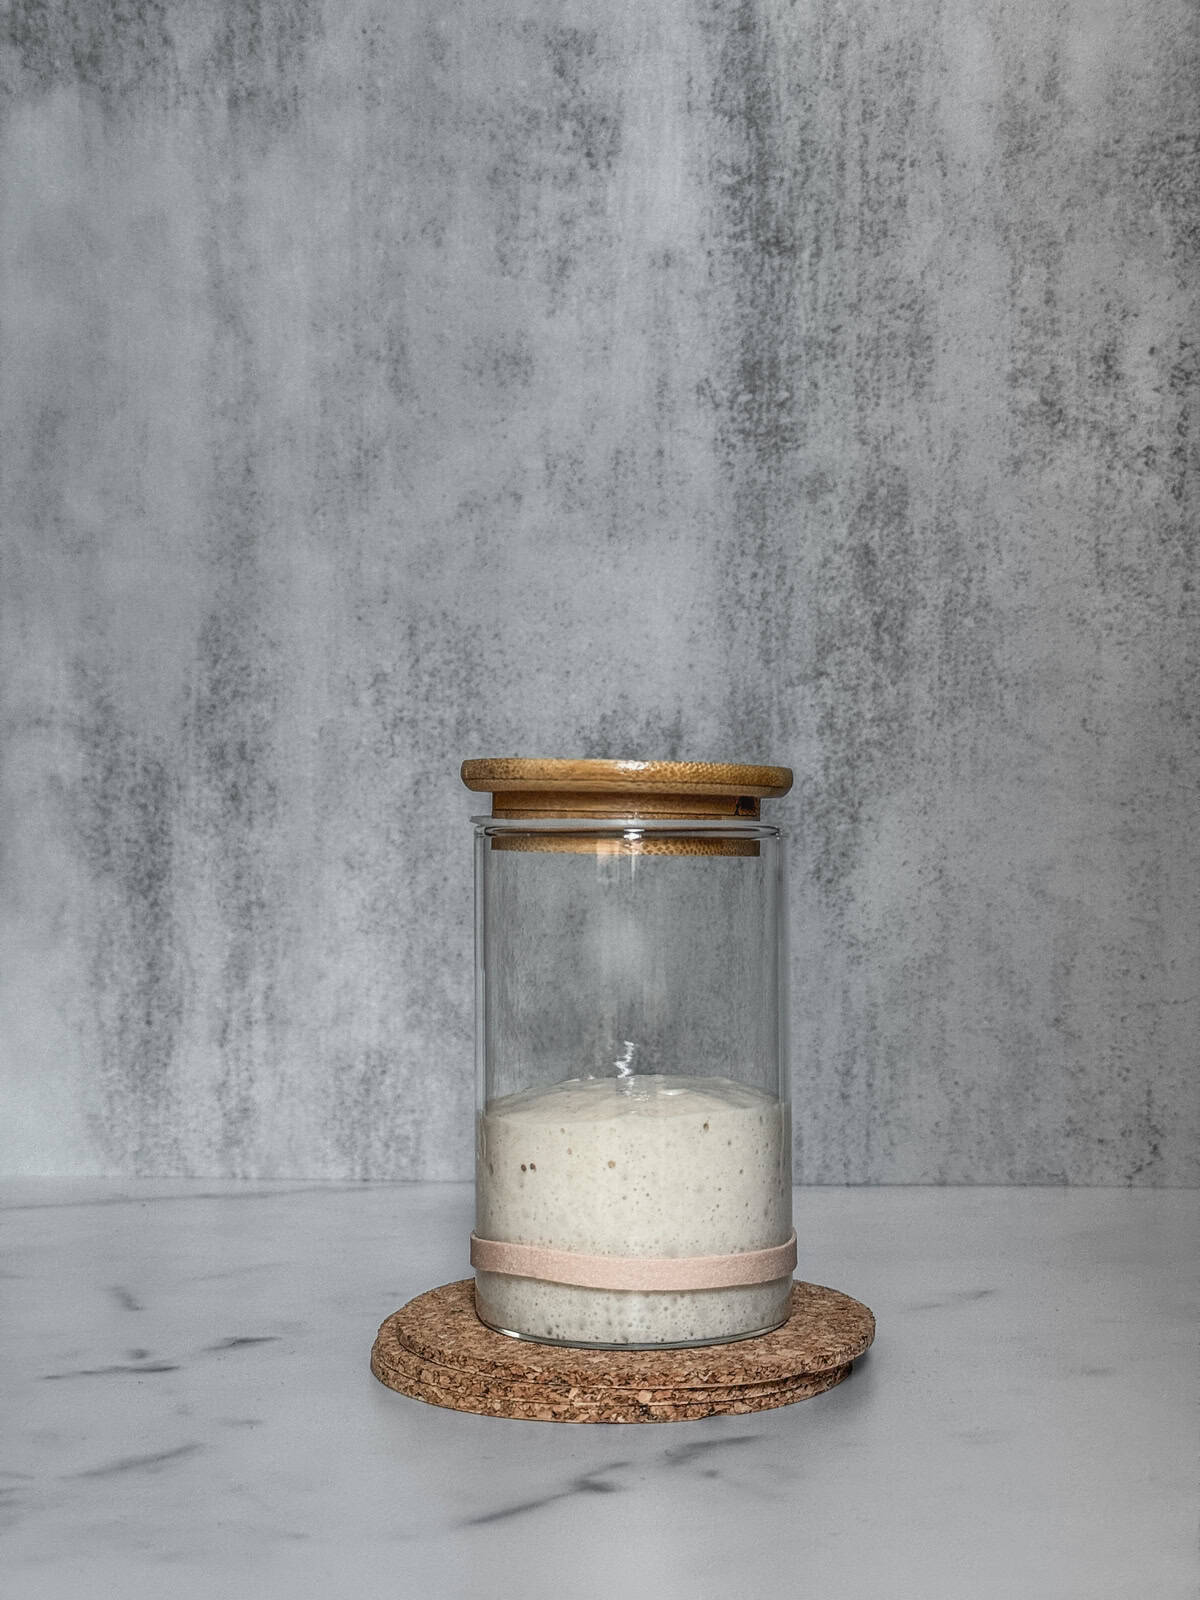
Day 5 (morning) starter update - front view.
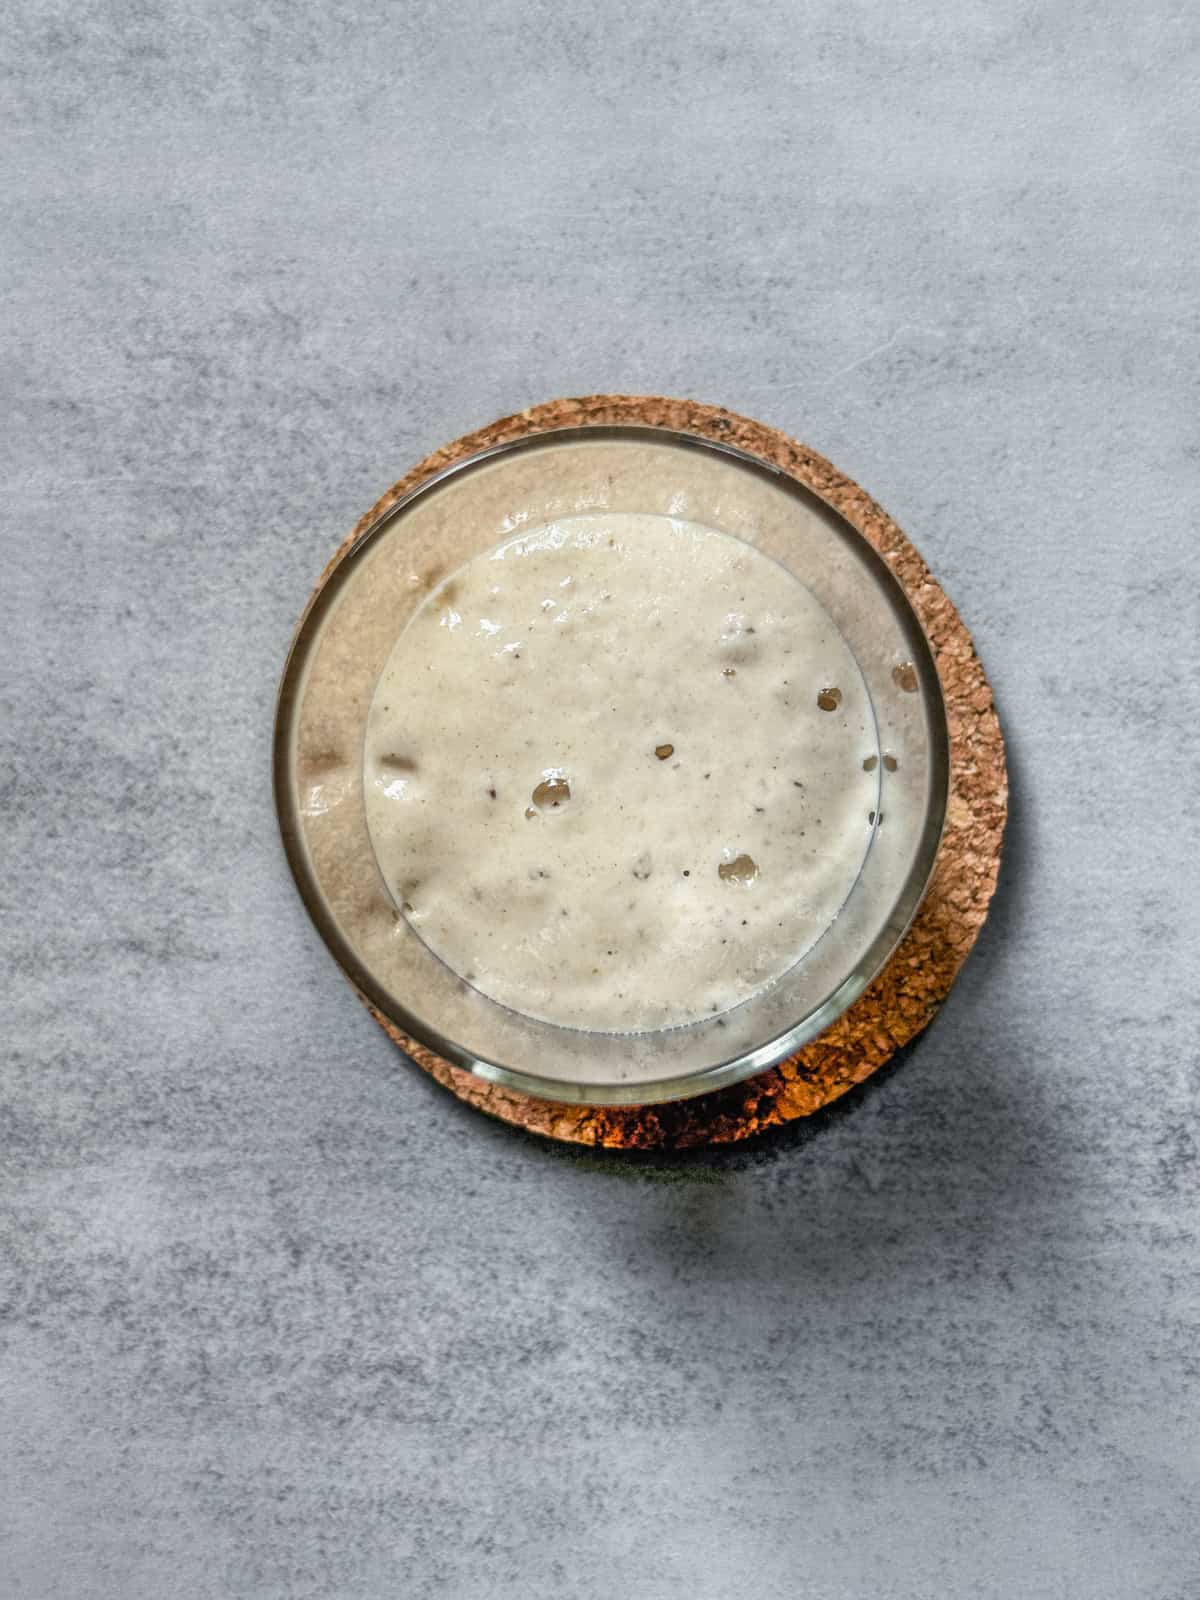
Day 5 (morning) starter update - overhead view.
Mix it and remove all but 5 grams. Start feeding your starter twice a day using a 1:3:3 ratio (5 grams starter, 15 grams flour, 15 grams water). Room-temperature water works fine at this stage.
Day 5 (morning) after mixing - front view.

Day 5 (morning) after mixing - overhead view.
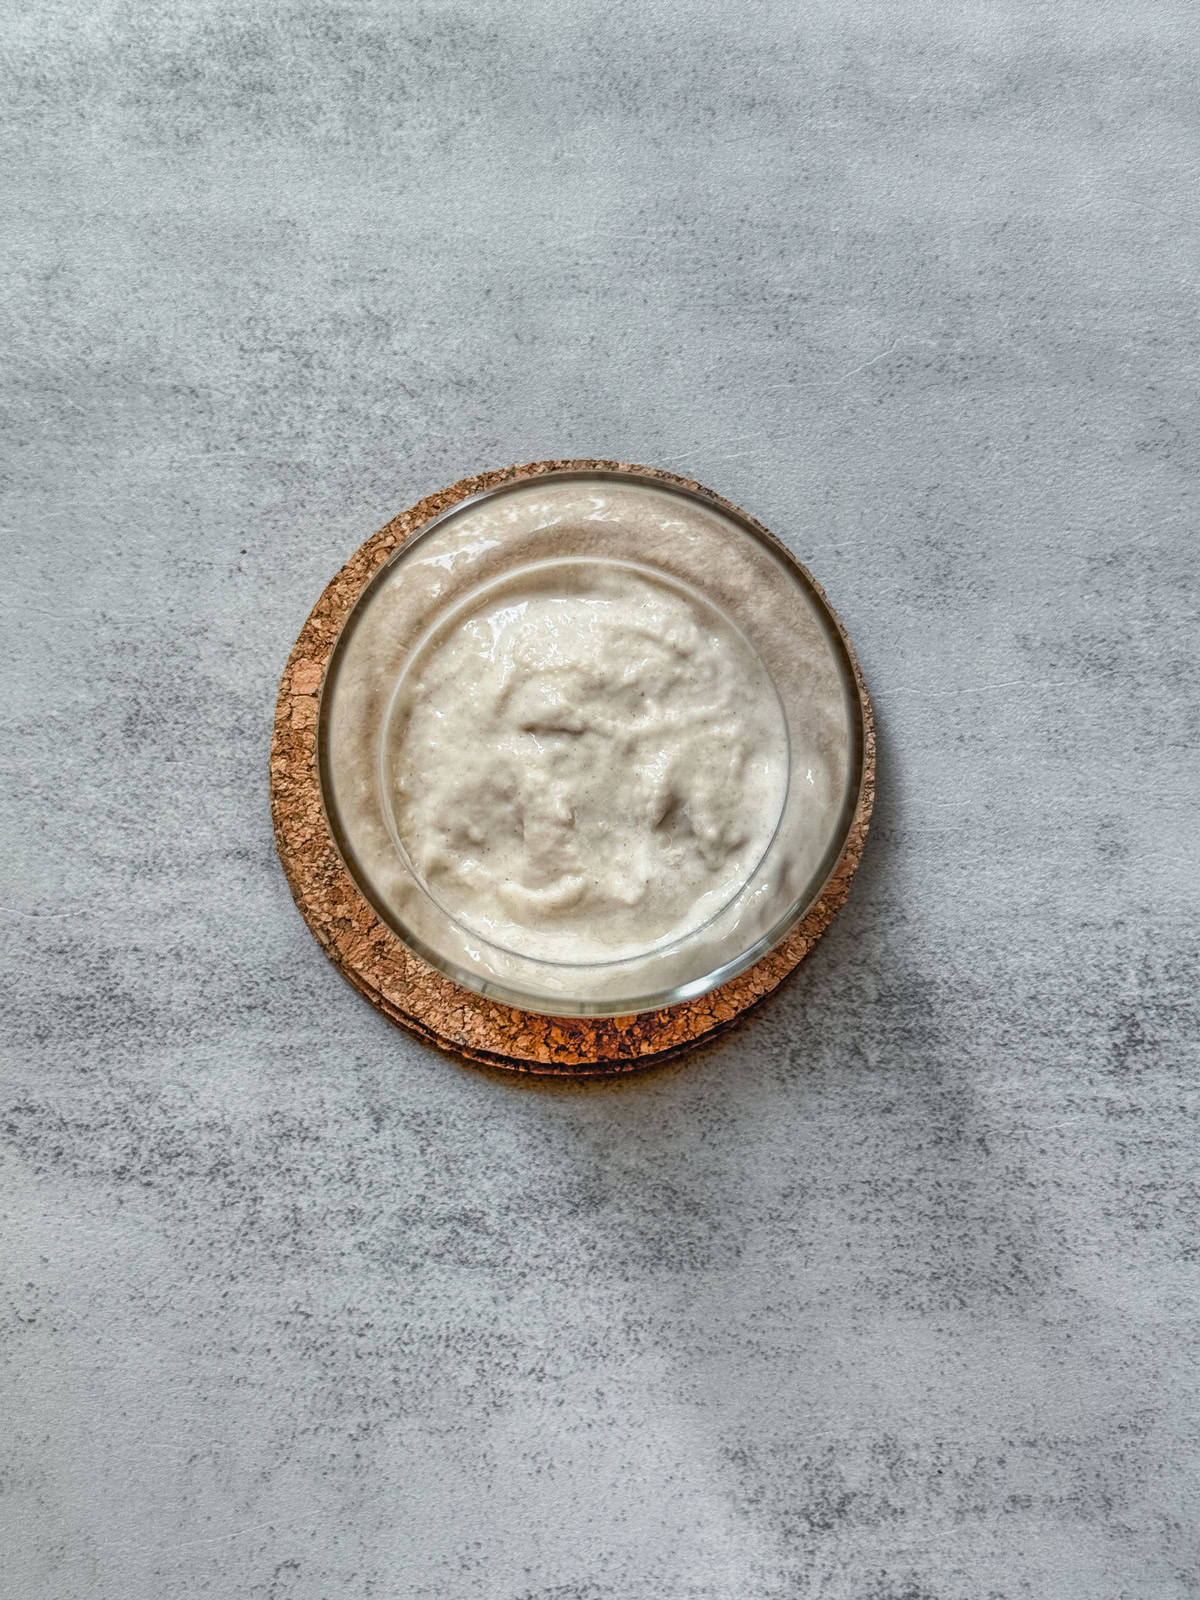
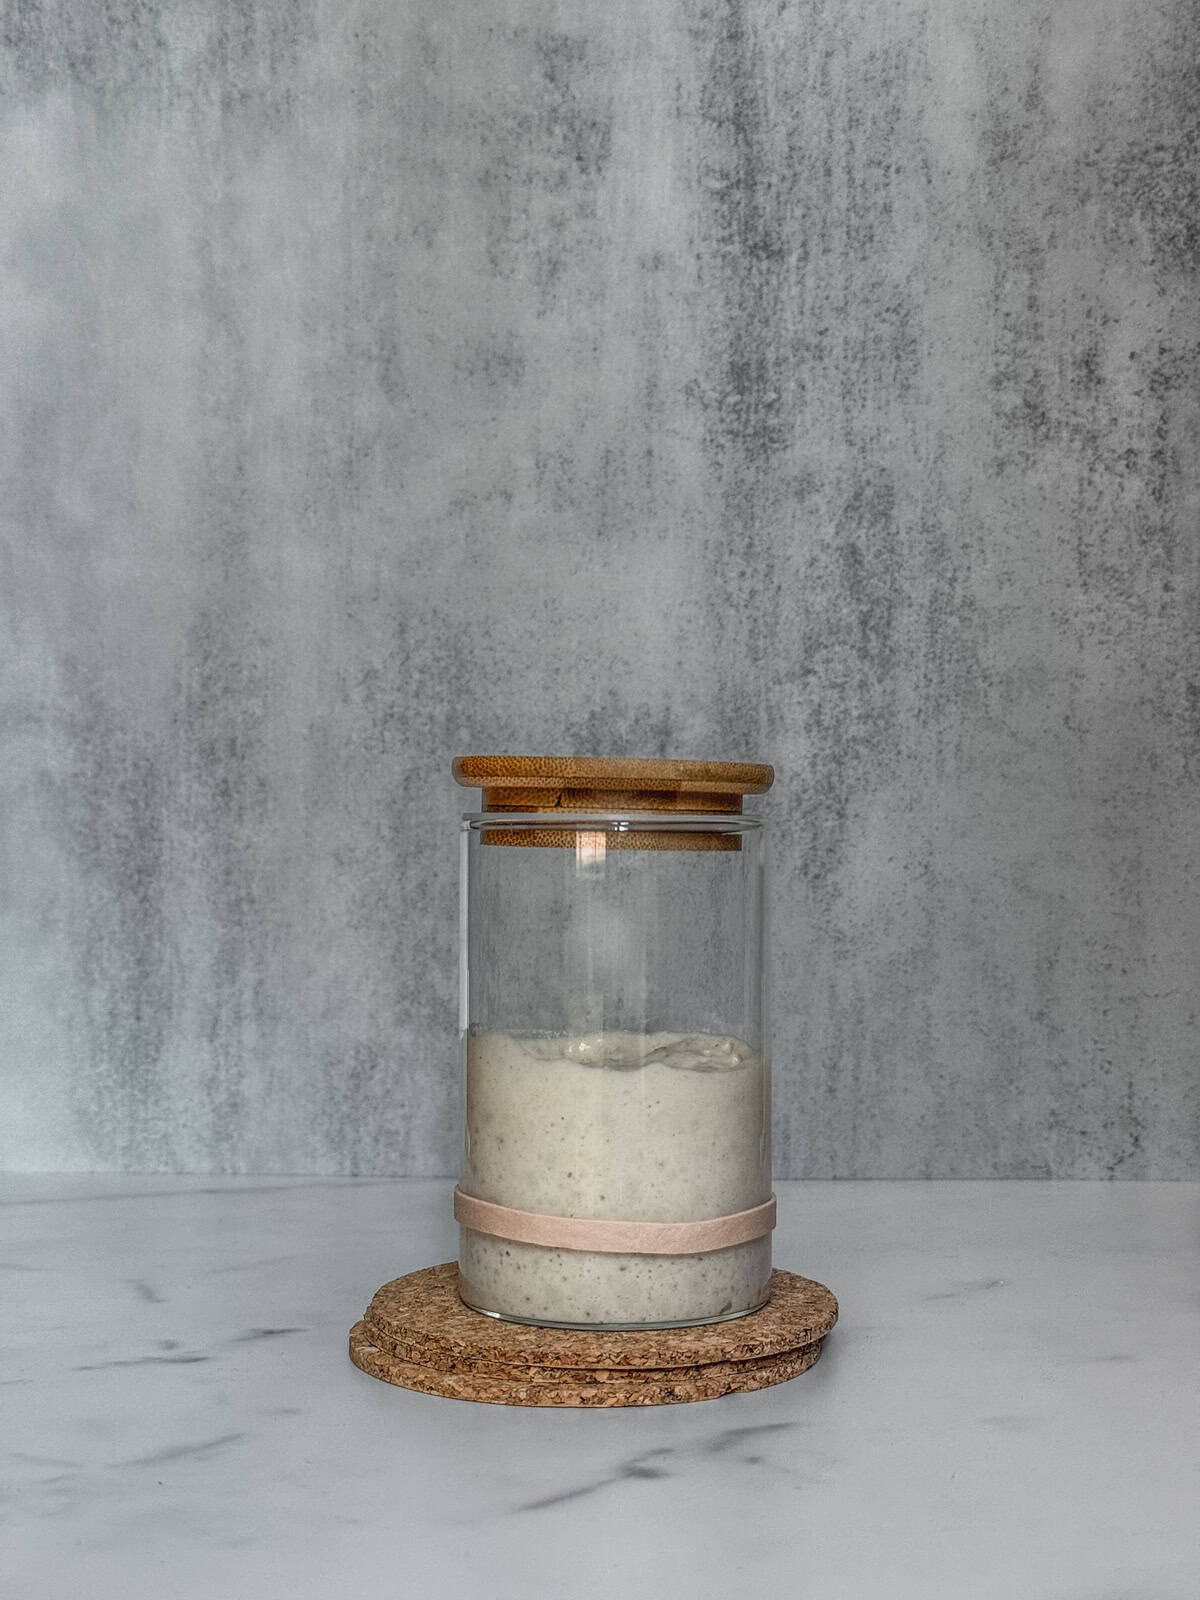
Day 5 evening update: Your starter should be doubled in size with plenty of bubbles along the sides of the jar.
Day 5 (evening) starter update - front view.
Day 5 (evening) starter update - overhead view.
Over the next three to five days, keep an eye on it. Look for steady bubbles, a pleasantly tangy smell, and consistent growth, such as doubling or even tripling in just a few hours after each feeding. When it regularly reaches its peak like this, your starter is ready to bake sourdough bread.
Eventually, adjust the daily feeding ratio based on your baking frequency. Learn more in my sourdough starter troubleshooting guide and sourdough starter FAQs, and check out my tips on how to store a sourdough starter.
Visual guide: How to rehydrate sourdough starter
Here is a handy visual guide you can pin for later reference. You can also print the full guide from the recipe card below.
Expert Tips
- Temperature: Keep sourdough starter warm between 75°F and 80°F (24°C and 27°C). If your kitchen is cold, place the jar in an oven with just the light on, but check the temperature with a thermometer to avoid overheating.
- Consistency: Weigh your ingredients with a kitchen scale at each feeding and log your starter's progress daily.
FAQ
No, it is not required, but crushing the flakes can help them dissolve more quickly during rehydration.
No, it is not necessary. A healthy starter will reactivate on its own with regular feedings.
It usually takes three to seven days, depending on the starter's strength and your environment.
Ready to keep learning?
Your starter is alive and ready again. Now, it is time for fun. Naming sourdough starter makes the baking experience more personal and memorable.
PrintRecipe
How To Rehydrate Sourdough Starter
Easily rehydrate sourdough starter with this step-by-step guide to revive dried starter and get it ready for baking bread.
- Total Time: 5 days
- Yield: 35g 1x
- Method: No-Cook
- Cuisine: American
Ingredients
- 10 grams dried sourdough starter
- 109 grams unbleached bread flour, divided (King Arthur brand)
- 105 grams water, divided (non-chlorinated tap water, filtered or spring water
Instructions
- Check the photos and instructions earlier in the post for reference before you start.
- Day 1 morning: Place 10 grams of dried sourdough starter in a clean jar. Add 15 grams of lukewarm water at 75-78°F (24-26°C) and stir until well combined. Let the mixture sit in a warm spot (around 78-80°F or 25.5-27°C) for 20 to 30 minutes, allowing the starter powder to dissolve. If your starter is in flakes, let it soak for 1 to 3 hours. Stir and check each hour until the flakes are almost completely dissolved.
- Once dissolved, add 10 grams of unbleached bread flour and mix with a rubber or wooden spatula until well combined. Cover the jar loosely and leave it in a warm, draft-free place (72-75°F or 22-24°C) for 24 hours.
- Day 2 morning: Do not discard the starter yet. Just mix it and add 10 grams of lukewarm water, stir, and mix in 12 grams of bread flour. The mixture should feel like thick pancake batter. Mark the starter level on the side of the jar with a rubber band or a washable glass marker to track its growth. Cover with a loose lid and leave it in a warm, draft-free place (72-75°F or 22-24°C) for 24 hours.
- Day 3 morning: Do not discard the starter yet. Just mix it and add 5 grams of lukewarm water, stir, and mix in 12 grams of bread flour. The mixture should feel like a very thick pancake batter, but it will loosen over time. Mark the starter level on the side of the jar with a rubber band or a washable glass marker to track its growth. Cover with a loose lid and leave it in a warm, draft-free place (72-75°F or 22-24°C) for 24 hours.
- Day 4 morning: Mix your starter and remove all but 25 grams (transfer it to a clean jar if you prefer). Add 25 grams of lukewarm water, stir, then add 25 grams of bread flour. Mix well with a jar spatula. Mark the starter level on the side of the jar with a rubber band or a washable glass marker to track its growth. Cover with a loose lid and leave it in a warm, draft-free place (72-75°F or 22-24°C) for 12 hours.
- Day 4 evening: If there is little activity, skip this evening's feeding and keep it in a warm (72-75°F or 22-24°C) draft-free place for another 12 hours. If the starter has doubled in size, feed it. Mix it and remove all but 10 grams (transfer it to a clean jar if you prefer). Add 20 grams of lukewarm water, stir, then add 20 grams of bread flour. Mix well with a jar spatula. Mark the starter level on the side of the jar with a rubber band or a washable glass marker to track its growth. Cover with a loose lid and leave it in a warm, draft-free place (72-75°F or 22-24°C) for 12 hours.
- Day 5 and beyond: Mix your starter and remove all but 5 grams. Start feeding it twice a day using a 1:3:3 ratio (5 grams starter, 15 grams flour, 15 grams water). Room-temperature water works fine at this stage. Over the next three to five days, keep an eye on it. Look for steady bubbles, a pleasantly tangy smell, and consistent growth-doubling or even tripling in just a few hours after each feeding. When it regularly reaches its peak, your starter is ready to bake sourdough bread.
Notes
- Temperature: Keep the starter warm between 75°F and 80°F (24 °C and 27°C). If your kitchen is cold, place the jar in an oven with just the light on, but check the temperature with a thermometer to avoid overheating.
- Consistency: Weigh your ingredients with a kitchen scale at each feeding and log your starter's progress daily.


Comments
No Comments