
Banneton, or a proofing basket, is a key tool for making sourdough bread. Learn how to use a banneton, from preparing it for the first use to caring for it during long-term use and storing it correctly.
What is a banneton?
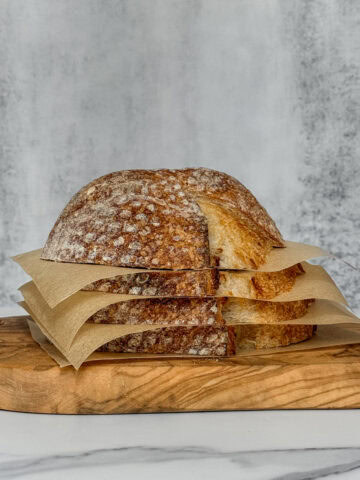
A banneton, also known as a proofing banneton basket, is an essential tool in sourdough baking designed to hold the shape of sourdough bread. Made from rattan or wood pulp, it features a spiral pattern that allows the dough to breathe during proofing.
Besides the different types of bannetons, they also come in various shapes, including round, oval, and rectangular, and sizes to suit your needs. Some have liners, but some do not.
How to prepare a banneton for the first use
If you buy a rattan or wood pulp banneton with a liner or a special cloth covering its interior, you are ready to start. However, I recommend washing the liner separately from your regular laundry to make sure it is clean after purchase.
If you bought a rattan banneton without a liner or want your dough to have a spiral pattern, you need to season it first.
To season a rattan banneton, lightly spray it with water, making sure the surface is evenly damp. Then, dust it thoroughly with rice flour, making sure to cover all the crevices. Shake off any excess flour and let the banneton air dry at room temperature.
You only need to do this once, but for extra assurance, you can lightly flour it two more times without water. After this, you are all set.
To prepare a new wood pulp banneton, quickly brush it to remove any loose wood fibers. Next, heat your oven to 210-250°F (100-120°C), then turn it off. Place the banneton in the shut-down oven and use the leftover heat to treat it for a short time.
Once it cools, generously dust it inside with rice flour or potato starch to create a non-stick layer. If you like, you can use a liner for added protection and moisture control, but it is not necessary.
Using a banneton liner or not
Whether to use a banneton liner is a personal choice. Some bakers prefer them because they offer a great non-stick surface, but even with a liner, dough can sometimes stick. Liners are also helpful when creating intricate designs while scoring sourdough.
To line your banneton, you can also cut a baby muslin swaddle blanket into four squares, use a flour sack towel, or cheesecloth. Make sure to dust them with rice flour before use.
After each use, wash and air dry the cloth separately in cold water, away from other laundry. Some bakers prefer to shake out their liners and let them air dry instead of washing them.
For a hassle-free option, try using disposable non-woven liners made of "food-grade healthy PP material." These liners do not need washing or flour dusting, which makes them a clean and budget-friendly choice.
How to use a proofing basket
When using a banneton with a liner or another type of cloth, sprinkle the cloth generously with rice flour.
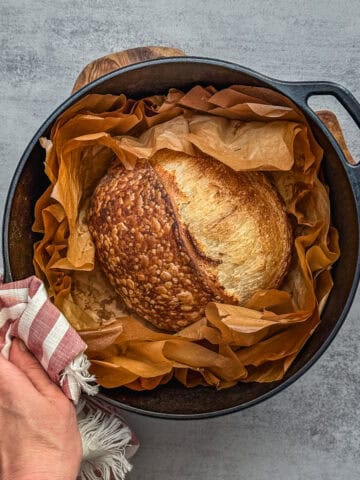
After shaping the sourdough, place it seam-side up in the prepared banneton. If you use a banneton liner, tea towel, muslin swaddle blanket, or cheesecloth, sprinkle rice flour over the dough before covering it.
If you use a plastic bag or leave the dough uncovered, you do not need to sprinkle rice flour.
Once the dough is placed in the banneton, it is ready for final proofing, whether in the fridge or at room temperature.
How to clean a banneton
Once you are done proofing and ready to remove the dough from the banneton, gently tap it over a trash can to shake off any excess flour. If dried dough is stuck inside, use a bristle brush to clean the banneton. Let it air dry before storing it.
You do not need to clean the banneton of excess flour after every use. Just tap it and use a dry brush about once a month.
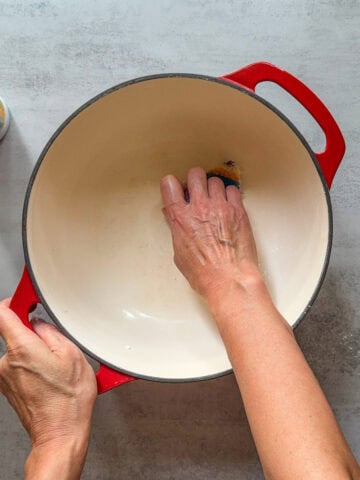
Never soak or use soap on your banneton, as this can damage the natural fibers. If you have stubborn, sticky dough residue, try using cold water (no soap). Then wipe the banneton with a kitchen towel and let it air-dry before storage.
How to store it
Store bannetons in an area with good airflow to prevent moisture buildup, which can lead to mold. Never store them in plastic bags or stack them, as this can also cause mold growth.
If you notice mold, it is time to replace the banneton. Also, replace your banneton if the material unravels or gets damaged. With the proper care, your banneton can last for many years.
Let's talk sourdough
Do you dust your banneton with flour or line it with a cloth? I'd love to hear what works for you.
Ready to keep learning
Not all bannetons are the same size. Use this banneton size guide to match the basket to your dough weight and loaf style.

Comments
No Comments