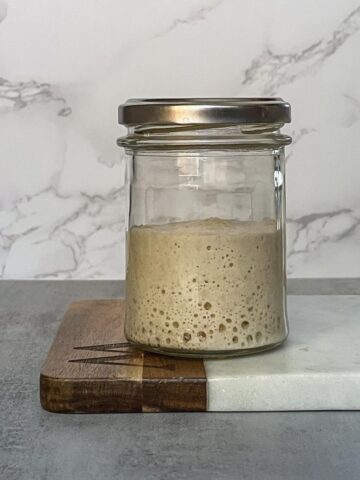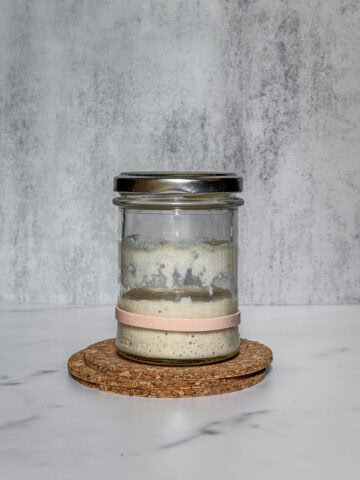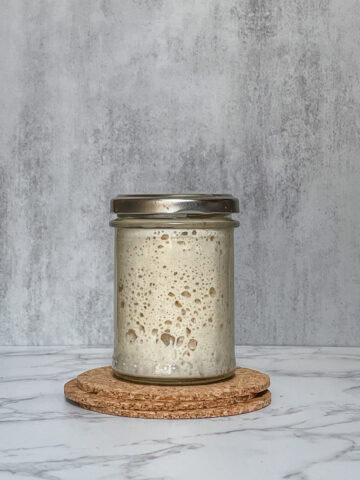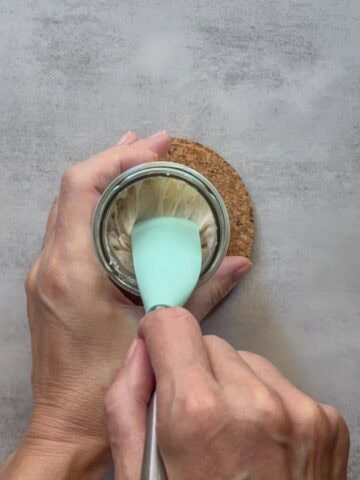

Unlike a thick, bubbly starter, a runny sourdough starter affects fermentation and your baking results. Learn what causes a runny starter and how to fix it to help you maintain a healthy, active sourdough culture.
Sometimes troubleshooting your starter takes so long that it is easier and faster to start fresh. Here is a simple guide to creating a sourdough starter from scratch.
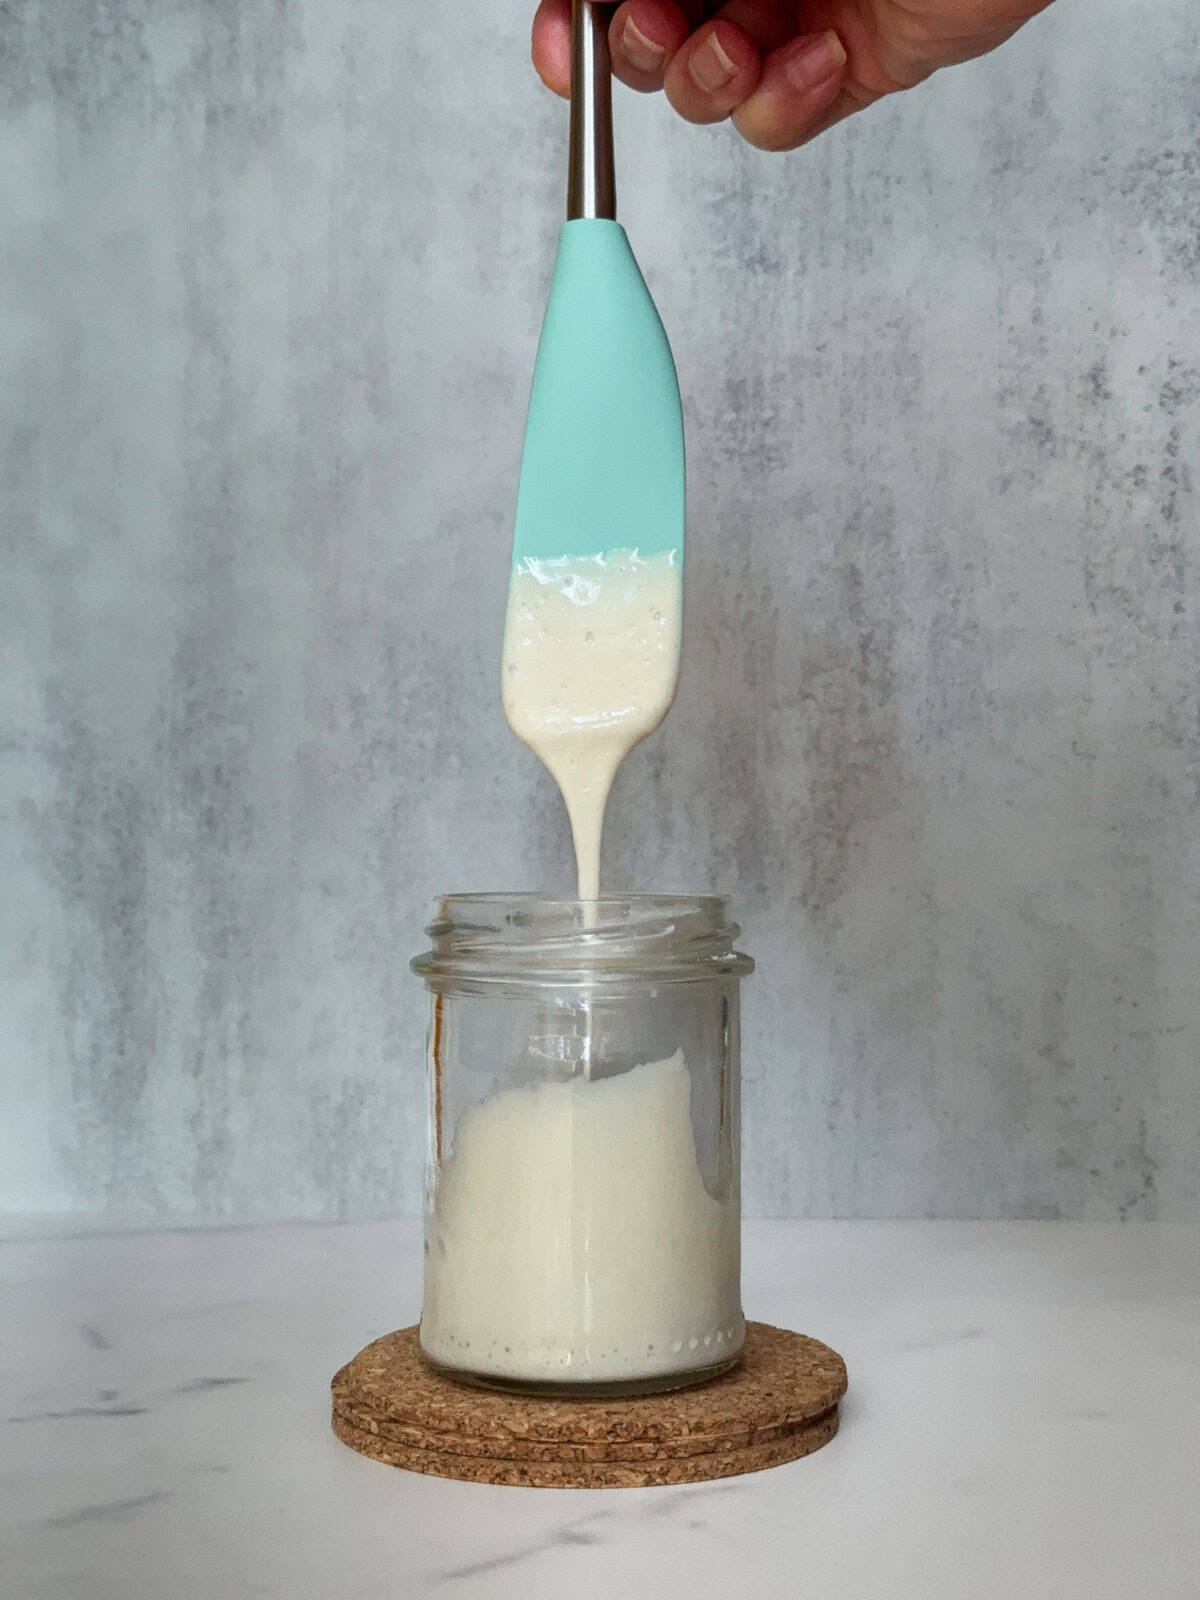
What is runny sourdough starter?
A runny sourdough starter has a watery, thin consistency rather than a thick, pancake-like spoonable texture.
It usually means the starter has a higher hydration (more water than flour) or is past sourdough starter peak, meaning it is hungry and starting to break down.
In the latter case, you may also notice a sharp, vinegary smell, lots of tiny, foamy, soapy-looking bubbles on the surface, or even a layer of liquid (called "hooch") on top.
Is a runny starter always a problem?
A runny starter isn't necessarily bad. It is just a clue about starter hydration, timing, or feeding frequency.
Sourdough starters can have different hydration levels:
- Regular starter or 100% hydration starter: Equal parts flour and water by weight.
- Liquid starter: More water than flour, creating a thinner consistency.
- Stiff starter: More flour than water, resulting in a dense texture.
Why is your sourdough starter runny?
A well-maintained sourdough starter consistency should feel like thick pancake batter or warm peanut butter.
If your starter was once thick but turned runny, it is likely hungry, meaning it has consumed all its food (flour) and the gluten network has broken down. Here are factors that cause a runny or watery starter:
- Incorrect feeding ratios
- Inaccurate bread ingredient measurements
- Type of flour used
- Inconsistent feeding schedules
- Warm temperatures
How to fix a runny sourdough starter
If you don't have an intentionally liquid starter (one with more water than flour), you can fix your runny starter. Focus on balancing its feeding ratio and schedule, choosing the right flour, and maintaining steady conditions. Here is how:
1. Adjust the feeding ratio
Feeding your starter at a 1:1:1 ratio once a day (a common beginner mistake) often leaves it hungry for most of the day. Try switching to a 1:3:3 ratio twice a day and observe how it behaves. If your starter deflates before the next feeding, it may need an even higher feeding ratio.
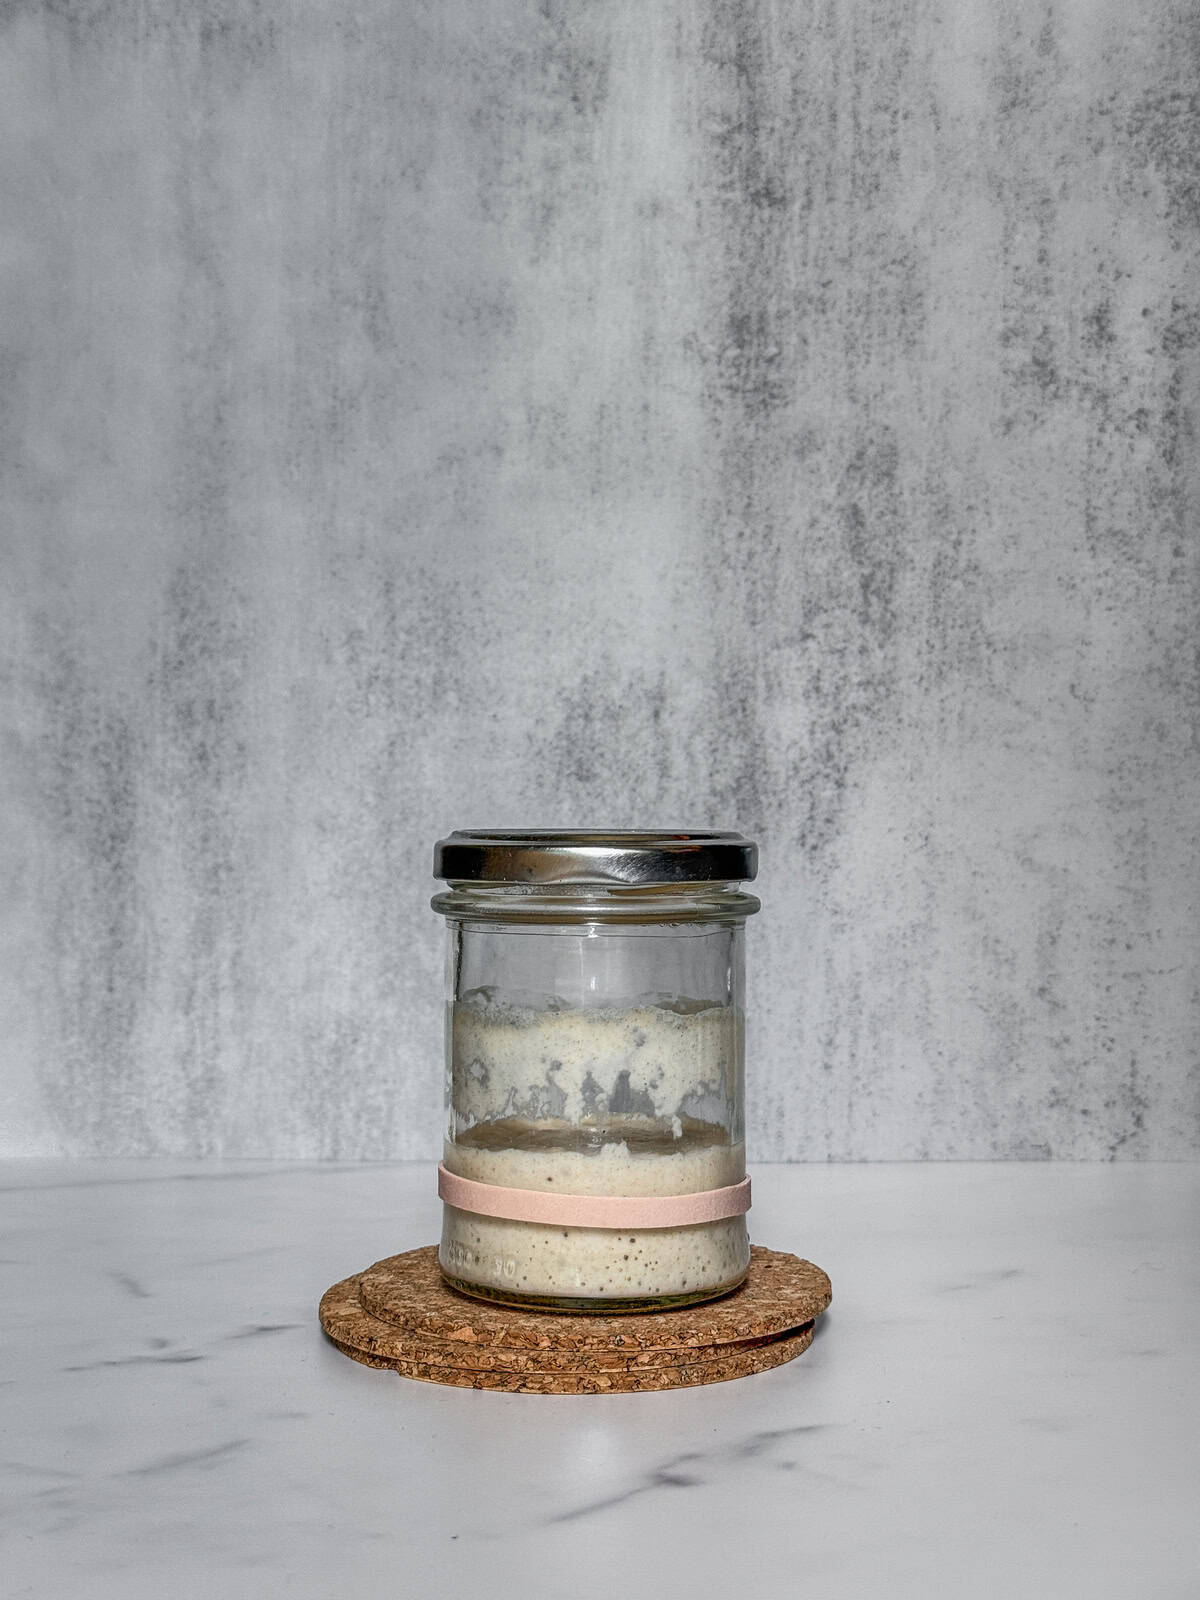
There is no single "right" ratio. It depends on your room temperature and the type of flour you use. To learn more, read about how to feed your sourdough starter and the different starter feeding ratios.
If you bake only once a week or less often, check out how to store sourdough starter in the fridge.
2. Weigh ingredients accurately
Measuring by weight is the key to maintaining your starter's ideal consistency. I highly recommend switching from using measuring cups to a digital kitchen scale (I use this pocket gram scale) for precise results.
Measuring by cups is usually misleading since different flour brands, types, and even how you scoop flour into the cup can change its weight.
For example, one cup of flour can weigh anywhere from 115 to 140 grams, which will surely affect your starter hydration.
3. Choose the right flour
Bread ingredients, especially the type of flour you use, affect your starter's consistency. While unbleached white flour works well for regular feedings, whole wheat and rye flours absorb more water, making your starter thicker and stronger.
For instance, bread flour (like King Arthur or Bob's Red Mill) tends to absorb more water than all-purpose flour, resulting in a firmer texture.
If your starter feels too runny, try replacing 10-20% of the flour in your feedings with whole-wheat or rye flour. This will help stabilize it and encourage more balanced fermentation.
Don't be afraid to experiment with different flour combinations until you find the one that gives your starter the "right" consistency and activity level.
Each flour brings its own character. For example, rye boosts activity and aroma, whole wheat adds depth, and bread flour offers structure.
4. Create consistent temperature conditions
Temperature has a powerful effect on your starter's activity and fermentation rate. Warm conditions, such as high kitchen temperatures, summer, or a hot climate, speed up the starter's fermentation.
If it gets too warm, the starter ferments too quickly, breaking down its structure and becoming runny.
The key is to maintain a steady environment between 72°F and 75°F (22°C and 24°C).
This range supports healthy microbial growth without pushing your starter past its limits. But sudden temperature changes can "confuse" yeast and bacteria, leading to inconsistent rise times and unpredictable texture.
If your kitchen tends to fluctuate in temperature, consider using tools that provide gentle, even warmth. A Brod & Taylor Sourdough Home, Goldie by Sourhouse, a bread proofer, or even a yogurt maker are the best options for creating consistent conditions year-round.
I personally use a Brod & Taylor Sourdough Home, and it has made a big difference. In my house, the temperature swings from 69°F (21°C) at night to 73°F (23°C) during the day, and without a controlled environment, my starter would struggle.
Investing in a Sourdough Home was the right choice to keep my starter happy and active. Since using it, my starter's consistency has improved, and I have been able to develop a predictable feeding rhythm, feeding it at a 1:4:4 ratio twice a day at 75°F (24 °C).
5. Feed your starter regularly
Try to maintain a regular feeding schedule to prevent your starter from becoming runny, especially during its first four weeks of creating a new sourdough starter.
If you keep your starter at room temperature, feed it once or twice daily. If you store it in the refrigerator, feed it at least once a week.
Try to avoid leaving your starter unfed for more than 24 hours at room temperature or longer than a week in the fridge.
While it will survive, prolonged periods without feeding lead to acid buildup, making the starter watery and weak. If this happens, read how to fix a weak, acidic starter and strengthen your starter for consistent activity.
Let's talk sourdough
Have you ever had issues with your starter becoming runny? If so, how did you fix it? Please comment below.
Ready to keep learning?
Sometimes your starter is weak and acidic, and it is also too loose. Discover how to deal with an acidic sourdough starter and bring it back into balance.