
Learn no discard sourdough starter method if you want to save money and avoid wasting flour while feeding your starter.
Everyone needs a different amount of starter for baking, but the main goal is the same: keep only what you need and store the rest in the fridge when it is not in use.
What is a no discard sourdough method?
The no discard sourdough starter method is a way to maintain your starter without wasting ingredients, refreshing it only when you need it.
When you store sourdough starter on the counter and feed it once or twice a day, some flour waste is inevitable. The same applies when you create a starter from scratch and maintain it until it is mature.
But once your starter is healthy, active, and well-established, you can store it in the fridge, especially if you bake less than once a week.
What you need to get started
- A mature sourdough starter that is at least 4-5 months old.
- A basic understanding of baker's math.
- A consistent sourdough baking schedule, like building levain overnight and mixing the dough in the morning.
- Knowledge of how long it takes your starter to peak at different feeding ratios, such as 1:1:1, 1:2:2, etc., is also called your starter's peak times.
How to track your starter's times to peak
It is important to learn your sourdough starter and know how long it takes for it to peak, as its activity depends on the temperature in your kitchen.
For example, my house stays at 73°F (23°C) during the day and 69°F (20.5°C) at night. These differences affect how long it takes for the starter to peak.
I track this by testing different feeding ratios at various times of the day and night. For instance, if I want my starter to peak by morning, I might use a 1:6:6 to 1:10:10 ratio at night, depending on the season.
I highly recommend creating a table of your starter's times to peak or simply printing out my sourdough baking log. These will help you adjust your baking schedule and avoid those middle-of-the-night dough mixings (trust me, beginners often end up there!).
Feed your starter with different ratios, note how long it takes to peak, and record the results. Over time, you will have a clear guide for perfectly timed baking.
| Time | Feeding Ratio | Time to Peak |
| Daytime | 1:1:1 | |
| Daytime | 1:2:2 | |
| Daytime | 1:3:3 | |
| Daytime | 1:4:4 | |
| Nighttime | 1:5:5 | |
| Nighttime | 1:6:6 |
If the temperature in your kitchen changes during the day and night, observe how long it takes for your starter to peak with both morning and evening feedings.
For more consistent, predictable times to peak, consider using the Brod & Taylor Sourdough Home, which helps maintain a steady environment for your starter.
No discard sourdough starter methods
There are a few ways to maintain a healthy sourdough starter without wasting flour.
- Method 1: Storing a minimal amount of starter
- Method 2: Scraping method
- Method 3: Storing a larger amount of starter
1. Storing a minimal amount of starter
This method works well if you bake bread once or twice a week. You only need a small amount of starter (about 10 grams) in your refrigerator.
How it works:
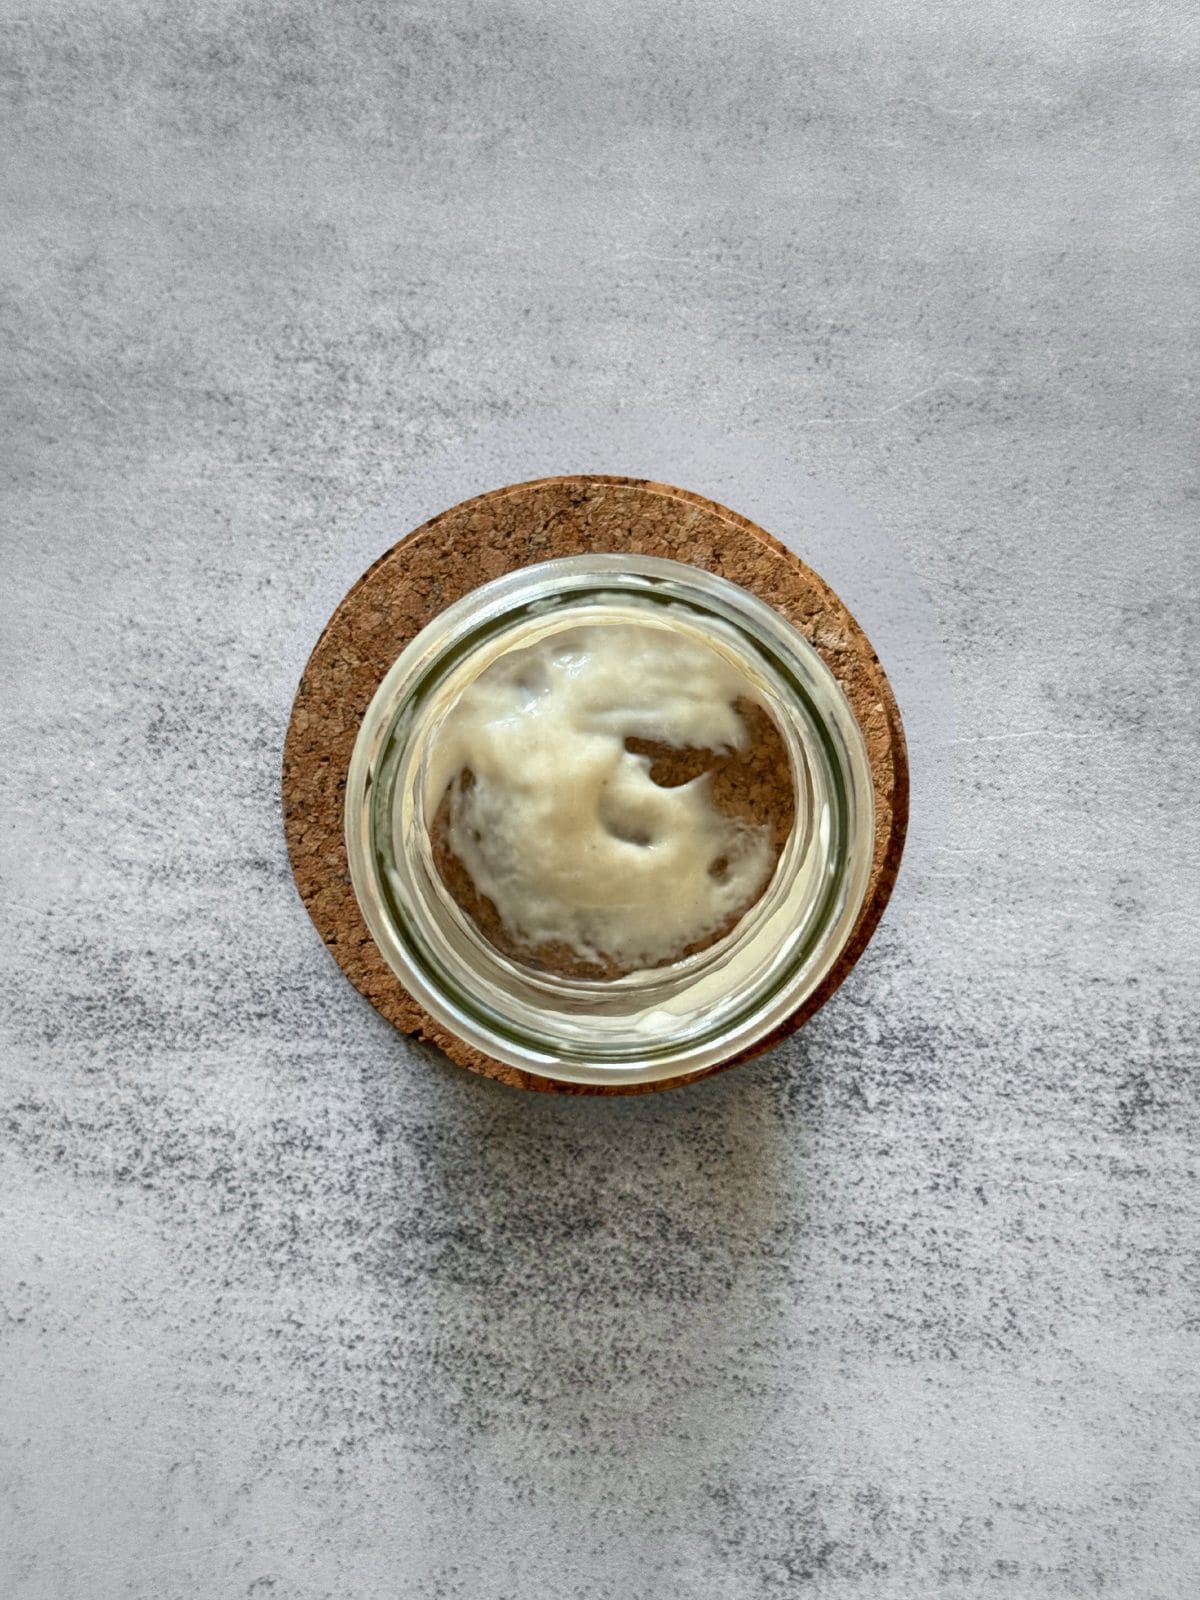
- Store your starter: Keep 10 grams of starter in an airtight jar in the fridge at 39°F (4°C).
- Plan your feedings: The night before you bake, take out the jar and feed the starter. Choose a feeding ratio based on how long it takes your starter to peak.
For example, if your starter peaks in 8 hours at a 1:5:5 ratio and you plan to start mixing the dough at 7 AM, feed the starter at 11 PM.
- Feed and bake: Mix enough starter to match the amount your recipe calls for, while reserving 5-10 grams for storage.
For example, if your recipe calls for 100 grams of levain (active starter), feed 10 grams of starter with 50 grams of flour and 50 grams of water (1:5:5 ratio). This gives you 110 grams: 100g for the recipe and 5-10g of starter (at peak) for storage (yes, bring it to the fridge).
This method doesn't require pre-bake refreshments and works best when your starter is strong and active. If you bake less frequently (e.g., once every two weeks), you may need to refresh your starter 1-2 times before baking.
Feeding ratio tips:
If you bake multiple loaves, store a bit more starter (20-25 grams) to avoid very large feeding ratios, such as 1:10:10 or 1:15:15, which may take 10-12 hours to peak.
Here are a few examples:
- Two loaves: Need 200g starter: store 20g and feed it at 1:5:5 (20g starter, 100g flour, 100g water)
- Three loaves: Need 300g starter: store 25g and feed it at 1:6:6 (25g starter, 150g flour, 150g water)
- Four loaves: Need 400g starter: store 25g and feed it at 1:8:8 (25g starter, 200g flour, 200g water)
2. The scraping method
The scraping method was first popularized by Jack from the baking channel "Bake With Jack" and later shared by Phill from @culinary_exploration.
They offer a simple, no-waste sourdough starter technique, also called the zero-discard method. It is a variation of the minimal-starter method described above.
Instead of keeping a measured amount of starter, this method uses only the tiny scrapings left in the jar after you have made bread dough.
Once your dough is mixed, the leftover starter coating the sides of the jar (usually around 5-10 grams) becomes the seed for the next batch. Close the jar tightly and store it in the fridge (for up to 4 weeks) until your next bake. When it is time to feed again, add fresh flour and water directly into the same jar.
Use a reasonable feeding ratio to revive the starter. Philip once experimented with a 1:50:50 ratio and still ended up with "a bubbling pot of sourdough starter" after 24 hours, proving how resilient sourdough really is.
You don't need to go that extreme. Just feed your scrapings enough to make the levain needed for your next bake.
For example, if your recipe calls for 100 grams of levain (active starter), add 55 grams of flour and 55 grams of water. This yields 110 grams: 100g for the recipe and 5-10g of leftover starter clinging to the bottom and sides of the jar, ready for the next feeding.
You can easily use the scraping method for everyday baking. Mix your bread dough in the morning, then keep the jar with the leftover scrapings tightly sealed until the evening. Then feed the leftover scrapings at night, and by morning your levain will be ready to use.
3. Storing a larger amount of starter
If you bake frequently or in larger quantities, keep a larger portion of starter in the fridge to simplify the process. Instead of measuring out tiny amounts each time, you can maintain a ready-to-use supply for multiple loaves.
How it works:
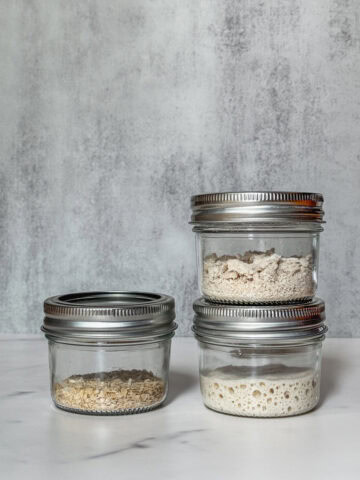
- Keep a larger starter: Store 55 grams of active starter in an airtight jar in the refrigerator at 39°F (4°C).
- Feed in two portions: When ready to bake, remove the starter from the fridge and divide it into two portions.
"Mother" starter (maintenance portion): Feed a small portion (18 grams) with equal parts water and flour (1:1:1 ratio). That is 18 g of starter, 18 g of flour, and 18 g of water. This yields 54 grams of starter, which is returned to the fridge for future use.
Levain (baking portion): Feed the remaining portion (37 grams) with equal parts water and flour (1:1:1 ratio). That is 37 g of starter, 37 g of flour, and 37 g of water. This produces 111 grams of levain, slightly more than enough for a single loaf (you can use 100 grams for the dough and discard a small amount of leftover starter).
This method doesn't require any pre-bake refreshments and works best with a strong, active starter.
If you bake less often (for example, once every 2 weeks), you may need to refresh your starter 1-2 times before dividing it into the "mother" starter and the levain portion.
Feeding ratio tips:
For bakers making multiple loaves at once, keep a larger starter in the fridge and divide it before feeding. Feed both portions at a 1:1:1 ratio:
Here are a few examples:
- Two loaves (200 g starter needed): Store 110 g starter, then divide it into a 36 g mother starter and a 74 g levain portion. Feed both at 1:1:1.
- Three loaves (300 g starter needed): Store 135 g starter, then divide into 27 g mother starter and 107 g levain portion. Feed the mother starter at a 1:2:2 ratio, and the levain portion at a 1:1:1 ratio.
Comparing the zero-discard starter methods
Each zero-discard method has its advantages, and the best choice depends on your baking routine, schedule, and personal preference. Here is a quick comparison:
Storing a minimal starter
- Pros: Uses very little flour, easy to maintain, flexible for occasional bakers.
- Cons: Requires careful planning of feeding times, may need multiple refreshments if baking infrequently. Also, you may accidentally use all the starter and have none left for future maintenance (if this happens, use the scraping method to restore your starter)
- Best for bakers who bake once or twice a week and want minimal maintenance.
Scraping method
- Pros: Completely waste-free, very low maintenance, starter can last weeks in the fridge.
- Cons: Needs an active, resilient starter, requires higher feeding ratios, and slightly longer fermentation times before baking. Also, if the jar breaks, there is nothing left, so don't forget to dehydrate your starter as a backup.
- Best for home bakers who want a simple, hands-off approach and don't mind a slower levain build.
Storing a larger starter
- Pros: Ready-to-use for multiple loaves, simplifies workflow for frequent baking.
- Cons: Uses more flour for maintenance, requires more fridge space, may need multiple refreshments if baking infrequently.
- Best for bakers who bake regularly or make several loaves at once.
Which method is best?
There isn't a single "best" method since it depends on your baking routine:
- If you bake occasionally and want minimal flour use, store a minimal amount of starter.
- If you want a hands-off, zero-discard method and don't mind slightly longer fermentation times, try the scraping method.
- If you bake frequently or in larger quantities and want a starter ready to go, storing a larger amount is the easiest approach.
Debates around no discard starter methods
There is a lively discussion in the sourdough community about the best way to maintain a starter, especially when it comes to zero-discard approaches.
Many bakers believe you don't need to discard the starter if you use it regularly or keep it small. For example, someone from Reddit says:
I see a lot of people around here wasting a lot of flour by discarding sourdough starter. I've been making sourdough bread every week for 10 years and I've never discarded anything.
On the other hand, some experienced bakers caution that zero-discard methods may require more careful attention:
- If your starter sits in the fridge for a long time without being used, it develops a more acidic profile, and it may take a while to restore a weak, acidic starter.
- One commenter from Reddit put it simply:
The downside is that you're putting fully peaked starter in your fridge … the next week's feeding isn't really enough to get it crazy active again... Yes it'll work, but it's dad bod starter vs. Arnold in his prime.
- There is also a logistical risk: if you rely on a small amount of starter (especially with a scraping method), you don't have much of a buffer if something goes wrong.
Both sides make valid points. No discard method works well, especially for bakers who bake regularly, keep their starter small and active, and plan their feedings strategically.
But zero-discard isn't a "set and forget" solution for everyone. If you bake less frequently or your starter isn't robust, you will need to refresh it before mixing bread dough or plan backups.
Also, according to some bakers, this method doesn't suit those aiming for an open crumb. To achieve the perfect structure, your starter needs to stay balanced. It must be kept in the lag, exponential, and stationary phases. For more information, refer to the Bacterial Growth Curve.
Let's talk sourdough
Have you ever tried a no-discard method to maintain your starter? I'd love to hear how it went. Please share your experience in the comments below.
Ready to keep learning?
Once your starter is well-maintained, it is time to boost its power. Discover 7 ways to strengthen sourdough starter for a more active, reliable rise.


Comments
No Comments