
If you are looking for a no-fuss overnight sourdough bread recipe, here it is. This method requires minimal hands-on time, with bulk fermentation happening while you sleep.
Isn't it wonderful to wake up to perfectly fermented dough? I have even created a sourdough baking worksheet to help you track your bake.
This recipe uses a smaller amount of sourdough starter to allow for a longer, slower fermentation. Less starter, longer bulk fermentation, and deeper flavor.
If you are new to sourdough, I recommend starting with my Beginner's Sourdough Guide. You can make your own sourdough starter or buy or borrow one (here are a few options for where to buy sourdough starter) to bake your very first Beginner Sourdough Bread.
What is overnight sourdough bread?
Overnight sourdough bread is a method where the dough ferments slowly overnight rather than during the day. This allows for better flavor development, uses less starter, and fits easily into a busy schedule.
The dough is usually mixed in the late evening and left to bulk ferment at room temperature or in a cool spot while you sleep. It gives you more flexibility with your time, especially for those working during the day.
How to adjust your recipe for overnight fermentation
Because overnight sourdough ferments much longer than a same-day loaf, you need to make a few adjustments:
- Use less sourdough starter: Reduce the amount of starter. Use a smaller amount, about 5-15% of the flour weight. Using less starter slows down bulk fermentation and gives the dough enough time to develop flavor without collapsing.
- Keep the dough cooler: Make sure the temperature in your kitchen is suitable for overnight fermentation. It should be about 65-70°F (18-21°C). If your kitchen is warmer, consider placing the dough in a cooler spot of the house to prevent over-proofing.
- Plan your bulk fermentation time: Most overnight doughs will have fermented for about 8-12 hours. By morning, the dough should look airy, slightly domed, and show visible bubbles on the surface. If the dough is overfermented, next time, shorten the bulk fermentation. Start mixing the dough a bit later in the evening or shape it earlier in the morning.
- Shape and proof in the morning: When bulk fermentation is done, shape the dough in the morning and continue with final proofing in the refrigerator or at room temperature, depending on your baking schedule.
Ingredients
- Flour: Use unbleached bread flour with a high protein content. You can experiment with a flour blend (bread and all-purpose flour or bread and whole wheat flour). I am using King Arthur bread flour (12.7% protein).
- Water: Use unchlorinated tap, filtered, or spring water.
- Sourdough Starter/Levain: Use a 100% hydration sourdough starter at peak.
- Salt: Use fine sea salt, but avoid iodized table salt. I am using Redmond Ancient Fine Sea Salt.
- White Rice Flour is used to dust the work surface and the banneton.
Final bread formula
| Ingredient | Baker's Percentage | Weight |
|---|---|---|
| Bread flour | 100% | 500g |
| Water | 75% | 375g |
| Levain/Active starter, 100% hydration | 10% | 50g |
| Salt | 2% | 10g |
- Total dough weight is 935g. To adjust the bread formula for your own loaf, use my sourdough calculator.
- My kitchen temperature is 73°F (23°C) during the day and drops to 69°F (20.5°C) at 10.30 PM, with a humidity level of 40%.
- Bulk fermentation: about 10 hours with a 75% increase in dough size.
- Proofing time: 11-12 hours cold-proof in the fridge.
- Bake in a conventional oven at 450°F (232°C) with the lid on for 20 minutes; without the lid, 17-20 minutes.
Tools & Equipment
For all the tools and equipment I use, check out my Essential Sourdough Tools & Equipment guide. It covers everything you need to bake sourdough bread successfully.
How to make overnight sourdough bread
1. Make levain (active starter)
Feed your starter at a 1:6:6 ratio (4 g starter, 25 g flour, 25 g water) in the morning to peak (see my guide to sourdough starter peak) by the evening, when you mix the bread dough.
Note: You will need to adjust your starter feeding ratio to match your starter activity.
2. Autolyse
In the evening, mix water and flour in a mixing bowl with your hands or a dough whisk. Cover the bowl with a damp kitchen towel or plastic cap and leave for 30 minutes (see my guide on how to autolyse sourdough).
3. Add levain and salt
Pour levain (active starter at peak) and mix. Sprinkle the salt and mix well using one of the bread dough mixing techniques. Cover the dough with a damp kitchen towel or plastic cap and let it rest for 30 minutes.
4. Bulk fermentation
Perform two sets of stretch and folds and two sets of coil folds, with a 30-minute rest between sets. Cover the dough and let it rest overnight.
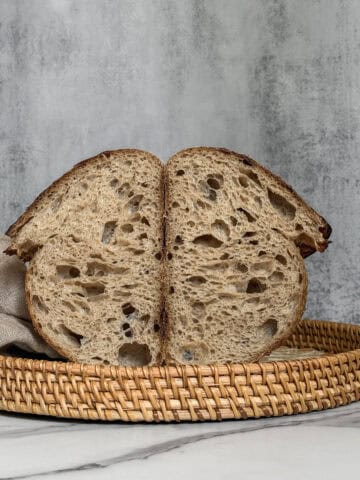
The next morning, check the dough to see if the bulk fermentation is done. The dough should have bubbles on the surface and along the sides of the bowl (if using glass). The edges where it meets the bowl should be slightly domed, and the dough should wobble gently when you shake the bowl side to side.
5. Preshape and shape
Lightly flour the work surface, preshape the dough into a round, and let it rest for 10-15 minutes. When making a single loaf, you can omit preshaping.
Shape the dough into a boule or battard (see my guide to shaping bread dough), then place it in a prepared 10-inch banneton with the seam side up.
6. Proof the dough
Cover the banneton with a clean towel, disposable plastic cap, or place it inside a reusable plastic bag. Place the dough in the fridge during the daytime for a slow, even fermentation.
7. Bake the loaf
In the evening, preheat the oven to 500°F (260°C) with a Dutch oven inside for 25-30 minutes.
Transfer the dough onto parchment paper, score the top, and place it inside the Dutch oven. Lower the oven temperature to 450°F (232 °C), then bake, covered, for 20 minutes. Then, uncover and bake for another 17-20 minutes, until golden and crisp.
You can also bake your bread using the open-bake method with a steam pan. Read more about this technique on my blog post on baking sourdough without a Dutch oven.
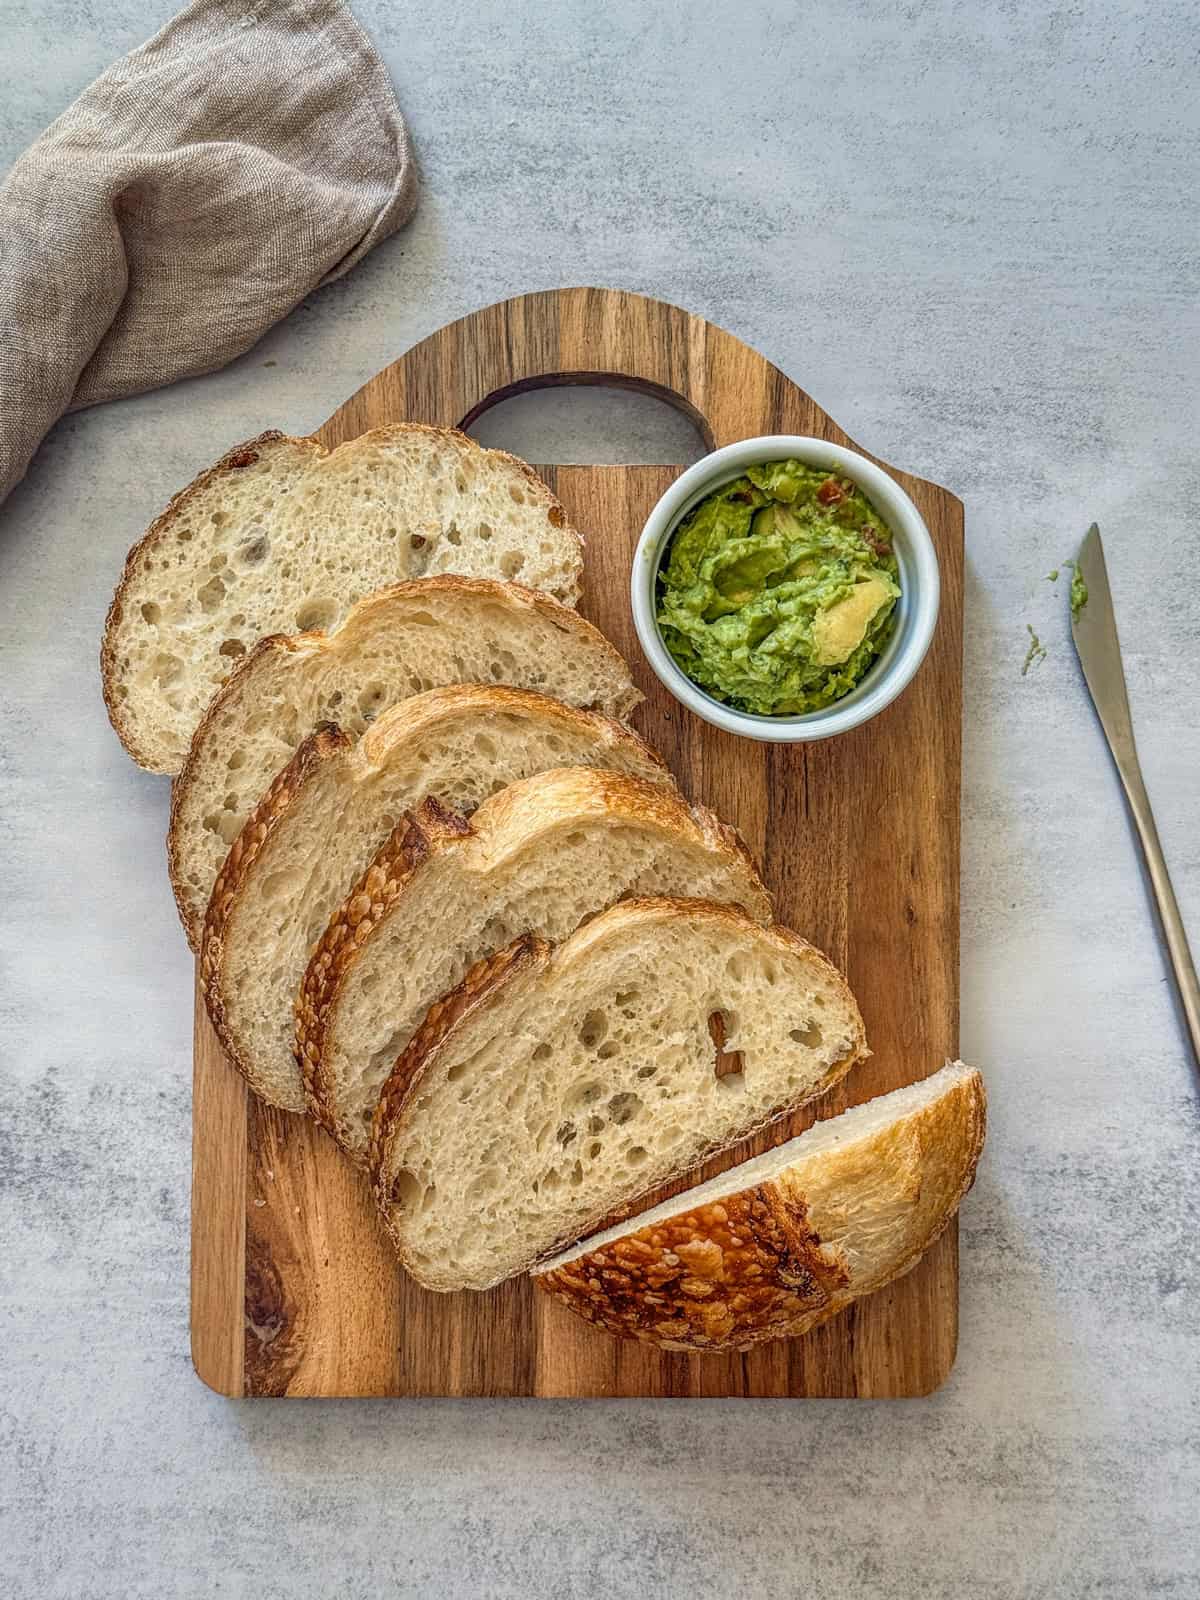
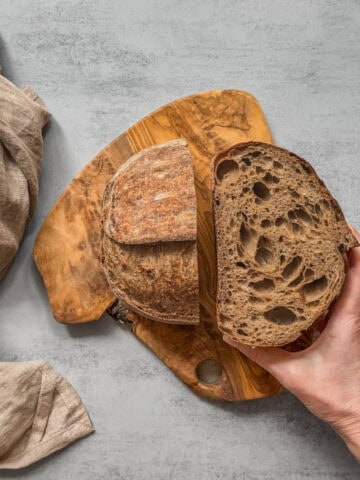
Remove the bread from the Dutch oven and let it cool on a wire rack for at least 2 hours before slicing. See my guides on how to cut sourdough bread and how to store sourdough bread.
Bulk fermentation expectations
In a kitchen between 65-75°F (18-24°C), there is a handy rule of thumb:
- Fermentation time increases by about 10-15% for every 2°F (about 1°C) drop
- Or roughly 20-30% for every 4°F (about 2°C) drop
So, if my dough was originally fermenting at 73°F (23°C) during the day and my kitchen is 69°F (about 21°C) at night, that is a 4°F (about 2°C) drop. That means I can expect that my bulk fermentation will take about 20-30% longer.
Let's calculate the approximate bulk time:
If my original bulk fermentation time is about 7.5 hours, to account for the slower fermentation:
- 20% slower: 7.5 x 1.20 = 9.0 hours
- 30% slower: 7.5 x 1.30 = 9.75 hours
Why multiply by 1.20 or 1.30? A 20% slower fermentation means we add 20% of the original time: 7.5 + (7.5 x 0.20) = 9.0 hours. Multiplying by 1.20 does the same thing in one step. The same logic applies for 30% slower (multiply by 1.30).
My estimated bulk fermentation at 69°F (about 21°C): 9-9.75 hours (roughly 9-10 hours).
Note: This is just an estimate based on my kitchen temperature. I use it to help create my own timeline (because I still need to go to bed and wake up on time), adjust bulk fermentation, and avoid overproofing my sourdough. Think of it as a helpful guide, but always learn to read your dough to know when bulk fermentation is done.
Expert tips
- Adjust the dough hydration to what is comfortable for you.
- Account for the kitchen temperature and make your recipe adjustments accordingly. You may need to bake this overnight sourdough a few times to get the bulk fermentation right.
- Use cold or countertop proofing depending on your schedule.
- Always use oven mitts while handling hot equipment.
- Advanced notes: Use the aliquot jar method to monitor bulk fermentation overnight. It will help you make recipe adjustments faster and more precisely.
Sample baker's timeline
| Day 1 | |
| 7:00 AM | Build levain/active starter |
| 8:30 PM | Autolyse, rest for 30 minutes |
| 9:00 PM | Add levain (starter) and salt, rest for 30 minutes |
| 9:30 PM | Stretch & folds #1, rest for 30 minutes |
| 10:00 PM | Stretch & folds #2, rest for 30 minutes |
| 10:30 PM | Coil folds #1, rest for 30 minutes |
| 11:00 PM | Coil folds #2 |
| 11:05 PM | Continue bulk fermentation overnight |
| Day 2 | |
| 7:00 AM | Shape and cold-proof in the fridge |
| 6:00 PM | Bake |
Recipe
Overnight Sourdough Bread Recipe
This easy, no-fuss overnight sourdough bread is perfect for busy schedules and beginner bakers. It requires minimal hands-on time, with most of the bulk fermentation happening while you sleep.
- Prep Time: 22 hours
- Cook Time: 40 minutes
- Total Time: 22 hours, 40 minutes
- Yield: 1 loaf 1x
- Method: Baking
- Cuisine: American
Ingredients
For the levain (an active starter):
- 4 g sourdough starter
- 25 g bread flour
- 25 g water
For the bread dough:
- 500 g bread flour (I use King Arthur organic bread flour)
- 375 g water (75% hydration)
- 50 g levain (active starter at peak)
- 10 g fine sea salt (I use Redmond ancient fine sea salt)
10 g white rice flour (for dusting)
Instructions
- Make levain (active starter). Feed your starter at a 1:6:6 ratio (4 g starter, 25 g flour, 25 g water) in the morning to peak by the evening, when you mix the bread dough.
- Autolyse: In the evening, mix water with flour in a mixing bowl. Cover and leave for 30 minutes.
- Add levain and salt: Pour levain (active starter at peak) and mix. Sprinkle the salt and mix well using one of the bread dough mixing techniques. Cover the main dough and let it rest for 30 minutes.
- Bulk fermentation: Perform two sets of stretch and folds and two sets of coil folds, with a 30-minute rest between sets. Cover the dough and let it rest overnight.
- Pre-shape and shape: The next morning, lightly flour the work surface, preshape the dough into a round, and let it rest for 10-15 minutes. When making a single loaf, you can omit preshaping. Shape the dough into a battard (or a boule), then place it in a prepared 12-inch oval banneton.
- Proof: Place the dough in the fridge during the daytime for a slow, even fermentation.
- Bake the loaf in the evening: Preheat the oven to 500°F (260°C) with a Dutch oven inside for 25-30 minutes. Transfer the dough onto parchment paper, score the top, and place it inside the Dutch oven. Lower the oven temperature to 450°F (232 °C), then bake, covered, for 20 minutes. Then, uncover and bake for another 17-20 minutes, until golden and crisp.
- Cool the bread: Remove the bread from the Dutch oven and let it cool on a wire rack for at least 2 hours before slicing.
Notes
- Adjust the dough hydration to what is comfortable for you.
- Account for the kitchen temperature and make your recipe adjustments accordingly. You may need to bake this overnight sourdough a few times to get the bulk fermentation right.
- Use cold and countertop proofing depending on your schedule.
- Always use oven mitts or silicone gloves to handle hot pans.
- Check your bread for doneness. It is fully baked when the internal temperature reaches 205-210°F (96-99°C). I usually aim for 207°F (97°C) or higher. Use a digital probe thermometer to check.
- Store sourdough bread at room temperature for 3-5 days. Freeze individual slices for up to 1-2 weeks, a whole loaf for 1-2 months.
- Want to create a custom formula for your loaf? Try my sourdough calculator.
- Need help getting started? Check out my beginner's sourdough bread guide to learn sourdough basics first.
- Note: Nutritional information does not include the white rice flour used for dusting.
Nutrition
- Calories: 1911
- Sugar: 1.4g
- Sodium: 3898mg
- Fat: 5.2g
- Saturated Fat: 0.8g
- Carbohydrates: 400.6g
- Fiber: 14.2g
- Protein: 54.2g
- Cholesterol: 0mg

Stephanie says
Thanks! This is super helpful. Question, and apologies if I am missing something, when I do the rise in the fridge the next day should the dough be covered or uncovered?
Irina Totterman says
Hello Stephanie, thank you for your interest in the recipe. Whether you cover the dough or leave it uncovered is a personal preference. I actually cover this topic in the blog post, where I explain whether sourdough should be covered during proofing.